
This week I found myself up to my armpits in Red Peppers. Ahhhh – summer. Yes, most of the time they’re incredibly expensive, but this was a bumper crop that had to go. Normally, I just chop and freeze them. They’re great to add into a red sauce or salsa as an unexpected flavor. But there were just too many. Even after freezing several bags of them chopped, I still had 5 left. Now what? Hmm, you know, I love a roasted red pepper. I get them in jars and keep them on hand to add into hummus, and salads. Not to mention vegetarian lasagne is simply not the same without them. How hard could it be? Well, apparently, not very! Watch and learn my friends…
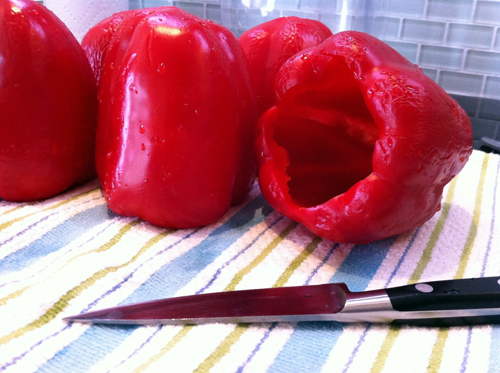
Step 1: First wash up and core your victims. Set them aside to dry.
Step 2: Now gather the rest of the equipment you’ll be needing.
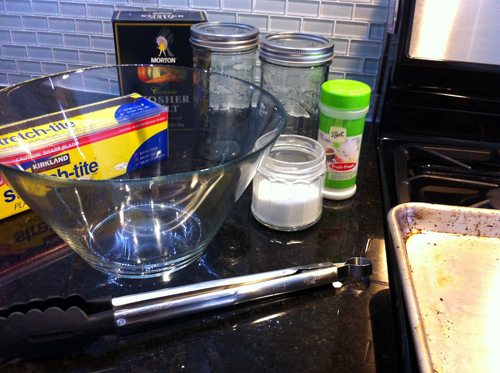
There are several ways to do this. Most rub them with olive oil and roast them in the oven. Some Put them on the grill outside and them soak them in jars filled with olive oil and sometimes a few garlic cloves. What I wanted was what I was used to using from the store. Those are suspended in a water solution. No, not just water. I guessed a bit and came up with the following.
In a pan, place 4 cups of water about 3/4 Tablespoon of both salt and sugar. Bring this to a boil. Later, just before jarring, I added in about a 1/2 tsp of Citric Acid (or in my case I had Fruit Fresh from my canning expeditions).
Now, get the oven on a preheat to 250deg and sterilize your jars. And start to roast those peppers.
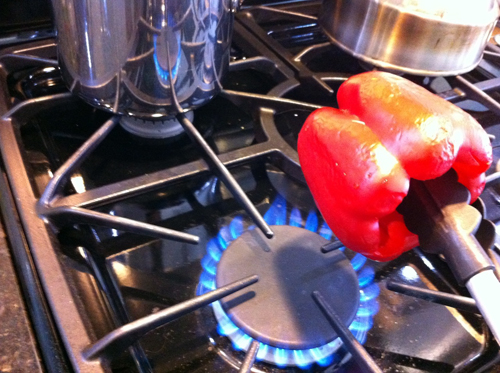
Step 3:
If you’re the official marshmallow roaster in your family, then you’re sure to be the head pepper blisterer too. Light the fire and turn. Yes, they’ll sizzle and pop. Don’t be scared!
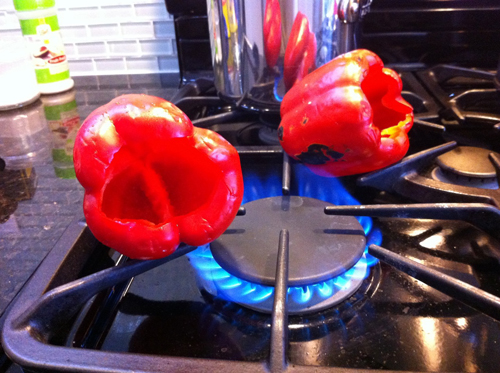
Step 3a: Ahh, see, nice black spots of char. Oh, you don’t like burnt marshmallows? Well, whatever – crank that flame and burn, baby, burn!
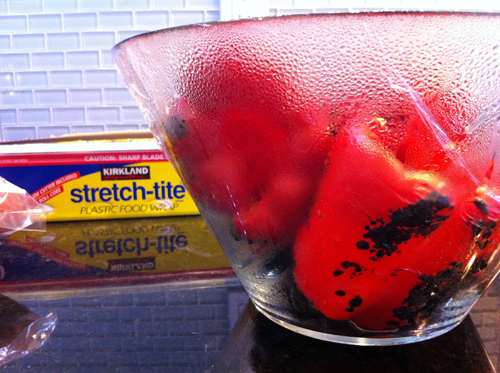
Step 4: Once you’re done, get them into a bowl and cover with plastic wrap. Careful, they’ll burn right thru if they’re flaming toasty. Which is why I don’t really recommend the plastic bag method, unless they’re already starting to cool. Either way, the steam will help peel away the unpleasant bits of charred skin.
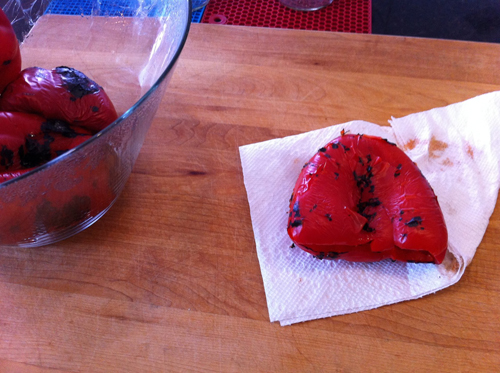
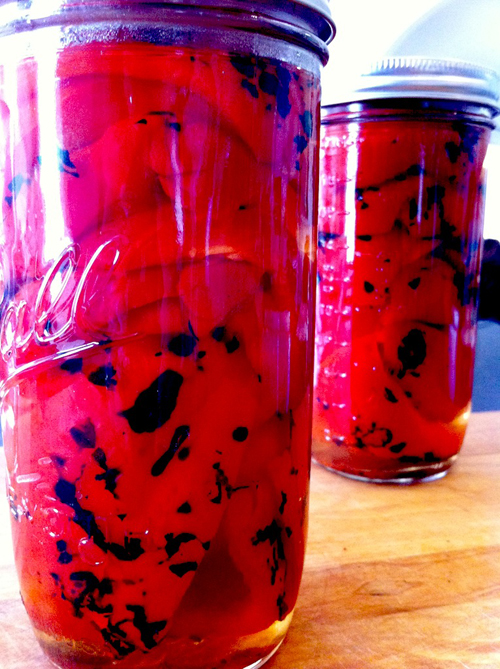
Step 5: Get them out and rub with a paper towel to remove some of the skin. Not all of it, that black stuff is flavah! Now cut them into quarters and lay in the jar. I got 2 1/2 peppers in each.
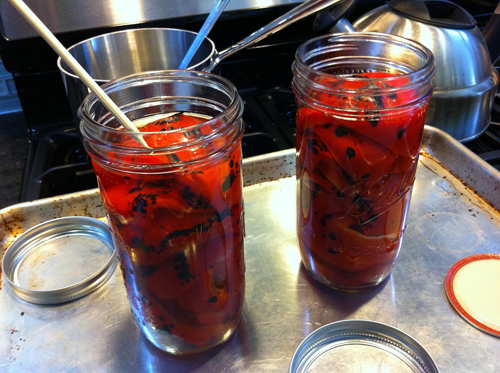
Step 6: OK, now we jar. I like the not-quite-a-quart jars, as they’re large, fit great in the fridge and just look cool. Slowly add the water mixture. I do this 1/2 cup at a time.
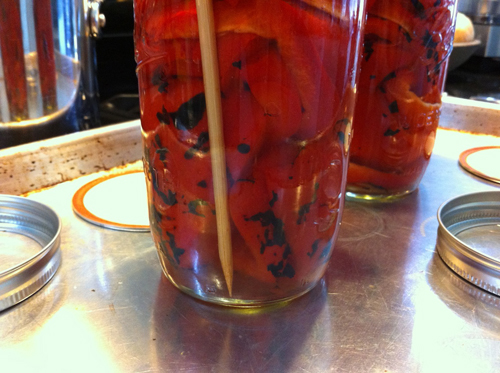
Step 7: I use a bamboo skewer to release some of the air bubbles I could see and continued to fill with the water mixture. Only fill it to the jar’s ‘shoulder’, under the threads.
Step 8: Now lid and ‘process’ in the oven for 30 min. Those lids will pop – you’ll see.
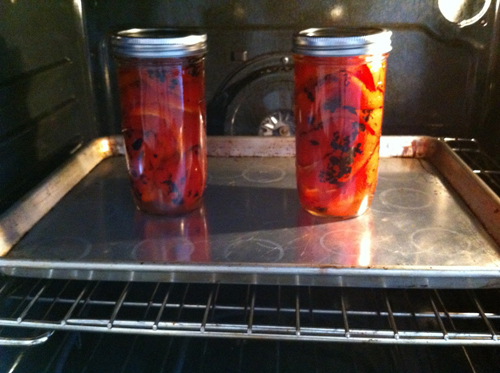
Finale: There, something new to do with all those peppers. They’re healthy, not swimming in olive oil, and a money saver too. Those little red devils can set you back nearly five bucks for a 16oz jar! No way! – Yes way! But these big jars hold 24oz. – cheeeep! And later when you use them, put the unused peppers into a small freezer bag and lay flat in the freezer. Because they go bad quickly. Then you can just break off what you need. Look at that, and you were just going to toss those peppers…oh-no, not on my watch.
Michelle @ www.badzoot.com