
Is this cute or what? That little teddy sitting on those adorable pillow cases.
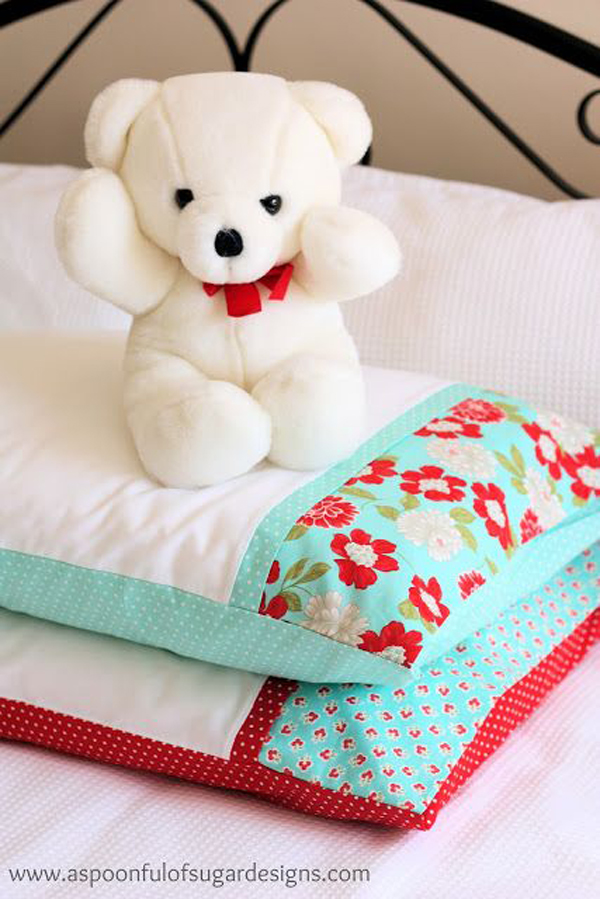
I’ve had this idea pinned for quite some time. Besides loving that fabric, I like that the cuff of the pillow case wraps the pillow. Looks so “custom”.
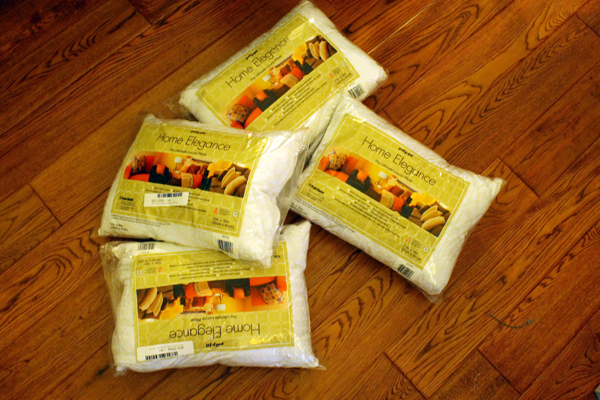
I wanted to make the pillow case to fit 12″ x 16″ pillow forms. I’ve made three “name” pillows for Riley, Piper and Jack and still need to make some for Addison, Kendall, Courtney, Justin and Adley. (Whoops, looks like I need to get another pillow form.) I thought this version might be a fun idea.
The instructions are fairly simple from www.aspoonfulofsugar.com but I couldn’t get my head wrapped around changing the size from a full-size bed pillow to the 12″ x 16″ size. I can usually draw and figure out the dimensions but after spending way too long trying to calculate the exact measurements, I decided to just make the full-size pillow so I could understand the directions from A Spoonful of Sugar.
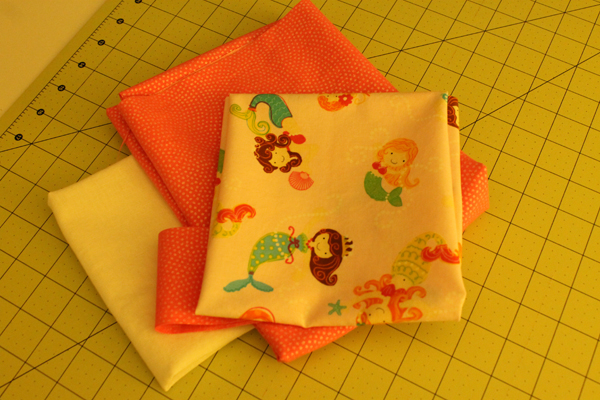
I had this fabric:
This was a really quick project. I had already cut the fabric out on Tuesday and when I got home after volunteering at the animal shelter, it took me about 1/2 hour to sew it all together. Seriously. It took longer to take the pictures! And a whole lot more time to put all of these words here.
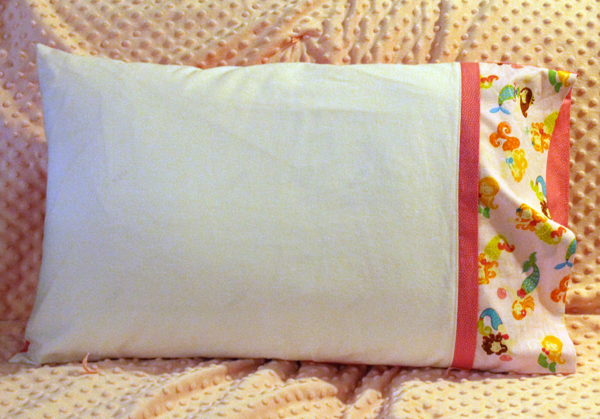
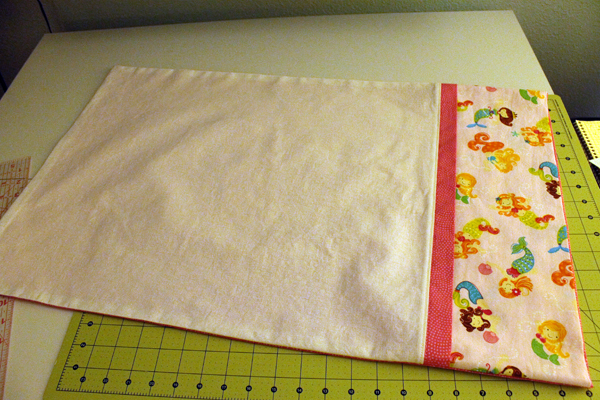 So here’s the finished full-size pillow:
 I need to make at least one more. Maybe two. I have three granddaughters that are just at the right age to LOVE mermaids. And if they have a slumber party at my place they will all want their own mermaid pillow!

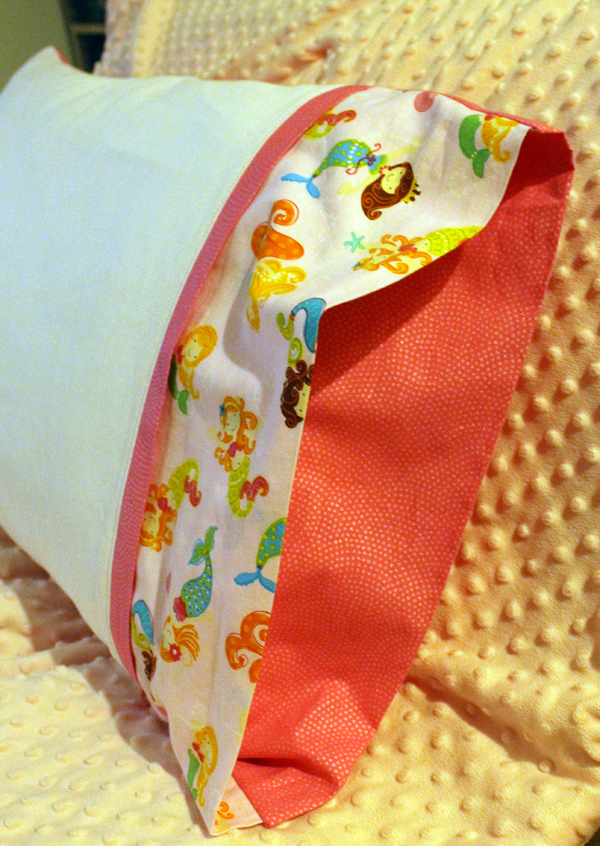
I followed the instructions from A Spoonful of Sugar It’s quite easy. The only question I had was about the seam allowance. The tutorial doesn’t mention what it should be so I went with 1/2″. Seams are supposed to be finished with an overlock stitch on a serger but I don’t have one of those so just zig-zagged all the raw edges. I hate unfinished seams so I plan to try to make the next version with something like a french seam.
And the ultimate goal is to get the pattern re-sized for the smaller version and put some names on them. So much to do, so little time!