
It’s beginning to look a lot like Christmas!
At least it is in my sewing room.
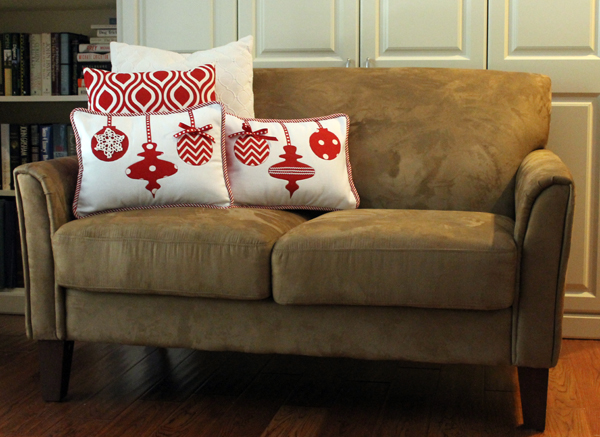
I’ve been browsing through all those catalogs that come in the mail this time of year and spotted some really adorable pillows embellished with ornaments. So cute. And $49 each. Zowie. I have a bunch of bits of fabric left from making Christmas stockings that I posted about in September and thought this was a good opportunity to use up some of that fabric.
And I made two.
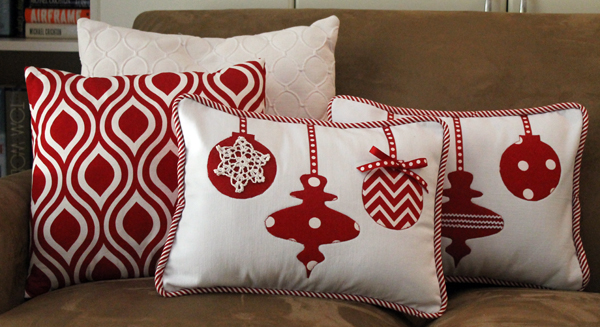
Because as soon as my daughter-in-law in the cold white north sees this, I’m going to hear from her. Hey, it matches her Christmas stockings!
This is not an easy peasy pillow like I made last year right before a Christmas party. This one takes some sewing skill. And a lot of time. So I’ve put extra photos and steps in the tutorial to help explain. But it’s still difficult.
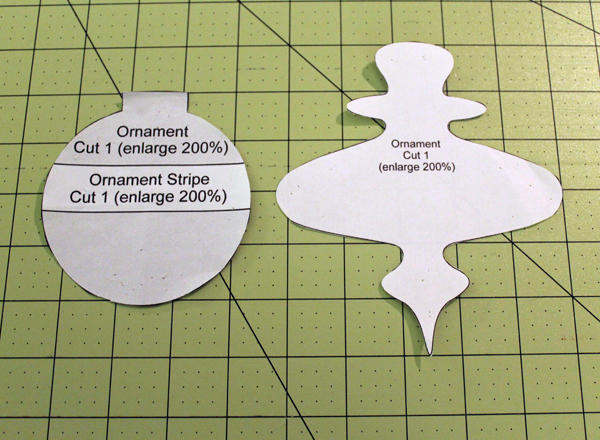
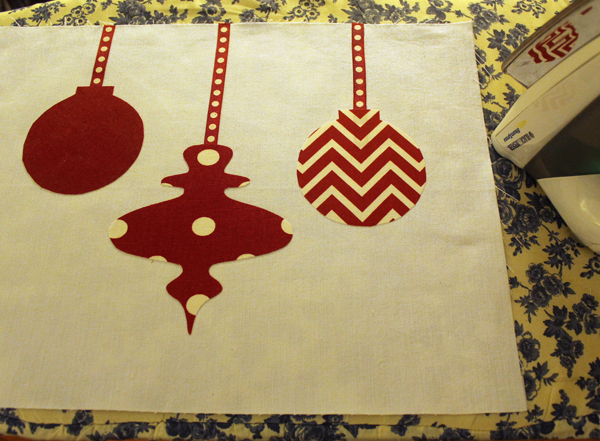
You can get the patterns for the ornaments by following this Better Homes and Garden Link or downloading the PDF that I already pulled from the site.
The pattern is marked to enlarge it 200% but that’s not big enough. I made the round ornament 3 3/4″ wide and the odd shaped one is 5 1/4″ at it’s widest point.
I also made the piping. This is extra thick piping with red striped fabric. Piping is not difficult to make, just boring, monotonous and tedious. I wanted a candy cane stripe cut on the bias–not found locally–so I had to make it. Check out my tutorial for making piping if you want to make your own.
You will need for each pillow:
White denim–13″ x 17″
Scraps of fabric for ornaments. I used Premier Prints that I ordered from fabric.com
2 yards of piping
red flannel– two pieces of 13″ x 12″
fleece–one piece 13″ x 17″, and two pieces 13″ x 12″
1 yard of ribbon
embellishments
fabric glue
heat ‘n bond lite
white thread
red thread
I used 1/2″ seams throughout unless otherwise indicated.
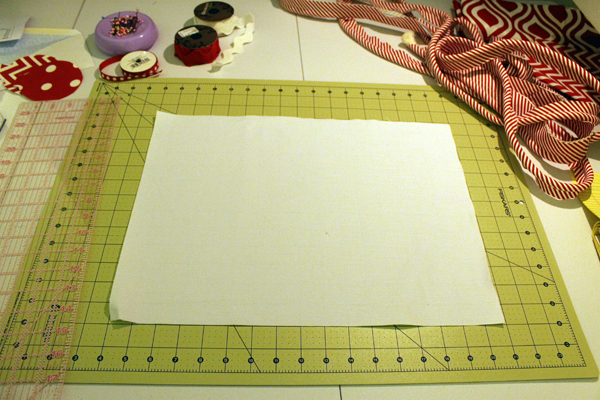
Start with the 13″ x 17″ white denim.
Cut three 5″ pieces of ribbon. Place on front and glue. You might want to stagger the ribbon lengths. (I originally planned on putting 3 round ornaments all at the same height but then changed my mind.)
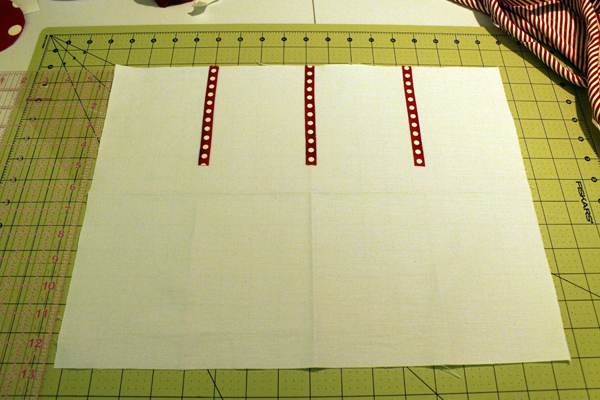 There are folds on the above fabric. That’s how I evenly placed the ribbons without measuring. I pressed the center fold then folded each side into the center and finger pressed those folds. Perfect spacing!
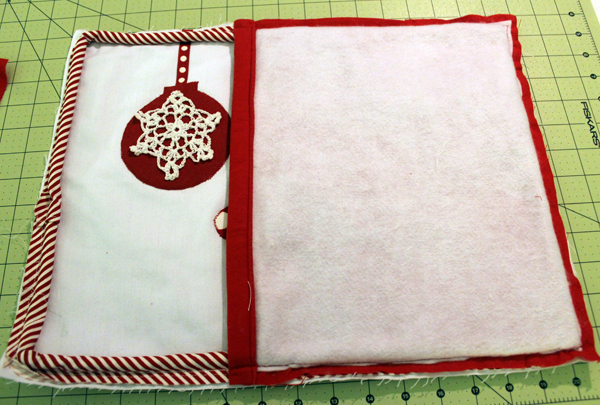
I used heat n’ bond lite on the back of the the ornaments. Follow the instructions on the package. After the glue on the ribbons dried, I added the ornaments and pressed into place.
I then glued a crocheted snowflake on one pillow and tiny rick rack on the other. And again, let the glue dry.
Time to sew! Using white thread sew a 13″ x 17″ piece of fleece on the wrong side of the fabric.
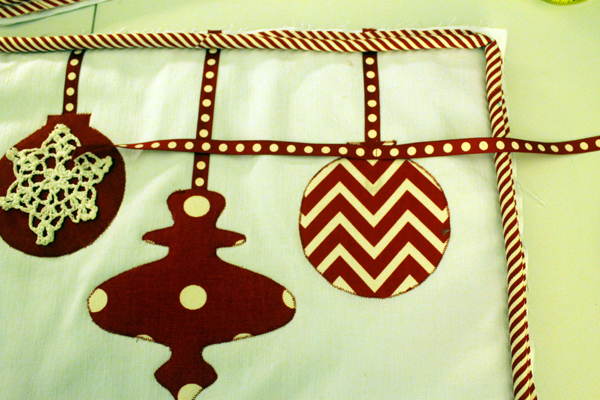
Now change to the zipper foot and sew the piping on to the front.
Change to red thread and your regular sewing foot and do a satin stitch around each ornament.
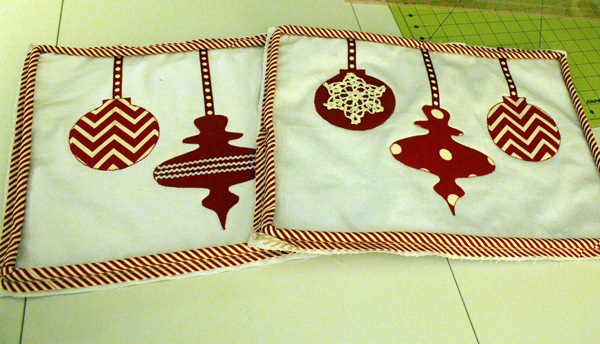
Center a 16″ piece of ribbon on the chevron ornament and sew a little box.
And tie a little bow.
Now let’s do the back.
This is an envelope style back. No zippers or Velcro necessary.
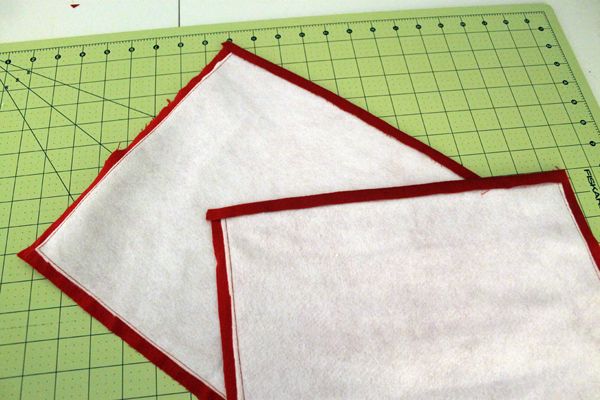
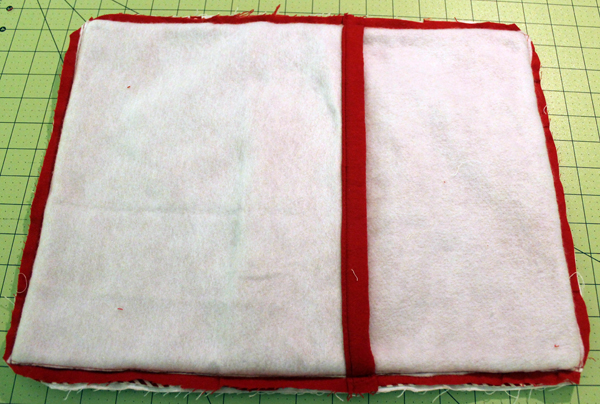
Cut two 13″ x 12″ pieces of red flannel, sew fleece on the wrong side and trim.
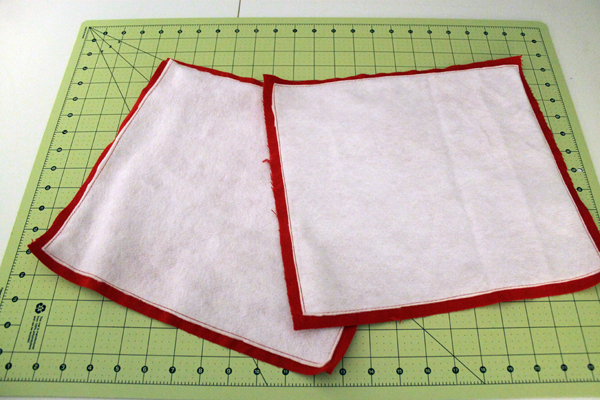
Turn 1/2″ under and press on one 13″ side on both pieces.
Turn under 3/4″ on the pressed edge.
And stitch at 5/8″ from edge.
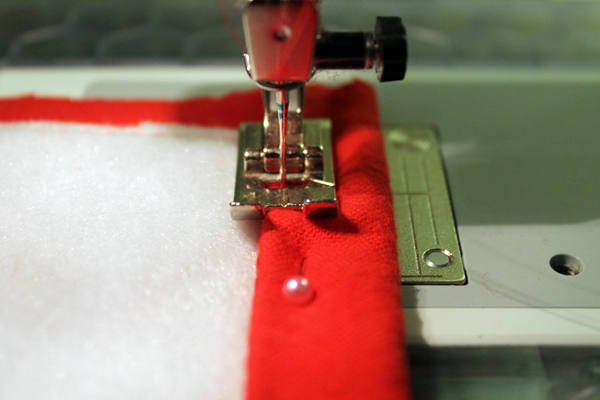
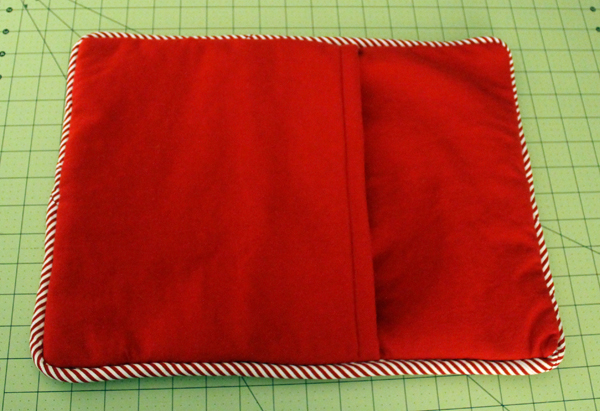
I’m sewing around the piping again so I changed back to a zipper foot.
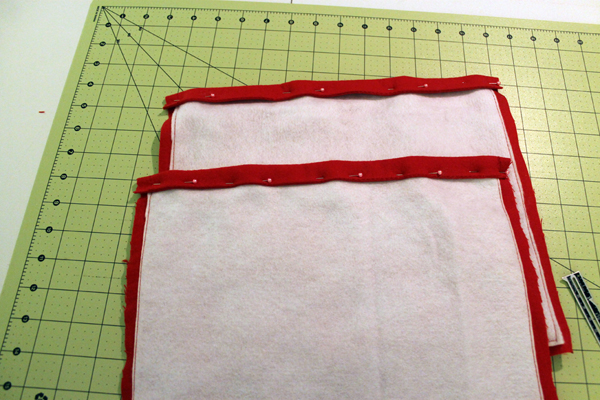
Put one of the red pieces, right side down on top of front piece. I use a lot of pins to secure the fabric and then baste on the three outer edges. I always baste when I’m using piping because the fabric slips easily. And then I have to rip out all that stitching. Basting is the way to go!
 Then lay the other piece on top and baste.
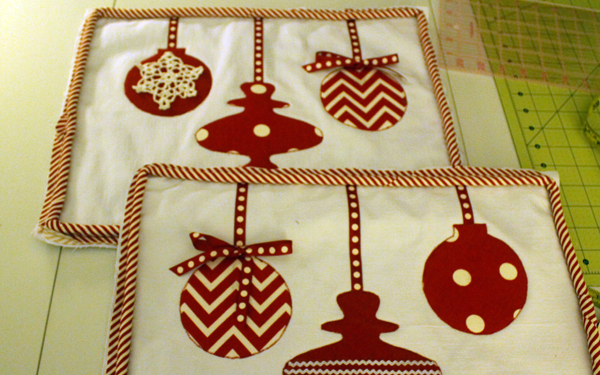
 Turn the pillow right side out and check that all the seams and the corners are okay. Then turn wrong side out again and stitch all four sides and clip corners. Corners need to be clipped to reduce the bulkiness to get a nice corner. Sew4home.com had a really good tutorial on corners this week “Stitching and Cutting Corners”.
Turn right side out and poke the corners out with a turning tool. I use a chop stick.
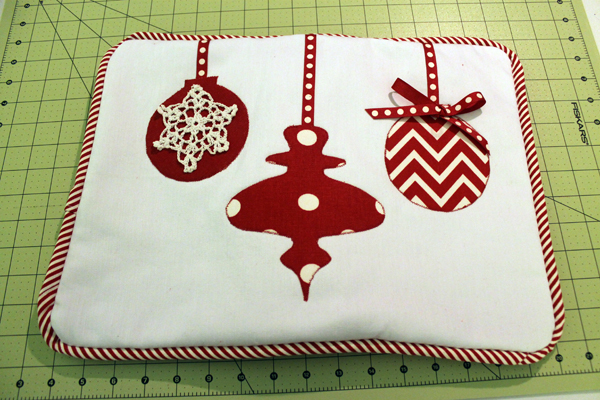
These pillows were much more difficult and took a lot more time than expected. But they turned out really nice. I still have 74″ of candy stripe piping left but I think I’ll take a short break from sewing! Time to plan that Thanksgiving menu!
You really are “sew” clever!! Really! 🙂
Hey, those match my Christmas stockings~
That pillow cover will be in the mail one of these days!