
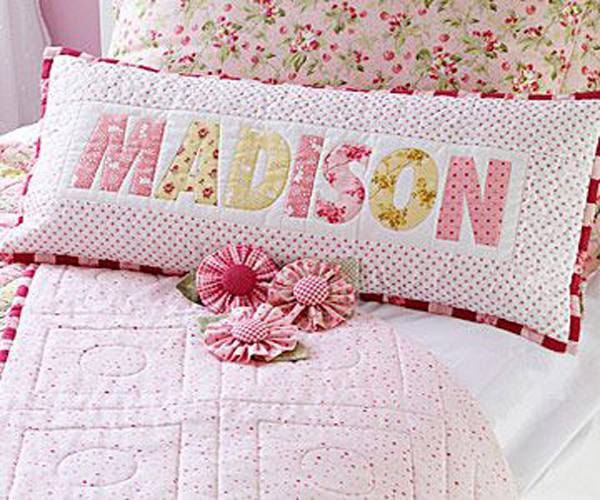
Quite some time ago, perhaps when I first got sucked into the vast vacuum of Pinterest, I pinned this from Better Homes & Gardens.
And I said to myself, self, you need to make name pillows for all of your grandkids.
Well, after all this time I finally got two done!
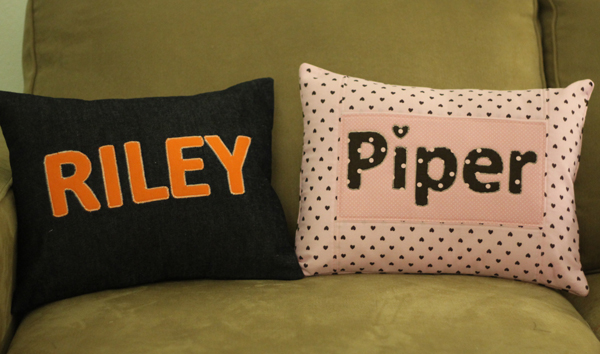
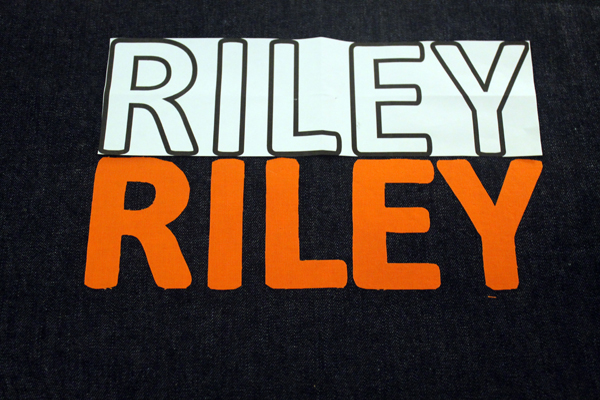
A pillow might not be something an almost 13-year old boy wants, but I made it in the colors of his favorite football team–The Chicago Bears. Blue denim body, orange letters with white applique thread. I’ve heard that Riley actually said it was “cool”. Score!
Of course, Piper is only 3 so she’s not so hard to make things for. Her room is pink and brown and I already had most of the fabric. Then I took my mother-in-law shopping at Jo-Anns. I wasn’t even looking for fabric and I found this pink with brown hearts! That fabric was meant for Piper!
I used a 12″ x 16″ pillow form for both pillows.
Riley’s Pillow
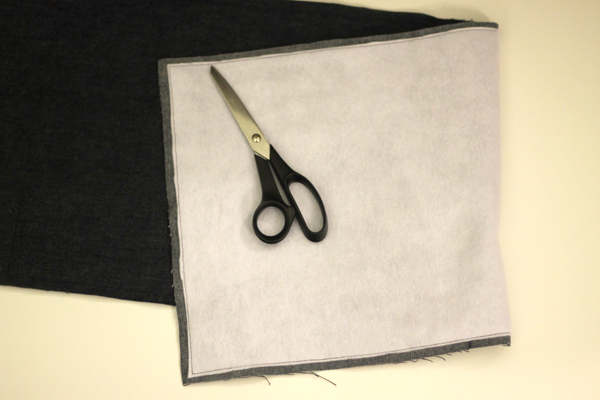
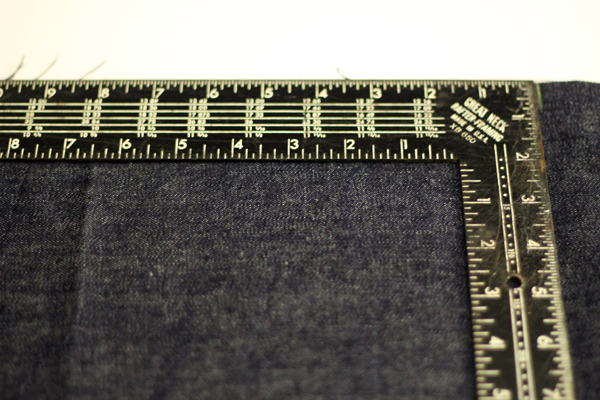
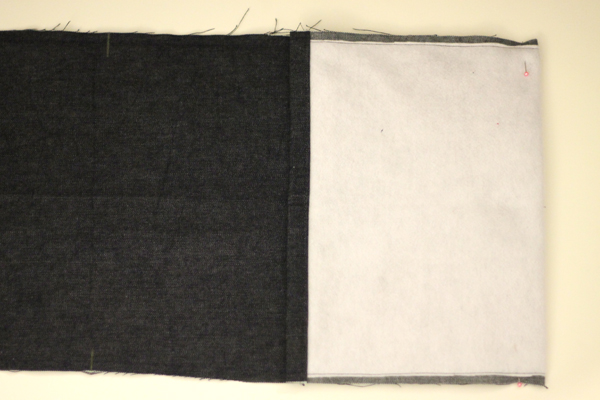
Cut denim and fleece 13” x 38”. Pin fleece to wrong side of denim and stitch together with 3/8 seam”.
Trim fleece.
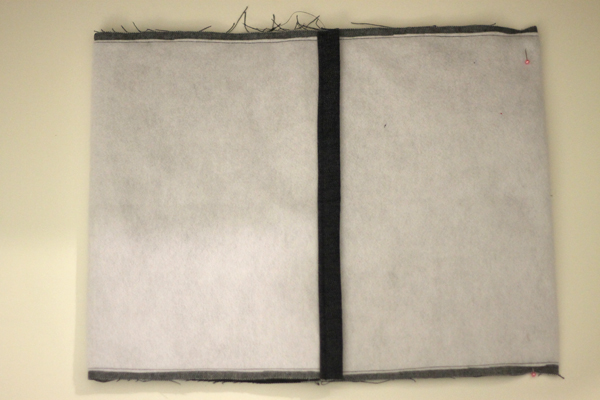
Finish both short ends by pressing under ½” then turning under another ¾” and stitching.
Fold the denim in half so short edges meet. Press. This will be the center of the pillow. Measure from the center 8” on each side and mark in top and bottom of seam allowances.
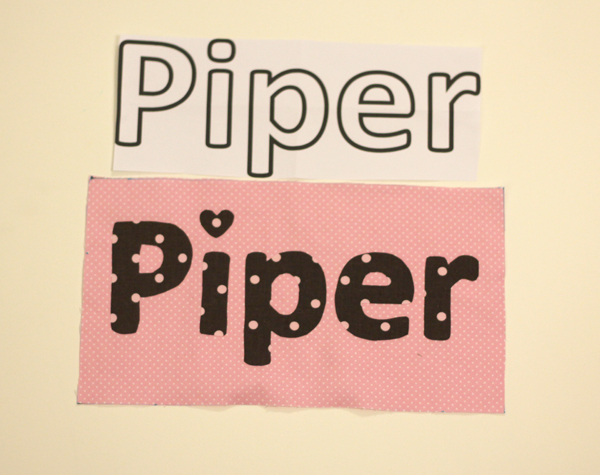
I created the letters in Illustrator but you could also do it in Word. I used the font Calibri because it is sans serif and has rounded corners. I printed the name out twice and used one set to make sure I had the right spacing for the pillow. The second set I used to cut the letters from the orange fabric which I had already bonded with “Heat ‘n Bond lite”, an iron-on adhesive that you can get at Wal-Mart or most fabric stores. I then placed the letters and pressed on to the denim and appliquéd with a satin stitch on my sewing machine.
To create the “envelope-style” back to the pillow, fold fabric at marks and fold sides in.
Stitch ½” seams on top and bottom. Trim corners, turn right side out, poke corners out so they are nice and pointy and insert the pillow form.
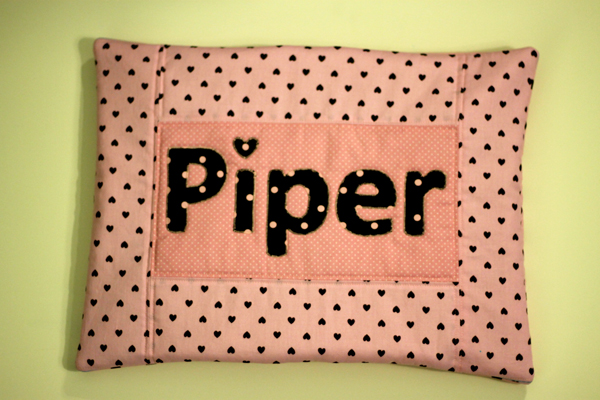
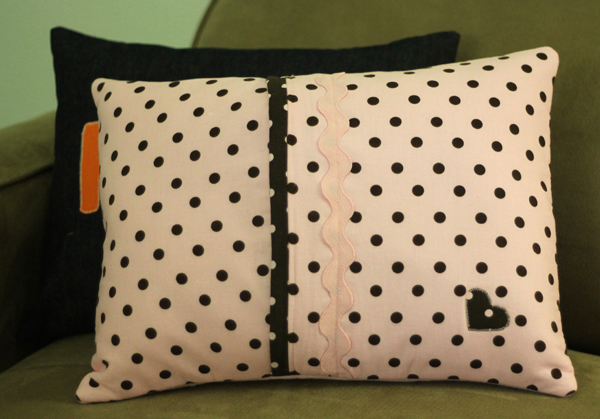
Piper’s Pillow
Piper’s pillow is a little more difficult.
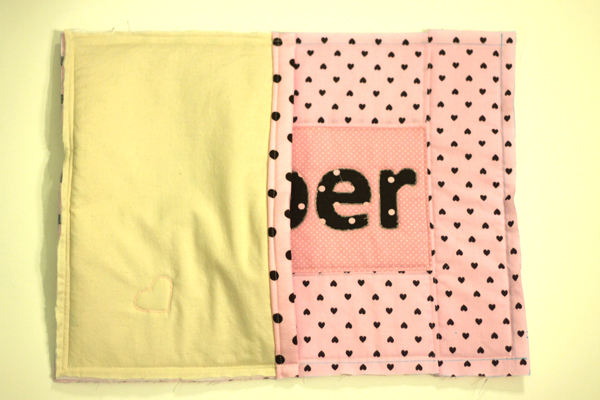
You’ll need four different coordinating pink fabrics, fleece, and muslin.
I made the name the same way as Riley’s except I did not applique at this point. This time I wanted the name to fit in a 5 1/2″ x 10 1/2″ space.
Cut a piece of pink fabric 6″ x 11″, from the second pink fabric cut two strips 4″ x 11″ for the top and bottom and two strips 13” x 3” for the sides.
Stitch top and bottom strips to name panel with ¼” seams, press. Stitch side strips to name panel and top strips with ¼” seams, press. Now you will have a 13″ x 17″ rectangle.
Cut the fleece and muslin 13” x 17”, and made a “fabric sandwich”—muslin on bottom, fleece, then the right side of fabric up, pinned together.
Next machine quilt around the inside of the middle panel with 1/8” top stitching, then around the outside, then around the strips. Applique the letters.
Cut two 12″ x 13” pieces of fabric, muslin, and fleece for back. Finish one long side on each piece by pressing under ½” then turning under another ¾” and stitching.
Layer the backs and stitch with 1/2″ seam on the outside edges.
Trim corners, turn right side out, poke those corners out with a chopstick or something else pointy.
Done! Two pillows down, five to go! (By the time I get those done there might be more grandkids–this could be never ending!)
Wow ! Those are awesome!! You’ve gotta tag those – if they’re still around in a few decades, (you’ve seen my collection of old stuff) and Piper says ‘…and my Grandma MADE this…’ a little signed tag would be sooo cool.
Too late. Already in ND! But they know I made them. Piper even wanted to skype me on Monday but we weren’t home.
Both the kids love them! Riley has his on his bed and Piper will not go to bed unless she has her pillow right beside her! What a great Grandma to make and send those!!
Thanks! I enjoyed making them and it’s even better knowing the kids like them!