
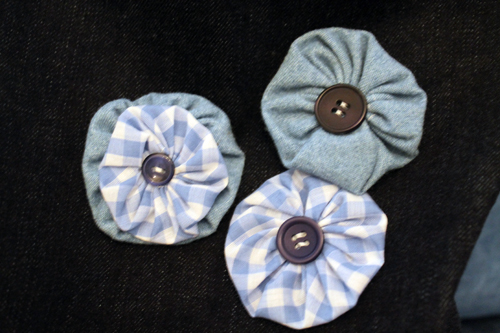
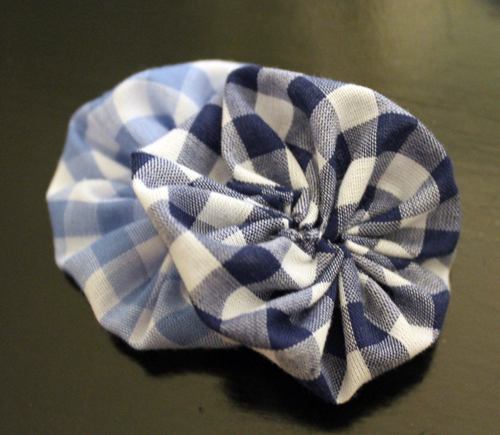
Yo-yos have to be the easiest thing to make. And they are so cute! Great embellishment for totes, hair pins, aprons and Maggie’s collars.
Just in case you don’t know how to make one, here’s how I do it:
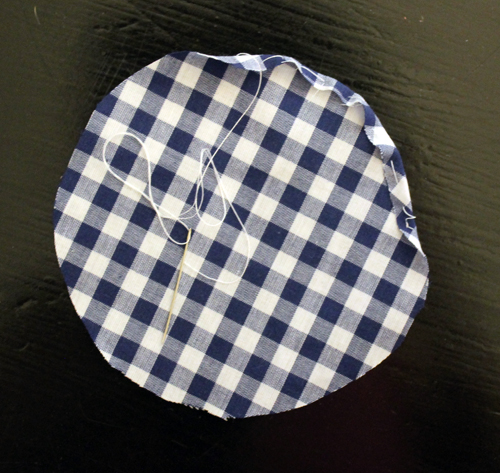
Make a circle pattern. I used a bowl and traced around it onto a scrap piece of paper and pinned it to the fabric. Or the pattern could be made out of cardboard and then just trace around the wrong side of the fabric with fabric marker. Hey, you could even use a compass for the circle!
The circle will be about double the size of the finished yo-yo. In this example, I am using a 4 ½” circle that ends up being about a 2” yo-yo.
On the wrong side of the fabric, fold under about ¼”. Anchor the first stitch with a couple of stay stitches. Use a running stitch around the entire edge of the circle, keeping the edge folded under.
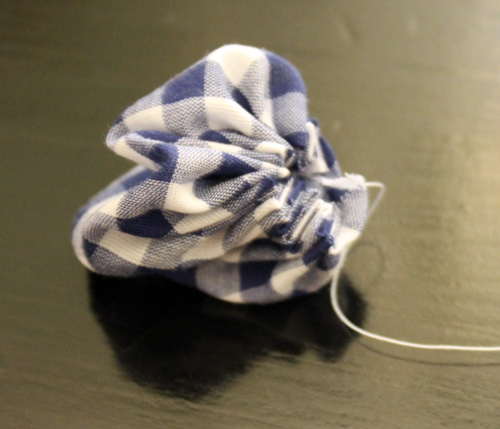
Shorter stitches create a larger, more open center on the yo-yo. Longer stitches make a smaller center.
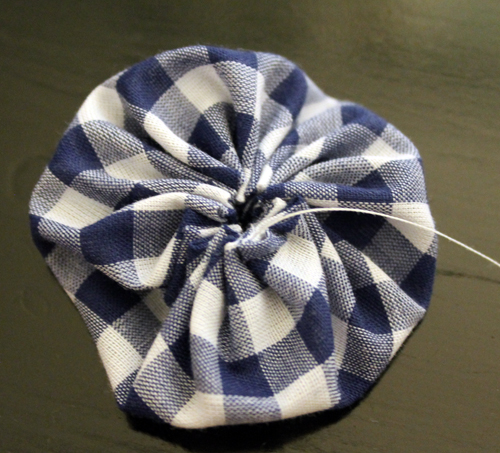
After the entire edge of the circle is stitched, pull the thread to gather the edges. Make a couple of stay stitches and trim the thread. Push the yo-yo into shape with the gathers in the center.
Now that you can make a yo-yo. There are all kinds of fun things to create.
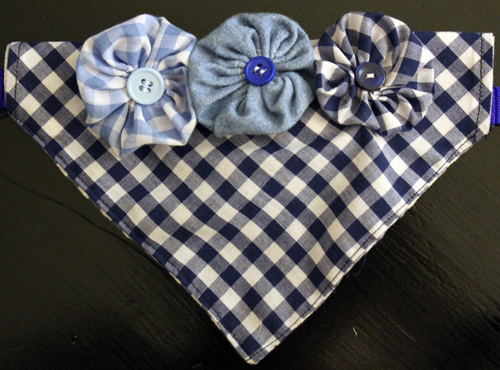
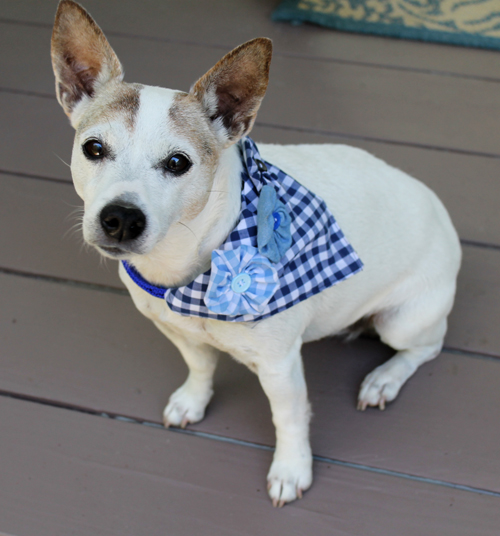
Maggie is such a fashionesta!