I finished another project! Yippee!
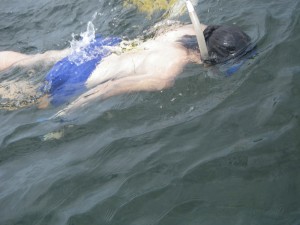
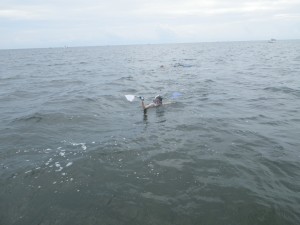
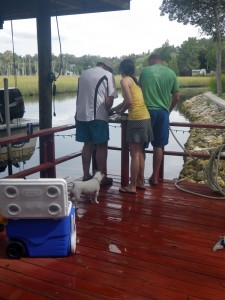
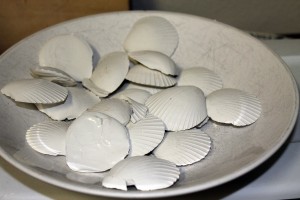
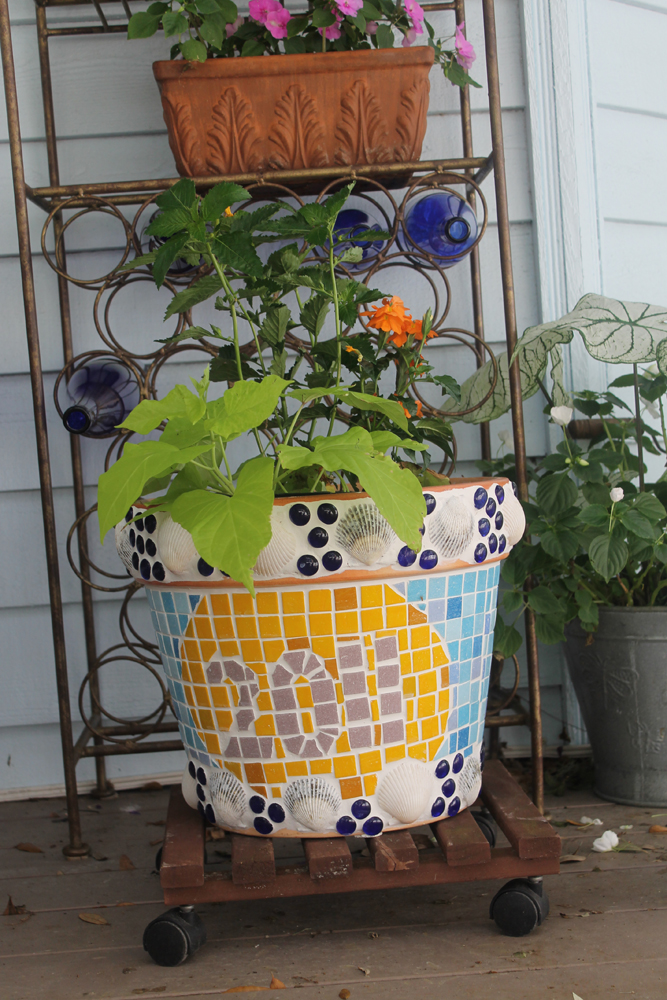
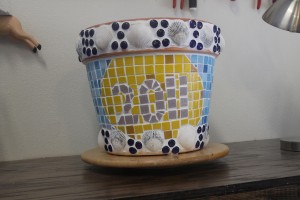
This mosaic pot was made out of all the scallops that were caught while Paige, Jes, and Andrew were visiting over Labor Day last year. These are all of the scallops that Jes caught. Well, Andrew may have picked up a few, but Jes was definitely the star scalloper! I didn’t even get in the water since catching scallops requires snorkeling. Not in my skill set!
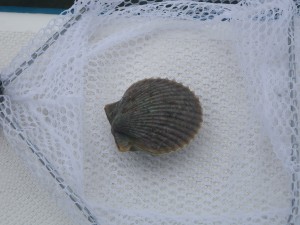
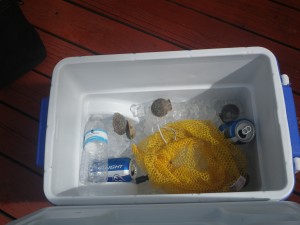
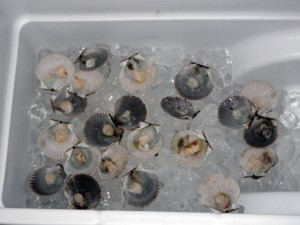
So I saved the shells, cleaned them some more, soaked them in bleach and then let them dry in the sun. And there they sat on my work bench until I saw this pot at Ikea– good price for a nice size pot. I did some research on the Internet on using terra cotta pots for mosaic. Most of it was conflicting information so I decided to go with what I had on hand. I sealed the pot inside and out with MinWax PolyAcrylic and used Weldbond to glue everything on the surface.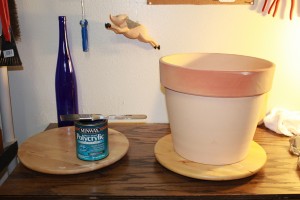
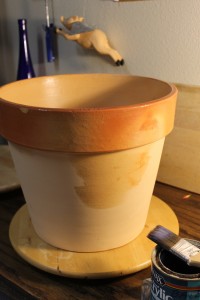
I was concerned about getting the shells to stay attached to the pot since there isn’t much connecting surface. So I filled the shells with grout that I had just used on a different project. Dumb idea. When they were dry, the grout just fell out. So then I filled them up with Weldbond glue.
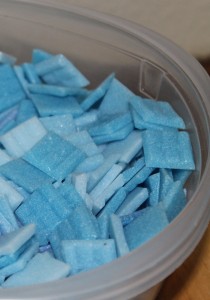
I had to do a little bit at a time since the tile, shells, and glass gems slid off. Which caused me to lose interest which resulted in this taking a whole lot longer than it should have.
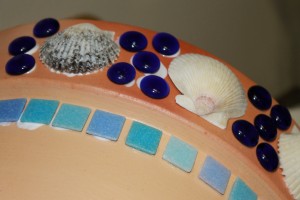
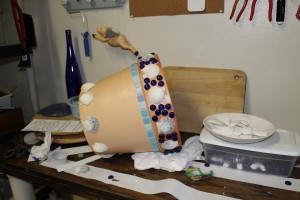
I covered all the shells with blue painters tape prior to grouting so I wouldn’t have to clean it out of the ripples on the shells. No pictures of the next step since my hands were covered with grout while I pushed it into all the cracks and crevices around the glass gems and shells. Really a BIG mess.
But I finally finished! And I love it! Tilted letters and all!
So, Jes, Andrew and Paige, it’s time for you to make plans for your next scalloping trip. Season starts July 1st! Maybe you can get enough scallops this time to cover an entire pot!

Kathy, your site is delightful and I learned some stuff too. My sister does this craft and she fills her shells with cement first. Anyway, if that initial picture of the wiregrass is at your place, I’m in love with it too.