**** 1/10/2016, Just a little update here. This was the first tutorial I did for a shopping tote and I made it almost four years ago! Since making this one, I’ve probably made two dozen more and in a much easier method. If you want to check out my easy peasy way, check out this Shopping Tote Post. By the way I have all my new DIY posts are now at DesignsbyKTGreen.com. Check it out! ******
Wondering who was praying for all of this rain. Ready to build an ark! Is our drought over yet?
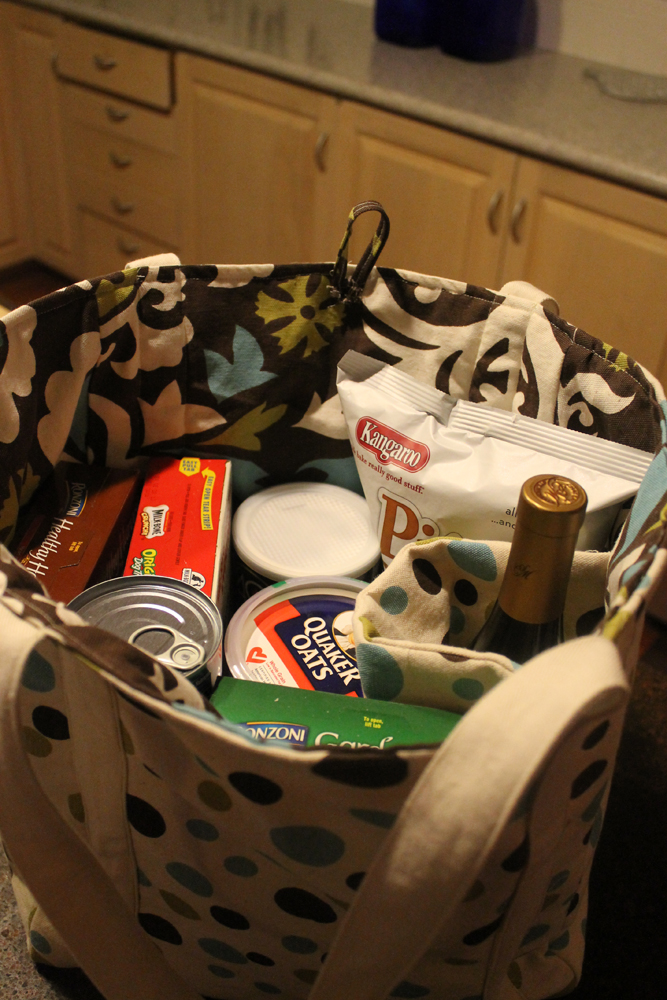
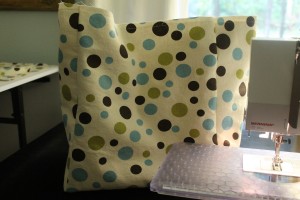
Since I’ve been forced to stay indoors, I have turned back to my sewing machine. I made this happy shopping tote from a bunch of scraps left over from decorating the grand kids’ bedroom. What do you think? A whole lot better than those flimsy reusable bags that they sell for a couple bucks. And the store’s name is on it–shouldn’t they be paying me for the advertising?
Anyhow, I’ve had a couple days to figure out how to recreate the Publix bag. And make it better! I’ve made it very sturdy plus added a wine bottle holder. The instructions follow but I have to caution you that I may have missed a step or two. I intend to make another tote and follow my steps, but if it’s sunny I’ll be outside chasing those damn squirrels with Maggie.
Update on 6/12/2012, I did make a second bag and realized I skipped a step or two. I added it where it belongs and it is highlighted in this color.
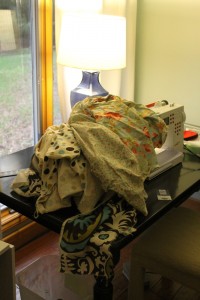
First I washed and dried all of these bits and pieces of material. Some of it is denim but a lot of it is fabric from Premier Prints which is washable but only line dry. I want to be able to wash and dry these totes so this was a test which the Premier Prints passed with flying colors. There are also a few lovely yards of Moda fabrics on top of the pile that I just bought from our local quilt shop. Special project to be revealed later!
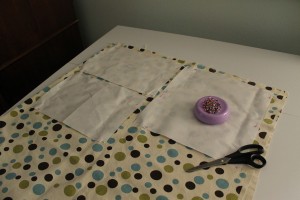
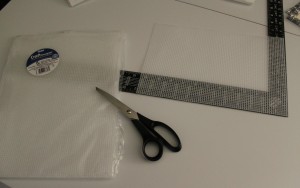
For the tote, you need fabric, fleece, and plastic canvas. Oh yeah, a sewing machine and thread would also be helpful!
I used 3 coordinating fabrics from my scrap pile.
Cut the following:
First Fabric
2 – 13” x 14” (front and back)
2 – 9” x 14” (sides)
1 – 9” x 13” (bottom)
1 – 24” x 8” (wine bottle holder)
1 – 6″ x 1 ” (loop)
Second Fabric (lining) – 2 – 13” x 14” (front and back)
2 – 9” x 14” (sides)
1 – 9” x 13” (bottom)
1 – 17” x 13” (bottom insert)
Third Fabric – 2 – 3” x 47” (straps)
Fleece — 2 – 13” x 14” (front and back)
2 – 9” x 14” (sides)
1 – 9” x 13” (bottom)
1 – 12” x 8” (wine bottle holder)
Plastic Canvas – 8” x 12” (bottom insert)
Now it’s time to sew! I used 1/2″ seam allowances throughout unless otherwise indicated. I also press as I go but I’m not putting that in the instructions!
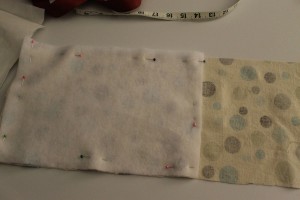
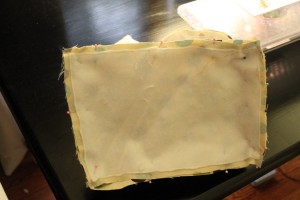
Sew the fleece onto the wrong side of the 1st fabric and then trim.
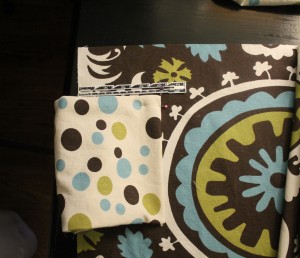
For the wine bottle holder, I sewed the fleece onto one end of the 1st fabric, trimmed. Folded right sides together and sewed the two long sides, turned right side out.
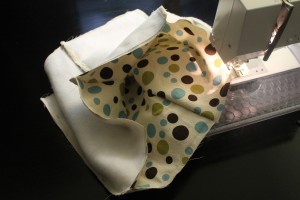
For the main body of the bag, using the first fabric, stitch side sections to side edges of front and back sections. Attach the bottom to the lower edge of front, back and sides. Turn right side out.
Second Fabric (lining) — pin the raw edge of the wine holder 3” from the top on one of the side seams. Then pin the finished edge of the wine holder 4 1/2 ” from the side seam. Make sure you don’t pin it to the front or the back because it will be in the way of the straps (yes, I made that mistake).
Using the second fabric pieces, stitch side sections to side edges of front and back sections. Attach the bottom to the lower edge of front, back and sides. Turn right side out.
Put right sides together of the first fabric and lining. Sew the top edges together except for about 6 inches. Turn right sides out. Top stitch, making sure the open area is pressed down 1/2″.
With right sides together, fold each strap. Stitch, using a 1/4″ seam, leaving one narrow end open. Turn right side out. Make narrow hem on open end.
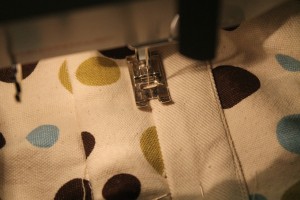
Attach strap to bag 1 1/4″ from side seam on both sides of front and on both sides of the back. Top stitch around both sides of each strap.
Loop –. Narrow hem all sides, fold wrong sides together, top stitch. Sew onto top center of back.
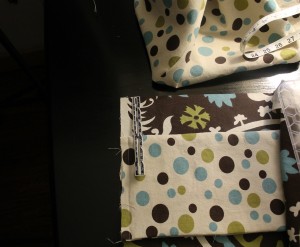
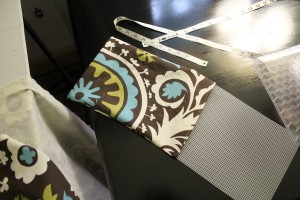
Bottom insert, fold right sides together of the fabric. Sew one narrow edge and the long side. Turn right side out. Narrow hem raw edge. Slip plastic canvas into sleeve and top stitch open end. Press this into the bottom of the tote.
That’s it! Happy shopping!

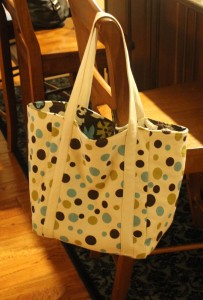
OK, where’s the part where I can use my stapler ?? Did I mention that I fight with all household appliances outside the kitchen?! Yes, that includes the vacuum cleaner and iron (don’t tell Jon we own an iron – that’s what the dry cleaners for!). I admit I’m kinda friendly with the washer/dryer…cause I like it’s cool buttons and that super spinning thing it does. Luvin’ the bag !!!
I can sew and paint things but not good on the cooking. You got me there! People only accept my dinner invitations so they can enjoy my witty conversations! Or maybe because it’s usually Terry that actually does the cooking!