A Few Projects from the Basement Renovation

coffee shelf

Oh, maybe more than a few…

kitchenette

Lauri picked up a large Formica countertop piece from a local online market for $50!  It looked like it might have been originally made for a kitchen penninsula.  Terry cut it down to make the countertop.  Lauri was picking out mosaics for the backsplash when she came up with the brilliant idea to reuse the two edges from the countertop that had been cut off.  Terry quickly made it so!

Storage and organization was a top priority.  We had a dresser plus a hall closet so our clothes weren’t a problem.  But there’s all that other stuff!  Like food, shoes and totes.

I found this cart at Target on sale.

kitchenette

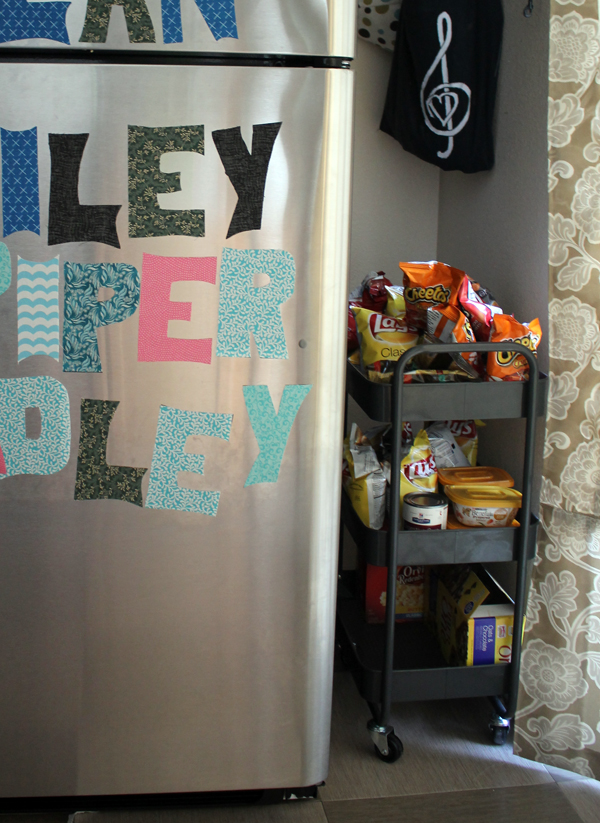
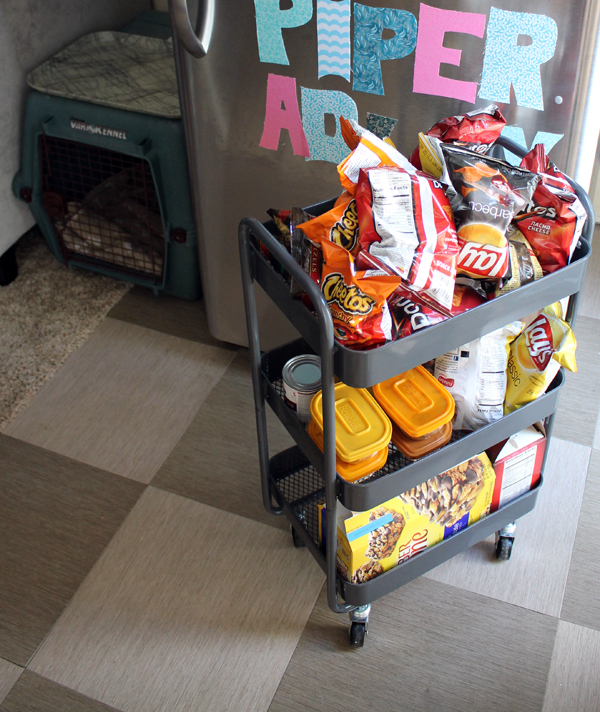
It fit perfectly into that small space by the fridge.  I loved that we could just roll it out.  Very convenient. 

Target cart
Did you notice that Maggie’s crate has a tray on top? That was our temporary end table.  I want to get a small table with wheels that we can pull out for sewing, dining and office work next year.

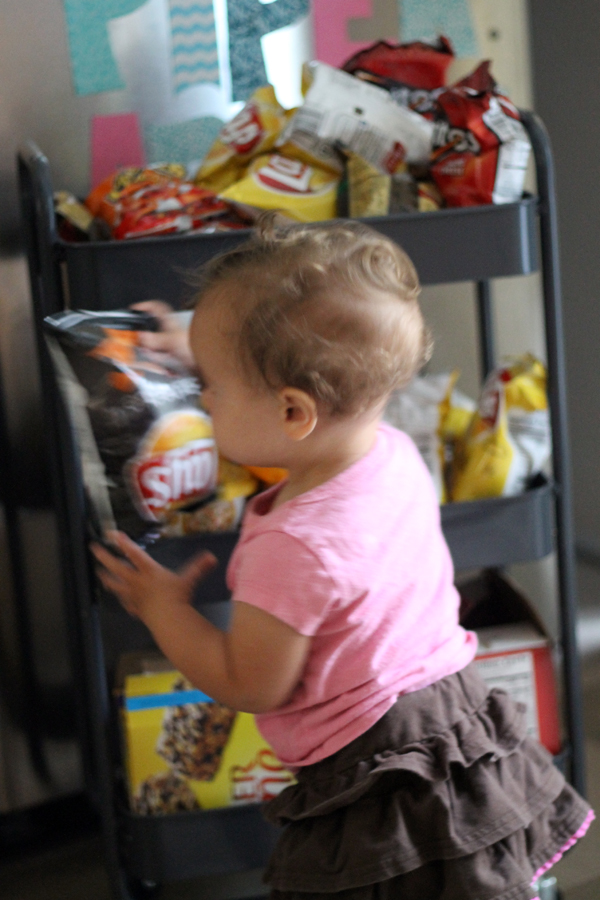
 Unfortunately, Adley thought it was convenient, too.

Adley

Adley
No, she did not get to eat those bbq chips. I actually had pretzels on the cart plus yogurt and fruit in the fridge for the toddler!  The junk food was for Terry, Riley, Piper and me!

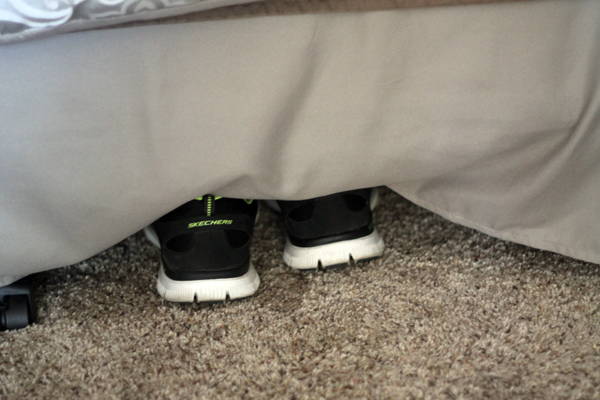
After putting up with a pile of shoes by the door for a few days, we figured out that under the bed was perfect hidden storage!

shoe storage

shoes
You can’t tell there’s shoes under there!

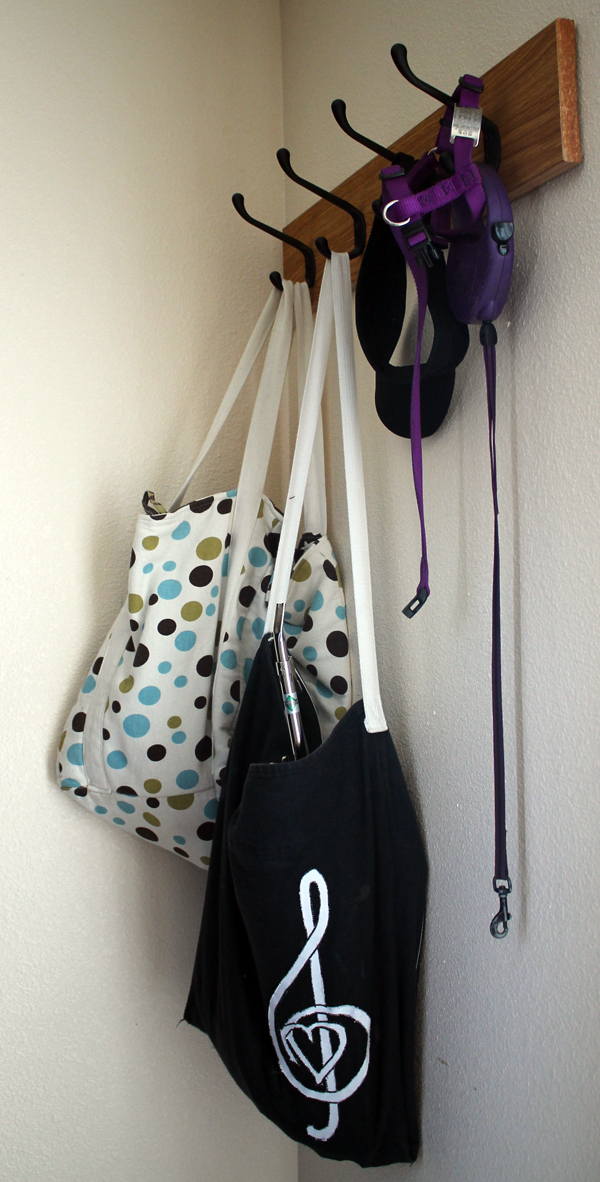
I like to hang my totes, hats, and Maggie’s leash by the door for convenience.  We checked out hook racks at Target, Lowe’s and Menard’s but none of them had the appropriate wood stain.  Finally I suggested we take some of the leftover door framing wood from last year and create our own.  We bought the oil-rubbed bronze hooks at Menards. 

hooks

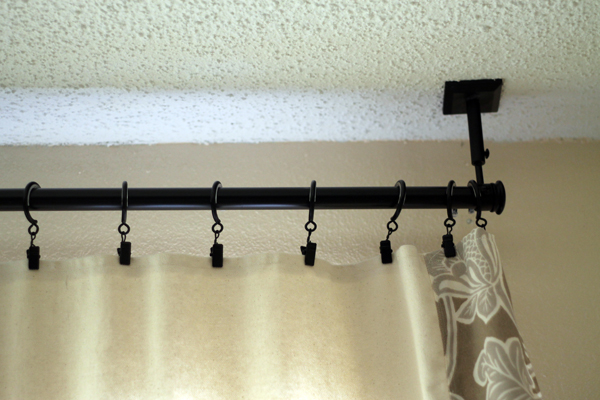
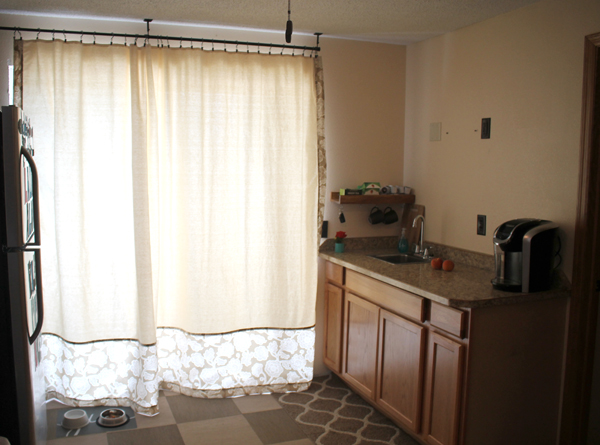
A unique issue we had was how to hang the curtains.  Our son had protected the water hose that ran to the fridge’s icemaker by putting metal plates in the wall and we couldn’t put up rods. (Oh yes, we tried)  After a lot of research we found these at JCPenney’s.  And they looked great.

ceiling curtain rods

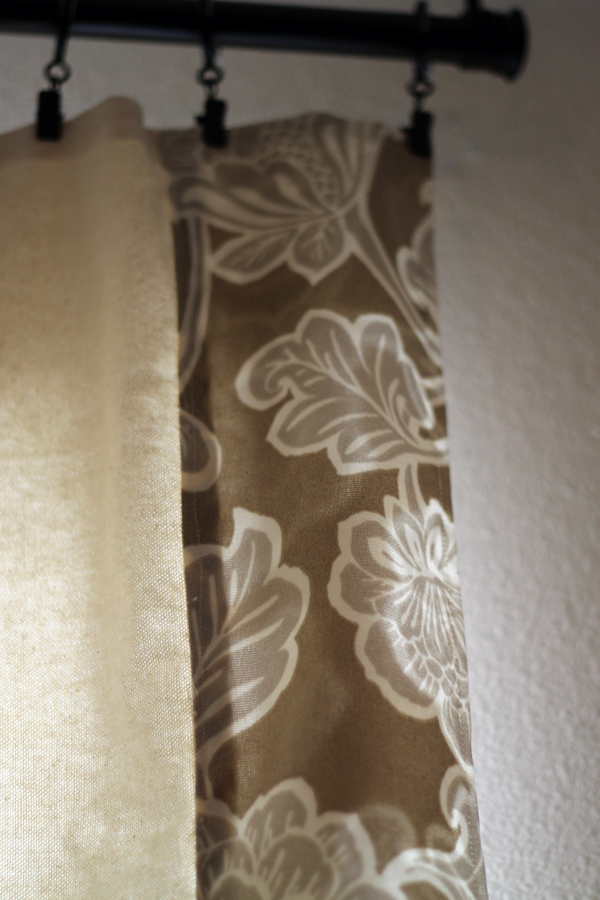
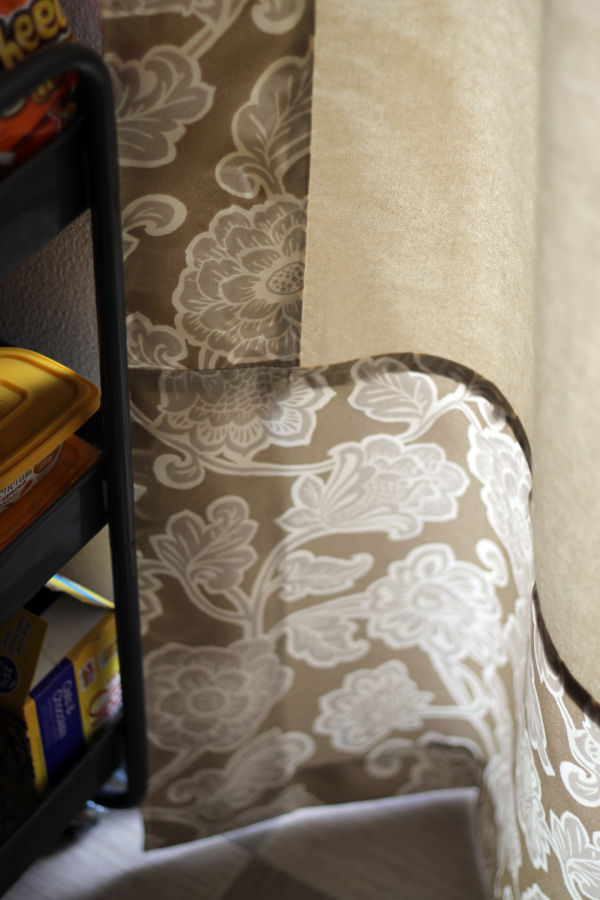
I only make drapes when I want a custom look.  They are difficult to make because there’s a lot of fabric which makes it cumbersome and if you don’t have a dedicated area to sew in, it’s not worth the effort. Plus you can get really nice options from places like Ikea and JCPenney’s that are cheaper then buying the fabric. Really. Sad to say but fabric for home decor tends to be expensive.  But, after buying the gray couch for our earth-color-based basement area, I knew I had to make the drapes to bring the colors together.

A Few Projects from the Basement Renovation

So I went to several fabric stores plus pored over all the Internet sites.  I found a gray and taupe indoor/outdoor piece at Jo-anne’s.  I used that for 4 1/2″ borders along the sides of the drape and a 17″ section on the bottom. The fabric felt like canvas, so I bought some 72″ wide canvas at Hancock Fabrics and used that for the center.  Didn’t even have to piece it since it was so wide.  I didn’t line the drapes so finished them with French seams.  I was really happy with how the drapes turned out.  The band along the sides will get more use as people pull the drapes to open them but that color shouldn’t show any dirt.  And if those little toddler hands are a little too grubby even for that color, they can just be thrown in the washer.  

drapes

drapes

drapes

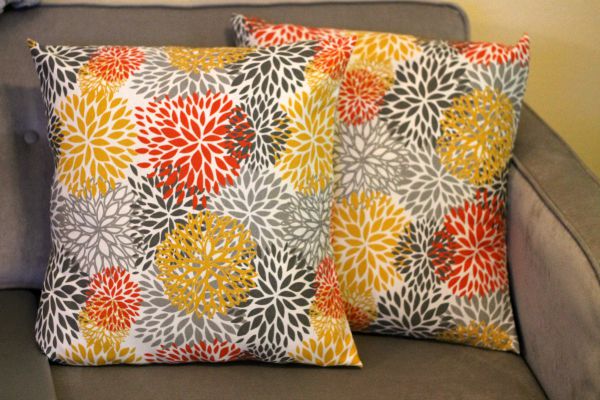
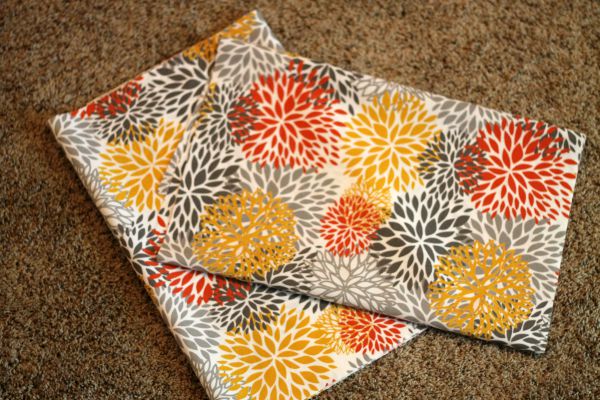
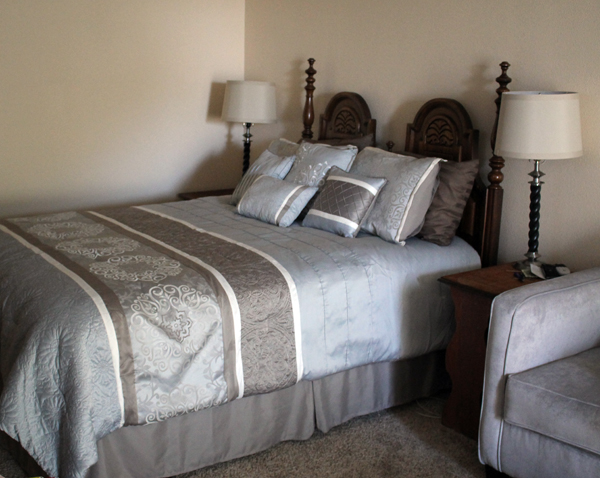
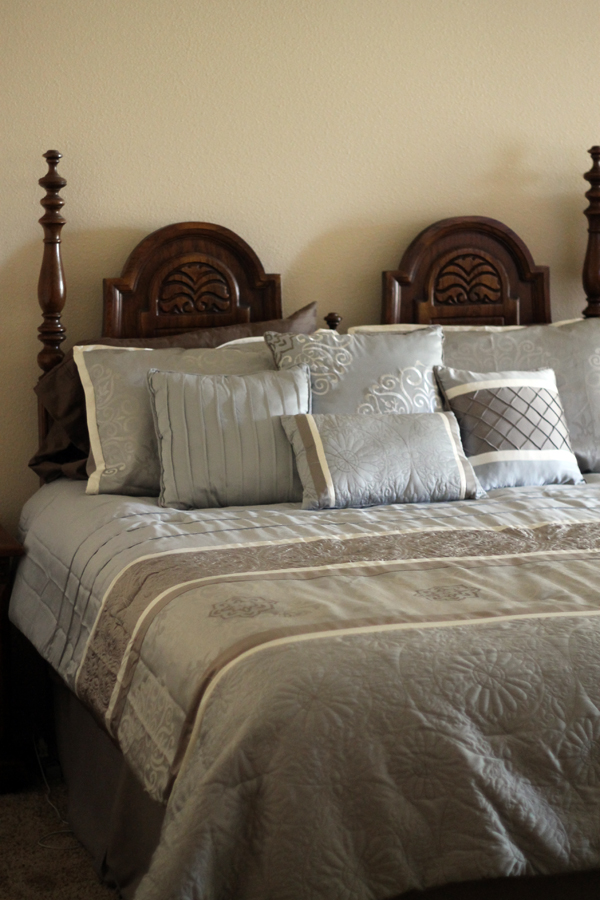
We stumbled on this bed ensemble at JCPenney’s.  I had planned on making the bed skirt out of the same fabric as the drapes and then getting a quilt.  But this set was just too perfect–gray and taupe–even included all those pillows and the bed skirt.  It was little fancy schmancy for my taste but the colors were perfect.  (Of course it was on sale and we had a coupon so it was cheaper then making.)

bed ensemble

One more clever little addition was my little coffee shelf.

coffee shelf
Piper made me the rose and vase at daycare. So cute. Only been gone two weeks and miss her like CRAZY!

I was going through all of the lumbar discards from making the window casements.  After a few days of pondering what we could do with this nice lumbar, I said “Terry, I have a great idea”.

He already had made me two shelves for my office and one for the bathroom at our Florida home.  So he whipped this up for me.  I stained it.  He hung it.  There’s five hooks for coffee cups and keys.  

Perfect!

Easy Envelope Style Pillow Covers

Easy Envelope Style Pillow Covers

I’ve posted about easy peasy pillow covers in the past.  But thought I’d revisit the subject.  

Just because.

This project is so simple, anyone can do it. Seriously.  The hardest part is calculating what size to cut the fabric. And I’ve done that for you!

If you have a sewing machine that sews straight seams, a pair of scissors, a tape measure and some pins you can spruce up your decor with some happy pillows at very little cost.

I have a bunch of pillows at home in a bunch of different sizes.  Some of them were really ugly in their previous lives. But with a little bit of sewing and fun fabric, they have been reincarnated.  

So while I was at Lauri’s, I asked if I could give a couple of her old pillows a chance of being loved again.

I think these probably came with a sofa.  (Admit it, you have some of these pillows stored away because you can’t bear throwing them out.  Pillow forms are expensive!)

pillows

Lauri put new orange curtains in the playroom.  The walls are yellow.  So I wanted to recover the pillows in a fun fabric that would bring those two bright colors together.

These are 20″ square pillows but are a little out of shape. I would usually add 1″ for seam allowances but I wanted to make the pillow covers a little smaller so they would pull the pillow back into shape.  (Kind of like I wear my jeans too tight so all those out of shape places will get tucked in–but who am I fooling?)

So these instructions are for a very tight 20″ pillow cover.

I’m making two pillows so I bought 1 1/4 yards of 54″ wide material.

I cut my fabric 20″ wide by 48″ long.  This gives plenty of coverage for the envelope style back.  

Easy Envelope Style Pillow Covers

Now I’d like to tell you how I feel about ironing.

Hate it.  Hate it.  HATE IT!

But I iron every step of the way when I’m sewing.  I recently watch a video on sewing a pouf and the blogger said that she never irons.  Only “finger presses” her sewing projects. I’m not that good.  I iron to get a nice accurate seam and I use it for a short cut to mark centers and folds.  So I do it.  (But I seldom iron my clothes–hey I live in Florida, t shirts and shorts. That’s it.)

So I press under 1/2″ and then another 2″ on each short end. And then stitch.

Easy Envelope Style Pillow Covers

To mark the center of the piece,fold the fabric in half and press.

Easy Envelope Style Pillow Covers

This is the center of the front of the pillow. Measure 9 1/2″ from fold and mark on each side in the top and bottom seam areas.  (I used a sewing marker that washes out and even has a handy eraser to remove the mark. But as long as you mark within the 1/2″ seam–which I didn’t do in this photo–you can use any kind of marker)

Easy Envelope Style Pillow Covers

Fold and press on the markings.

Fold the sides together on the pressed seams.  

Pin top and bottom.

Easy Envelope Style Pillow Covers

Stitch top and bottom 1/2″ from edge.

Clip corners

Easy Envelope Style Pillow Covers

Turn right side out.

Stuff those pillows in!

Easy Envelope Style Pillow Covers
What a difference!

Done!

Now go find some of your old ugly pillows and make them beautiful!

YOU CAN DO IT!

My latest quilt projects

Last December I said to myself, I should make a goal of one new quilt a month.

Then I said to myself, are you crazy?  So, I scraped that goal for something more realistic. Like making quilts for all eight grandkids.  

Got Riley’s denim quilt finished and delivered in April.  

Riley Quilt

I made Piper’s “heart of my heart” quilt last summer…

Piper

Addy and Kendall both asked me to make them quilts last month.  Maybe Christmas gifts?

And I have started the next quilt for a grandchild.

My latest idea is a “heart and nine-patch”.

I pulled these from pInterest…

Hearts and 9 patch
This one came from Amish Country Lanes. Click on the photo and you’ll go to the webpage.
Hearts and 9-patch quilt
And this one is from Almost-Amish.

I’m changing the pattern up with embroidered hearts rather than appliqued.

heart patch
My first attempt to make patches with embroidery on my new sewing machine! (The blue lines will wash out)

Here’s some of the fabric for the “nine-patch” blocks. I also have a brown and white gingham and a brown and cream dot.  Wanted to mix a pink and white gingham in but haven’t found one I like yet.

Milk sugar and flowers fabric
This quilt will obviously be going to a little girl!  The fabric is Penny Rose Milk Sugar and Flower from Riley Blake.

The pieces will each be 2″.  I wanted them small so I could “fussy-cut” those sweet little kitties, bunnies and birdies. This will make a 6″ nine-patch block.

I’ve already got all the embroidered heart blocks finished.  Next step is cutting out and sewing together all those little 2″ bits.  

I’ll give you an update, hopefully soon!