Jes asked me to make a tote. She had bought one that she absolutely loved and it was worn out. Could I make one just like it?
Of course!
Based on the tote she sent home with me, I made a denim one just for practice. And when Jes came to visit, she wanted that one. I offered to use a different fabric, put pockets, appliques, etc. on it. Nope. She just wanted a plain old denim tote. And she immediately started using it.

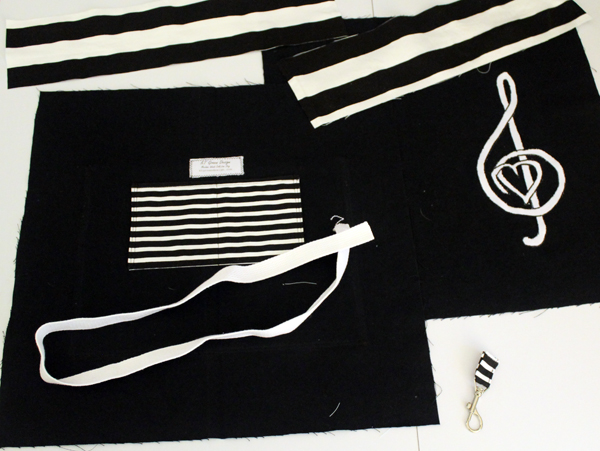
So I decided if it was that great, I probably needed one, too. I could carry my music and stuff in it to the acoustic meetup. And then I had to overthink it. And I started putting appliques and pockets and….. And it’s just supposed to be an easy-peasy tote! So after I finished my complicated one, I made this one.

And it took less than an hour and very little fabric.
And then I made Maggie model for me…


Okay, one more pic then I’ll show you how easy this tote really is!

EASIEST DIY TOTE EVER INSTRUCTIONS
You need two 19″ squares of sturdy fabric for the tote–like denim or canvas. Plus 36″ of cotton webbing for the strap.
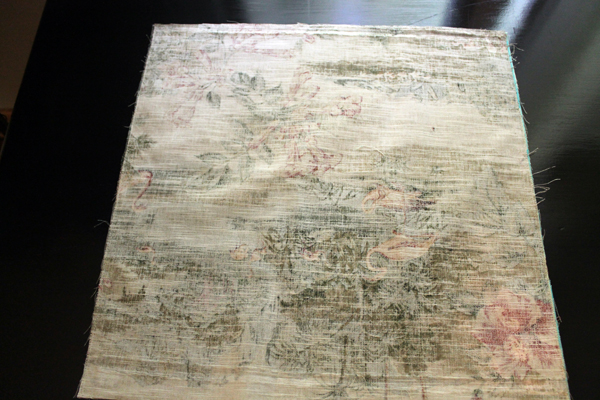
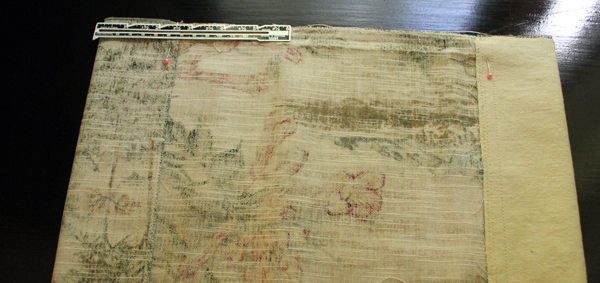
I was trying to use up some old fabric so pieced together the back to get the 19″ square.

Put the rights sides together and sew the sides and bottom with 1/2″ seam allowance. I did a zigzag stitch along the edges, too, since I don’t have a serger.

Next is the pleated bottom. Fold the fabric in on both sides at the bottom 2 1/2″.
 Then stitch across the bottom with a 1/2″ seam allowance. I stitched twice just in case I decide to carry a watermelon home in that bag. If that fell through, that would be a disaster!
Turn the top edge under 1/2″ then another 1/2″ and stitch 3/8″ from the top along the edge.
For the handle, turn the cotton webbing under 1/2″ on both ends. Stitch. (I also zigzag stitched it.) Put the bottom of the webbing on either side seam at 1 1/2″ from the top . Stitch a box, then an X in the middle of the box. Or you could do the X first, or some variation. That will make the handles a bit more sturdy if you decide to carry a watermelon.
 Easy Peasy Done! Seriously, less than an hour. And quite cute and useful. I could even carry Maggie in it! (All I need is a biscuit!)
And next week I’ll show you how to change up that basic pattern with French seams, facing, pockets, appliques….. it just goes on and on and on.


I’m encouraged, even I could do that ! Love the old timey Florida fabric, but I maybe like the denim one better. All fabulous!