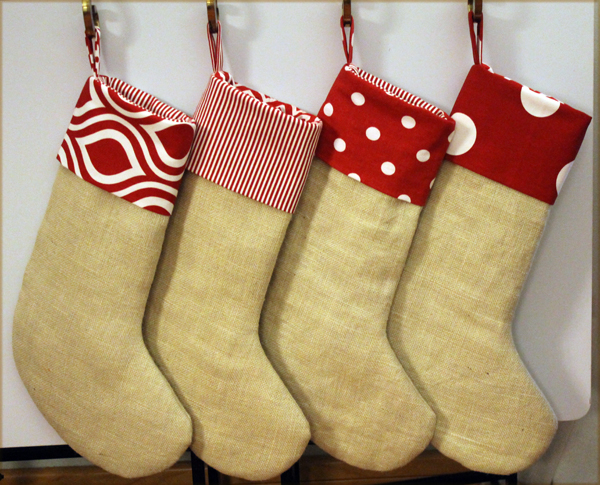
Too early to think about Christmas? I think not! If you are a DIYer, it might be too late! 5 more days in September, then it’s Halloween, and BINGO, it’s Christmas!
If you follow me on Pinterest you may have noticed that I’ve been pinning lots of holiday ideas. I start earlier every year with Christmas designs but never get everything finished.
I made these stockings last year but not in time to post here. Then I made two more earlier this year when I found out that we were going to have another grandbaby.
I decided to start putting up Christmas ideas NOW! Just in case you also want to start early and need some motivation.
It was getting close to Christmas last year and I wanted to use some of the yards and yards of burlap I had stored away from Jes and Andrew’s wedding. So I was out on pinterest, pinning lots of burlap Christmas items. And a few minutes after I pinned this one:
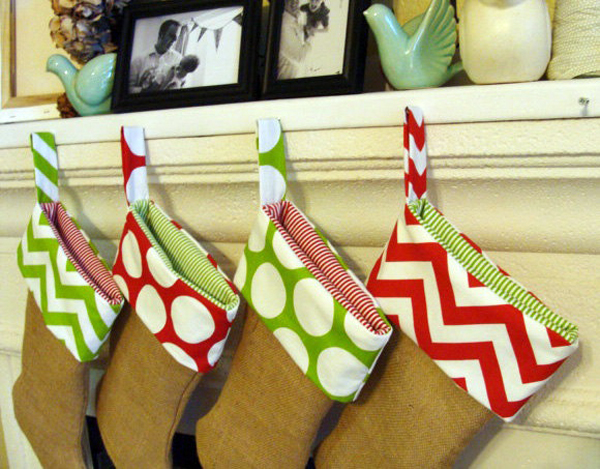
I almost immediately received an email from my daughter-in-law Lauri, “so are you making us those stockings????? I would love them!!”
How could I turn down that request?
I waited for Fabric.com to have a sale on Premier Prints which was a mistake because a lot of the prints were out of stock. Like the super big dots and the chevron. Hmmmm, lots of people were waiting for that sale to make those stockings! But I ordered a yard of five different prints in lipstick red.

Then I started looking for a pattern. Which I found on Postiviely Spendid. Just downloaded, printed and taped it together. I traced it onto freezer paper and added ½” to all edges. Why? Blogger Amy from Positively Splendid has a serger and she surges all the raw edges. That wasn’t going to work for me. First, I don’t have a serger; second, burlap frays like crazy; and third, I didn’t want any raw edges.
So I designed my own tutorial, and here it is!
Burlap Christmas Stocking:
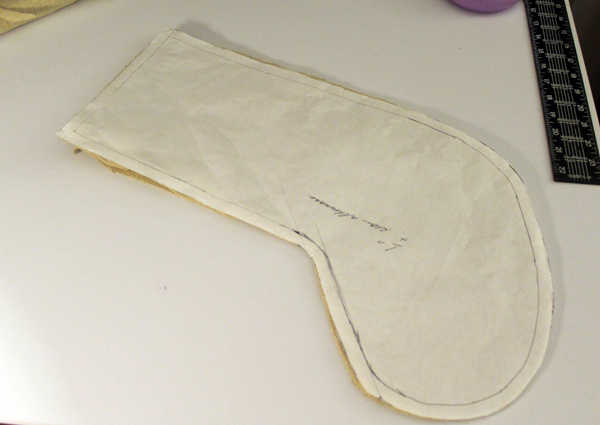
Used ½” seams
Using the pattern:
Cut two pieces of burlap for exterior
Cut two pieces of fleece or batting
Cut two pieces of lining
Cut 6” x 2 ½” piece of cuff fabric for strap
Cut 10” x 15” for cuff
Sandwich fleece, burlap, burlap, fleece
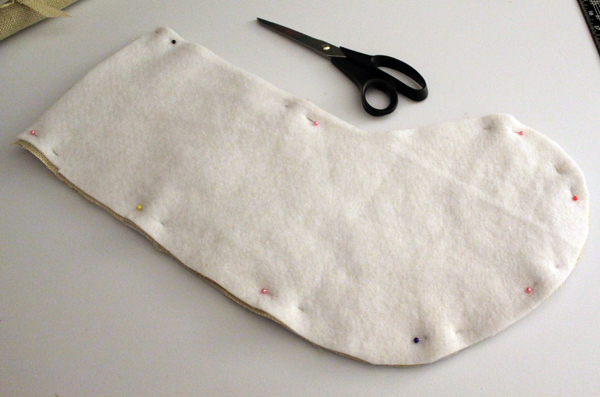
Stitch ½” seam around all edges except top
Trim fleece
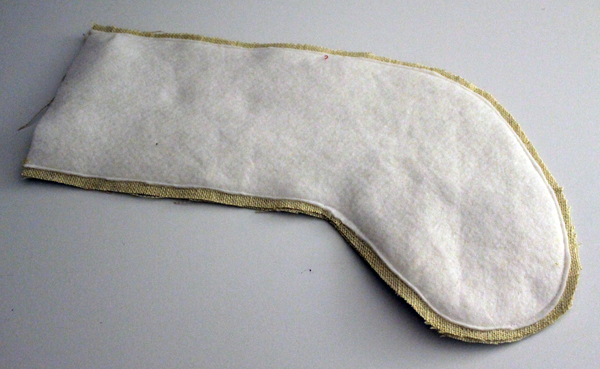
Clip curves
Zip zag stitch around top edge of burlap stocking to help prevent fraying
Turn right side out and press
Lining
Stitch lining wrong sides together, leaving a 4” opening for turning on straight edge of back seam.
Clip curves
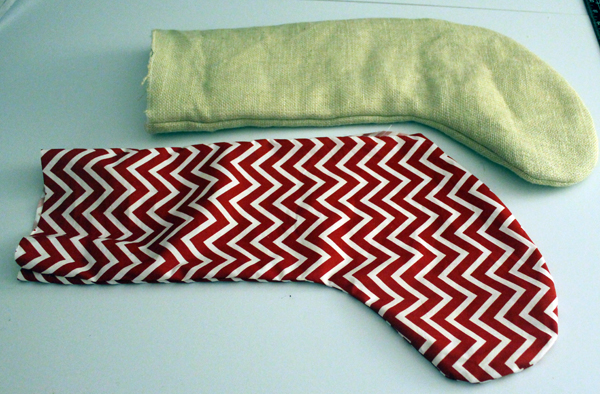
Cuff
Sew short ends together. Press seam open.
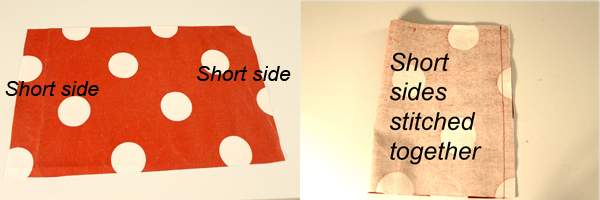
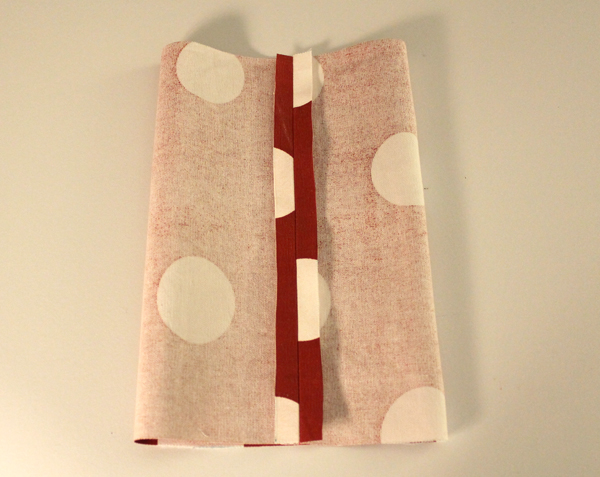
Fold up, wrong sides together, raw edges meeting. Press. Baste at 3/8” along raw edges
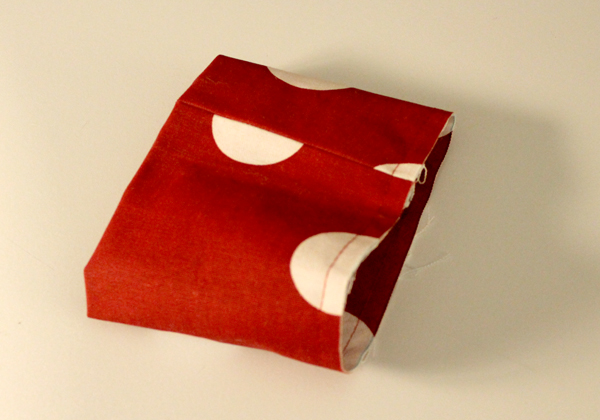
Make sure you only baste the two layers—it should be a tube.
Slip cuff over burlap sock and match seam with back seam of sock.
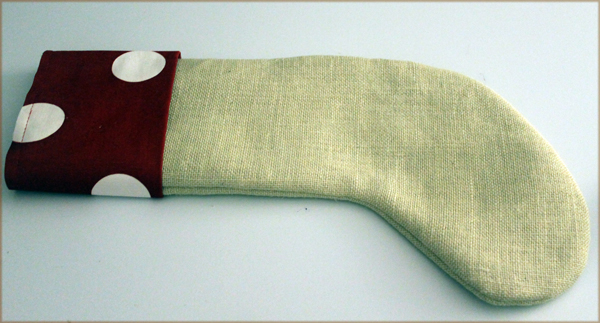
Hanger
Sew long ends together with a ¼” seam. Turn right side out and press.
Fold together and baste to back of sock. Use a 3/8” seam.
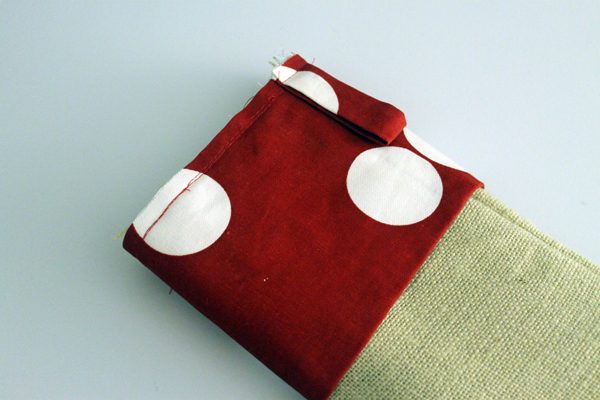
Yeah, that’s a lot of basting but it’s sure easier to baste several times then do the final stitch and find out something is not lined up correctly!
Slip the lining sock, wrong side out (which is also right sides together!) up over the burlap sock.
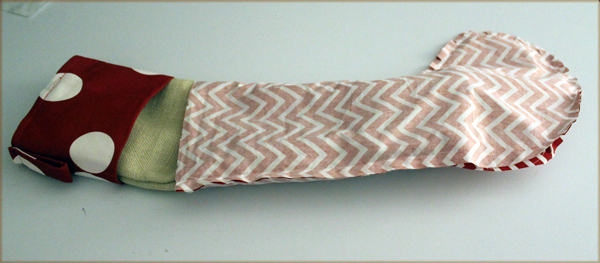
Line up the seams on top and stitch. This will be really thick—hope your machine sews through it!
Pull the burlap sock through the gap you left in the lining.
Pin the gap closed then do a stitch very close to the edge.

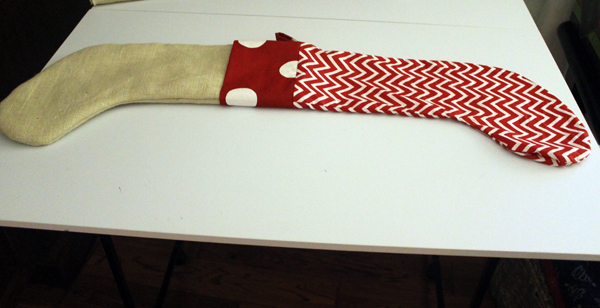
Put the lining inside the sock.
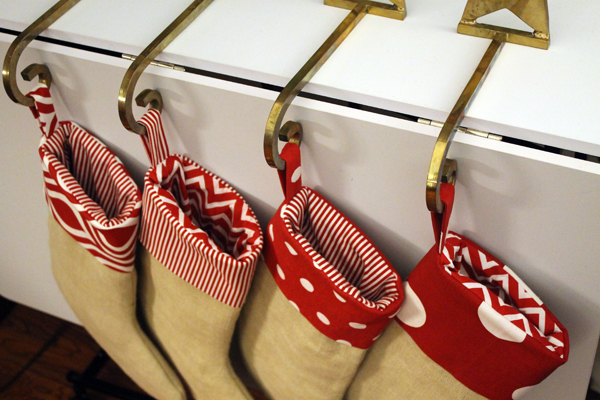
Done!
By the way, five yards of fabric was way too much. Typical for my DIY calculations. I made six stockings plus a Christmas pillow and some for Valentines Day. I never did make stockings for my house but I have still have burlap left and plenty of time before Christmas!

Hmm, I think I could almost so that ! I love them too. Good Job, as always 🙂
I love them! Super excited to put them up this year.
How much burlap is needed for one stocking?
Hi Birty, you should be able to use 1/2 yard of 45″ wide burlap for the stockings. The pattern is about 14′ wide by 21″ long and you will need two of those lengths. So if you set the pattern on the burlap sideways, 1/2 yard should be good.