A few weeks ago I started making bunnies for the four little grandkids. (Figured the three big ones were too cool for stuffed animals.) I used the Lil Softee Pal: Chocolate Bunny tutorial from sew4home. There are directions and pdf patterns to download.The directions and comments said it was easy. So easy.
And you know how rabbits multiply? Well, after I had sewn four of these “so easy” bunnies, it occurred to me, why am I making all brown minky bunnies? Just because that’s what sew4home used? Or because I bought two yards of it?
And that’s when I stepped over the line and entered the bunny obsession zone.
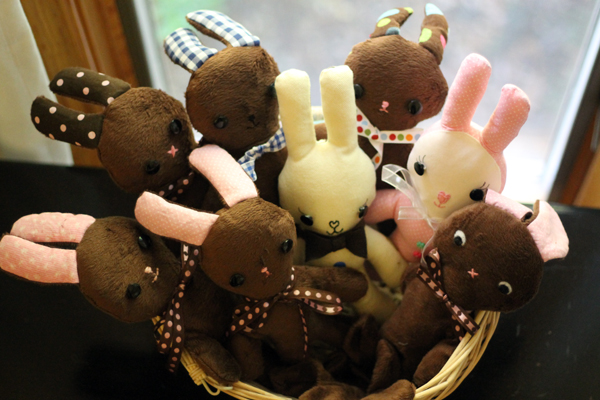
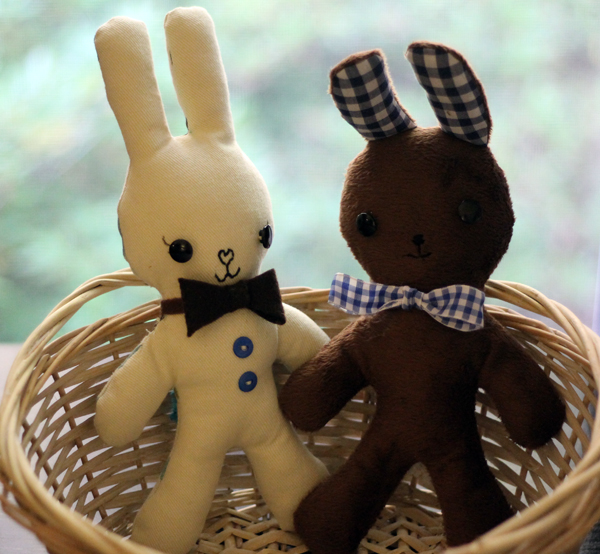
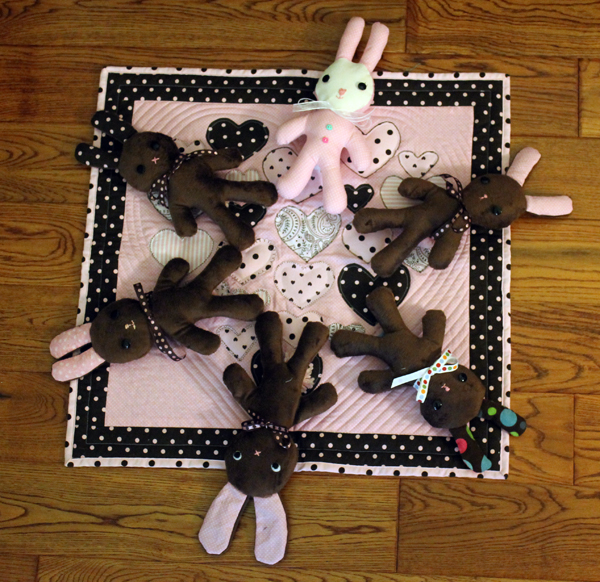
And now I’m going to tell you how EASY these bunnies were. NOT EASY! Mostly because minky is of the devil. It slips. It slides. Even when you sew it through paper like sew4home.com directs you to do.
I couldn’t find double-sided minky which is what sew4home used. So I bought regular minky. I screwed up Bunny no. 1 by not following the pattern. If you download the pattern, the ears have a seam allowance. But the body doesn’t. And it tells you that in the directions. But I didn’t bother reading them until later.
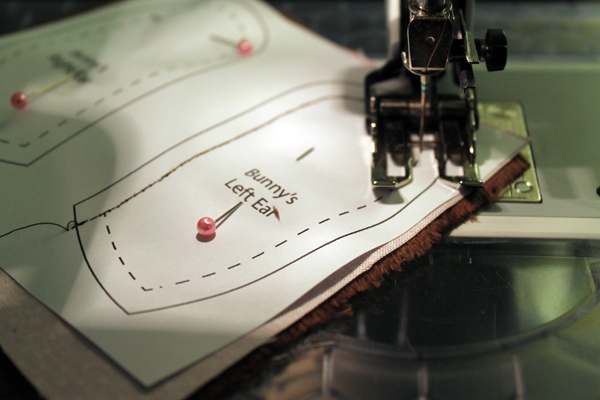
So the ears were too big. And very floppy.
Next bunny I put a little stuffing in the ears to make up for the lack of double sided minky which I’m assuming accounted for the ears not standing up. Adding the stuffing made the ears even more slippery to sew. Bunny no. 2 went in the trash.
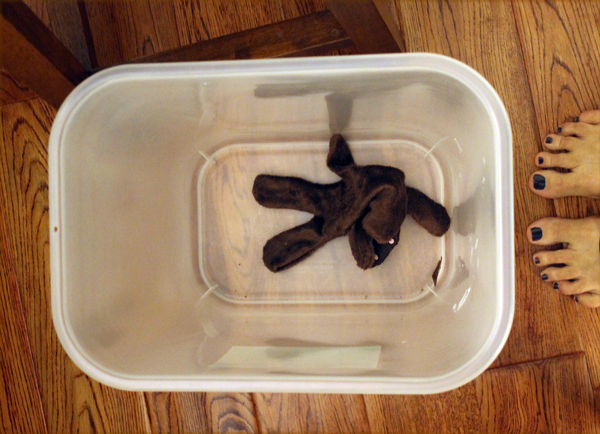
But I got him back out. Felt bad about sending him to a landfill.
I did manage to make bunnies no. 3 through 6 with the minky fabric. But then I had the brilliant idea of making the bunnies with regular fabric. I cut the ear pattern out at the stitching line and taped in onto the body pattern. Traced around the new pattern with a “mark-b-gone” pen onto non-minky fabric. Cut it out, leaving about a 1/4 ” seam allowance. Easy Peasy.
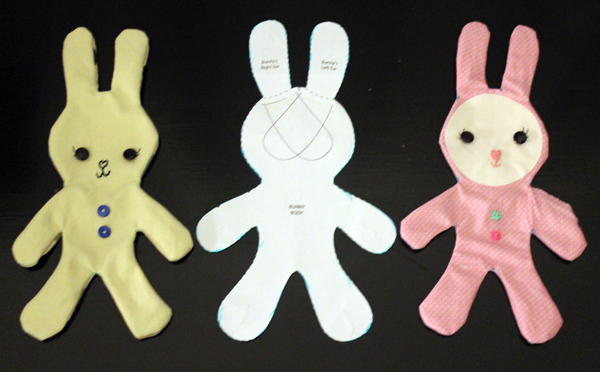
Next bunny was going to be patchwork but I finally beat the obsession and told myself “step away from the wabbits!”
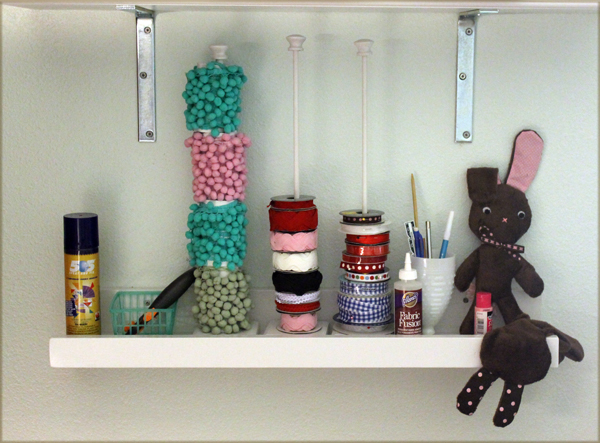
All the bunnies will be headed to new homes next week. Just in time for Easter! Except for Floppy and Flattie. They’re staying right here on my shelf to keep me company and remind me of my failures!

They’re so cute! Glad you rescued the ‘reject’ 😉 They remind me of a floppsy bunny I have on a shelf that’s filled with rice and lavender. Although, it’s so old, it hasn’t smelled for years – but I still love it. Aunt Bunny luvs her wabbits.
Grandma, you crack me up!!!