Strawberries are a big deal here in central Florida. During January, February and most of March you can find them everywhere. Early berries, I find, are rarely very good. Not to mention pricey! The road-side sellers asked $25.00 for a flat this year…what!!? I’ll wait, thank you. Patience is rewarded in this. After the season is in full swing people get tired of strawberry everything – pies, scones, smoothies,…. And the berries get a bit smaller and not quite as pretty. That’s perfect. Because I know that those gigantic berries that they advertise as being sooooo wonderful are not what they seem. Sure, they’re good for dipping in chocolate – and that’s about it. Like grocery store tomatoes, they lack substance and flavor. Oh, they look photo perfect, but take a bite and they’re white inside, sometimes even hollow. Like a beauty queen that can’t add. NEXT! You see, the strawberry, we sometimes forget, started out as tasty little wild things. Over the years farmers have bred them to be more marketable and easier to deal with. To do that you have to give something up, like the tomatoes, and other crops, flavor is the first thing to go. Oversized, camera-ready firm flesh – tastes like sawdust. If you shop Whole Foods, you’ll notice the organic ones don’t look like that. But it’s too far to drive, and too much money. So, I wait. Smaller berries, later in the season are just sweeter (it seems), and because they spoil faster the market sellers need to move them fast which equals cheaper. This past Monday I picked up a 1/2 flat of the super smelling little lovelies at the farmers market for 5 bucks ! I came home, cleaned them up and the next day made some fabulous jam. I even have some left to slice up over my frozen yogurt treats. What a bargain! Three quarts of lo–sugar healthy jam for a little more than a 5 spot – yeah baby. Oh, you want to know how… OK, you’ve seen me do this all before and I’ve learned a new trick to share. So go and get some sweeties and meet me in the kitchen.
Lo-Sugar Healthy Strawberry Jam
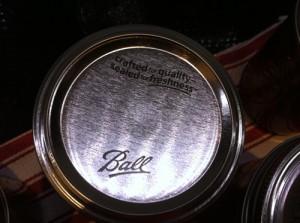
First you need jars – whatever size you like and get them clean and sterilized. My dishwasher does a good job for me. Then I have a pot of boiling water in the stove for the funnel and scoop. I’ve been sterilizing in the oven as of late, which is great for Ball jars. Although, I have found that plastic handled items don’t exactly ‘sterilize’ themselves at 250deg in the oven – they kinda melt. Not so good.
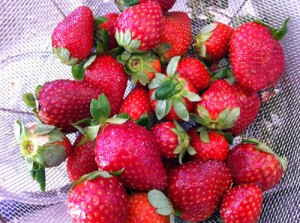
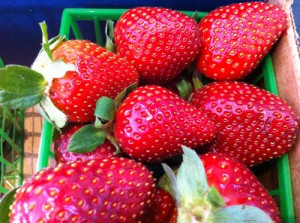
Now, you did go and get some great berries, yes? See, these are perfect Plant City Florida Strawberries. Not too big, perfect shape, not white and green under the tops. Maybe a soft spot here and there. I think I had two or three over-ripe berries to trash in the whole batch.
OK, what else:
Get some spoons and set them in the freezer. I’ll tell you why later.
And heat your oven to 250 deg.
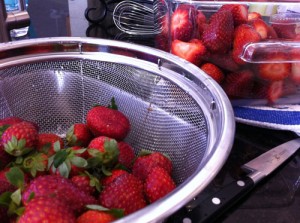
Step 1: Stop drooling over those things and get ’em cleaned already! (but they’re so cute)
Step 2: Cut off the tops and measure out about 4 lb. of berries. For me it worked out to about 4-1/2 of the little green baskets. Rinse them well and rub off some of the seeds from the outside. No – you do not need some fancy huller tool either.
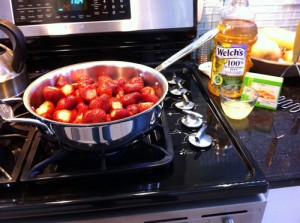
Step 3: Now get your 4 quart pan or pot. Slice the berries coarsely into the pot. Get the grape juice and berries started on low.
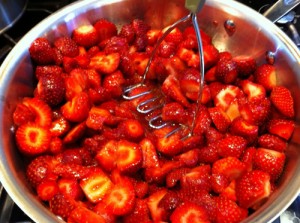
Step 4: Since these aren’t cranberries or blueberries, they’ll need some help breaking down their juiciness. The potato masher works great for this.
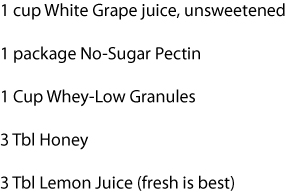
Step 5: Oooo, there’s a nice mash. Now add the pectin, lemon juice, and sweeteners. You can add more or less as you like. Remember it’s jam here, not just a jar of smashed fruit.
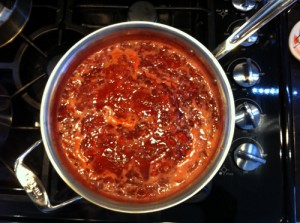
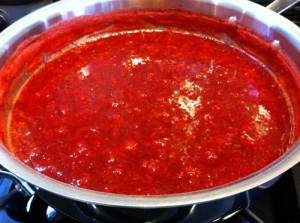
Step 6: Let it boil (simmer) for about 20 min or so, stirring often. Not too high or it’ll burn or boil over. As it is there’ll be foam to scrape off with a rolling boil. (As I took this photo, I thought, you know that whole over-head shot is so nuevo,…but what happens when I drop my favorite toy into the sweet bubbling lava!!!? – Hmmm, you may not be seeing many more of those shots)
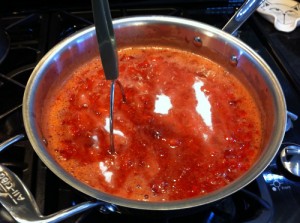
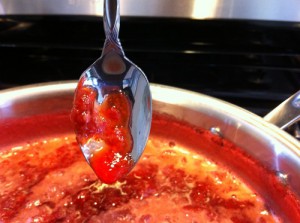
Step 7: OK, remember those spoons. Get one and take a test dip and see if the berries have become jam or still thick sweet juice. This is good. It actually stayed on the spoon long enough to get a photo. Which is way longer than an actual ‘test’ should take.
Step 8: You’ll want to skim off the foam – it doesn’t look very tasty.
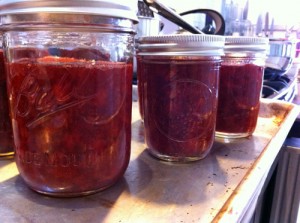
Step 9: Get those sterilized jars filled. And lid them ‘finger tight’.
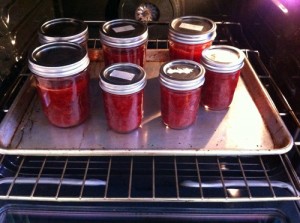
Step 10: Place on a cookie sheet and get them in the oven for 30 min. No pot of scaling water this time. This is the new trick I learned – see what happens when you read books! Yes, that’s a motley crew of jars with reused lids, but these aren’t give–aways. These are aaaallll mine!!
Step 11: When they’re out, listen for the pop. Look for the dimple to ensure a perfect seal. Even the reused lids worked. As they cooled I noticed that mine wanted to separate a bit on the bottom. I just gently rolled each one and they continued to cool and jelled just fine.
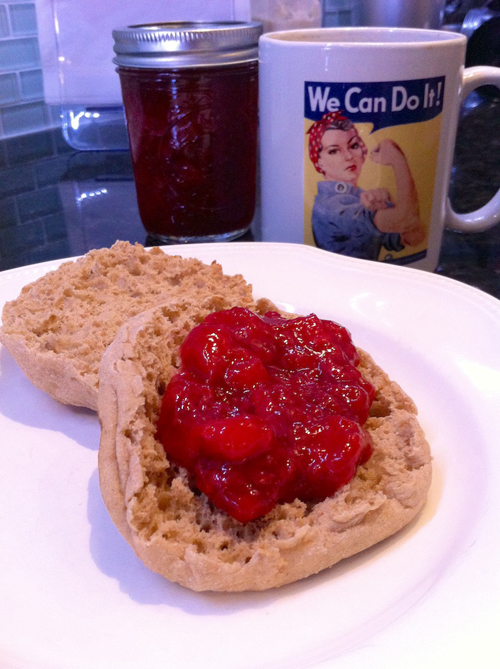
Step 12: After they cool, the next morning you can have healthy strawberry jam. Homemade! So easy, even my coffee mug agree’s “We Can Do It!” – and so can you.

