Happy End of Summer! It’s been a long, hot one, and it’s still H O T !A few weeks ago there was a family adventure to the cooler climes in North Dakota. One of the souvenirs brought back were some home grown cucumbers. A whole bunch of them. These are not the kind you find in the grocery stores, all waxy or wrapped in plastic. No, these were garden fresh with crunchy, prickly skins – delicious.
When life gives you cucumbers – make pickles! And since we’ll be minus our North Dakota contingency, these garden gifts needed to be pickles for our family Labor Day burger/bbq fest! I can’t even begin to tell you how many recipes there are on the Net for pickles. People have been pickling things before there was even a thought of a cookbook or a fridge. I’ve been enthralled with my latest cookbook find, ‘It’s All Good’ by Gwyneth Paltrow and have been making her version of Bread & Butter pickles. They are fabulous. Not too sweet and not much vinegar harshness. Eat ’em right out of the jar good! As we all know there are rules on that whole copyright thing, so you find your own mix of spices and follow along.
DIY Bread & Butter Pickles
Step 1:
Get some garden goodness together of a pound of cukes and a small onion. In the past, I’ve used the English (seedless) cucumbers. They worked very well, and were easy to find year round. No, I did not use the whole gigantic onion from the photo! Then find your favorite spice blend. This one includes turmeric, which is so good for you. The recipe I made also used honey instead of sugar, and white wine vinegar which made it milder.

Step 2:
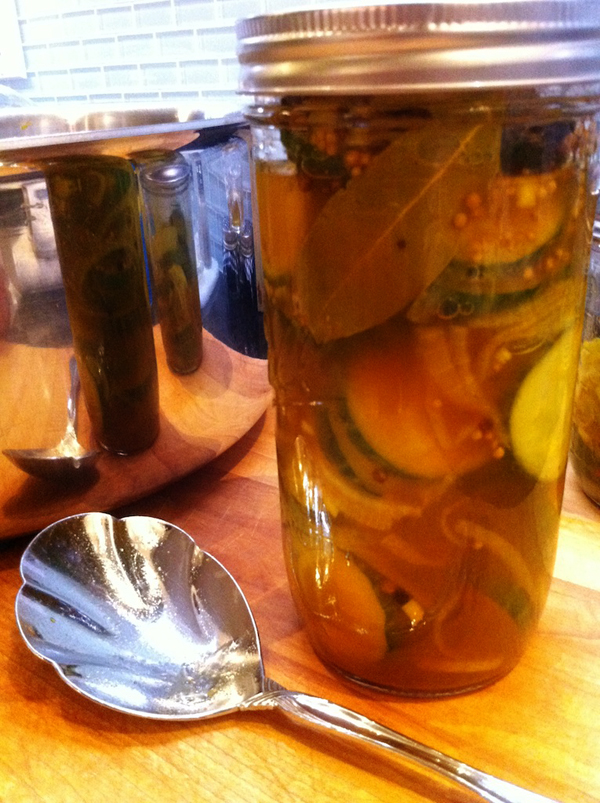
Slice up the cucumbers and onion and float in some ice water with a bit of sea salt for about 2 hours. You’ll need time to contemplate your storage vessel anyway. So, go clean up an old Mayo jar (I know you’ve got one somewhere) or one of those Ball canning jars that are good for storing everything from pickles to extra hardware from that piece of Ikea furniture you put together last week! Oh, yea, I know you saved that leftover bag of screws and bits….cause I know I do.

Step 3:
OK, so the 2 hour mark is creeping up and it’s time to get serious. Get a big pot, like a dutch oven, put in the sweetener, vinegar and spices and bring up to a boil to get the flavors to come together. There isn’t much liquid so this’ll happen quick. Then turn it off so as not to boil away all the liquid while you go and get the real stars of the show added.
Step 4:
Drain the veggies and add to the pan.

Step 5:
This is where you discover why you needed such a big bottomed pot for just a bit of stuff. Get the heat back on, bring to a boil and stir the cukes around. The extra surface area means that everybody gets a turn in the flavor broth. Just a minute, this is all very quick. Then turn off the heat.

Step 6:
That’s it! Seriously, you can make pickles in minutes (well, after the icy swim). Get them jarred and pour the liquid in. Pack those babies in the fridge and look for some yummy lunch to have them with. No, I do not do pickles at breakfast.

Finale:
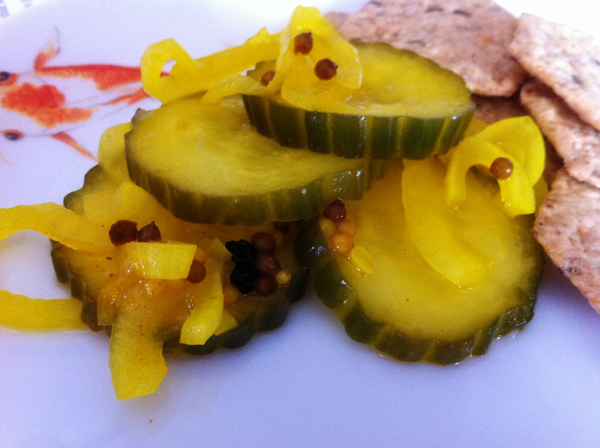
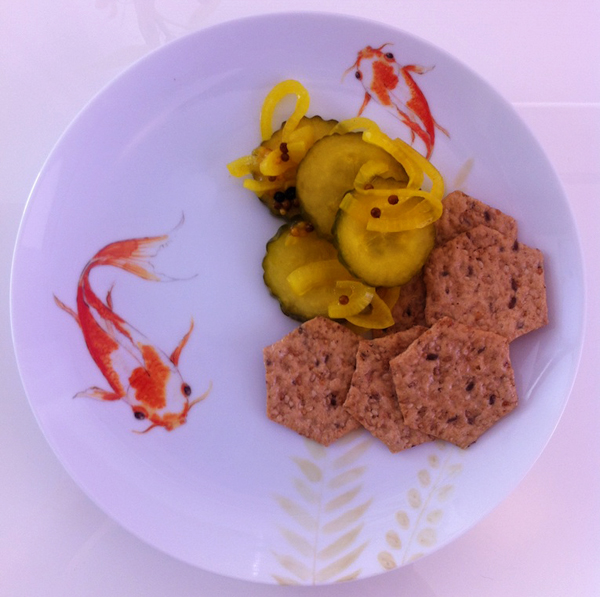
I ate mine with some multi-grain crackers for an afternoon snack. I’d never eat supermarket pickles like that. OK, maybe I would those tiny kosher dills from the fridge section. But factory made Bread & Butters are just soooooo strong, you wonder if there’s a vegetable in there anywhere. These are crunchy, and mild, and won’t last long.


Enjoy!
Michelle

