The Music Room Reno Continues, China Cabinet Update

The Music Room Reno Continues, China Cabinet Update
The Music Room as of Today!

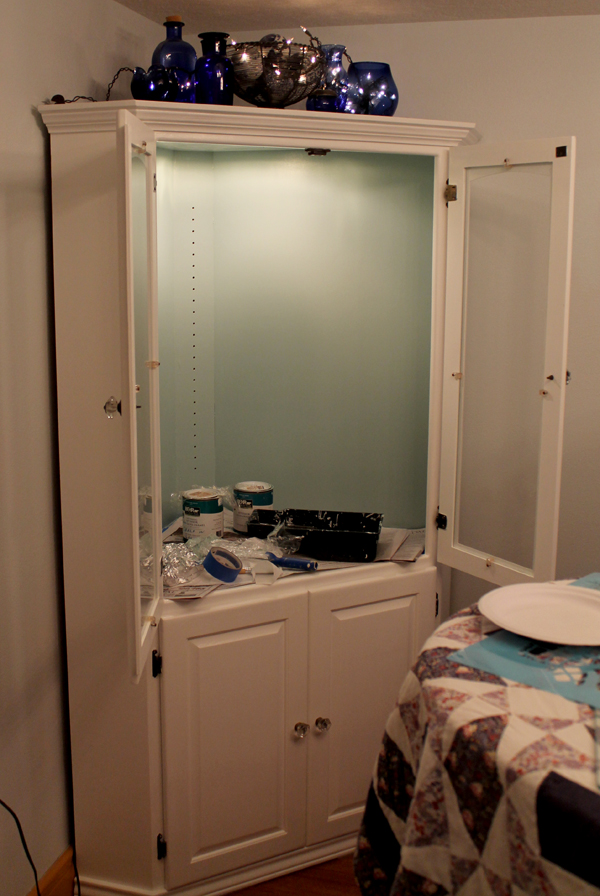
I have a corner china cabinet which I have been intending to update for awhile.  Yesterday I posted that I was into shiny and black, but I like to mix things up.  So the cabinet is staying glossy and white.  And it probably shouldn’t be called a china cabinet since it’s not in a dining room anymore.  So I’m going to call it my “hutch of pretty things”.  And continue putting crystal and a little china in there along with miscellaneous lovely items.  Pretty, pretty, pretty!

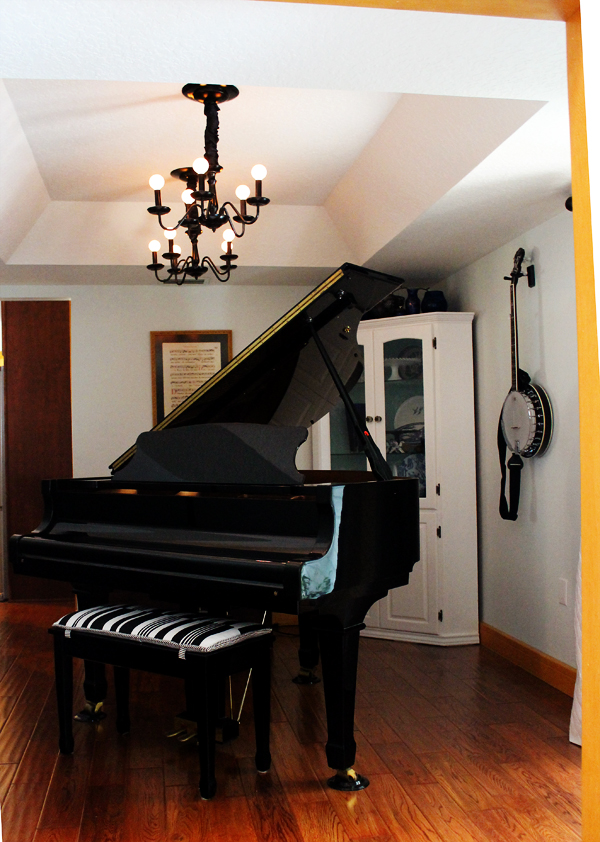
I’ve seen many projects in magazines and on Pinterest with the interior of cabinets painted or wallpapered.  I’ve been wanting to update this cabinet and a bookcase in my family room but always get sidetracked with other projects.  Since I’m renewing everything in the music room, I thought it was time to add a little flare.

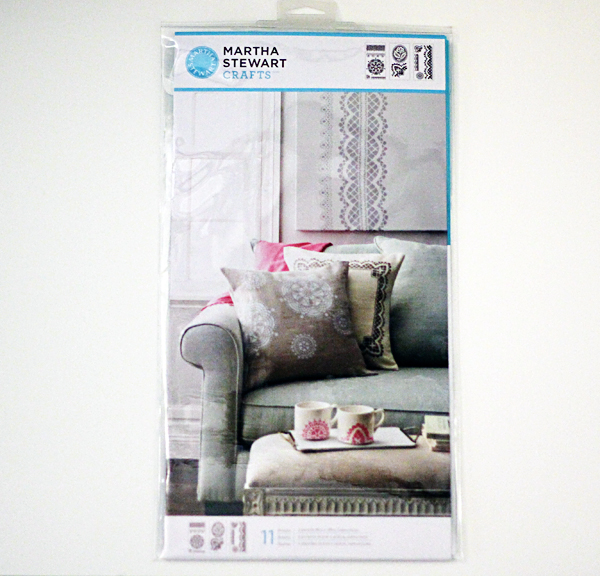
Here’s a some pinspiration….

I love this wallpaper but possibly too busy with the blue willow dishes I have.
Blue Medallions I Wall Art from Joss and Main!
Love the blue background with the white flowers together but still a little hectic. And no birds allowed.

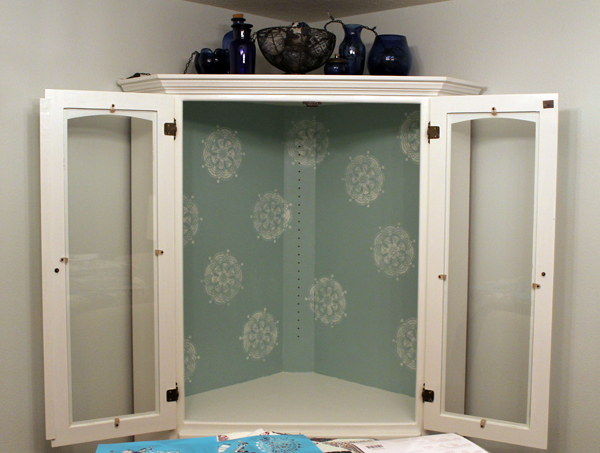
I decided to paint rather than wallpaper.  The walls are already aqua so I picked a darker color on the same color strip.

The Music Room Reno Continues, China Cabinet Update
That’s my piano under the pretty quilt.

I picked up a stencil at Michael’s.

The Music Room Reno Continues, China Cabinet Update

The Music Room Reno Continues, China Cabinet Update
And stenciled randomly–whatever I thought looked good.

The Music Room Reno Continues, China Cabinet Update

The Music Room Reno Continues, China Cabinet Update

The Music Room Reno Continues, China Cabinet Update

The Music Room Reno Continues, China Cabinet Update

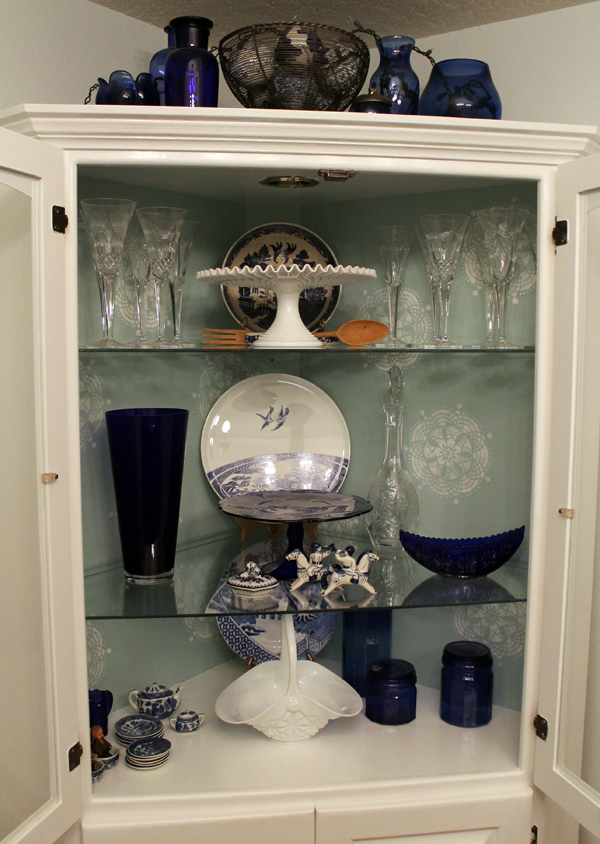
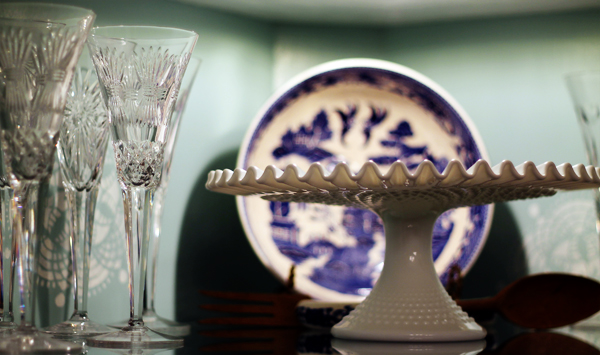
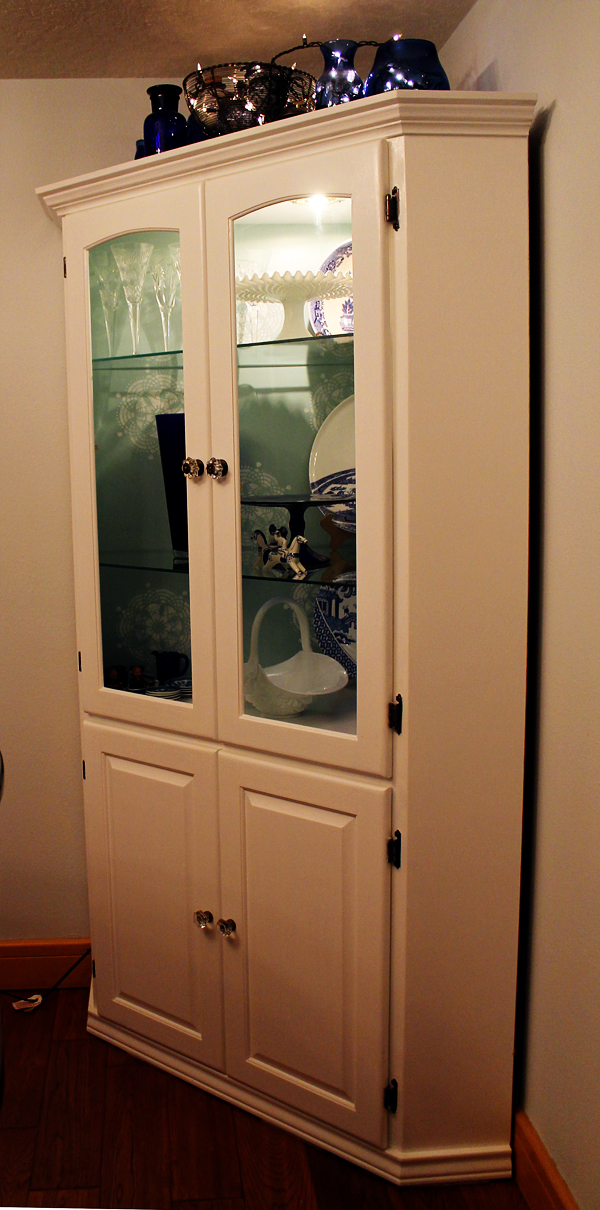
I love it.  A nice subtle effect.  The room’s almost done.  Still need to add a little more lighting, some art, and a dog bed (Maggie has a bed in every room!)  The dog bed will be the easiest envelope style pillow, ever!

Next Week!

Lighting up the Music Room

As I mentioned in last week’s post about the Music Room, our first update many years ago was replacing the bucket lights with chandeliers.  Very inexpensive shiny brass ones from either Lowe’s or Home Depot.  But I was going for a modern cottage or beach chic look and shiny brass wouldn’t do! With a little spray paint, some shiny crystals, and a cord cover, I had the look I wanted.

White Chandelier in Music Room

But that was the look I wanted ten years ago.  Now I’m over that and want to make it more shiny like a baby grand.  So down came the chandeliers.


Chandeliers Ready for Painting

Now, if I was Michelle, these would have been done up very fancy like what she did for her chandelier over her enormous tub.  But I’m more the “hit it with a spray can” type. And that’s what I did!  Off to my “spray booth” where they got a liberal dose of Semi-gloss Spray Paint from Valspar.

Black Chandeliers Being Painted

I changed out the light bulbs for a little inexpensive update.  Terry hung the chandeliers back up but that chain was REALLY ugly!

Black Chandeliers back up in the Music Room

I’ve made cord covers a few times and usually use dupoini silk.  This time I found a remnant of black cotton for 44 cents at Wal-mart so used that.  And they were hideous–they just didn’t lay right.  So I went to Jo-ann’s and bought a 12″ piece of black “silkessence” fabric on sale for $1.00.  So much better.

You can get cord covers at Ballard Designs but they are a little pricey and so easy to make.  Just take 2 or 2 1/2 times the length of the chain and wide enough to go around it.  These particular chains are very short–due to the change from dining room to guest room a few years ago.  We were afraid one of our guests would run into them.  Or a grandchild would be hanging from them when they jumped on the sofa bed. So Terry shortened them quite a bit.  Which also happens to be the perfect height for over the piano. So this chain is only 9″.  I cut two pieces 18″ x 6″ then narrow hemmed all four sides.

I usually use Velcro to attach them to the cord but this time I just attached it by hand stitching.  Just got up on a chair and stitched them on.  (My arms got a little tired but not as bad as when painting a ceiling!)

Black Chandeliers with cord covers

So much better!  And another step completed in my music room renovation!  Tomorrow there will be more!