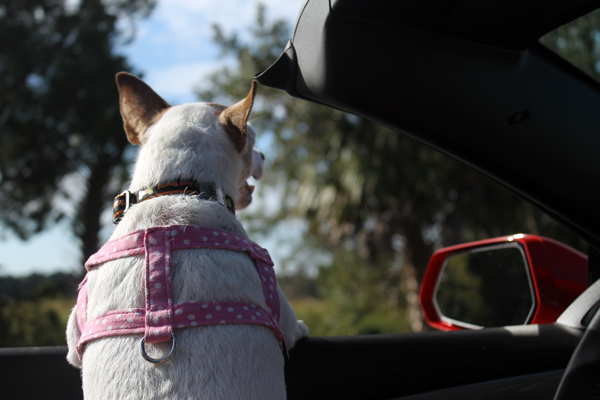
We’ve been cruising around Crystal River for the last few weekends–enjoying the weather and the view. Most state parks in Florida allow dogs so this past Saturday we decided to check out some of those parks and took Maggie along.
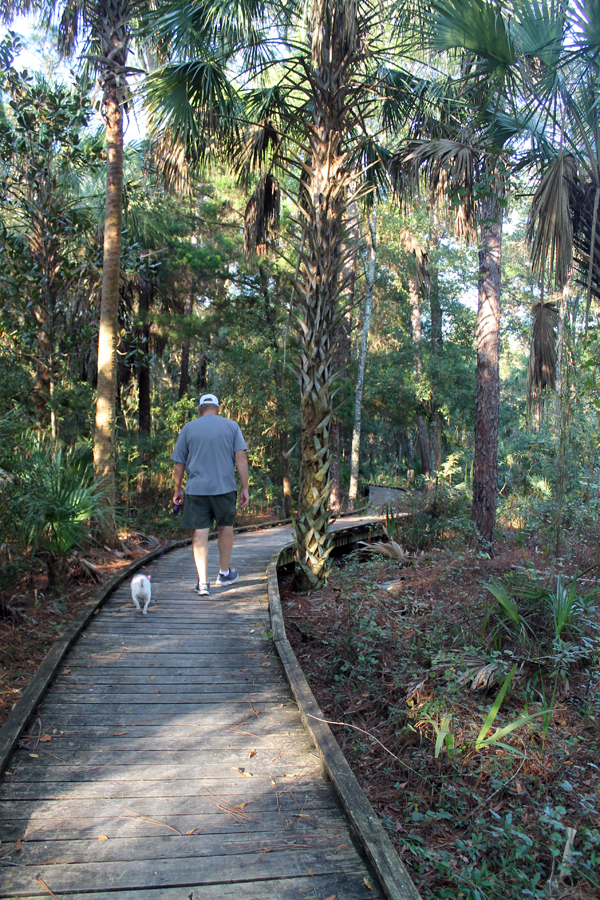
First stop, Churchhouse Hammock Boardwalk which is right across the street from the Crystal River Mall. We walked ona really wide boardwalk that’s about 1/3 mile in length and goes through the forest. Maggie was quite sure that something scary was in the woods and wanted to go back the entire time so Terry ended up carrying her. Won’t be taking the pooch back to that trail!
I read somewhere (probably on the Internet) that if you have a fat dog, you don’t get enough exercise. Not true–Maggie is a chunky monkey but we ALL get lots of exercise. I’m sure she has a thyroid problem….or a metabolism issue!
The Crystal River Archeological Park was our main destination. There’s a lot of Native Americans buried here. I don’t have a lot of details because we couldn’t go in the visitor center but I have to confess that we’ve lived her over 10 years and have no excuse for not visiting this local treasure before this. But we’ll be back! The grounds were very well maintained and there are areas for grilling and picnicking. Fishing is allowed plus it’s part of the Great Florida Birding Trail.
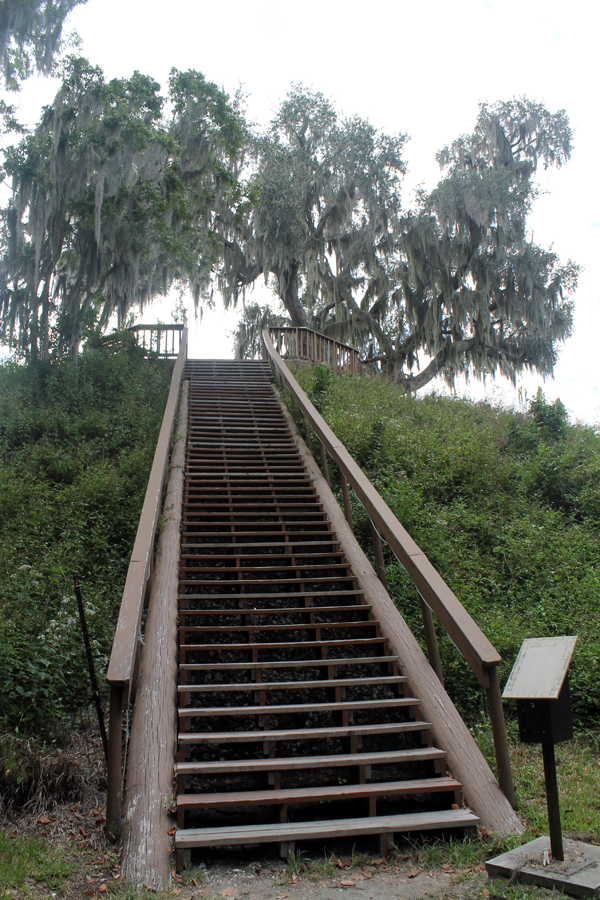
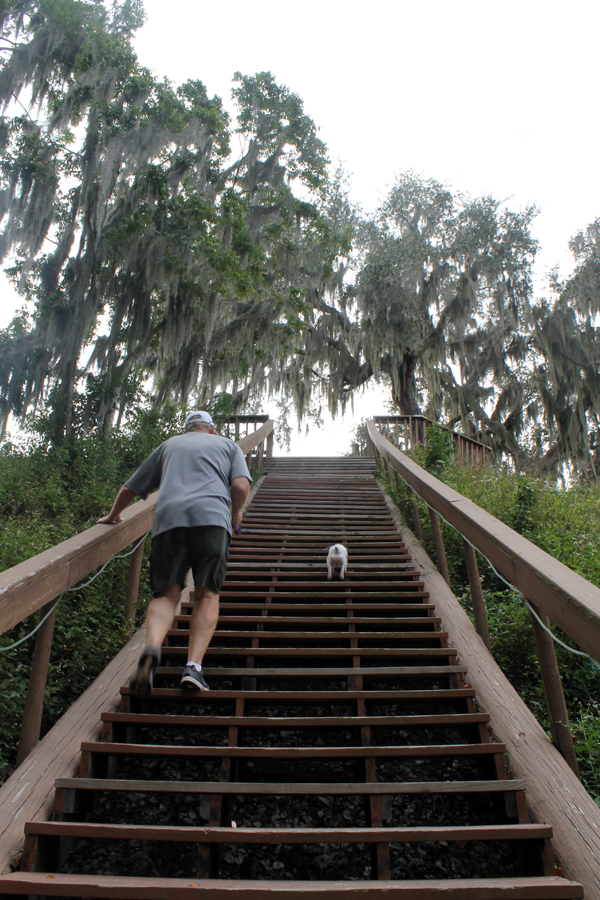
These are the stairs to one of the burial mounds. No way will Maggie be able to get up these steps.Whaaaaat! OMG Chunky Monkey is running!
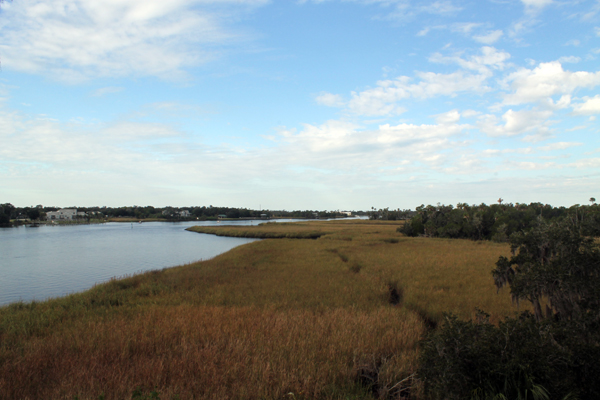
View from the Top of the Mound
Our final stop was at the Crystal River Preserve State Park Visitor Center.
Another beautiful spot on the Crystal River. And, once again, we couldn’t go in but we were happy to walk the grounds and love the river.
There’s a native plant garden. Not sure what this tree is, but it was this one was real PURTY!
So, in conclusion, there are a lot of places for us still to discover in the state park system in Citrus County. Like sunset boat rides and ecological tours and many more trails. We’ll be back. But maybe not with Maggie, we have some small people in our family that might appreciate it a little bit more than the pooch!
Way back when we moved to “Perfect”, this was our dining room.
So small. So boring. We’ve moved multiple times over the years. And I like to live in a house for awhile before I start decorating. Call me crazy, but I think that the house will tell me what it wants. Seriously. But I had this massive dining room table from our previous home that had a HUGE dining room and I so loved it. So we put it in there. (Did I mention that we still hadn’t sold the other house?) And there wasn’t any room for anything else except a corner cabinet so I picked one up at an unfinished furniture store. I also hated the bucket lights in the cove ceiling. Come on, who puts bucket lights in a dining room? So I bought a pair of cheap brass chandeliers at a big box store and I updated them with paint and crystals and Terry installed them after a lot of curse words. Cheap, cheap, cheap. Oh wait, frugal.
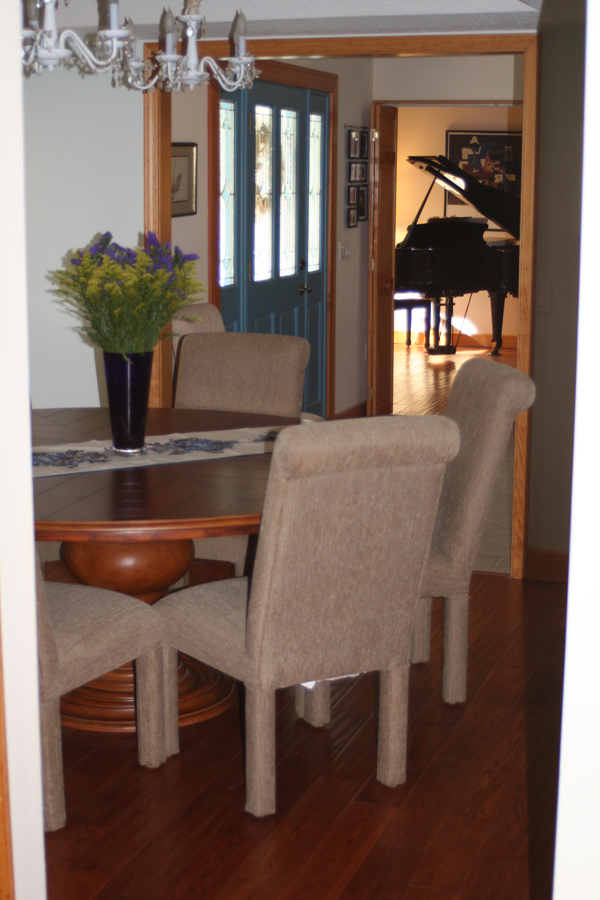
Then we installed hardwood floors, (yeah, we FINALLY sold the other house). Here’s a view from the other doorway.
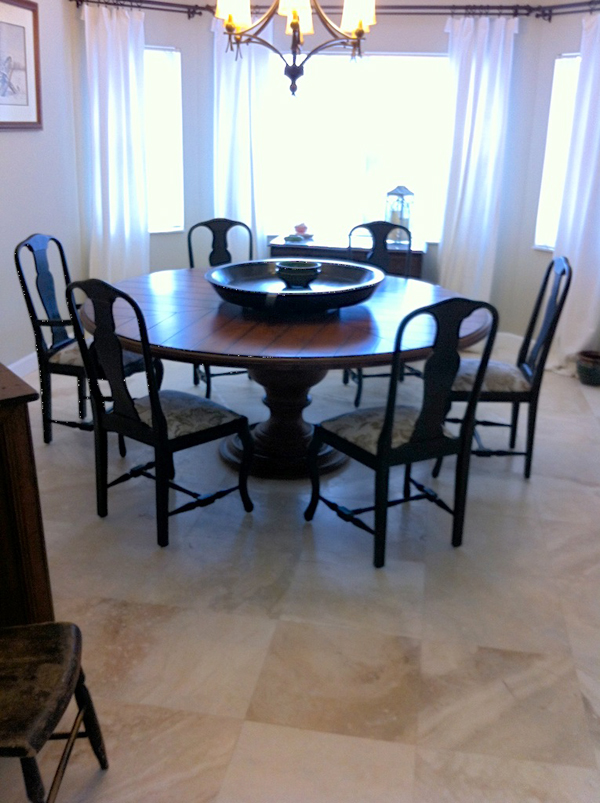
But that table was so freaking huge. If I actually had eight people here to dine, I had to serve from both doors. There was no way to get around. But I LOVED that table! Like a child. I was torn….so I let Michelle adopt it.
That table is so happy being adopted into a family that actually cooks and uses it every night!
Once upon a time, when we lived in a far away kingdom, we had dinner parties. A lot. And that table was used. A lot. But here in “Perfect” we don’t have dinner parties. We have cook-outs. A lot. And we eat outside in the screen room. Or the garage. Or in the yard. And it doesn’t matter about the weather. On the hottest days we use fans. On the coldest days we have a patio heater and a fire pit. We really needed a third guest bedroom more than a dining room!
But there was that Christmas Eve meal that we usually still ate in the dining room and if we had guests from the great white north in July, we didn’t force them to eat outside. That would be just plain mean!
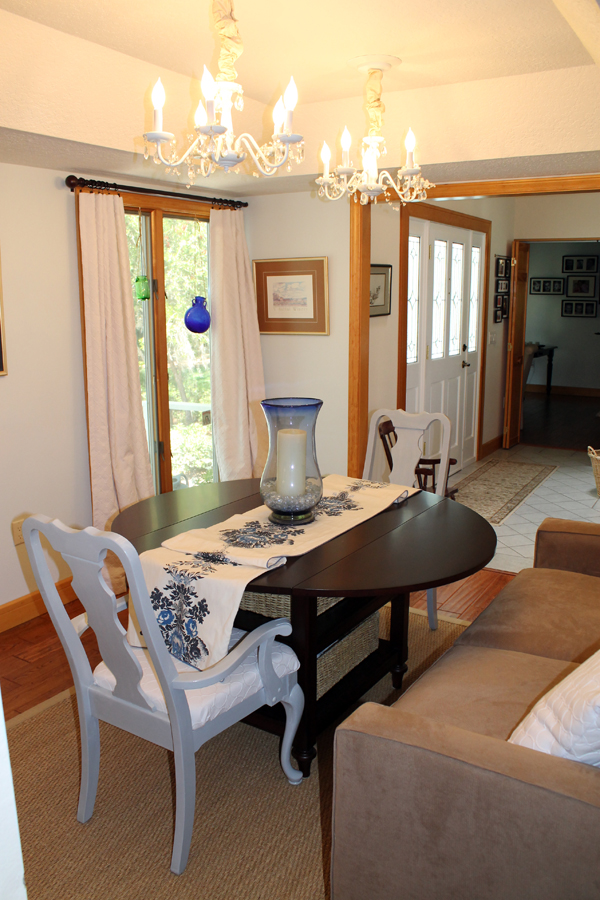
So we put a sofa bed in the room. And a smaller drop leaf table which could be moved into the corner when we needed the bed. I made drapes with black-out lining and we put curtains in the doors when guests slept in there.
I think we dined in here once this year! But the sofa bed was used numerous times.
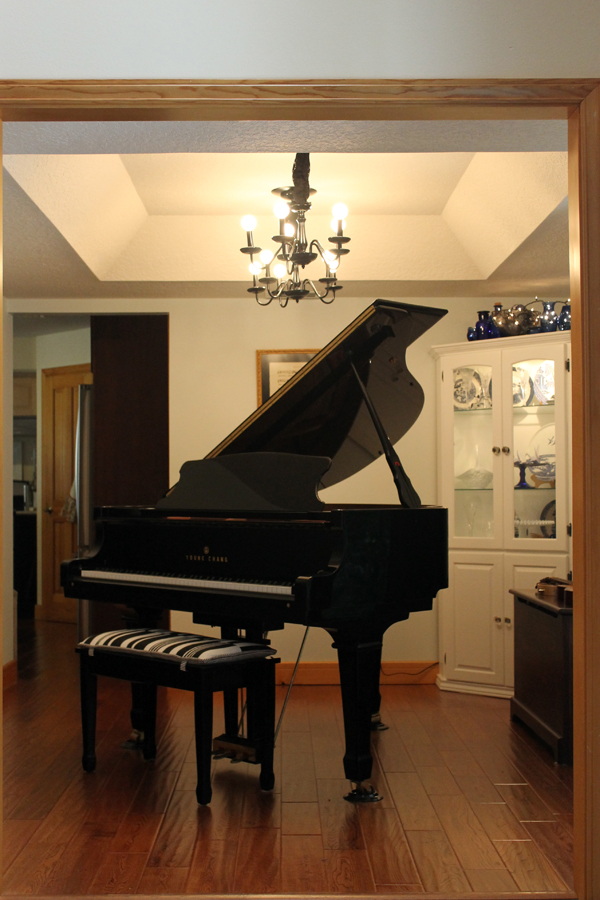
Meanwhile, the formal living room was evolving. Who uses a formal living room? The piano was sitting in there looking very pretty and then we turned it into my office with a huge computer armoire and hutch. And then I set up a sewing table. And then a cutting table. My beautiful piano was crammed into a corner. And every time I cut out fabric I got a bruise in the middle of my back from backing into the piano. Or I tripped over the ironing board because it’s always set up if I’m sewing. I need more room!
Then one day I was out for a run and came up with a scathingly brilliant idea. We don’t need that dining room! I need a music room!
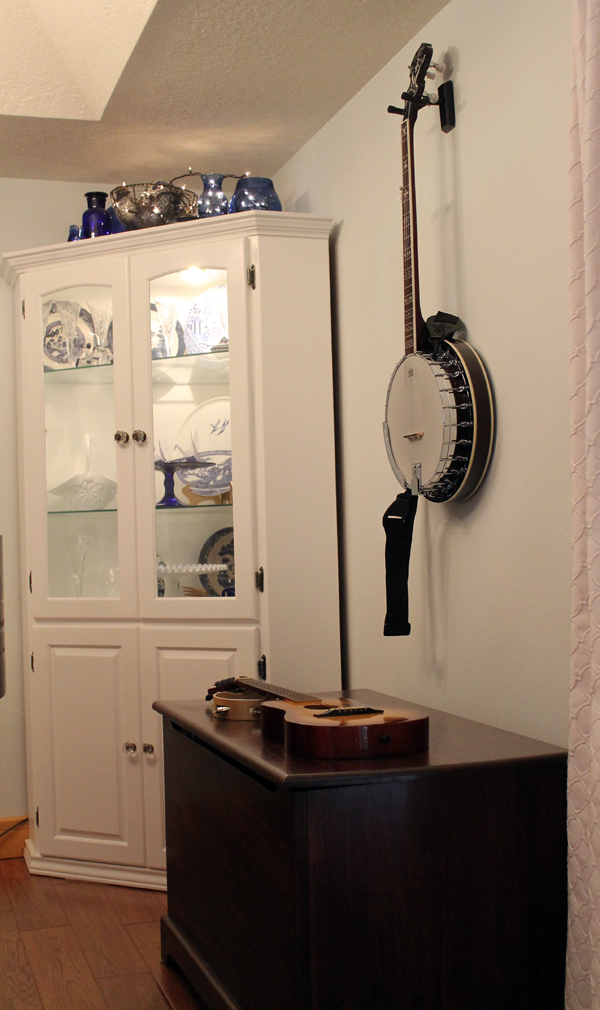
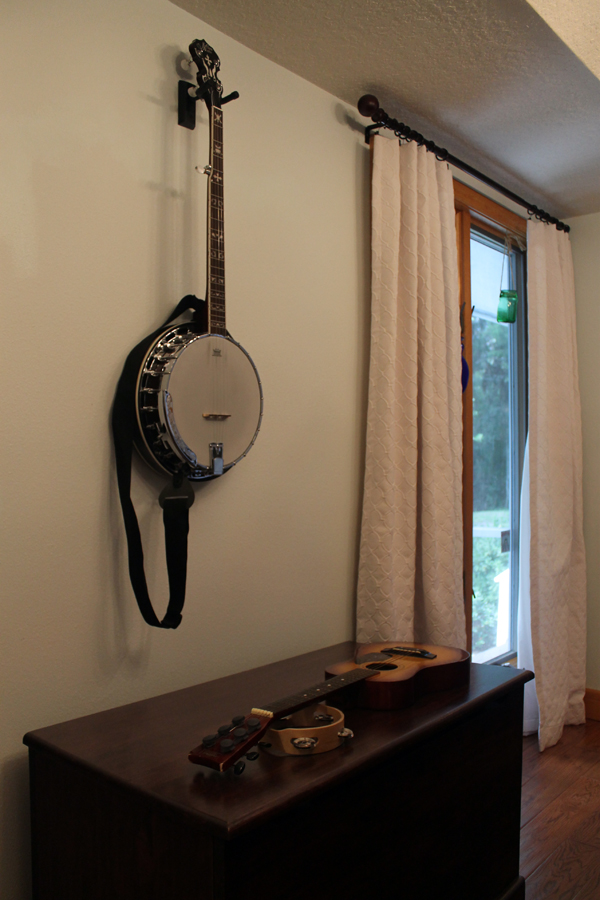
Pretty, Pretty, Pretty!Here’s my happy banjo and the grandkids toy instruments.
So much better! And I use it every day. My piano is as happy as the dining room table is at Michelle’s! And my piano is very happy that I didn’t give it up for adoption!
But I’m not done. I’ll share more of this project next week and most likely a few weeks after…..
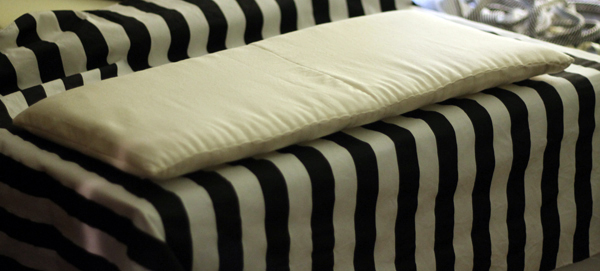
Here’s the inspiration for my latest project that I mentioned last week. I pinned this pillow from West Elm several months ago.
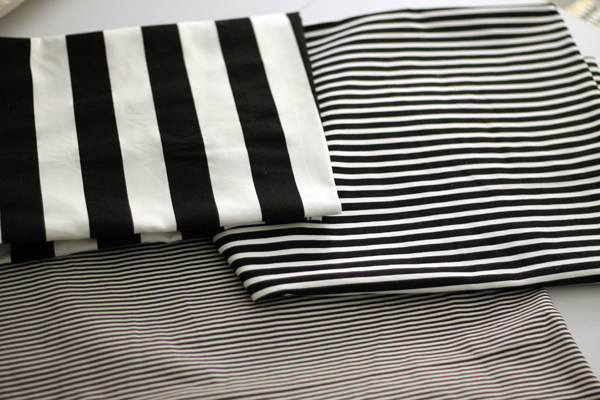
I loved the fabric but it was only available in a pillow and I wanted it for the piano bench in my music room. I searched several fabric sites and didn’t find anything remotely similar to the West Elm pillow. Bummer! But I can’t be stopped! I’ll just create my own–with a couple of different black and white stripe patterns from Fabric.com.
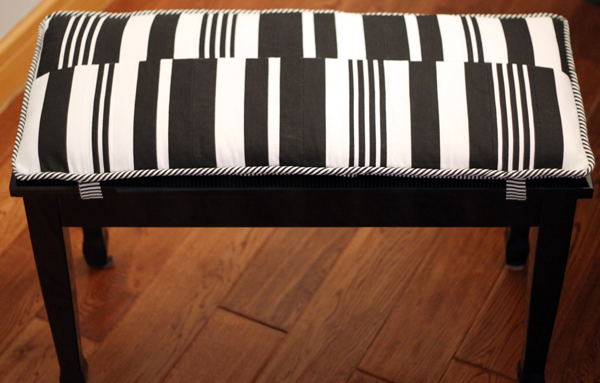
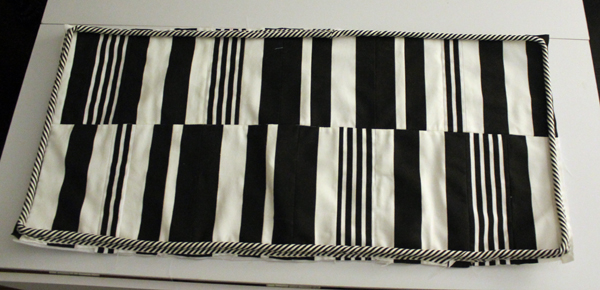
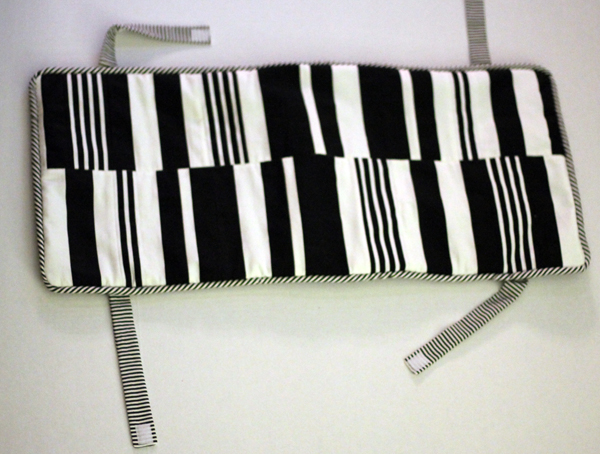
And this is how it turned out!
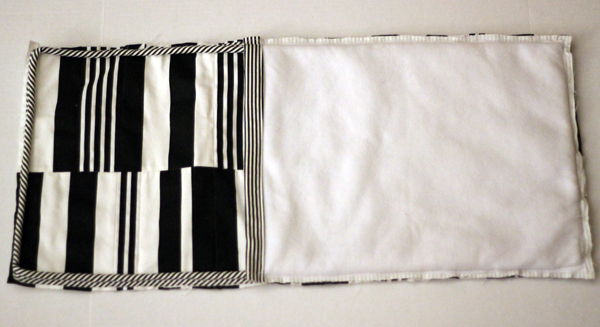
And this is how I did it!
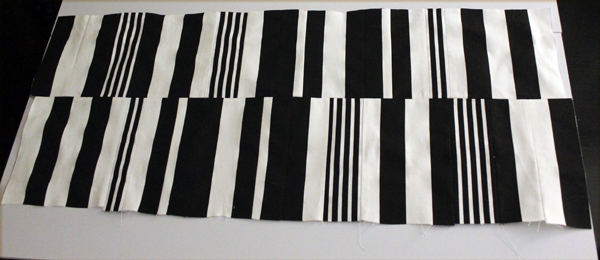
I used all three striped fabrics but only the two wider ones for the top of the bench.
The top of the bench is 30″x14″ so, for a snug fit, I needed a piece of fabric for the top to measure 30 1/2″ x 15 1/2″.
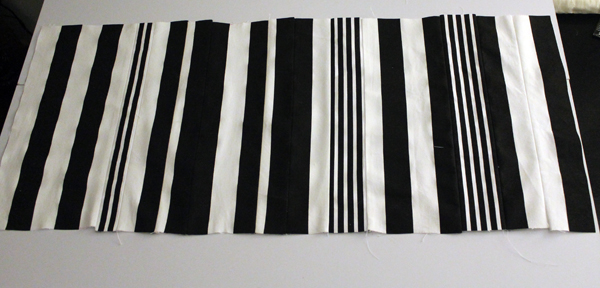
I took the two larger striped fabrics and cut pieces 15 1/2″ long in varying widths then stitched them wrong sides together with 1/4″ seams until I had about a 32″ wide piece of fabric.
This was a little like quilting.
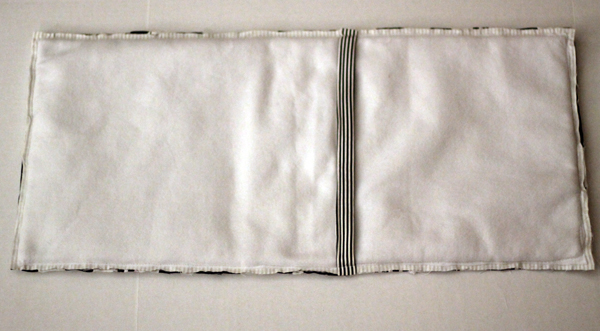
Next I pressed all of those seams open, then made a line horizontally 7″ from the top and cut. This gave me a 7″ piece and a 8 1/2″ piece. If you check out the “inspiration pillow”, the top part is a bit narrower than the bottom part.
Then I flipped the bottom piece upside down, lined it up in a way I liked and stitched the fabrics wrong sides together with a 1/4″ seam. Pressed the seam open and trimmed it down to a 30 1/2″ width.
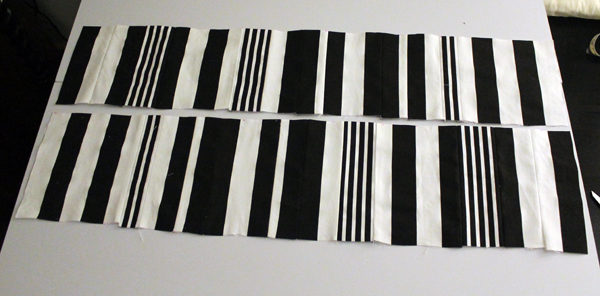
Next I lined it with fleece cut to the same size and stitched along some of the seams between the strips. Just like quilting but not really!
Now the rest of this is just creating an envelope-style cushion cover the same way I make the envelope-style pillow covers. Since the foam I was using was only 1″ thick it was easy. If I was using a 2″ foam or wider, I would have used a zipper.
I wanted to be able to remove the cover to launder. My previous cushion was made pre-grandkids and not washable. It was very cute with trim and tufted with buttons. So cute that those small sticky children wanted to toss it on the floor and stomp on it. I don’t know what the reasoning was but each one did it as they toddled onto the scene. The piano could not be played with that cushion on the bench. So this one is not only launderable, it’s also attachable!
Like I already mentioned, the piano bench is 30″ x 14″ . Because I wrap the foam with batting which makes it bigger, I cut the foam a bit smaller—28″ x 12″. I wrapped the batting around the foam and hand stitched the batting to fit around it. Next I made a case with muslin and lined it with fleece and put it on the batting and hand stitched the open side.
Not the best looking cushion but it will remain hidden.
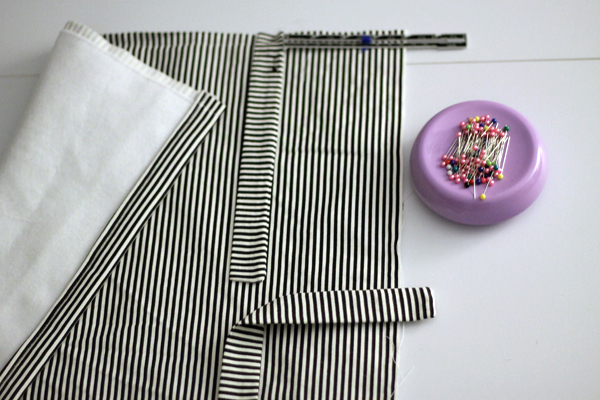
For the back, I cut two pieces of fabric 14 1/2″ x 20″ out of the pinstripe fabric. Lined them with fleece, trimmed. On one of the shorter sides of each, I turned under 1/2″ then another 1″ and stitched.
For the straps I cut 4 3″ x 9.5″ pieces of the pinstripe fabric. Folded wrong sides together, used 1/4″ seams, and stitched one short side and the long side. Turned right side out, pressed. Did the same for all four then put a 1″ piece of Velcro on the ends.
My piano bench has hinges 5″ in from each side. So I placed the straps 4″ from the unfinished side of the back.
Had to change to the zipper foot to attach the backs to the front since there was piping involved. With wrong sides together, I pinned one back section on–making sure to not catch the straps in the seams, and stitched with 1/2″ seams. (I am more cautious when I’m sewing with piping around corners so I basted, checked all the corners, then stitched)
One Side On!
Pinned other back section on and stitched.
Turned right side out and pushed out the corners.
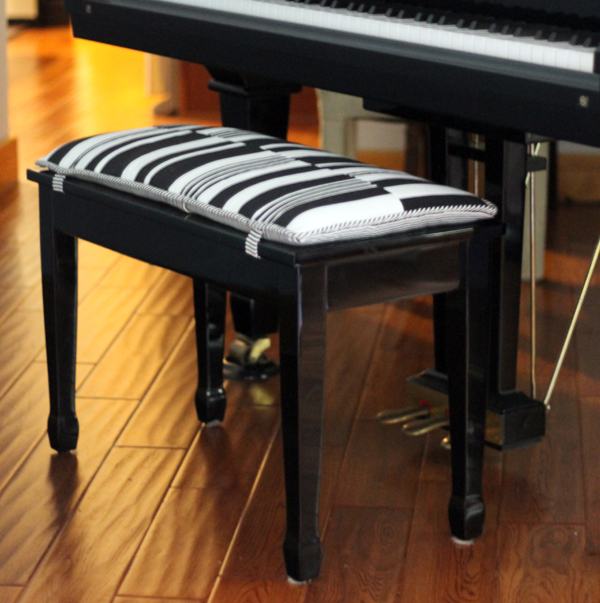
Inserted cushion.
And attached to the bench!
Beautiful!
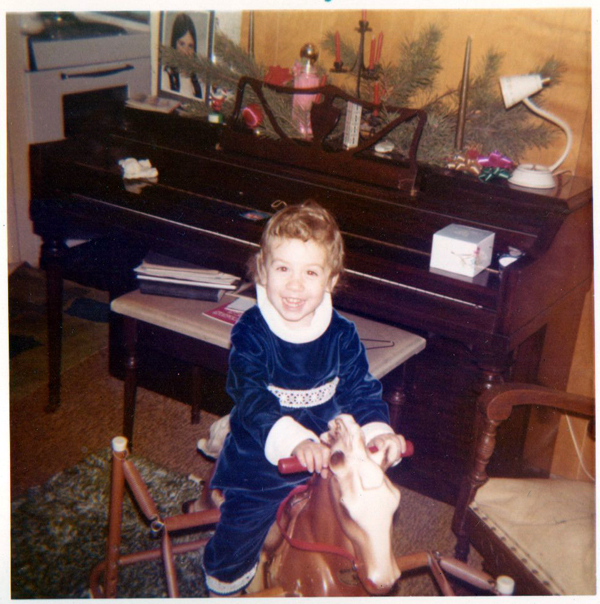
Now there’s no reason for this next picture. I found it in my box of old photos and I thought it was too precious to not post. That’s my very first piano which I started playing when I was about six. And there’s Michelle, she showed up when I was about 13!
What a happy little girl!
I’m not finished with my music room project! There will be more!


 So much better! And I use it every day. My piano is as happy as the dining room table is at Michelle’s! And my piano is very happy that I didn’t give it up for adoption!