Adventures in the Kitchen with Michelle, Chocolate Peanut Butter Energy Bars

I think we probably all get magazines, yes? And invariably there’s a section of a couple of recipes. Some look pretty tempting, some not so much. One of my favorite mags is ‘Health’, yep that’s it, just ‘Health’. It runs somewhere between the ‘Shape’ magazine, minus the 17 year old spandex clad models, and ‘Whole Living’, that’s filled with recipes for detoxing your entire existence.

Late this summer I tried out an energy bar recipe in ‘Health’ and couldn’t believe how good it tasted for the calories and fat spent! Yummy! And when baked looked exactly like their photo! I’ve been making them for after-school snacks and post workout boosts off and on for months now, and my guys love them. And as you know I just can’t leave it alone, so this time I lightened it up a tad. I took them along on a recent day out with the K & K show (that would be Kathy & Kathryn) to Renningers Antique Extravaganza. A huge day long romp in junk land! Who-hoo! After a 2 hour ride and 2 cups of coffee, we were a bit peckish at about 10am so I pulled these jems from my little bag-o-tricks to fuel my friends shopping adventures. I was sure Kathy would like them, there is chocolate involved. But, was really pleased when I got the thumbs up from Kathryn, our resident health food connoisseur. Happy and healthy – what’s not to love about that! Wanna know how I did it? I thought you’d never ask!

chocbars

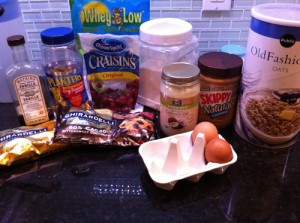
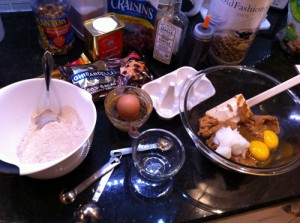
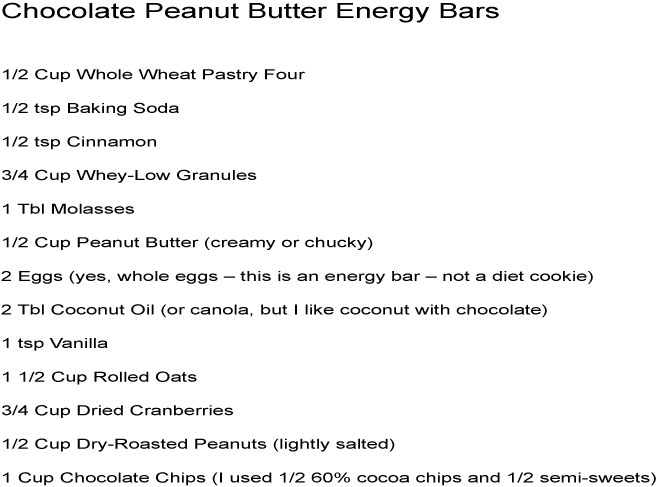
Step 1: Gather those goodies.

Adventures in the Kitchen with Michelle, Chocolate Peanut Butter Energy Bars

Step 2: Mix the Flour, soda, and cinnamon. I another bigger bowl combine the peanut butter, Whey-Lo, molasses, and coconut oil. Then add in the eggs and vanilla. Then add the flour mixture into the wet and give it a stir. Then add in the oats, cranberries, peanuts, and chocolate chips. The original called for dividing the chips, melting half and drizzling it over the completed bars – but I’m just too lazy for that these days!Adventures in the Kitchen with Michelle, Chocolate Peanut Butter Energy Bars
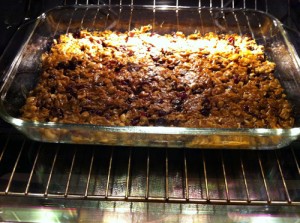
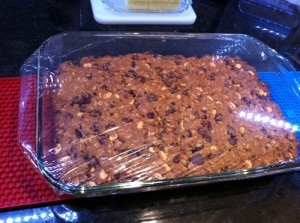
Step 3: You did pre-heat that oven to 350 right? No, well go do it and get out your 11×13 dish and spray with a little non-stick. Now spread the goodness in the pan/dish and and push it down nicely. Get all the edges too. Bake them about 20-25 min.

Adventures in the Kitchen with Michelle, Chocolate Peanut Butter Energy Bars

Step 4: Yummy! Make sure they’re very cool before cutting.
Adventures in the Kitchen with Michelle, Chocolate Peanut Butter Energy Bars

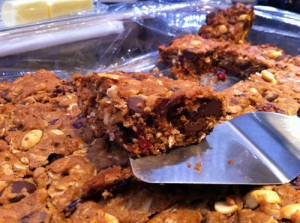
Step 5: See, soooo easy. Cut into 24 squares and there you go.
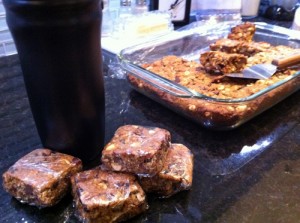
Adventures in the Kitchen with Michelle, Chocolate Peanut Butter Energy Bars Finale: Here they are all wrapped up for my day away – have coffee, will travel.
Adventures in the Kitchen with Michelle, Chocolate Peanut Butter Energy Bars

These really do have a between-meal holding power, and with chocolate. Must I say more!? Oh, how healthy are they? Well, the recipe analyzer says each one is a mere 124 cal/7.4g fat … but useable fat. With all the traditionally fattening things in this bar it should be way worse! Eggs, Peanut Butter AND Peanuts….really? No, really – try it, you’ll thank me.

Renningers Antique and Collector’s Extravaganza!

Local Places, Local Faces

Okay, you might not consider Mount Dora a local place but if I can drive there in two hours and do not spend the night, I’ve decided that it’s local.  Because it’s my blog and I can do that!

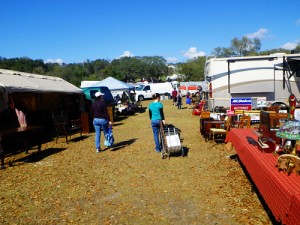
Renningers Antique and Collector’s Extravaganza is held three times a year.  One three day weekend in November, January and February.  And it is a BLAST!  It is the biggest and coolest old-stuff-junk-buying-fun you could ever have in Florida.  Michelle and I have been attending one event each season for the past five years and I went with other friends many times before we teamed up.  This year new-be Kathryn joined us with the intent of furnishing her new townhouse.  So here is our day in pictures!

Renninger's extravaganza
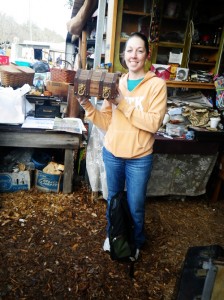
Kathryn roots through the junk house to find this treasure. First buy of the day!


Renninger's Extravaganza
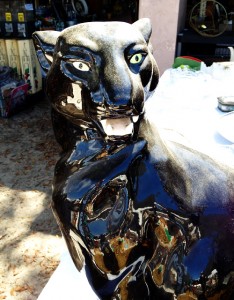
One of numerous black panthers. Was I just drawn to black panthers this year or was it a big year for black panthers?
Renninger's extravaganza
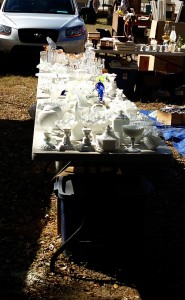
So much milkglass, so little money.
Renninger's extravaganza
These yellow lab puppies were taking a break. Antiques? Collectibles? $500 and wouldn’t take less!
Renninger's extravaganza
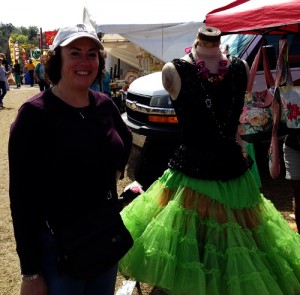
Michelle might make this for the bridesmaids.
Renninger's extravaganza
Time for a snack!
Renninger's extravaganza
Michelle’s best deal. Can’t wait to see what she turns this into!
Renninger's extravaganza
Back up the hill with the goodies. Did you know that there is a mountain in Mt. Dora?
Renninger's extravaganza
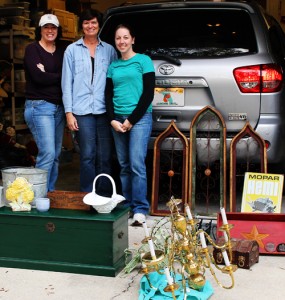
And here’s all of our treasures! Fun!

There will be many future posts with these lovelies updated and featured!


DIY Overnight Bag

For Christmas presents in 2012 I had planned to make a bunch of totes.  I finished most of them but had one bag still cut out after the holidays and waiting to be created!  And even though I really didn’t want to do any more sewing, I hate to start a new project until the previous one is finished. And there are so many things I want to do! So back to the sewing machine.

This bag was different than my typical totes.  (The instructions for my shopping totes are here.)  I first saw this bag on Pinterest and thought it would be fun to make.

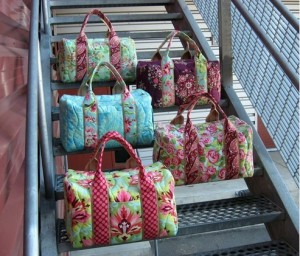
DIY Carryon
This bag on Pinterest was from StudioCherie.

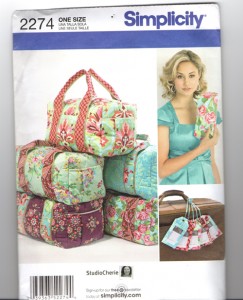
I found the pattern for the same bag by Simplicity.  It’s also from StudioCherie but on sale at Joann’s.

DIY Overnight Bag

This project started out with a strike against it.  It called for batting which I really HATE to sew with–probably why I don’t make quilts. Batting just wants to move around the whole time I’m sewing.

I also had trouble finding “jute webbing” for the handles.  The first place I checked was at Hobby Lobby and the sales lady showed me cotton belting–the same stuff I use for my other totes.  Not wide enough.  I asked at Joann’s and the sales lady had never heard of it so in desparation I went through every aisle and found it the upholstery department. It’s cheap and the handles are very sturdy but it has an ugly red pattern on the back.

I also found the instructions confusing–this pattern is not for a beginning sewer.

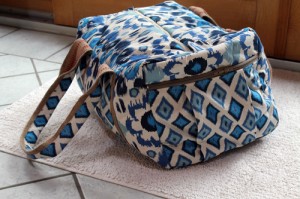
After cursing at it many times and breaking a few needles I finally finished it.  And it’s really nice.  And it’s really big!  And I’m keeping it for myself!

DIY Overnight Bag
A roomy pocket with a zipper on one end, another open pocket on the side.  I added a pocket on the inside which wasn’t in the instructions.
DIY Overnight Bag
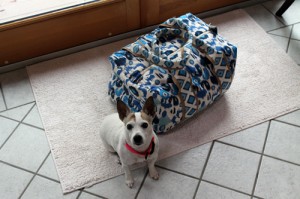
See how big it is! I could put Maggie in it. And my clothes!

I might make it again even though it was difficult, because it turned out really nice.  I love all the pockets and zippers. But I’ll use fleece instead of batting and look for jute webbing that doesn’t have a red pattern.

Now Maggie and I need to plan a trip so we can use our new bag!  On to our next big project!

DIY Carry On, tote, bag
Here’s another version of an overnight bag. My DIY Carry On using a tutorial form sew4home.com