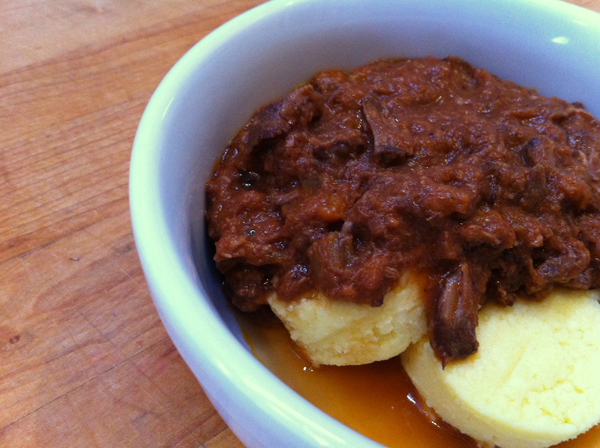
Last Wednesday, I put up a post for Beef Shank Ragu. I had modified the recipe slightly to make it more like the ‘Ox Tail Ragu’ I had eaten at the Bar Corvo restaurant in Brooklyn.
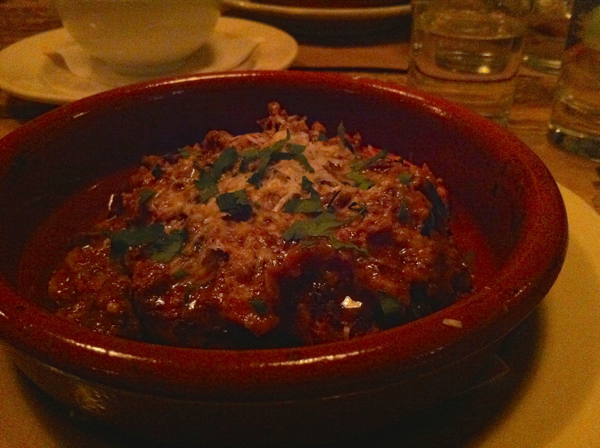
I had served mine over polenta, which was easy for me…like Italian style grits…after all this is the South! The real deal was served over a semolina gnocchi. A what? I know, I’d never heard of it before either. I thought all gnocchi were those little rubbery balls of dough made from potatoes. Oh, no my friends. Apparently, there are many forms of gnocchi. Most of which are made from potato, but some are pillowy soft and cut in squares instead of the rolled version. It’s kind of sad what the commercial food industry has done to them. I mean, it’s nice that we can buy a box of gnocchi sealed in a bag from the store. Although, for those of us who aren’t Italian, and have never had any other kind, it’s a disappointment. I’ve always wondered what people saw in those things. My eyes have been opened!
I found this recipe from Bon Appetit published back in ’08 and is from Osteria in Philadelphia, so it’s gotta be incredible. It is. This gnocchi is clearly more than a three step process, but the steps are easy. The ingredients aren’t expensive and available at most mega-marts these days – so no excuses. Make a list and then make this gnocchi.
Semolina Gnocchi
Step 1:
You’ll need…
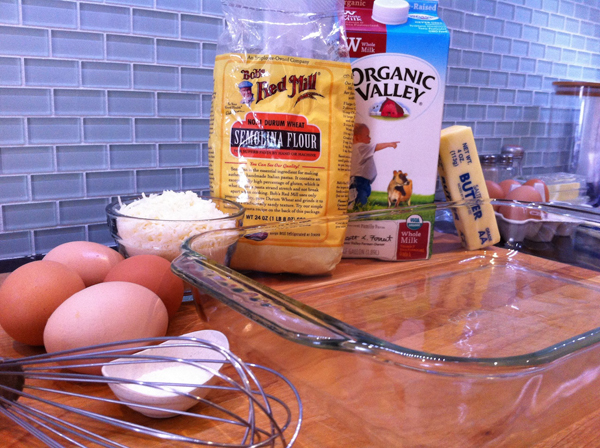
3 Cups Whole Milk (I didn’t say anything about lo-cal here)
1/2 Cup (1 stick) unsalted Butter, diced (or salted and cut back on the following)
1-1/2 tsp Salt
1 Cup Semolina Flour (aka ‘pasta flour’)
4 Large Egg Yolks (save those whites – you’ll be eating them for breakfast after you have this for dinner!)
1 Cup Parmesan Cheese, grated
*plus an extra 1/2 cup and some parsley for later
Step 2:
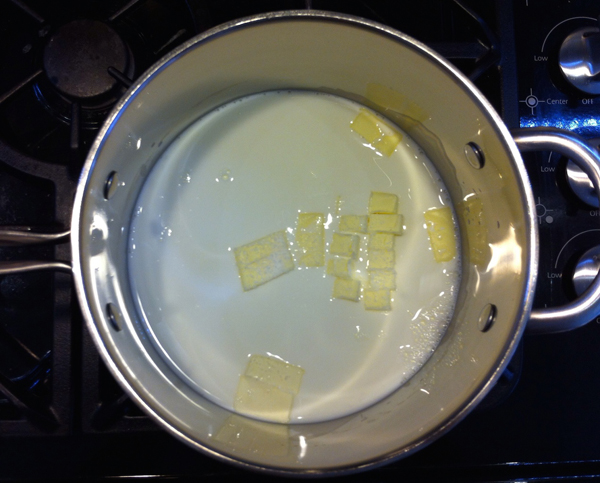
Butter the 13 x 9 pyrex dish and set aside. If you have a kitchen, you need one of these baking dishes!
Get the milk, butter, and salt in a large pot (mine’s 4qt) and bring to a simmer, over med-high heat.
Step 3:
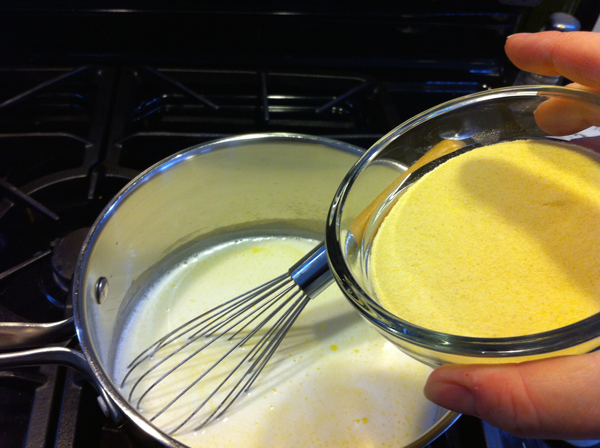
Gradually, whisk in the semolina flour. Meaning, sprinkle a bit and whisk, then sprinkle, and whisk until it’s all in. Like with the polenta, a big dump = a big lump.
Step 4:
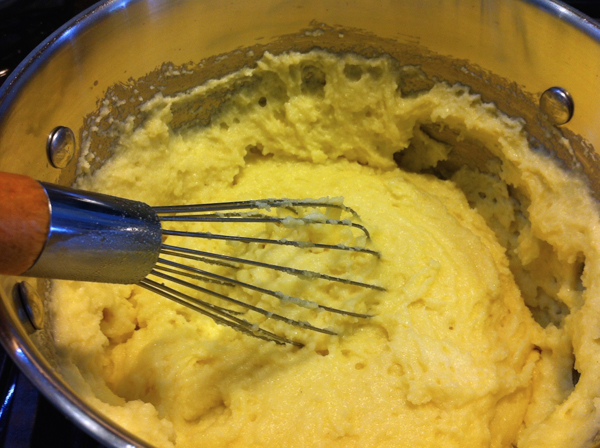
This comes together quickly. When it’s too much for the whisk, switch to a wooden spoon.
Step 5:
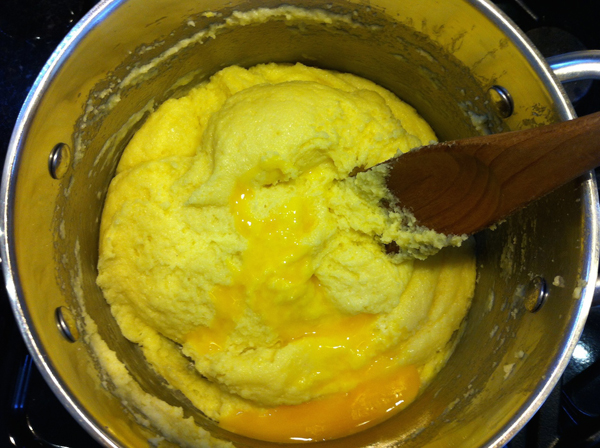
Take it off the heat and add the yolks, stir/fold them in one at a time. We don’t want scrambled eggs here! And, yes, it’s still hot enough that I’m not worried about any salmonella in my semolina.
Step 6:
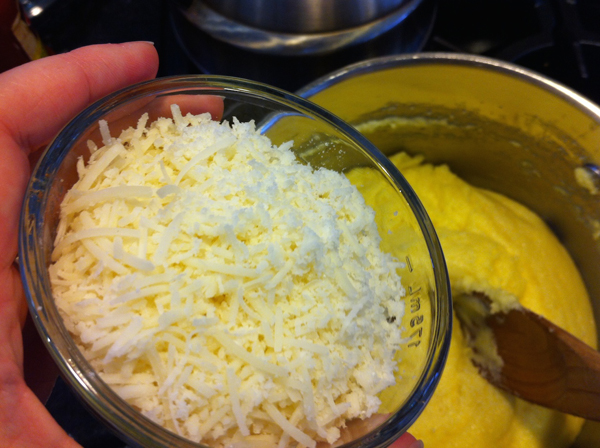
When the eggs are in, add the cheese the same way. Then return the pot back to the heat, but on low this time, and continue stirring for maybe 2 min.
Step 7:
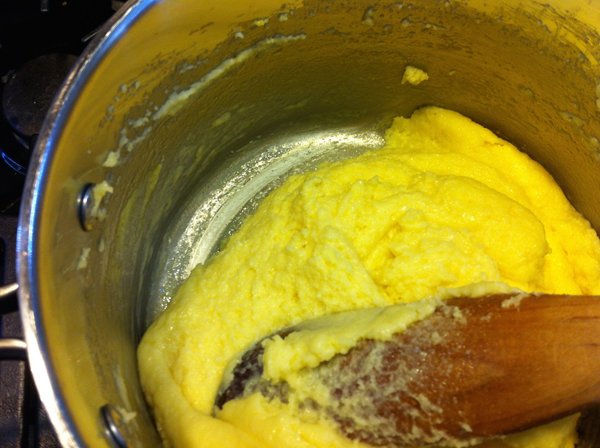
See how the texture has changed and it pulls away from the pot? Now, it’s done.
Step 8:
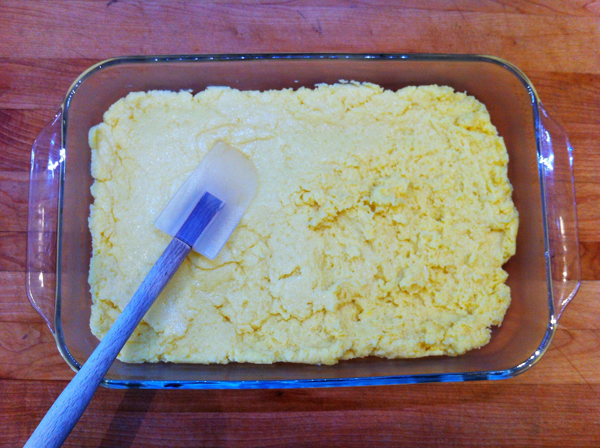
Put it into the baking dish. Mine, more or less, rolled out of the pot. Using a rubber spatula, smooth out the surface.
Step 9:
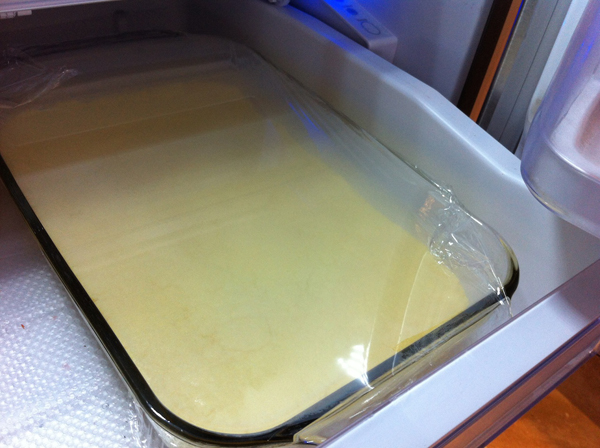
Cover it and park it in the fridge to cool. You can leave it out on the counter for a bit, but it’ll need the chill-chest for at least 2 hours to set up right.
Yes, that’s what those big drawers are for. I love mine. Anyway, I lifted the corners on the plastic wrap to allow the heat to escape a bit.
Step 10:
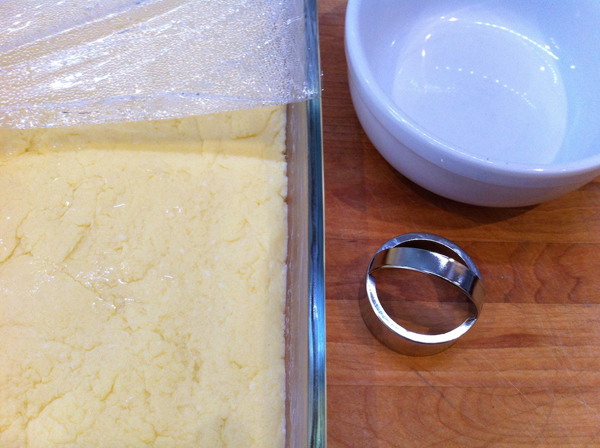
…and the next day. (because I made it too close to dinner time) Get it out and find your little round biscuit cutter (1-3/4” is good). Cut out rounds.
Step 11:
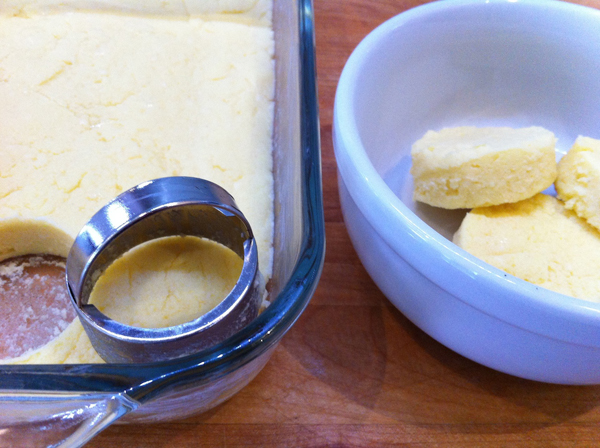
Now, this is where I diverge from the original recipe. At this point you’re supposed to take another, bigger, baking dish and lay out the rounds, cover them with sauce and bake at 475 for 10-15 min until heated thru. But that’s not how the restaurant served it to me. As I recall, they had placed 3 of them in a ‘chili bowl’ and topped it with the sauce, cheese and parsley. The gnocchi was like this treasure you found waiting at the bottom. Mmmmmmm.
Step 12:
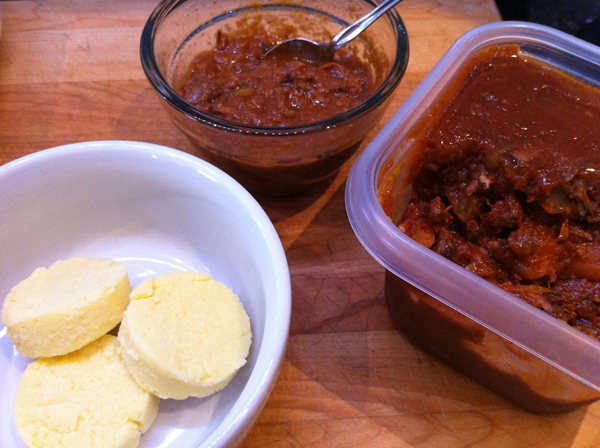
Get that ragu out of the fridge and heat it up. Like so many tomato based sauces, to me, they’re better the next day. I even mashed this up a bit more to be a closer texture to the restaurant version. I can’t wait for lunch !!
Leftovers:
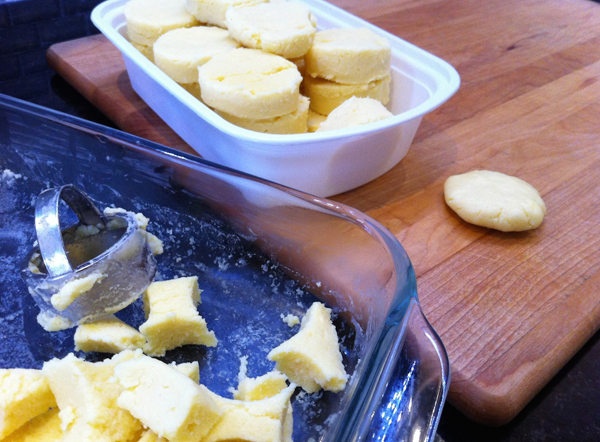
Oh, I just rolled the dough like I would for a sugar cookie in my hand and mashed it into a circle.
Finale:
Here it is, Jes…the final Bar Corvo Salute! Beef Shank Ragu over Semolina Gnocchi. (I’m sure I have a prettier bowl somewhere) I left the gnocchi uncovered for the photo…but I’ll be smothering it very soon.
 O M G ! Now I can dream about this one too – only, when I wake up I can just heat n’ eat !!
Michelle Beal
http://badzoot.com
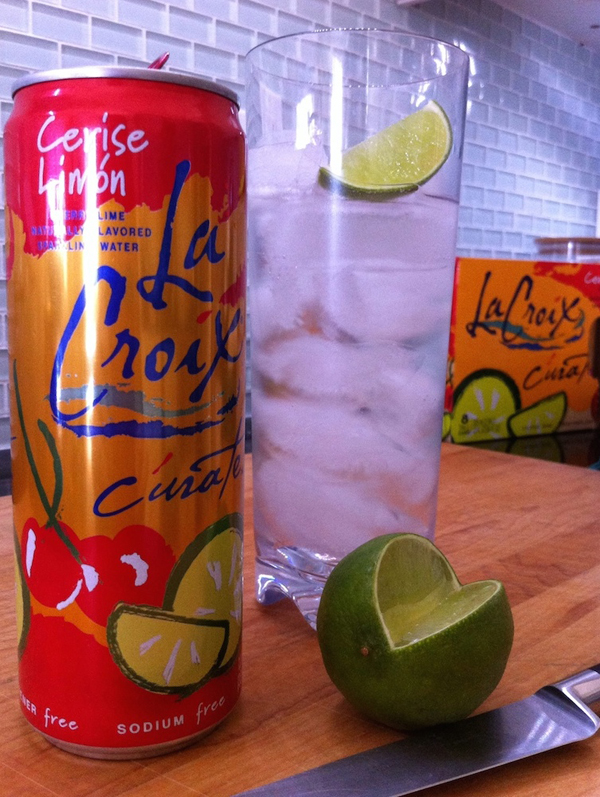

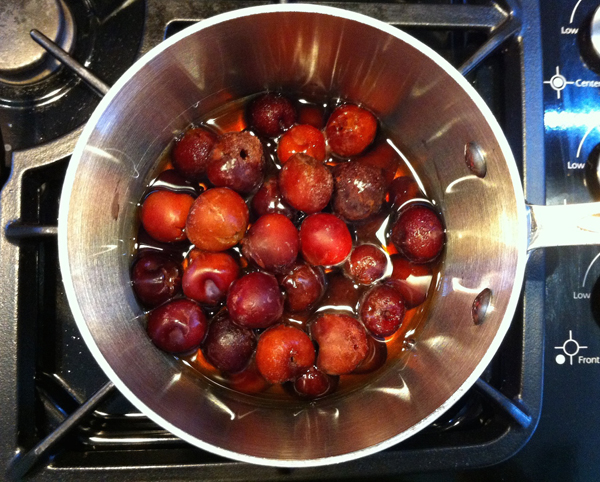
 Ohhh, can you smell that!?
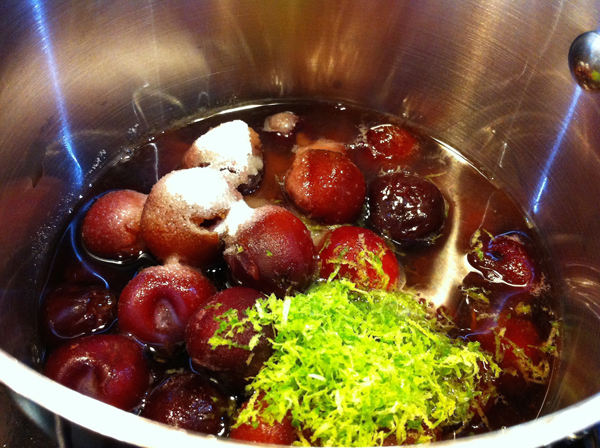
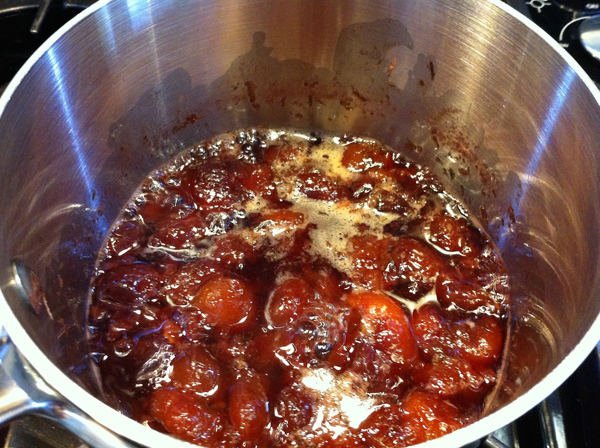
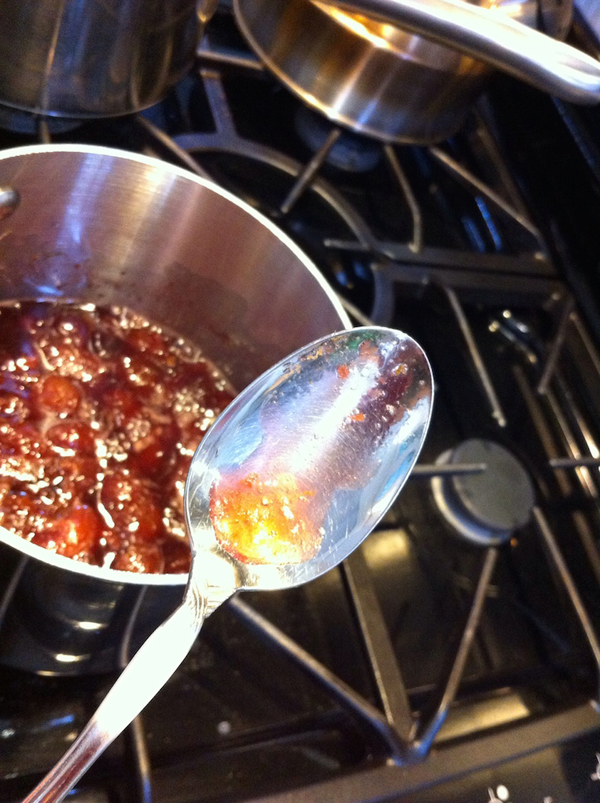
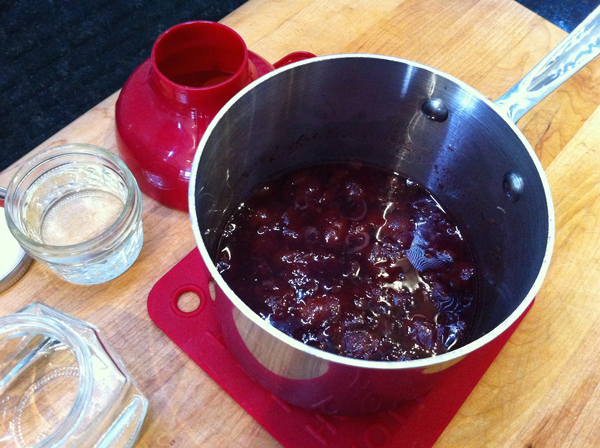
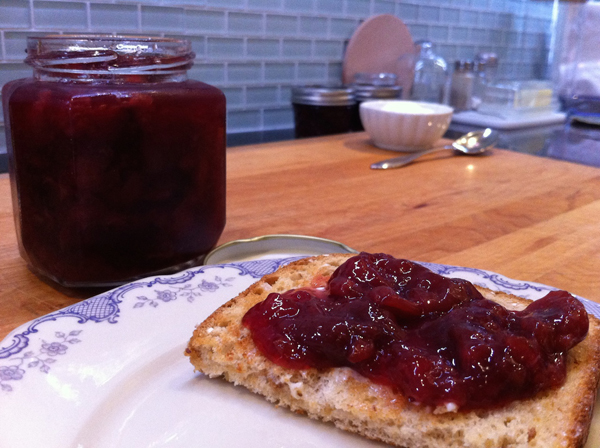
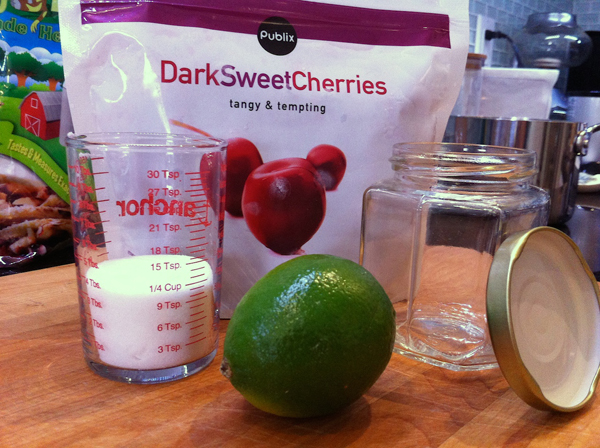
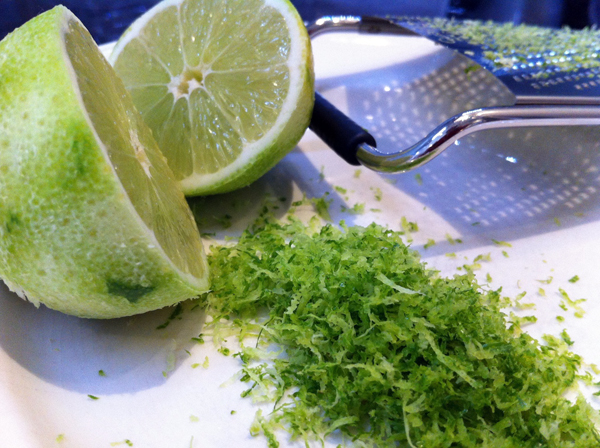
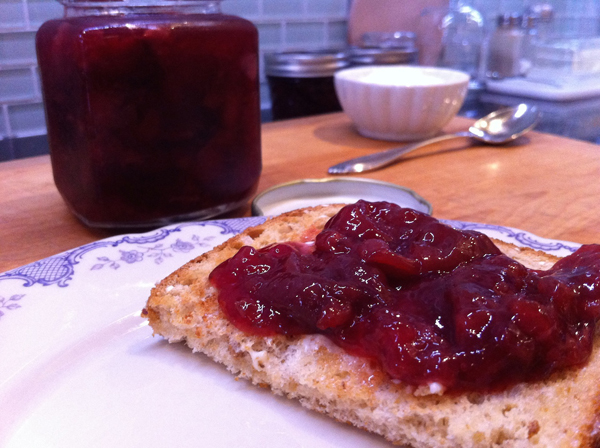 I’ll bet you forgot that cherries are a super-food. They also have such a strong flavor that the lo-sugar makes it shine thru, with a little help from Mr.Lime. Feel free to warm some up and put it over a cup of vanilla fro-yo tonight. Speaking of warm, have you thought about it swirled into some hot-n steamy steel cut oats? Oh, yeah baby! An everyday treat.


