DIY Baby Bedding

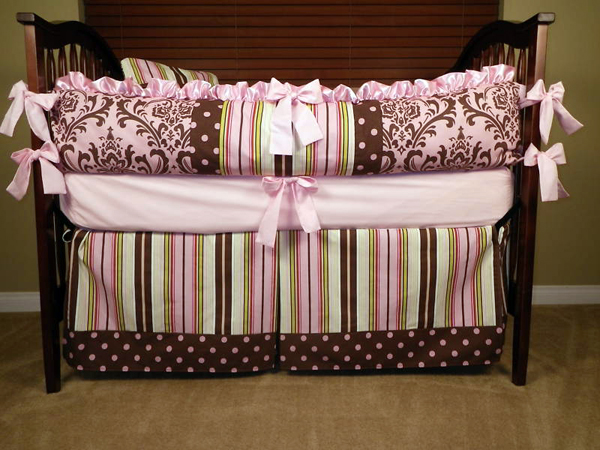
Way back before Princess Piper was born I told Alan that I wanted to get something special for her and what should it be.  He sent me a link to a baby bedding set on Etsy.  I don’t have the link anymore but I did download the pictures.
Baby BeddingBaby Bedding

Adorable.  But also $350.  And I said, “I can make that!” 

I’ve sewn since I was in junior high and have sewn many many things.  Curtains, roman shades, pillows, bedding sets to name a few.  But I was always at the mercy of local shops for whatever fabrics they had in stock and this material was nowhere to be found in a “brick and mortar” store.

I was determined to replicate this bedding set.  And searched online until I found the fabrics.  And that’s when I started using Fabric.com and Premier Prints

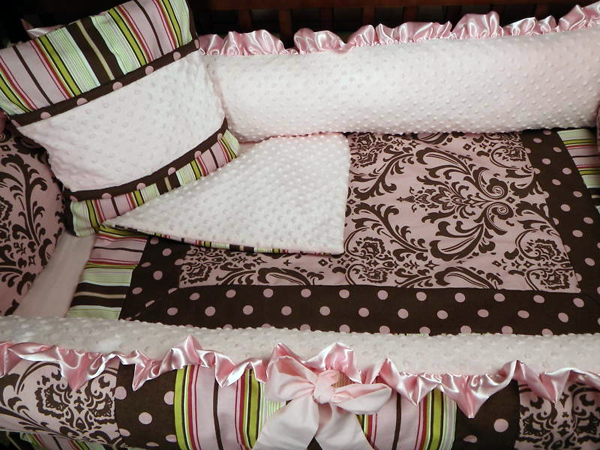
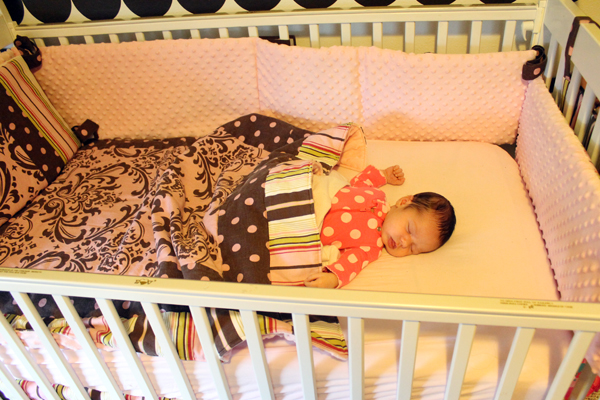
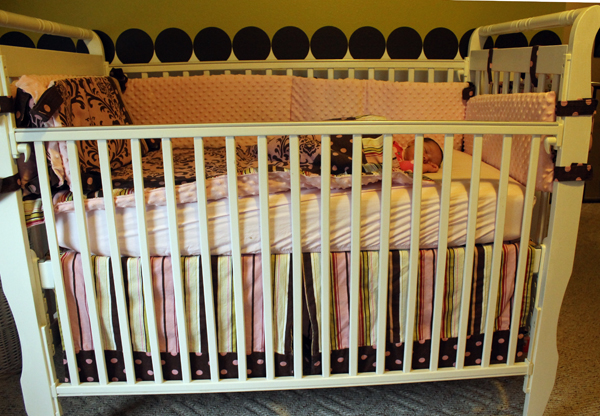
And here’s Piper’s (now Adley’s) bedding set…
DIY Baby Bedding with Premier Prints from Fabric.comDIY Baby Bedding with Premier Prints from Fabric.com

The Premier Prints in this color and print are no longer available but there are a lot of other color combos and prints to chose from. And there are also bedding sets on Etsy.  The one closest to this one is $411!  Zowie!  Why aren’t I selling baby bedding sets?

I used this pattern:

Pattern for Baby Bedding

I wanted the bumpers to be thicker than just batting so I ordered a bumper pad kit online and followed the directions that came with it.

Lauri didn’t want ruffles or ribbons so I eliminated them. That’s the nice thing about making “custom”.

And I ordered way too much fabric so made the diaper caddy
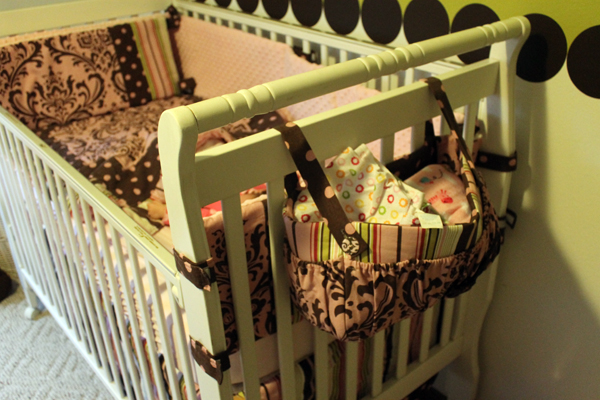
DIY diaper caddy with premier prints from fabri.com

And eventually the valances for the windows.  Which are actually “Rod-Pocket Mock Cornices” from the book The Complete Photo Guide to Window Treatments by Linda Neubauer.  This is a great book with many different window treatments that I highly recommend.  I’ve used it for drapes and roman shades, too.
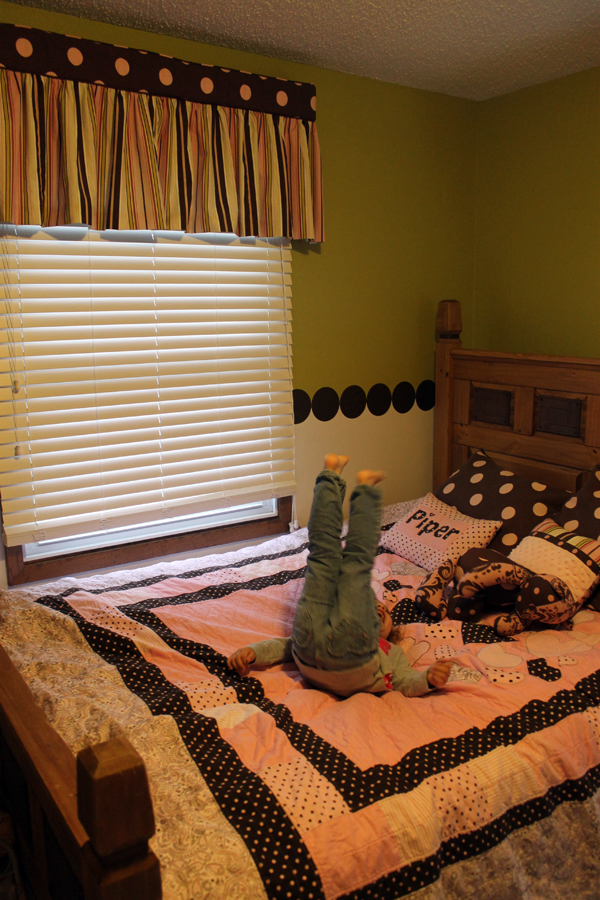
DIY Valances

Princess Piper

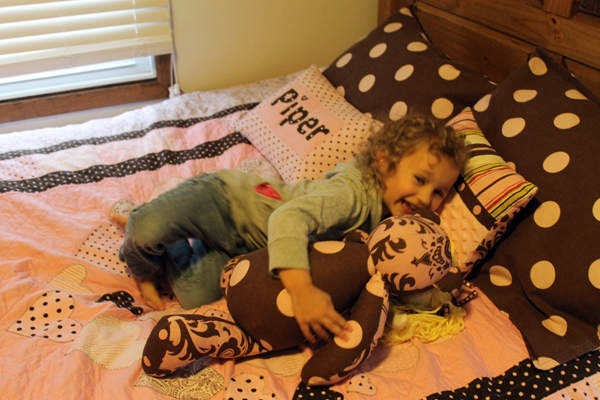
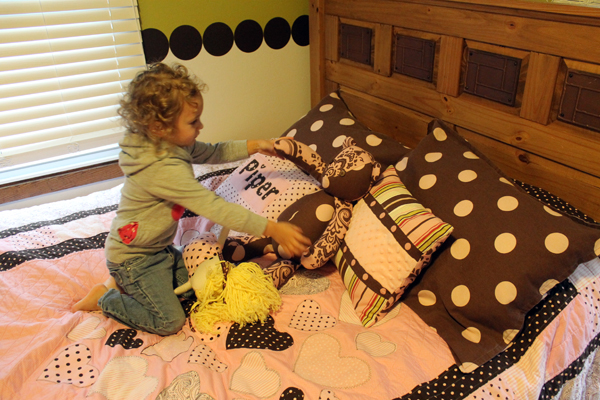
And I kept sewing and made coordinating pillow shams, a bear, the doll Little Miss Sunshine, and the Piper Name Pillow .  I’ve posted about all of them before. 
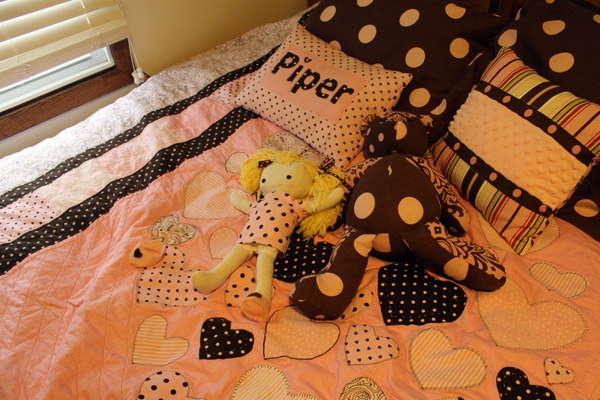
DIY Bear and Doll

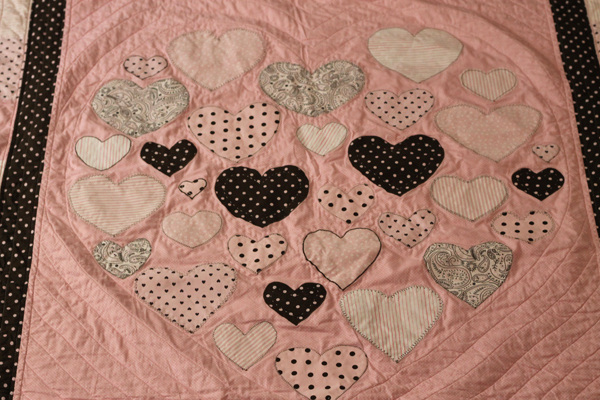
diy bear and dollAnd I’m finally out of that Premier Prints Fabric!  But there are a lot of pink and brown quilting prints from Hobby Lobby which I used for the “Heart of My Heart” quilt

#Heart of my heart #quilt for piper #pink and brown quilt #quilt
A close up of the center of the quilt
Maggie
Here’s where Maggie shows up and wants to know why she wasn’t included in this photo shoot? She barked quite loudly and was very indignent.

Oh Silly Maggie…Because it’s all about the baby!
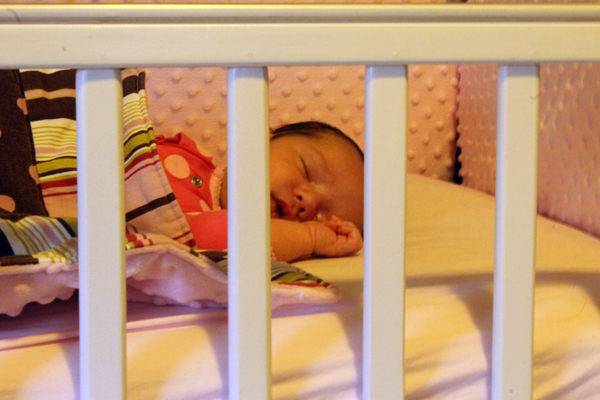
Baby AdleyI haven’t made Adley her own quilt yet.  But she already has so many sweet baby blankets and the plan is to put twin bunk beds in the room. So I’ll be making that size for when Adley the Queen joins in with Piper the Princess in jumping fun.

Renovation Reality

Ever watched that show?  It’s either on the HGTV or DIY channel.  Homeowners decide to do a renovation which usually turns out to be over their heads, budgets and time frame.  

We had a bit of our own Renovation Reality over this past summer so I know a little about how those remodelers feel. I like to say that we went two steps forward and then one back.

During last August’s annual visit to the ND family, Alan suggested that we might be more comfortable in our own suite in the basement. Since we usually stay in Piper’s room, that sounded like a great idea but that basement needed some major reno.  And there was an odor.

Four months later we learned that we were going to have another little ND grandbaby. Which meant that they eventually needed another bedroom.  So that’s when the renovation turned into a reality.

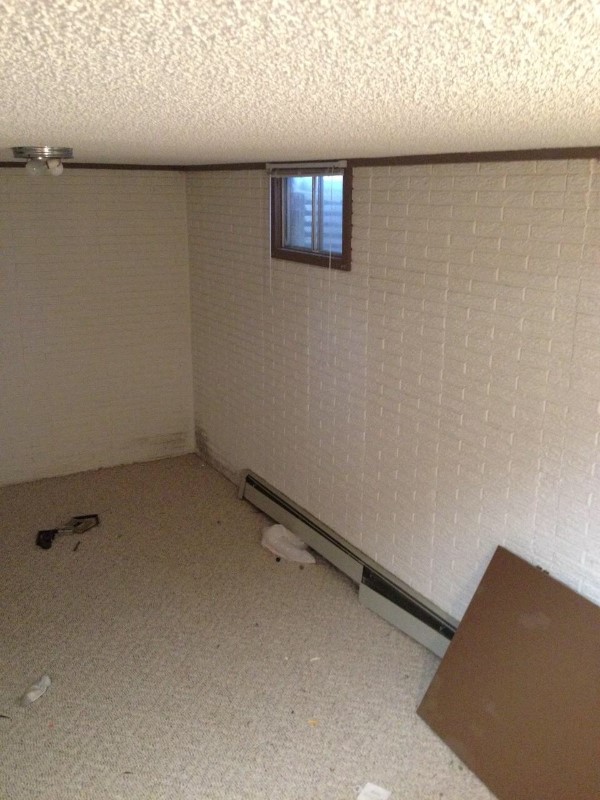
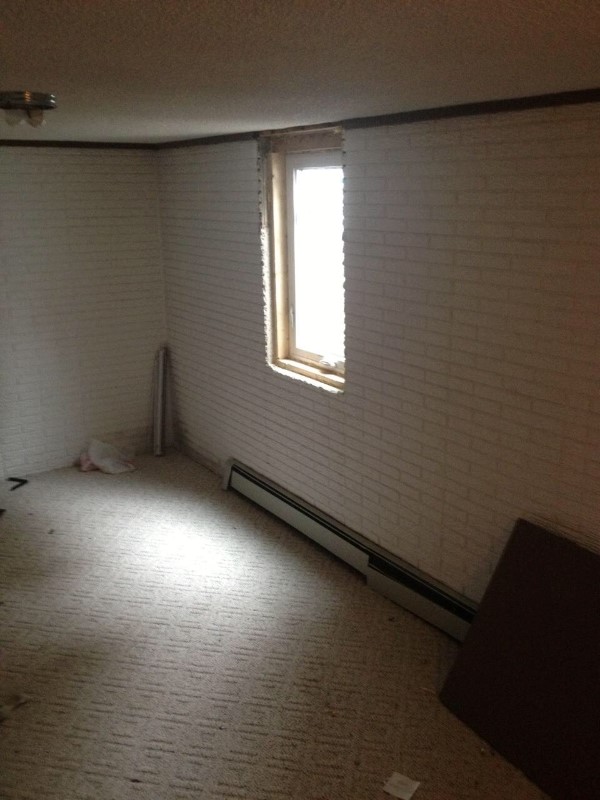
Alan and Lauri came up with a new design for the basement that included a guest suite, a bedroom for Riley, and a Jack and Jill bathroom.  First big change was an egress window in Riley’s new bedroom.

Renovation Reality
Before
Egress Window
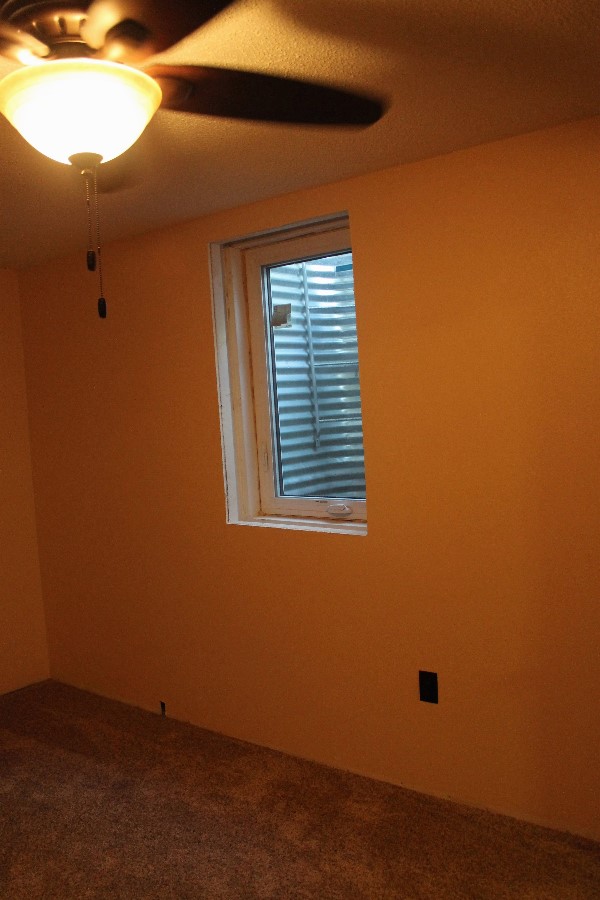
After
And with the new paint and carpet.  The paint isn't really that dark.  There's a ladder in the window well so Riley can escape. Will come in very handy when he's about 15.
And with the new paint and carpet. The paint isn’t really that dark–just bad lighting on my part. There’s a ladder in the window well so Riley can escape. Will come in very handy when he’s about 15.

A tankless water heater was installed, old partitions were pulled down, new walls built, insulation added.  A bathtub and surround were put into the new bathroom.  All before we arrived. 

The odor I mentioned was remedied by painting almost every old surface with Kilz Max. I personally discovered the misery of rolling Kilz on the popcorn ceilings. Not volunteering for that job again. Ever. Before the new flooring was installed, all the floors were also painted with Kilz Max. 

The six-weeks we were there flew by with us doing every possible job we could.

Fan
See that beautiful white ceiling? First the Kilz Max and then white ceiling paint. My neck will never be the same.

I mainly did staining and painting and watching small children since I don’t do power tools. (I have an issue with the possibility of losing a limb)  Exactly one week before we left we were able to kind of sort of move into the basement.  Still no bathroom but we did have nice doors and cushy carpeting.  (Which our bad bad dog decided to pee on!)

And there’s still lots to do.  Like heat, trim, finish the bathroom.  But we had to leave.  We woke up one morning and it was about 30 degrees.  Gotta go, see ya!  

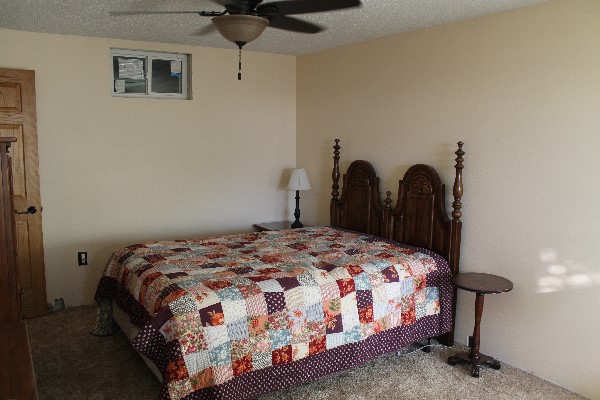
We bought some god-awful ugly used furniture for $350 for the guest suite.  Plus a new mattress. 

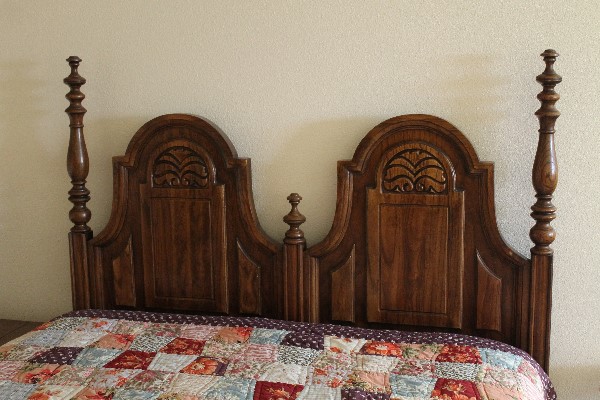
Headboard
I took the pillows off of the bed so you could get a good look at that UGLY headboard.
Furniture
But I have plans. The posts are staying and the center section will be replaced with an upholstered headboard.  Drapes and dust ruffle will be added.  A solid color comforter instead of the quilt.  A bigger lamp, oh there’s lots more.
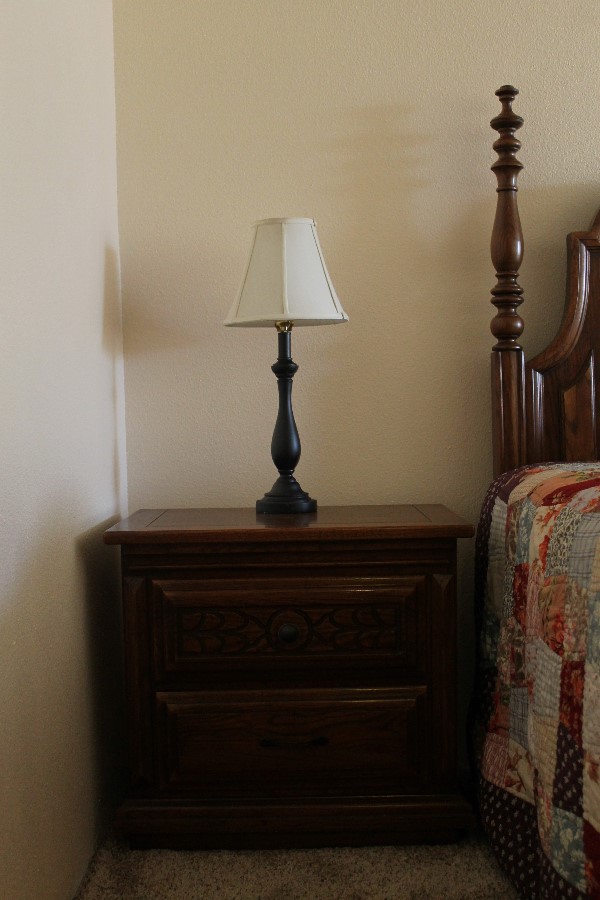
nightstand
Picked up the little lamp for $8 at a garage sale. Too small for this nightstand and the shade needs replaced.
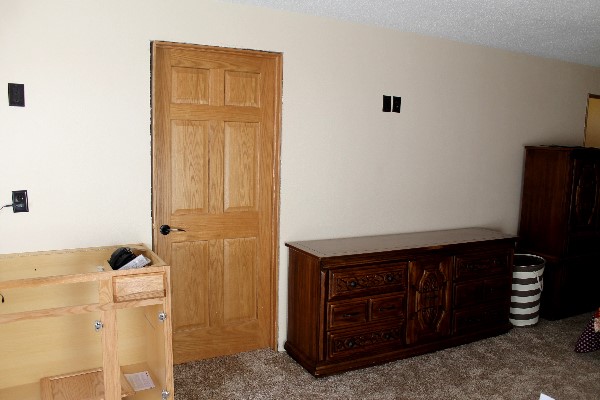
Media center
The TV will go on the wall over that dresser which will be turned into a media stand. 
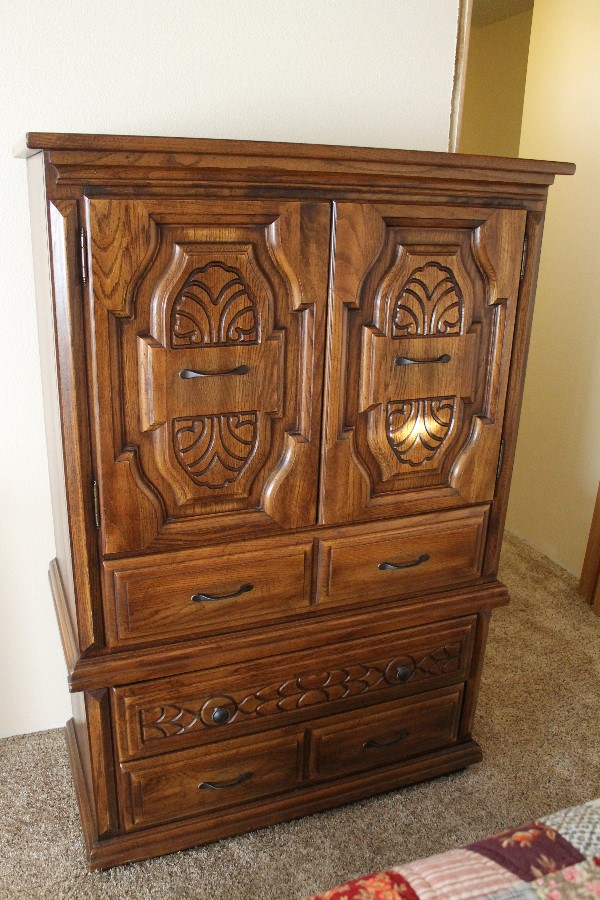
And this is the ugliest piece of all!  I even changed all the hardware and it's still hideous.  Not sure how I'm going to pretty this up.
And this is the ugliest piece of all! I even changed all the hardware and it’s still hideous. Not sure how I’m going to pretty this one up. 
rocker
Found this little table in Alan’s shop. It needs some love. Bought the rocking chair at a garage sale for $15. Piper thinks it needs to be pink. Not happening.  That hole there isn’t for a mouse, that’s where the connection for the heat goes.


Kitchenette
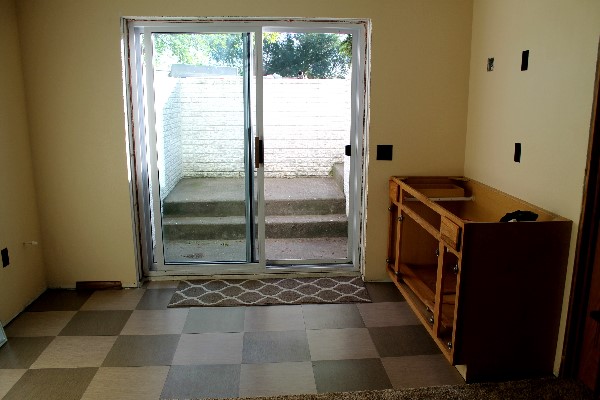
This is the kitchenette. A fridge will go in that empty corner.  Drapes on the sliders. Maybe a little table or desk.
kitchenette
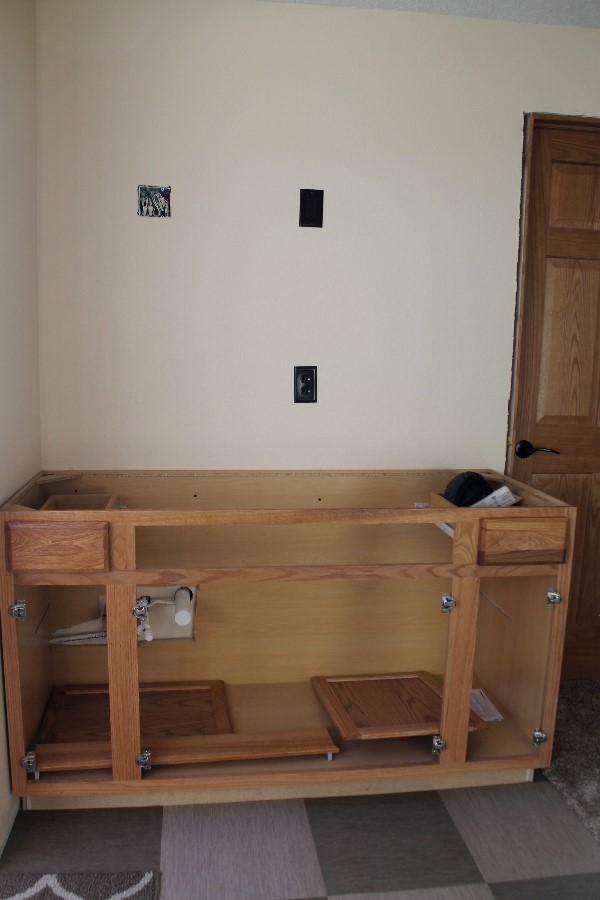
This cupboard will eventually have a sink and countertop plus a cabinet and microwave shelf above it.

That’s part one of this Renovation Reality. Furniture updating, curtains, and decor will take place next summer!  

Rain Gutter Shelves

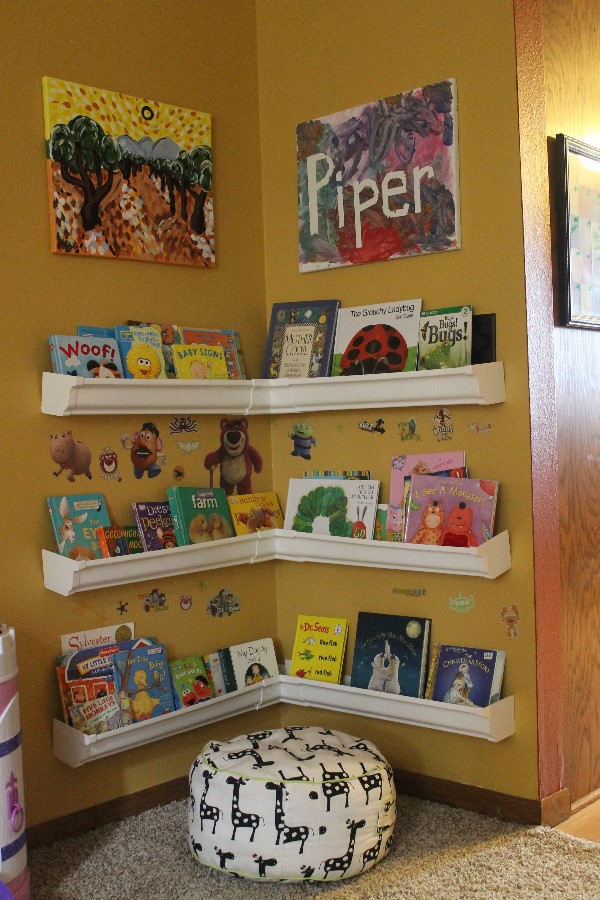
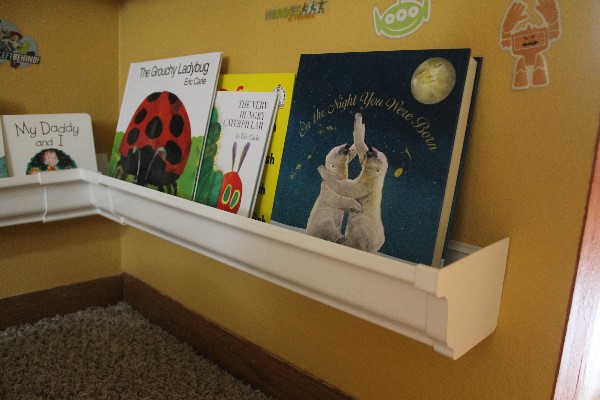
Last year when we visited ND, Lauri had created a reading corner for Piper with these vinyl rain gutter book shelves in Piper’s playroom.  Very cool, inexpensive, and the books are nicely in order yet Piper can quickly pick out her favorite for Grandma to read to her.

Rain Gutter  Book Shelves


Rain Gutter Shelves

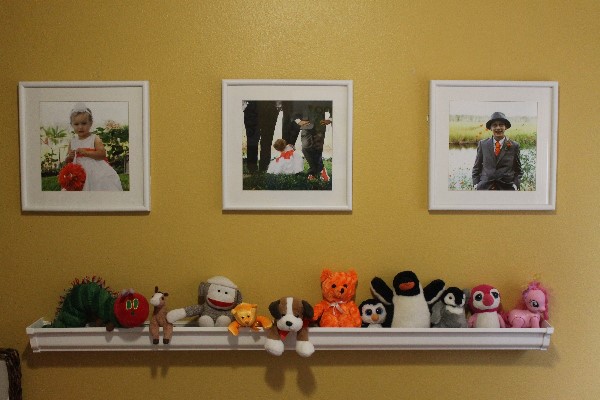
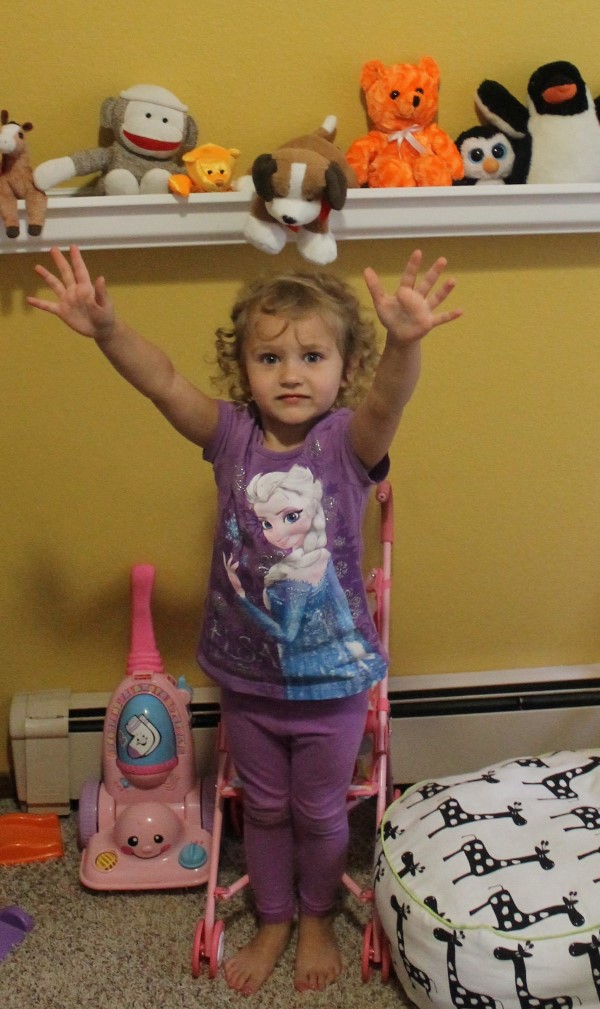
This year, Lauri had a long rain gutter and the ends and wanted to add a shelf for Piper’s stuffed animals.  Since Lauri was busy with a new baby, Terry and I did the installation.

If you go out to pinterest and do a search for “rain gutter book shelf” you’ll find a lot of pins with instructions. We just went with Lauri’s instructions–I hot glued the end caps on the gutter and Terry screwed it into some studs on the wall.  Easy Peasy.  And Piper was very excited when she came home and found some of her favorite toys lined up to greet her.

Rain Gutter Shelves

Rain Gutter Shelves
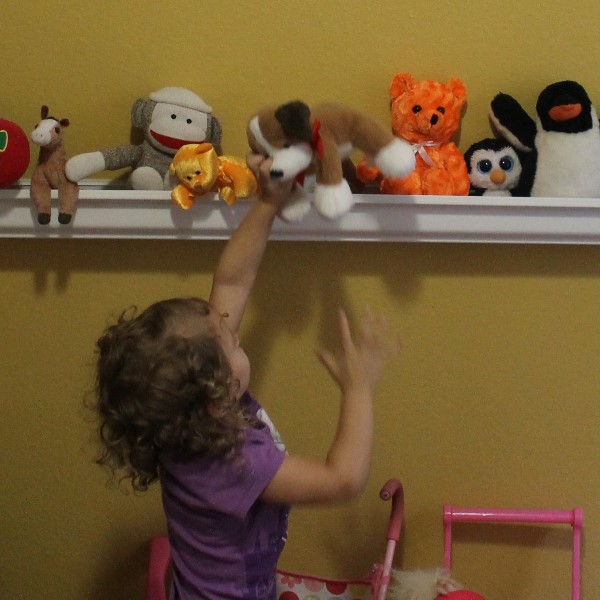
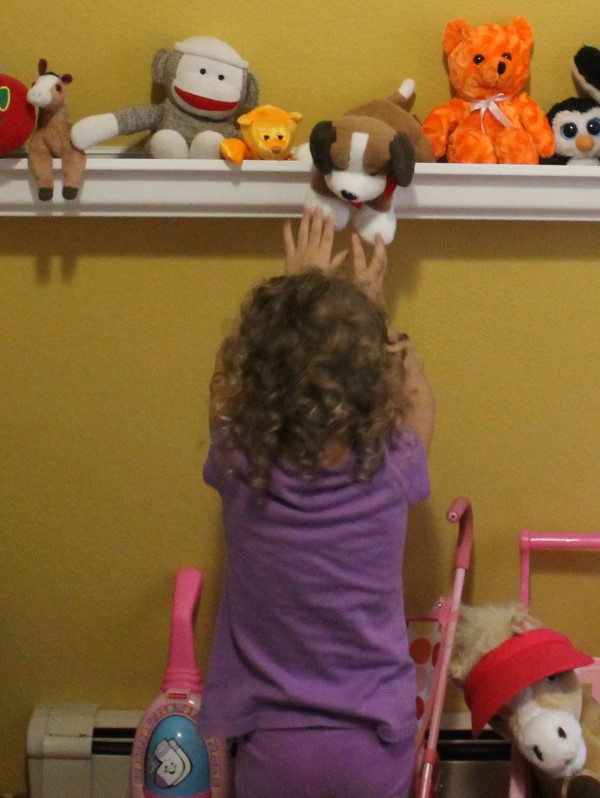
Easy for Piper to get her puppy down….
Rain Gutter Shelves
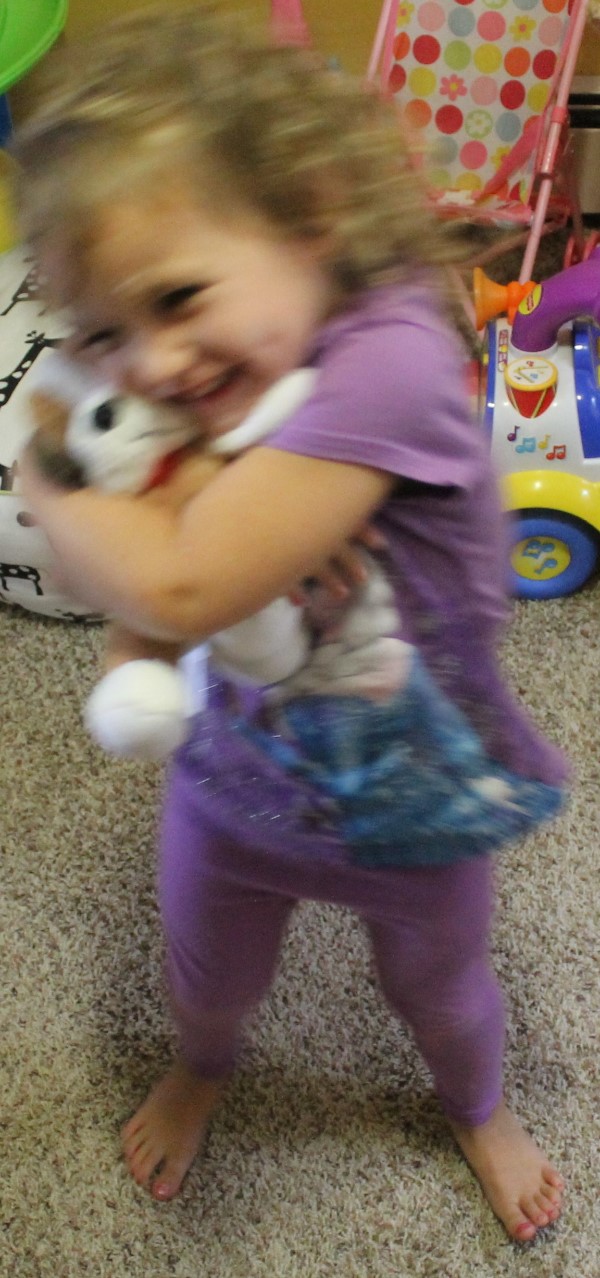
Give it a little hug….
Rain Gutter Shelves
and put it back in place.
Rain Gutter Shelves
Ta Da!

An easy fun project to help keep that well-used play room organized!