Adventures in the Kitchen with Michelle, Roly Poly Zucchinis

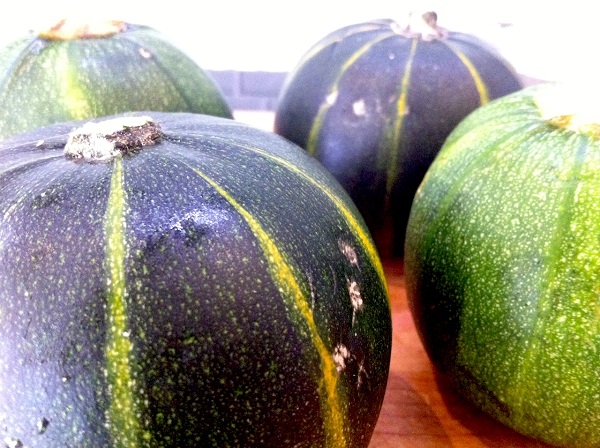
It’s summer and that means a couple of things. One of which is that the Farmers Market is filled with summer veggies,…and school’s out*. I confess to being a sucker for odd veggies – golden beets, giant lemons, and these ‘roly-poly zucchini’s’. A little bit bigger than a baseball, they were just so cute, I had to have them! But what do you do with them? It seems that many people slice them like eggplants and fry them. No, frying, thank you. Next is stuffing. Oh, yes I can do that! I love stuffed peppers, and these would work sort of the same way. Better yet, I had some leftover rice dish from a day or two ago that was awesome (http://www.pbs.org/food/kitchen-vignettes/tunisian-spinach-rice). You could use whatever you have, leftover fried rice from Chinese take-out, a rice pilaf from a couple of days ago, maybe a stuffing tidbit you could add some more diced and sautéed veggies to to make it go further. Mac n’ Cheese, ramen noodles,….Any way you do it, they’re fun and a cutesy single–serving veggie goodness bomb!
 
Adventures in the Kitchen with Michelle, Roly Poly Zucchinis


Roly Poly Zucchini’s (aka – Stuffed Zombie Heads*) 


Step 1:
 Roly Poly Zucchinis
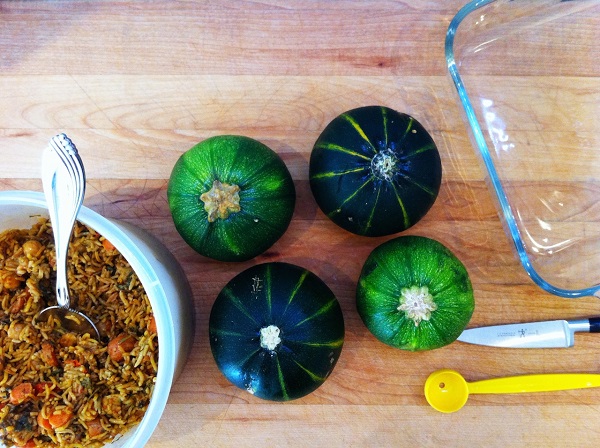
Get those little zukes out and wash ‘em up. Preheat that oven to 350deg.
 

Step 2:

Adventures in the Kitchen with Michelle, Roly Poly Zucchinis

Decide what you’re going to fill them with. Get an 8”x 8” dish and put a little olive oil in the bottom. Find your mellon baller (or a round spoon) and a paring knife.
 

Step 3:

Adventures in the Kitchen with Michelle, Roly Poly Zucchinis
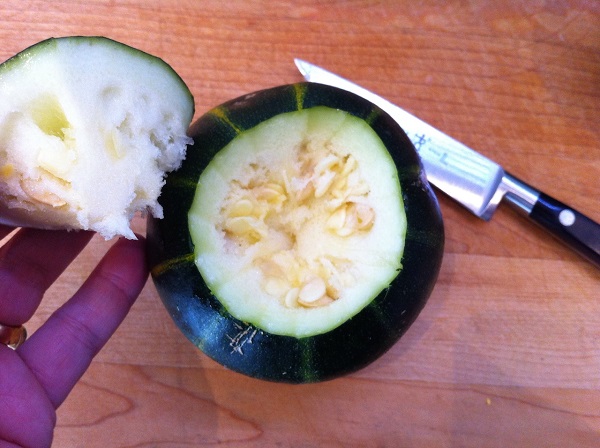
Cut off the tops as if you were carving a pumpkin – they are cousins you know. Using the melon baller, scoop out the seedy innards ,…eewwwww! But leave the flesh – it’s yummy.
 
*This is about the part where my son, who’s been off from school and spending his rain-days binge watching The Walking Dead, comes in and says “Hey, they look like little zombie heads…” – “…braaaaains….crrr..crrrr!” So we all had a good laugh and, yup, it looked like a shrunken zombie head when I was done – LOL
 

Step 4:

Adventures in the Kitchen with Michelle, Roly Poly Zucchinis

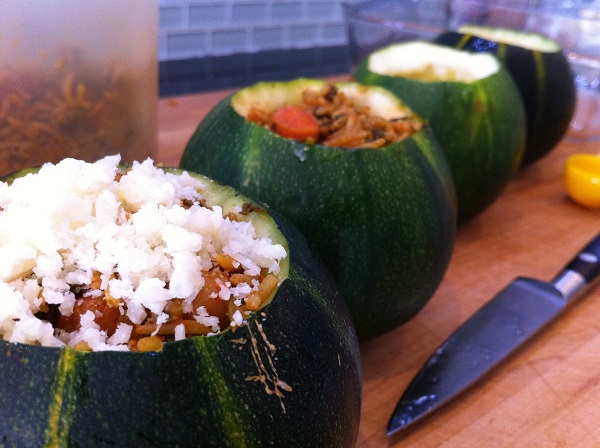
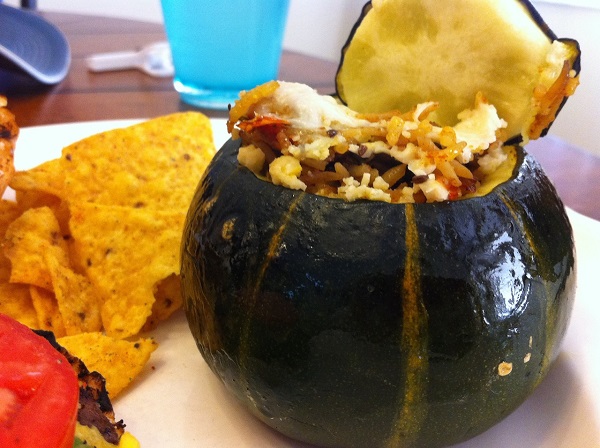
Fill them with you delicious mix and top off with a little parm cheese, just to be showy! If you aren’t feeling all vegetarian, those Chicken Meatballs from Murrays are a perfect fit too. Find them in the fresh Organic chicken section – perfect if you’re feeling both healthy and lazy (no, that’s not an odd combo here). Pre-made and delicious for the lazy me, lower fat, GMO free Chicken for Ms.WannaBeHealthy.
 

Step 5:

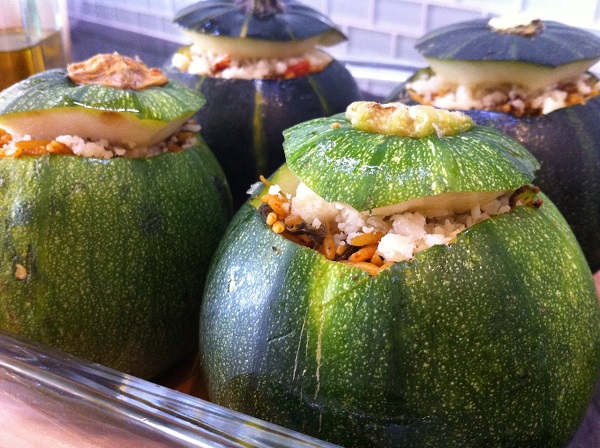
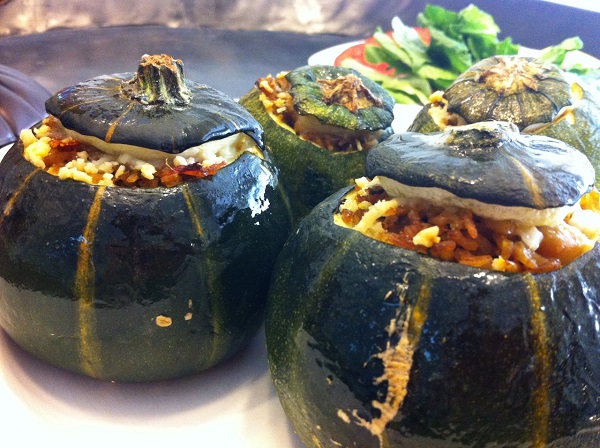
Adventures in the Kitchen with Michelle, Roly Poly ZucchinisSet them in the baking dish. You can put their lids back on (cause they’re cute), but put a bit of oil on them to keep the cheese from sticking.
 

Step 6:

Adventures in the Kitchen with Michelle, Roly Poly Zucchinis
 
Get those bad boys into the hot box for about 30 –45 min., depending on what you filled them with. These zukes have a slightly tougher skin so they stand up to being filled, but not like a hard squash so you can eat the whole thing.
 

Finale:

Everybody got a ‘serving’ (zombie head! – LOL) and it made a vegetarian side dish for some summer burgers that was fun for all. Even my meatarians were impressed !
 
Roly Poly Zucchinis
Yum!
   
 
Michelle Beal
 

In the Garden — Plumerias

Perhaps I feature my plumerias too much but I think they are so beautiful and so rewarding for the little care they need.  I have several plumerias–all given to me as branches by friends.  When I see them in Home Depot or at a nursery, selling for top dollar, it just makes me shake my head.  These plants are the easiest plants in the entire world to propagate.  Maybe a bit of an exaggeration, but totally easy.

Most of my plumerias are in the ground now because they just got too big to keep in pots.  They can’t handle a freeze and I know that every winter there’s a chance that I’ll lose them.  So I cut one or two branches off of each flowering mature plant every summer, and stick it in a pot of potting soil.  I use Miracle-gro.  I’ve used other soils but my plants always do better in Miracle-gro.  The new plumeria will be the same color as its parent.  (I’m not sure “parent” is the correct technical term, but I’m using it!)
In the Garden -- Plumerias
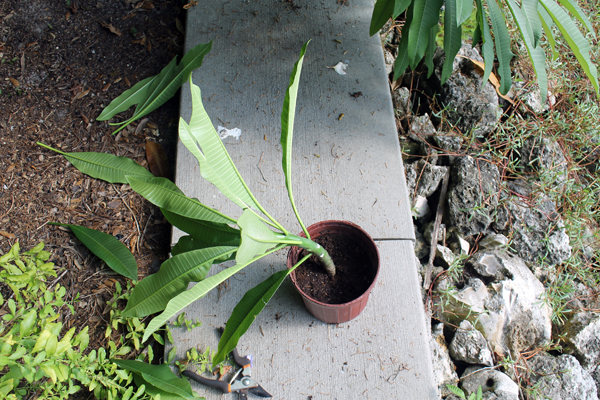
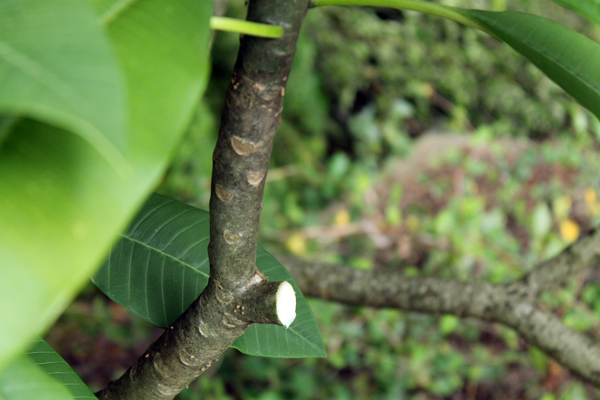
Just cut a branch off at a fork on the plumeria.
In the Garden -- Plumerias
Stick the branch in a pot with moist potting soil. I usually put the cutting in shade until the next year.

Usually it takes about two years to bloom, but I just potted this one last summer and it will be blooming in a few weeks.

In the Garden -- Plumerias

In the Garden -- Plumerias
Buds on the one-year-old plumeria.

I also have one large pink plumeria that has had seed pods twice.  I gathered the seeds and never planted them. 
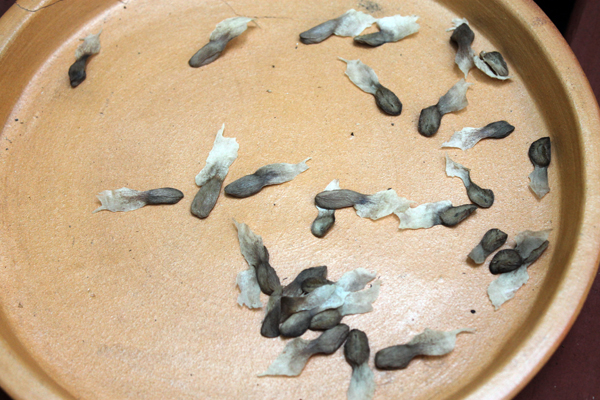
In the Garden -- PlumeriasSo while I was sticking that branch in a pot, I threw the seeds into another pot of soil.  I don’t know much about growing plumerias from seed other than they are not necessarily the same color as the parent.

And here’s some of the various colors that I already have.

In the Garden -- PlumeriasIn the Garden -- PlumeriasIn the Garden -- PlumeriasIn the Garden -- Plumerias

In the Garden -- Plumerias
This one is actually my neighbor’s plumeria. She gave me a yellow one but it only bloomed one time. But it’s big and leafy green now!

I put super bloom on the plants every week during the growing season.  They also like full sun, or at least morning sun.  Once it gets cool, I put the pots in the shed and never water them again until I pull them out early in the spring.  Then I repot them and give them some Epson salts so they’ll green up.  That’s it!  Easy peasy. 

Works in Progress, July

I didn’t get many projects completed this month besides the easiest tote ever and the easiest tote with options.  Plus a dress so I could see how it would work for the Frozen Costumes.  The little girls have picked out a different pattern so now I’m making a second dress to see how that one fits.  Need to get that done by Friday so they can try it on.

This is what my sewing corner looks like right now…

Works in Progress
I’m so far behind!

Back to work!