Last month I took my son on a fabulous trip to NYC, via Brooklyn thanks to some of my favorite relatives. Can I have so many ‘favorites’ ?? Why yes – I can !
While on our trip we decided to spend at least one whole day doing the Brooklyn scene. Wow – what fun. Brooklyn Bowl (the coolest bowling alley eveah!!! ), the Brooklyn Flea (more coolness) and a dinner at Fette Sau. Now, I’ll tell you all about that later, but there was another, more casual evening that we ate at yet another fantastic restaurant there called Bar Corvo. It was walking distance from their apartment….ahhhh, Brooklyn. Jes warned me that their Oxtail Ragu was something I’d have dreams about – she was right. OMG! It was so delicious, and served over a gnocchi like I’d never had – like mashed potatoes and ricotta cheese (yes, I’m drooling a bit as I write this!). Honestly, it was ‘semolina gnocchi’, and from what I understand, it’s not commonly served.
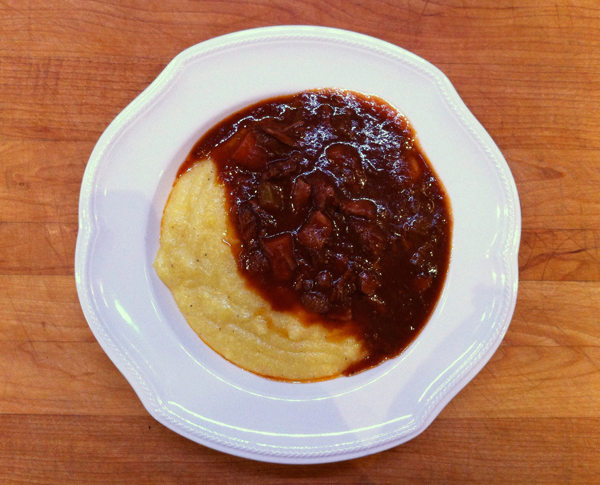
I returned from this trip vowing to attempt to duplicate the dish. I already have in my repertoire a Beef Shank Ragu recipe that I really like – and it’s very close. I made it for the family the other night and thought I’d share it with Jes…and then I thought, why not just Post it. I’m just too lazy to re-rye all of it, so, here it is.
Beef Shank Sauce Over Polenta Recipe – Anya Fernald | Food & Wine
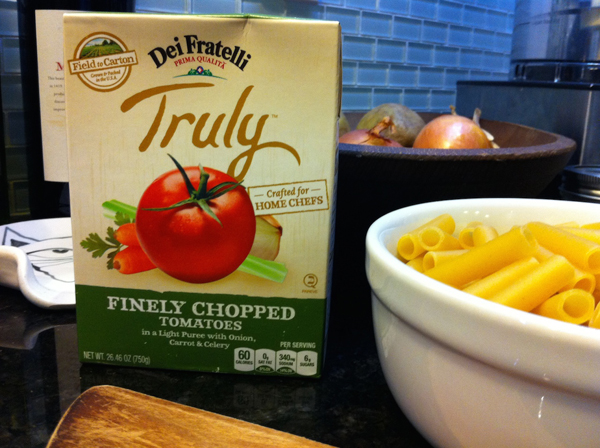
The difference in my recipe would be, next time, to chop the veggies very fine. And start with my Truly Tomatoes, Rustic Style. It’s my cheater bolognese sauce starter.
Getting oxtails here isn’t the easiest thing. You have to call ahead, they’re expensive, and there really isn’t much meat on them. I really do like the shanks, but get extra bone if you can for the marrow. It melts out and into the sauce and is one of the keys. The next ‘key’ to my Bar Corvo riff is adding a heaping tablespoon of brown sugar.
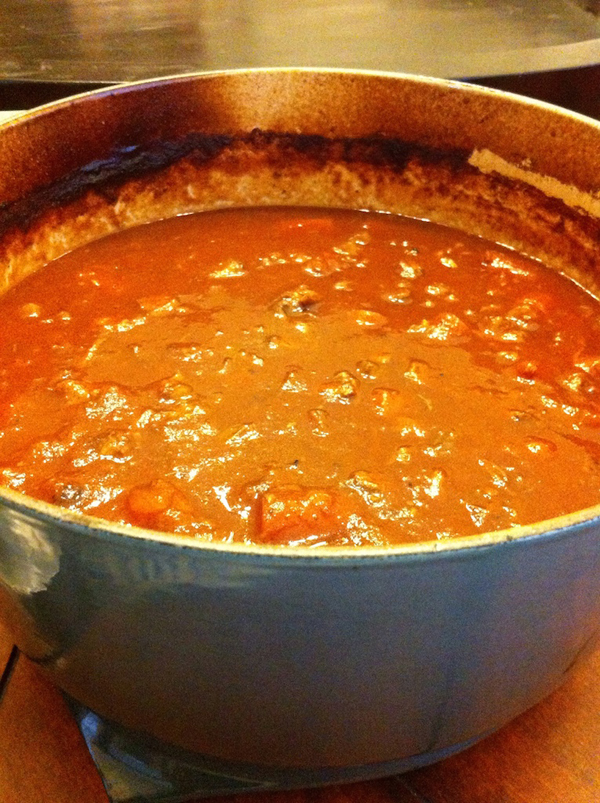 Still fabulous, even with the chunky carrots. The taste – so much like the restaurant! It makes me want to work on that gnocchi – but that’s another meal time. These guys have been smelling this for hours and are ravenous! Make some polenta and you’re good to go. Hmmm, you may swirl in a bit of ricotta or cream cheesiness for that restaurant effect. ( I’ll be making that semolina gnocchi later, maybe tomorrow. )
Simple Polenta:
6 cups of boiling, salted water
1-3/4 Cups Cornmeal
Sprinkle, while whisking the cornmeal into the boiling water. Continue stirring until it thickens (careful – a big dump = a big lump), and then stir occasionally to cook, about 15min. Add in some butter, or cheesiness – spoon into bowls and top with the ragu.
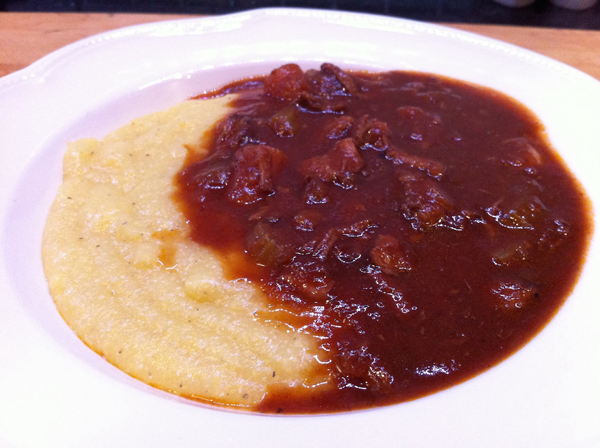
It’ll never be quite like theirs, but it can remind me of good times whenever I make it.
Michelle Beal
http://badzoot.com
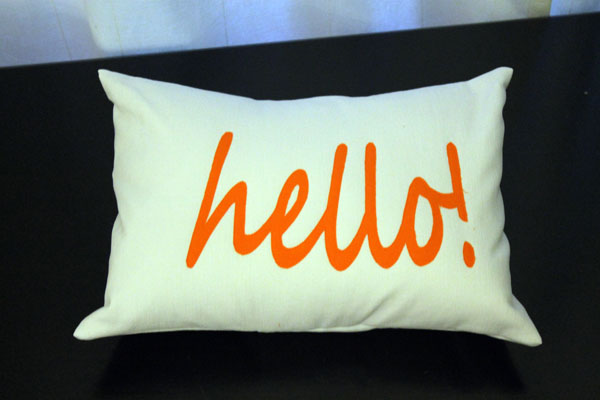
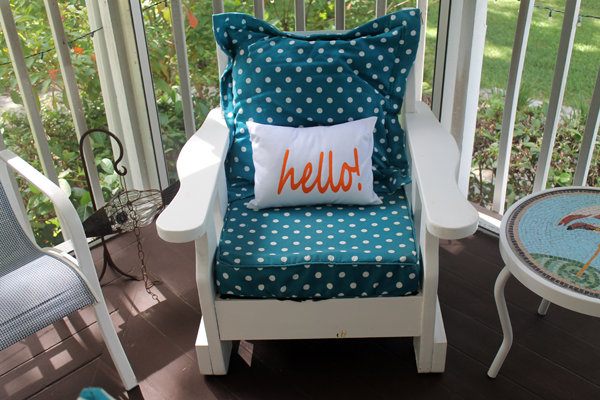
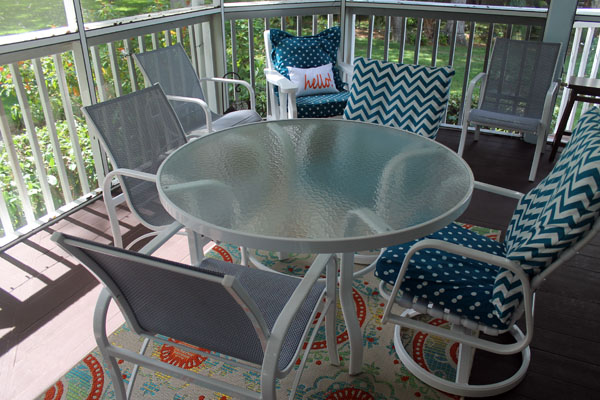 I used the same method as I did for the Riley and Jack name pillows. I used the font Segoe Script and printed it out to the size I wanted. In case you don’t have the font on your computer, here’s a PDF file of the Hello! that will fit on a 12″ x 17″ pillow. just click on it.


 Still fabulous, even with the chunky carrots. The taste – so much like the restaurant! It makes me want to work on that gnocchi – but that’s another meal time. These guys have been smelling this for hours and are ravenous! Make some polenta and you’re good to go. Hmmm, you may swirl in a bit of ricotta or cream cheesiness for that restaurant effect. ( I’ll be making that semolina gnocchi later, maybe tomorrow. )


