Adventures in the Kitchen with Michelle, Chocolate Chia Pudding Treat

Chocolate Chia Pudding Treat

Alright Mermaid Weekend is over – that ‘diet starts Monday’ attitude has got to go. Besides, that was like 4 Mondays ago! It’s time to get healthy. Can I crave chocolate and still get healthy? It seems I’m not the only person with this question. I got an email from my favorite online health food site which sports a blog called ‘Health Bites’. In this post, Anita talked about her own chocolate fixations, and a vegan pudding treat made with chia seeds. http://blog.vitacost.com/ cooking-recipe/the-cocoa- pudding-cure.html
Hey, I like those little gems too. I soak them in milk and keep them in a jar for a cool after-workout treat. (That is when I workout!) I don’t make them very thick, so they make a great smoothie addition. I like pudding too, but it’s fattening. REAL pudding, I mean. That includes tapioca pudding, which probably is why I don’t find chia’s caviar-like texture offensive. Now, when I say tapioca pudding, I’m not talking about that nasty stuff in a can – yuck! 

I have drifted away from the real center of this conversation – chocolate! This blogess came across a great way to get a cool, chocolate fix in and the health benefits of chia seeds too. I tried it – and worked great! Come on I’ll show you.

Chocolate Chia Pudding Treat

Step 1: Gather the goods.

1-1/3 cup Almond Milk, unsweetened *
3 Tbl Chia Seeds (black or white)
3-1/2 Tbl. Cocoa Powder
1/4 tsp Chocolate Extract-optional (I keep this around  for extra punch without the junk in chocolate syrup)
1/4 tsp Vanilla Extract (even though there’s vanilla in the milk – is there ever too much?)
2 –1/2 Tbl Agave Nectar *(adjust if using sweetened almond milk)
Note: You can go all organic on this one, without the chocolate extract and of course my Watkins vanilla (a mix of real and artificial). Also, you could switch it up for different flavors, and then there’s always c h o c o l a t e almond milk – OMG – overload!
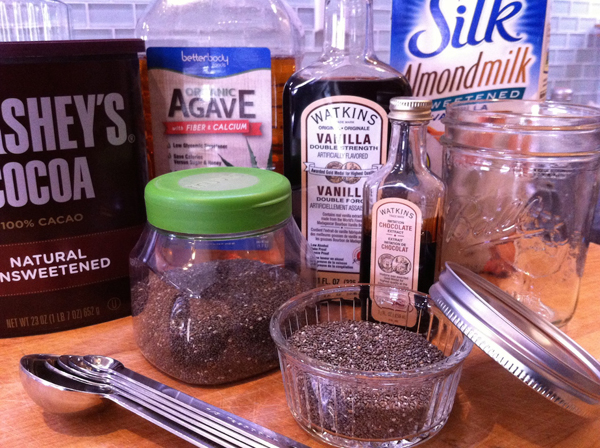
Step 1, gather the goodies

Step 2:

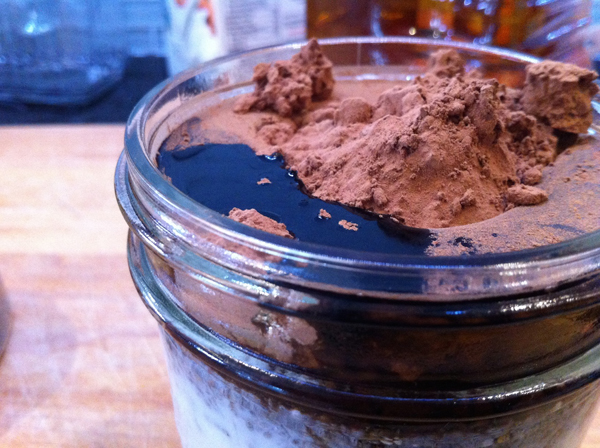
Get a 12oz Ball jar, or reuse your favorite pasta sauce jar – I know you keep them too – and get everything loaded. Stir those seeds as you add them so they don’t stick together too much.

Step 2

Step 3:

Get a lid on it and give it a good shake. It’s like an additional exercise – see, so healthy already! (no, I did not say chocolate shake-weight – don’t go there)
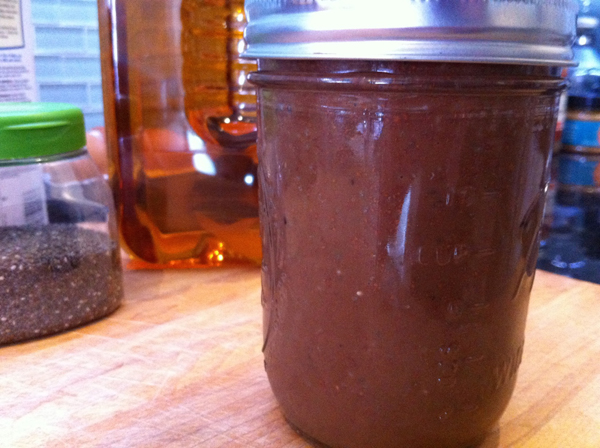
Step 3

Step 4:

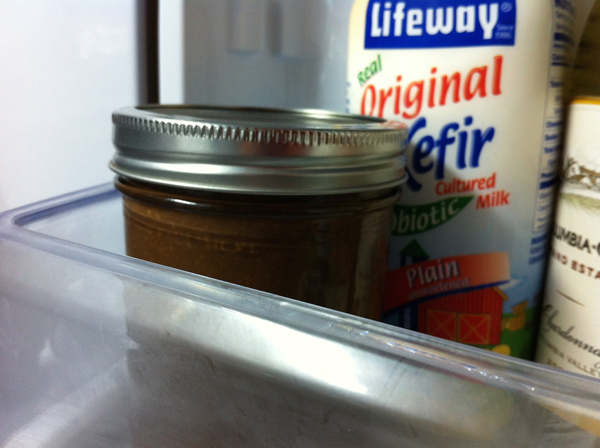
Pop it in the fridge, and give it a shake whenever you think of it. I had to laugh at this photo with the kefir and chardonnay right next to each other. Guess who uses this door shelf the most? ME!

Step 4

Step 5:

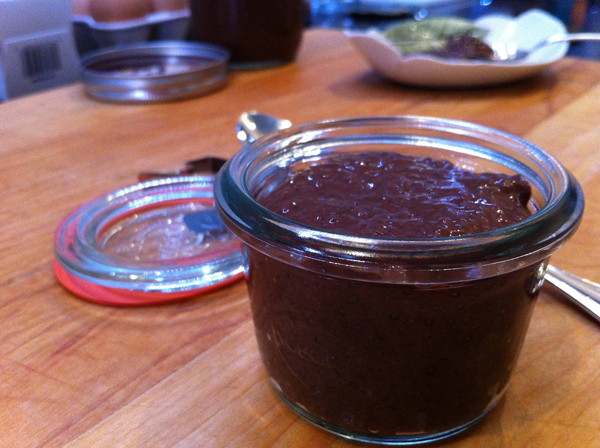
And the next day – TA DA! Pudding! And it’s super chocolatey and yummy and cool and good! Don’t eat too much…those chia seeds are a powerful protein! 
There’s another recipe that says to put this all in a blender to make it smoooooth. So, feel free to try it.

Finale:
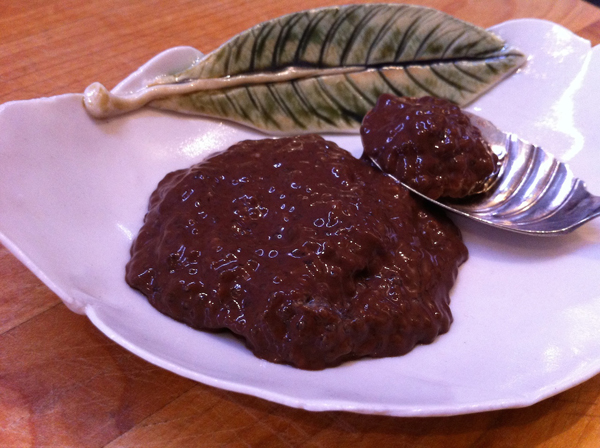
Finale

It’s nice and thick it even stands up on a plate by itself. Well, It did for a bit…then I ate it. I have to test these things you know – you’re welcome.
I think I need to portion control these – my little Weck jars and tiny Ball jars do just the trick (but the Weck one takes better photos)
Now I have yet another chocolate treat. This one the guys won’t mess with. (they’re always eating my diet cookies!) Now – back to that treadmill !

 
Michelle Beal
http://badzoot.com

A Little Project

We have a new guest blogger–Kathryn!  Michelle, Kathryn and I are regular treasure hunters at Renninger’s Antique Extravaganza.  After Kathryn bought a townhouse on Davis Island last year, she immediately started updating it and using her flea market finds to decorate.  She sent me her latest project and I asked her if I could share it on here. 

Kathryn emailed me, “Hey! So I just completed a project that I am super proud of. I know it isn’t much but gotta start somewhere!

Bought these picture frames from Marshall’s for $6 a piece.
 
Frames
Broke a mirror I had and glued the pieces into the frames. Took out the glass on the picture frame. I was originally going to just glue small pieces together to fill the entire space but ended up doing this. I think it turned out good! 

 
frame 1frame 2frame 3Very Cool, Kathryn, and I think it turned out great! 
Adventures in the Kitchen with Michelle, Wood Butter

It’s Spring here in Florida! Yes, I have to quantify that statement because parts of the country haven’t been released from Winter’s icy grip just yet. But here – Spring has Sprung. Unfortunately for me that means spring cleaning – ugh. It’s a dirty job, but someone’s gotta do it. One thing I do, in the Spring and Fall, to maintain the kitchen is to moisturize my wood utensils – of which I have many. I love using wood boards and I have a drawer full of spoons and spatulas of all shapes and sizes! Some are kinda pricey, and some are antiques. So, I try to care for them consummately. Years ago, I used a product made in England that looked like a clear shoe polish and it smelled of orange oil. It was nice, and lasted forever. When we moved it went missing. It was old anyway. I never did find a replacement and I simply used mineral oil for a long time. One day I spotted a Pin (of which there are many it seems) about wood butter – Oh, yes, I remember that ! Wait – I can make this myself? I could hear my favorite Littledeer tools squealing with delight from their resting places. “Please Mom – we’ve worked hard all year – we’re soooo dry!” Not to mention the guilt of looking at my Grandfathers old wood bowl looking pale being stocked with onions these days instead of the butter that used to be ‘kneaded’ in it. Poor old things.
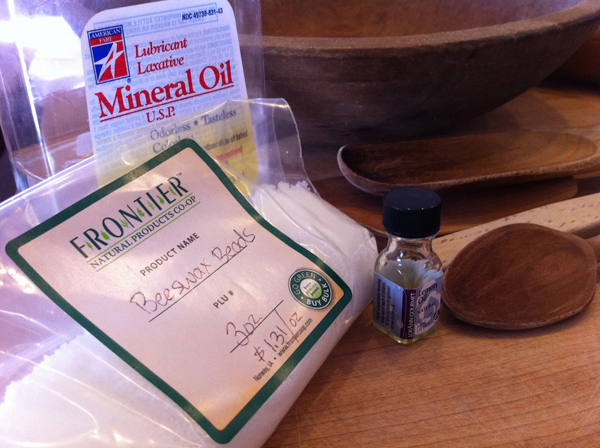
I looked around the house and discovered that I had just enough mineral oil and some lemon oil too. I even had some leftover beeswax beads from another project. These beeswax beads are refined and can be found with the herbs, etc. at the health food store. But, you could use the tan colored block of wax too. And yes, they all smell bad. Why did I think that beeswax would smells like, well…honey? It doesn’t. It’s remarkably petroleum smelling. Weird. That’s where the orange or lemon oil comes in. It’s edible, strong and smells great.  So, here’s how I did it…

Wood Butter

Step 1:

you’ll need…
4oz Mineral Oil (1/2cup)
1oz Beeswax (about 3-1/2 Tbl of beads)
3 or 4 drops Lemon or Orange Oil

Step 1, Ingredients
Step 2:

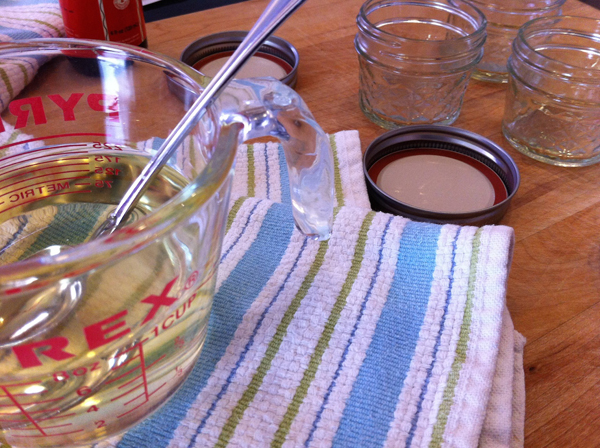
Using the double boiler method, warm the mineral oil and beeswax. 

Step 2
Step 3:

Combine them and stir. Add in the citrus oils.

Step 3

Step 4:

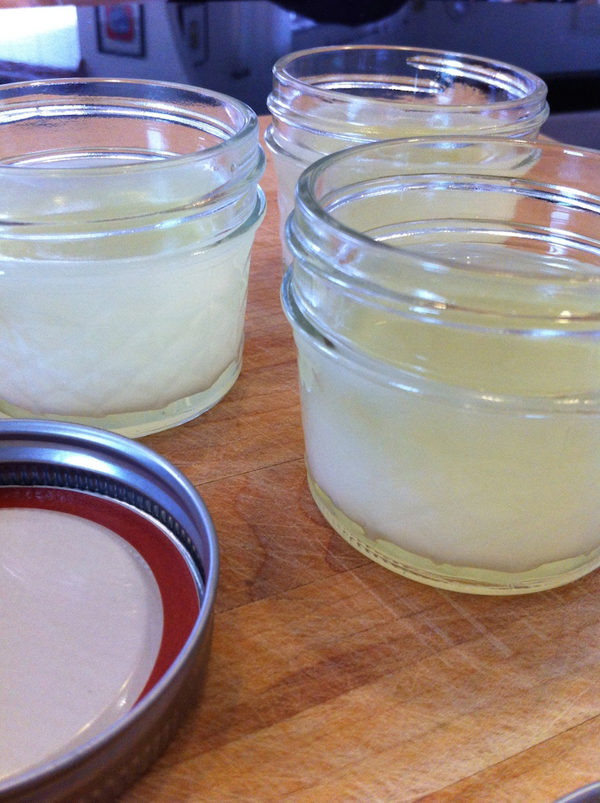
Pour into jars and let cool. It doesn’t look like much – a little goes a long way!

Step 4
It’s all cool and milky looking in those cute little jars! There’s even 2 extra jars to give away.

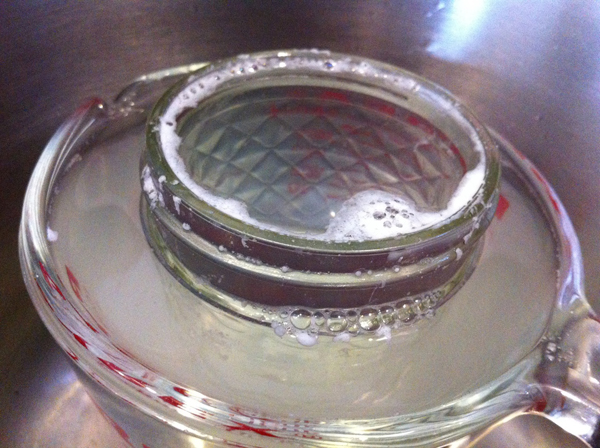
Clean up :

DO NOT just pour the excess down the drain – wipe it out with a paper towel and then soak in hot water with some Dawn to break up that wax. 
Beeswax + Plumbing = Bad Things!!!

Clean Up
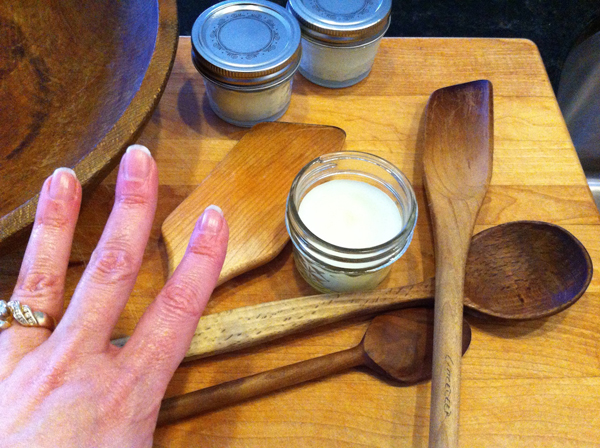
Now go and rub down all of your wood tools with it – Oh, and look at those hands! Seems that skin loves it too !!!

HandsBut that smell? Yes, it still had a tinge of Vasoline smell. Here’s the crazy bit. The next day, after the wax/oil had really soaked in….the tools no longer smelled like beeswax. Just wood tools – weird.
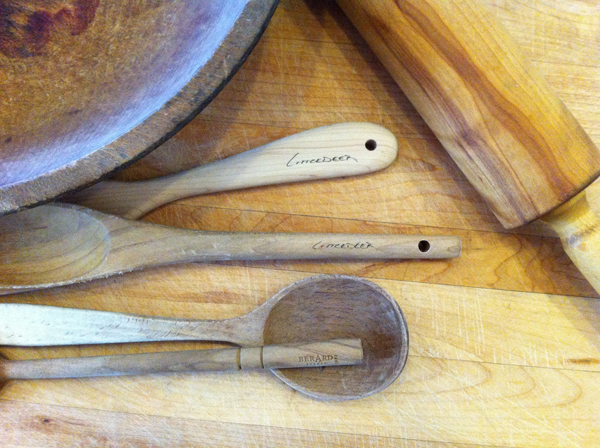
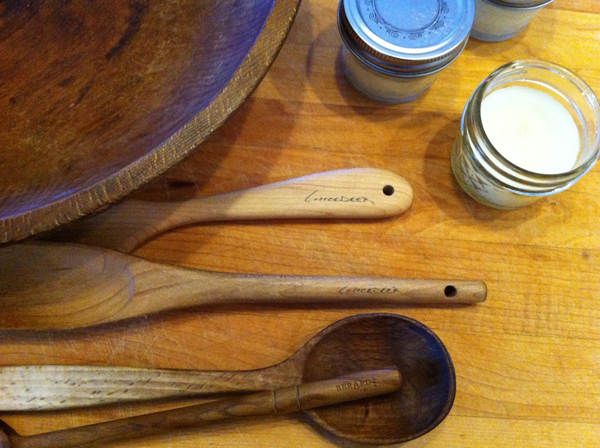
Look how happy they are – my tools are ready for another year of work. Maybe I’ll treat my tools to a semi-annual rub down. (my husband would be jealous!)

Wood items before
Before
And After!
And After!

 
Michelle Beal
http://badzoot.com