Spring is finally here – and that means outdoor markets. I love outdoor shopping of nearly every kind…art shows, antique fairs and farmers markets. Here in Florida we’re able to enjoy most of them year round. Trouble is, Farmers Markets are traditionally set up in a park or centralized community space in most towns – Florida towns aren’t always set up to accommodate. In fact many of Florida’s ‘towns’ are really overgrown housing developments that sprawl on for miles and evolve into a tax base with a zip code. Presto, instant town. Notice I didn’t say ‘city’. City means a whole other level of bureaucracy and taxing authority that these development dwellers aren’t ready for. The down side is that there’s not real structure or community feel of any kind. No city center or community space to hold things like fairs and farmers markets. To get around all this we rely on parking lots. Our local Rural King allows our farmers market to commandeer their parking lot on Saturday Mornings. (Thank you RuralKing !) There we can get home made preserves, baked goods, plants and flowers, and local fresh veggies. I’m thinking I need to do a little blog about our tiny market, http://www.hernandocountyfarmersmarket.webs.com But that’s next week –
Anyway, on my trip to Beasleys Farm stand, I found many yummy things. Fabulous poblano peppers, tomatoes to die for,…and beets. Ooooo, I love beets! They’re so good for you too. My Grandmother used to make what she called Harvard Beets. Slightly less pungent than standard pickled beets. Sort of the bread-n-butter version for beets. It’d been so many years since I’d had hers, and I’d been so used to the over-the-top taste of the store jarred variety,…could I do it? Seeing as everything else I’ve tried (for the most part) has turned out to be far and away better than the commercially produced version, I had to give it a shot.
HandMade Harvard Beets
Note: Most Harvard Beet recipes are for dinner consumption. Many start with already jarred beets. They’re served with a thick sauce laced with cornstarch and butter. I planned on canning these, so the butter was out. Besides, I don’t ever remember Grandma putting butter in those beets – and she put butter on everything!
Step 1
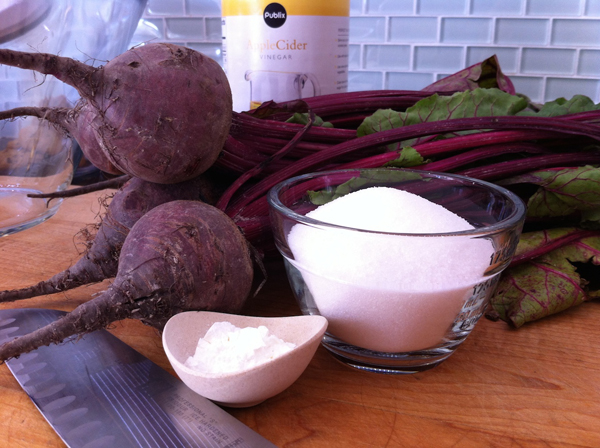
1-1/2 lbs Fresh Beets, trimmed
2/3 Cup Sugar
1 tsp Cornstarch * (if you want a thick syrup, use 4tsp)
1/2 Cup Cider Vinegar
Get out some jars to sterilize, unless you plan on just leaving them in the fridge, which is fine too. There are never half-eaten jars of beets here. If it’s opened – it’s consumed. Yes, I will eat an entire jar of pickled beets…alone. I have to portion control myself.
Step 2:
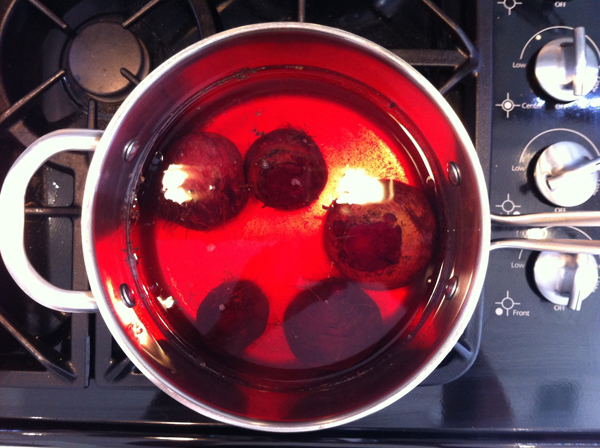
Take the beets, and get them in a pot and cover with salted water. Simmer them for about 40 min. until fork tender.
Step 3:
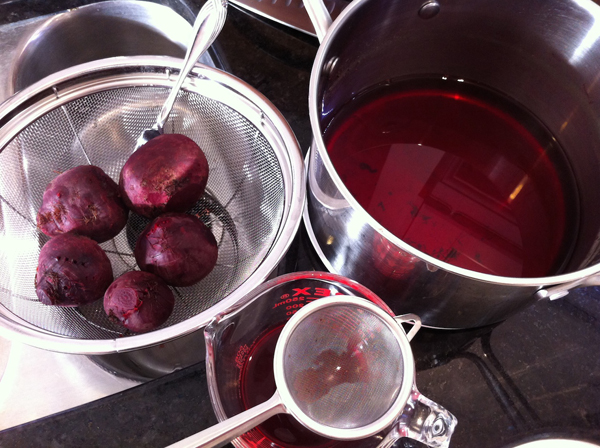
Drain the beets and save the liquid. I strained mine thru a tea strainer to catch any less-than-apetizing bits that were in the juice.
Step 4:
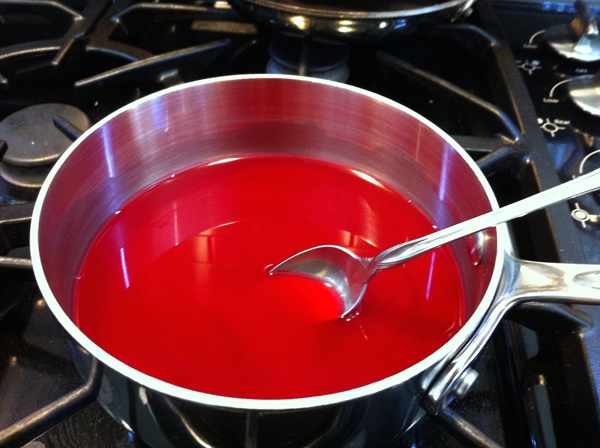
Take 1/2 cup of the liquid and add the sugar, corn starch, and vinegar. Cook up into a syrup making sure the sugar has melted and the cornstarch is thickening. Feel free to double this to have extra if you’re jarring the beets. Processing means you’ll need to cover the beets in the jars.
Step 5:
When the beets are cool enough to handle, peel them by rubbing the skins off onto a paper towel. Unless, you use a piece of plastic wrap under that towel your hands will resemble an unpopular skin condition. Maybe not your best look – take out some insurance.
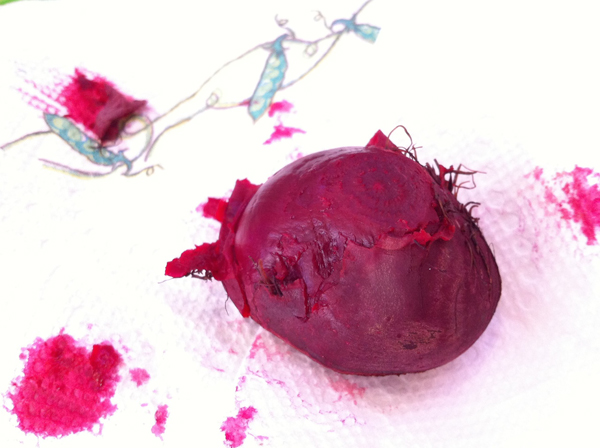
Step 6:
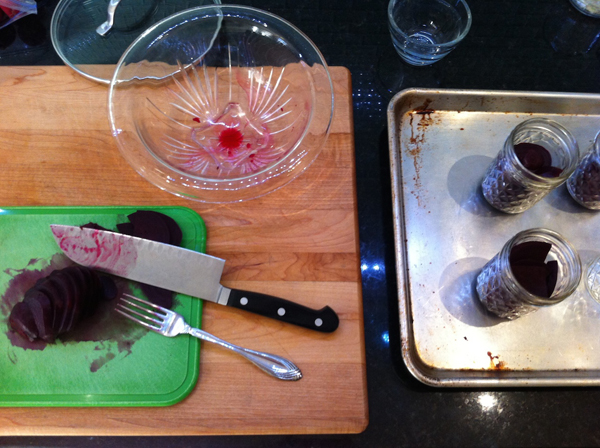
Slice up those beets and get them into their respective vessels. Note the green cutting board, there’s a reason the Indians use beets as a fabric dye…your lovely wood cutting board will forever be Easter egg pink. The green plastic one cleans up in the dishwasher.
Step 7:
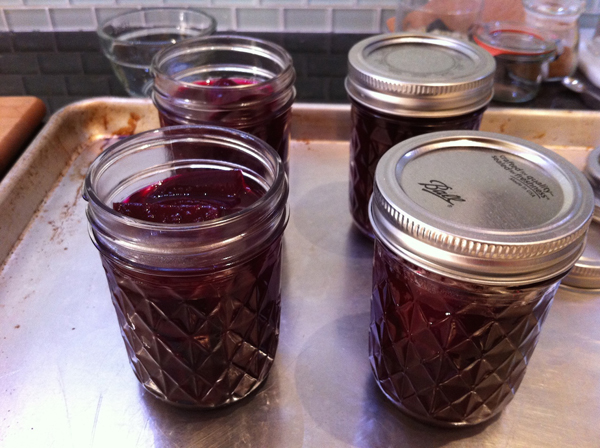
Top off the jars with the warm liquid and get the lids on.
Step 8:
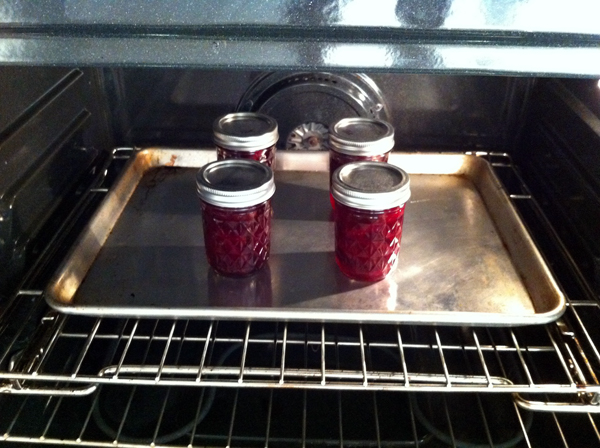
If you’re processing them, get the jars into a 250deg oven for 30 min. Don’t forget to label them. They look a lot like a fruit jam – pretty disappointing for a Sunday morning pancake fest!
Finale:
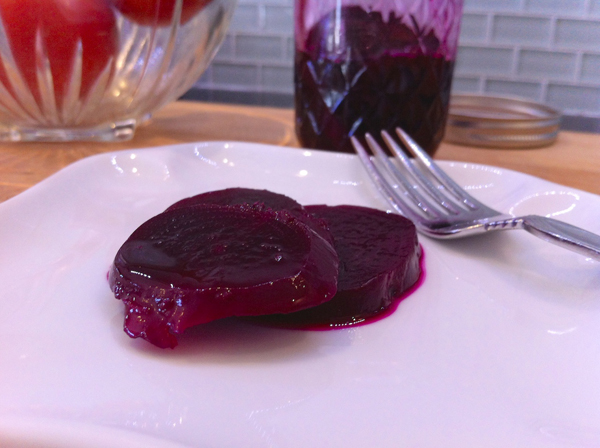 Let those beets marinate for a day or so. Voila’ Harvard Beets ! Slightly sweet, just like I remember. There’s an honest beet flavor, too. Not those watered down tasting things from a salad bar…these are firm and fresh tasting. No gooey syrup, but just thick enough to hang on the slices. Now, I need a side of cottage cheese and it’ll be just like I remember. Yuuuummmmmy!!
And, yes, I’ll still eat the entire jar in one sitting,….and call it lunch.
But wait, after you’ve eaten the beets, don’t throw out that liquid! I’ll show you what I do with that next week.
Michelle Beal
http://badzoot.com
[yumprint-recipe id=’8′]





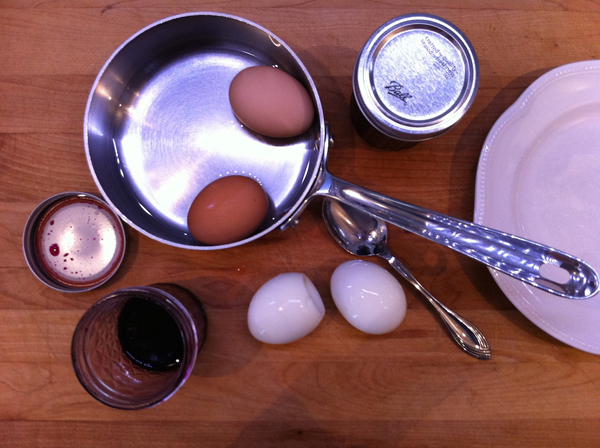
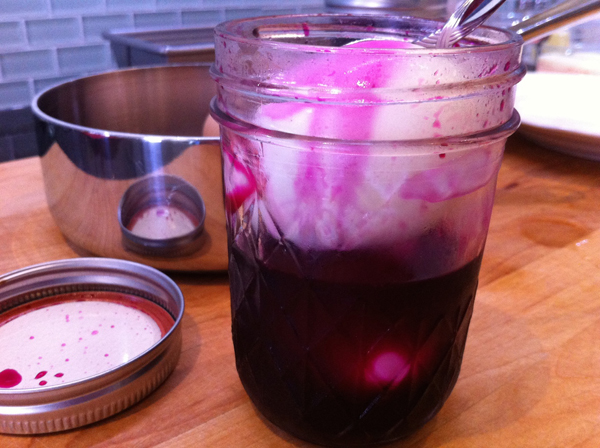
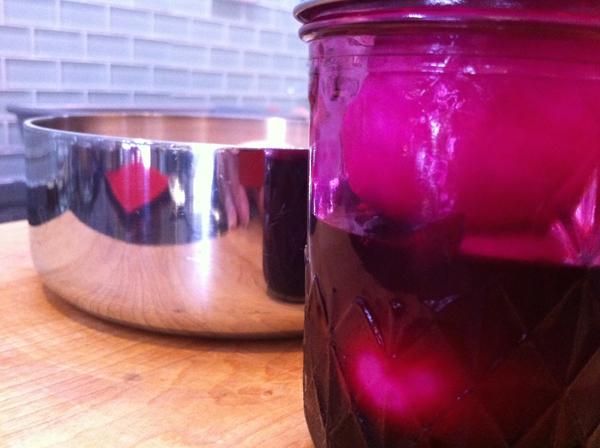
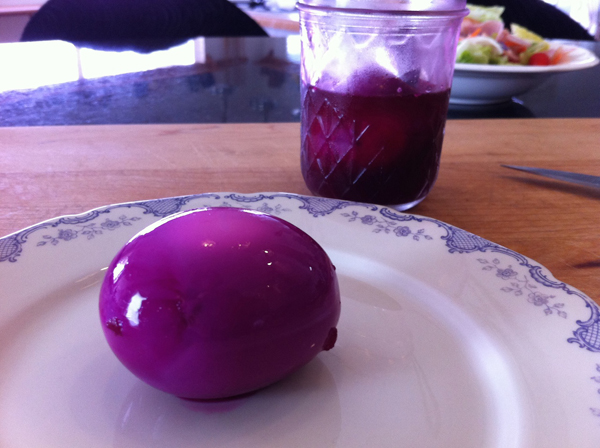
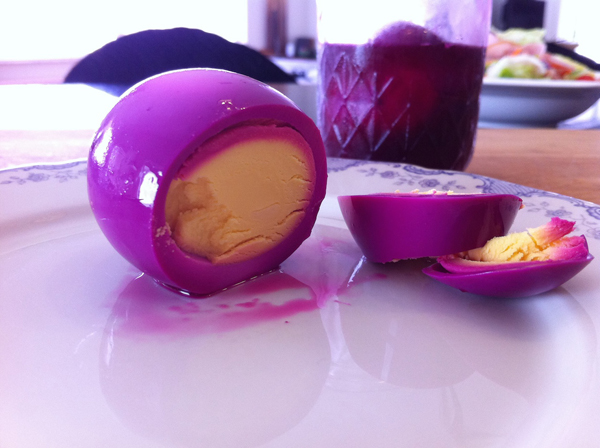 An ordinary boiled egg with a little punch – now, where’s that salad? Deviled eggs with a little heavenly color? Sure – why not!


 Let those beets marinate for a day or so. Voila’ Harvard Beets ! Slightly sweet, just like I remember. There’s an honest beet flavor, too. Not those watered down tasting things from a salad bar…these are firm and fresh tasting. No gooey syrup, but just thick enough to hang on the slices. Now, I need a side of cottage cheese and it’ll be just like I remember. Yuuuummmmmy!!