Piper asked me to make her a mermaid waaaaaaay back in April when I was visiting. Told her that I would get right on it as soon as I got home. Of course, whatever I make for Piper, I make for Addison, Kendall, and Adley.
So now we’re up to four mermaids.
My first thought was to take my Wee Wonderful Pattern that I bought a few years ago and adapt it a mermaid body.

But I couldn’t make it work. Who knew that adding a fish tail to a doll body would be so difficult?? So I decided to just make my own pattern.
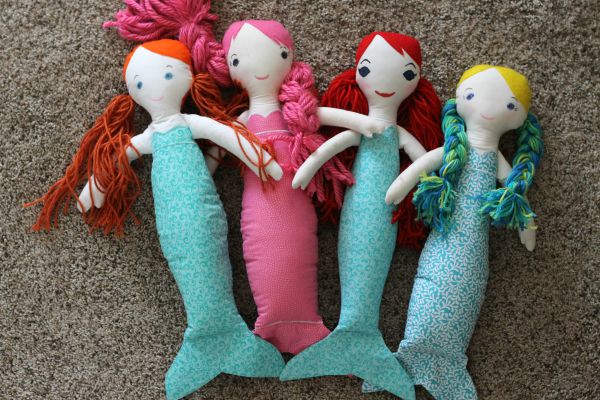
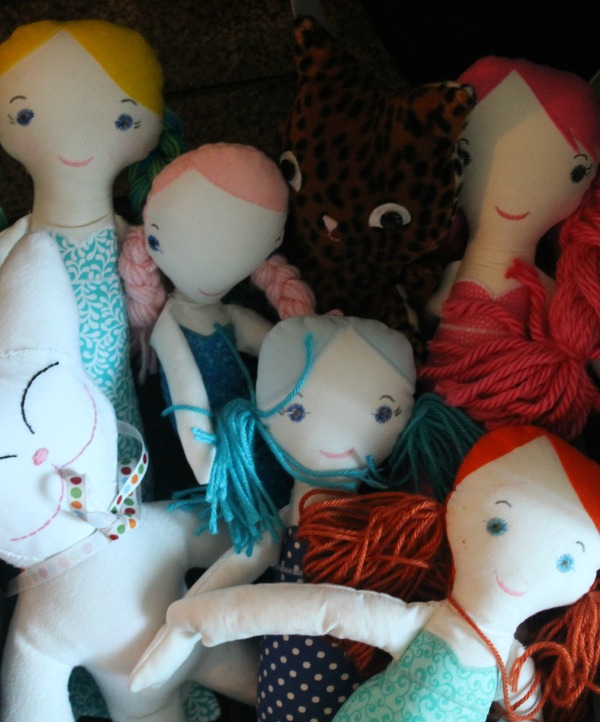
These are the first 3 that I made….
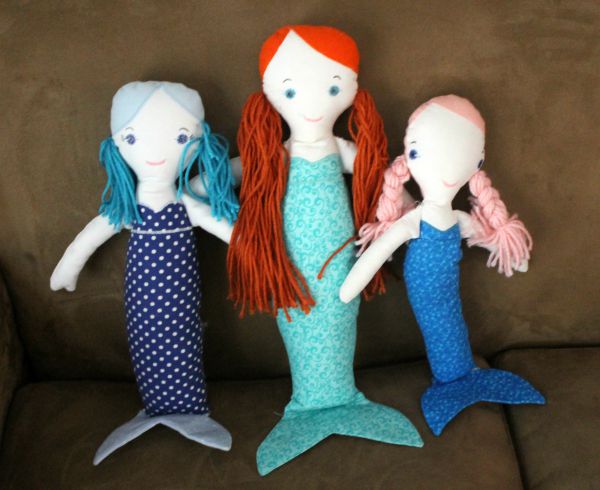
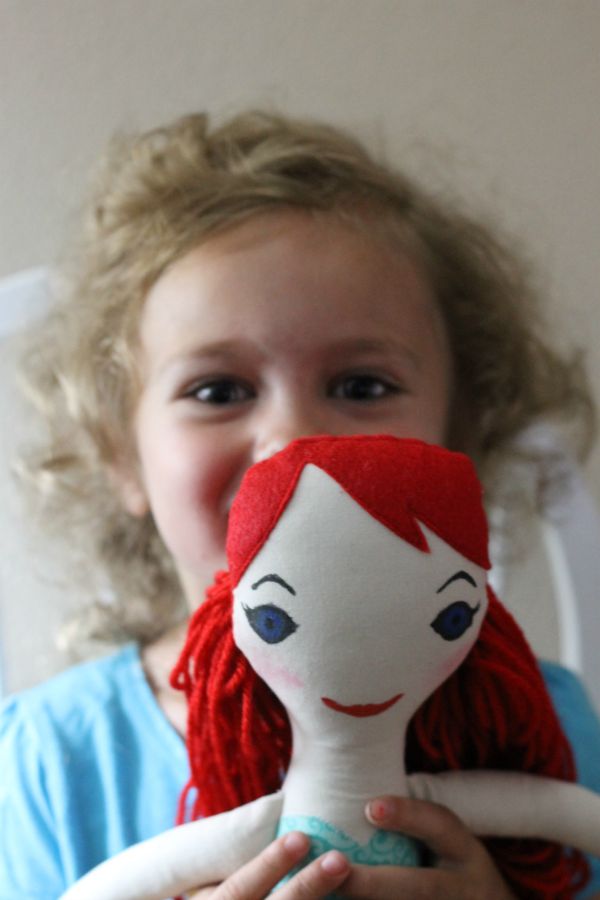
Then my “design” team came for a weekend. They played with the mermaids and came up with some ideas. The doll with the red hair was by far the favorite and I was advised to base the new pattern on her. (Someday we’ll see these girls on Project Runway! Hopefully someone will comb their hair.)
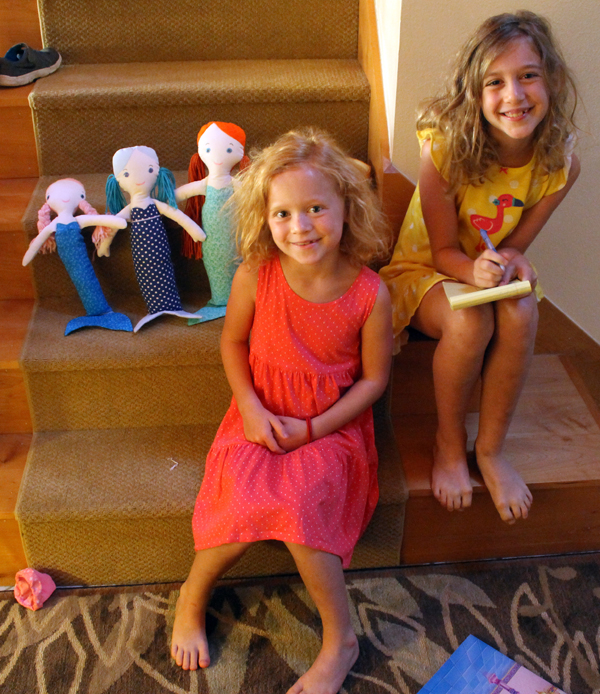
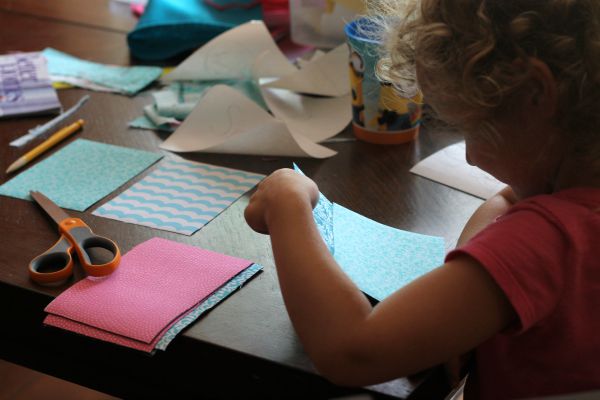
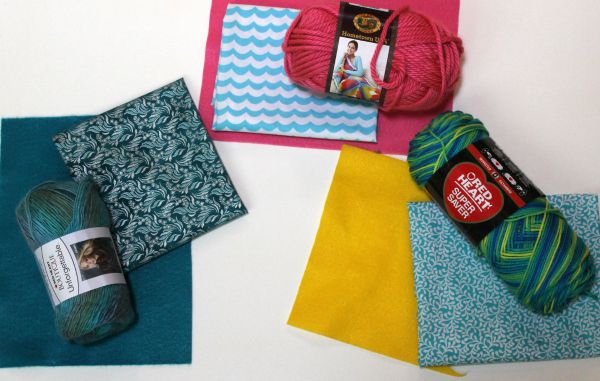
My two little helpers let me take them shopping (since they can’t drive nor have any money) and we came home with more fabric, felt and yarn.
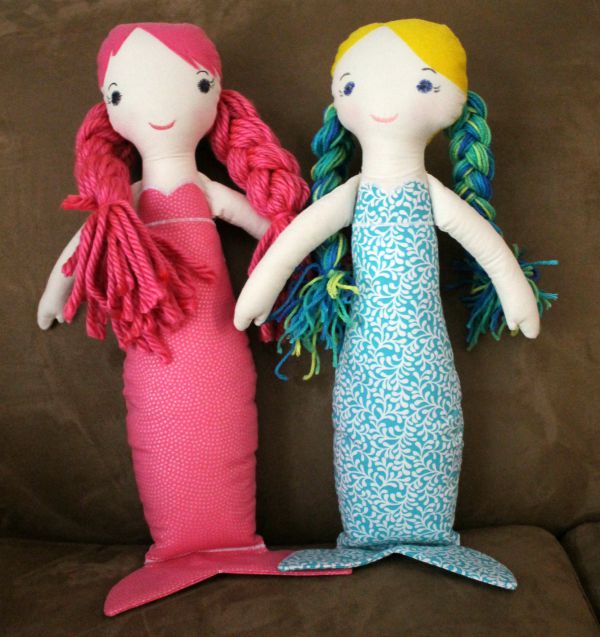
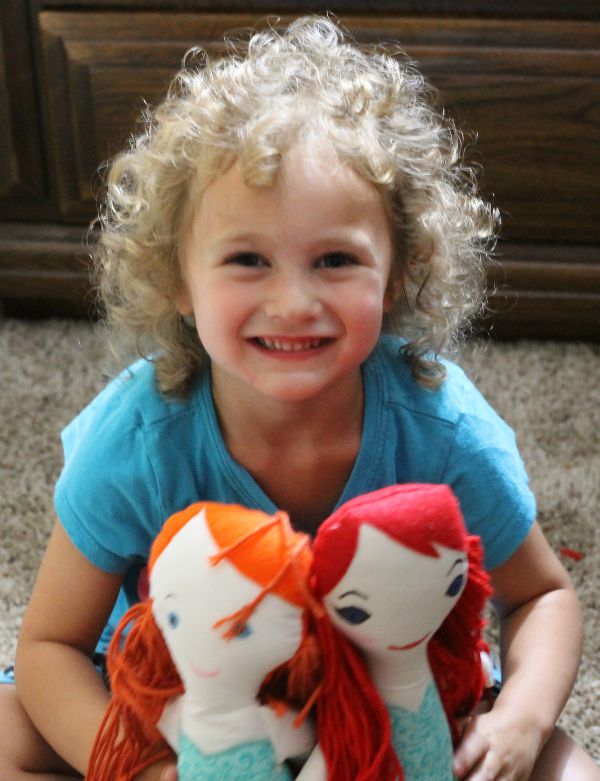
And I made two more….
And took them all to visit Piper and Adley.
And Adley loved her doll….
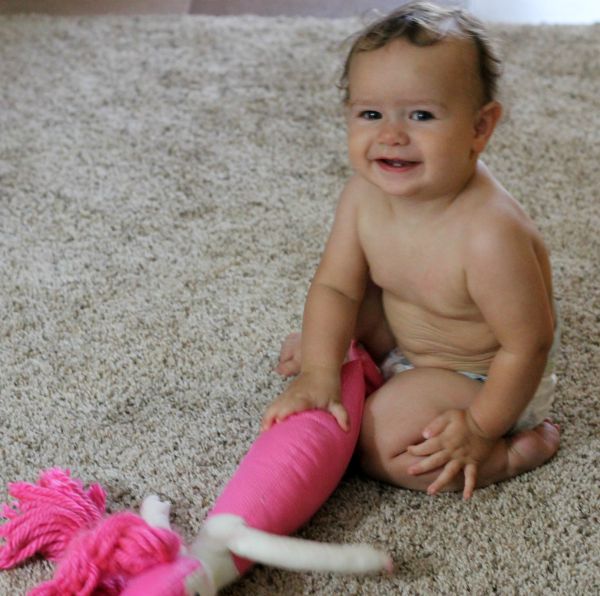
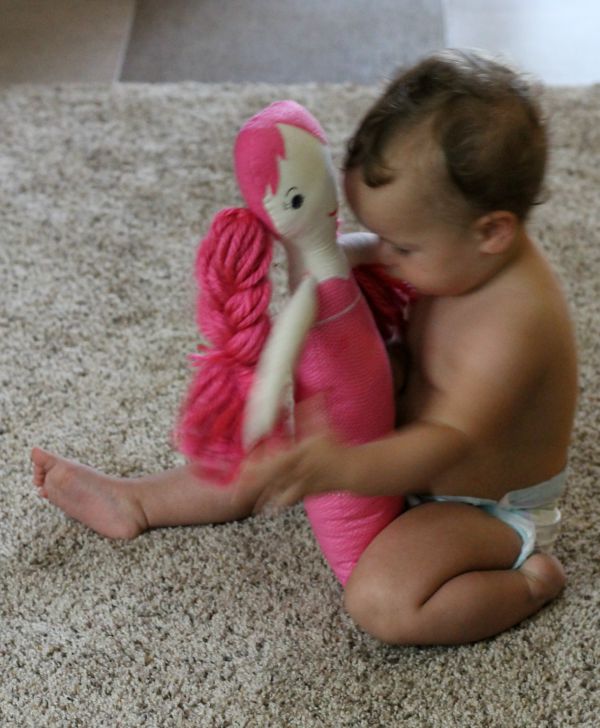
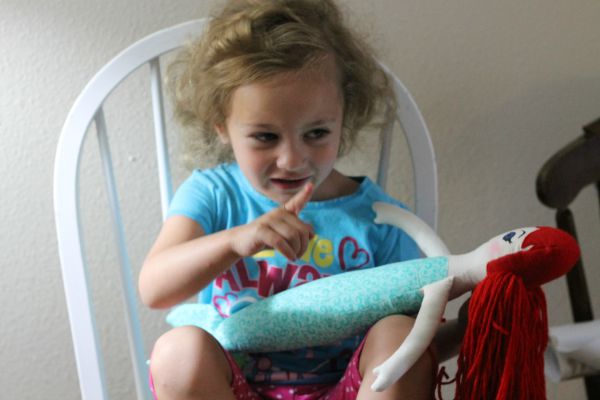
Piper not so much. Once again, the orange-haired mermaid was the favorite.
Time for another re-design….
The problem seemed to be in the way the fins met the body. “Much too thick Grandma!”
(And what exactly is wrong with a big-bottomed mermaid?)
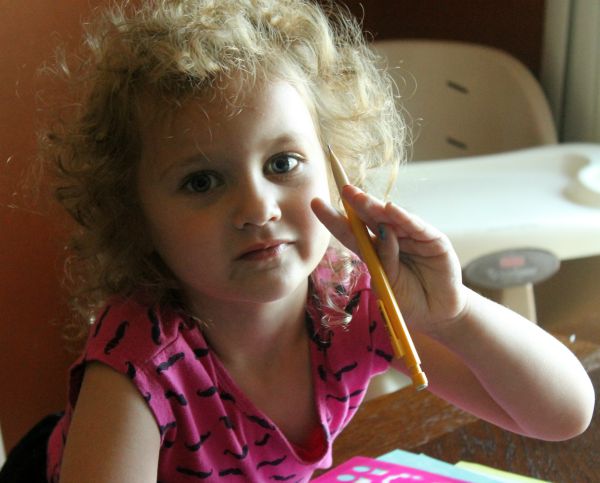
Back to pick up supplies-more fabric, yarn, felt, and fabric pens. I drew a bunch of eyes and Piper picked out her favorite and then I drew some new faces. Piper liked the one with the BIGGEST eyes. (I thought she looked a bit like Amy Winehouse)

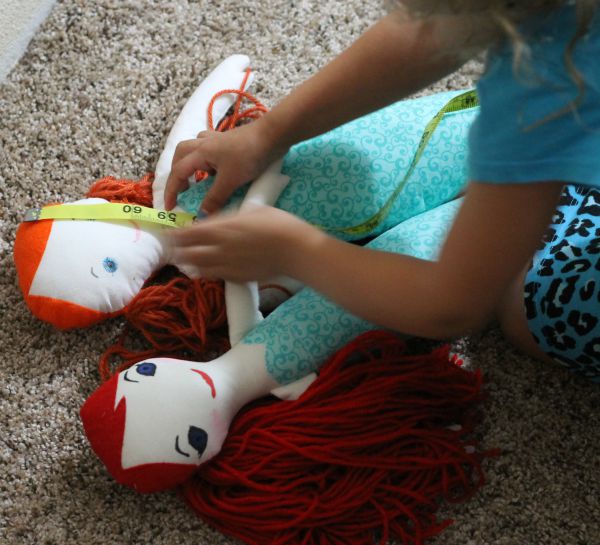
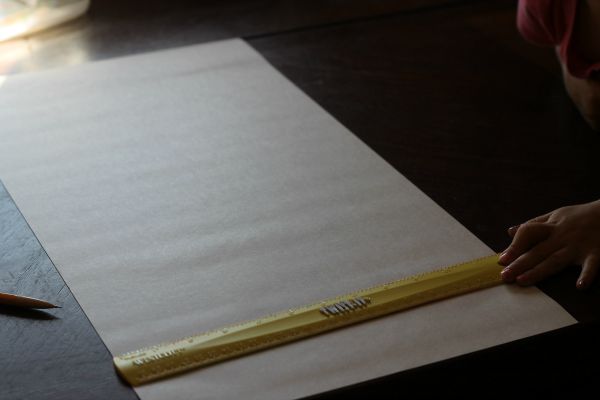
After checking the measurements, Piper decided that her new mermaid was PERFECT!
I’m not ready to distribute a pattern. Still have some of my own changes to make. But here’s some tips if you want to make a doll….
I ALWAYS make the face first. If you have the doll all sewn together and stuffed then screw up the face, you can just toss that baby in the trash!
I use the best polyfil I can get for stuffing. Usually “supreme” or “premium”. After all of that work sewing together all those little parts, I don’t want to take a chance on the polyfil getting all lumpy and clumpy.
I use midweight fusible interfacing on all of the fabric pieces. I started doing this with the Wee Wonderful Dolls because I used muslin for the skin on the first test doll and the polyfil showed through. Although I only use good-quality quilting cotton for the skin now, using the interfacing eliminated that issue and I still use it. I didn’t use it on the tail piece for the first mermaid doll and the seam connecting the body to the upper section ripped! So now I use it on all pieces just to make the doll sturdier.
I used Sharpie fabric makers on the final version. It feathers out a bit after applying so you need to account for that.
The felt I used was “craft” or sometimes called “fun”. I didn’t use wool although I’ve read on numerous blogs that it’s wonderful and doesn’t pill. But it can’t be washed. And I know that these darlings will be well loved and will be tossed into the washer on a regular basis. Wondering how other DIYers handle that? Any comments?
Okay. That’s it! I’m sure that there will be more mermaids, toys, and dolls in the future! Especially since I have my new design team in place!