DIY Name Pillow

Quite some time ago, perhaps when I first got sucked into the vast vacuum of Pinterest, I pinned this from Better Homes & Gardens.
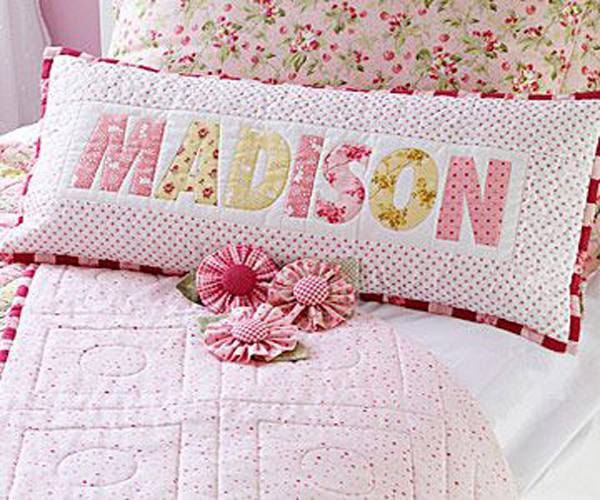
BH&G pillow
Adorable Name Pillow.  The quilt and yo-yos are cute too! I pinned this so long ago that the link to Better Homes and Garden is no longer valid!

And I said to myself, self, you need to make name pillows for all of your grandkids. 

Well, after all this time I finally got two done!
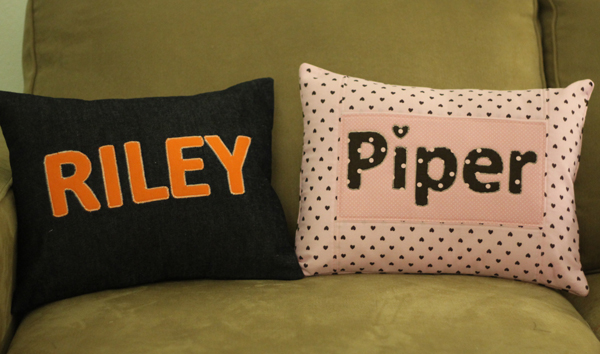
Riley and Piper Name Pillows

A pillow might not be something an almost 13-year old boy wants, but I made it in the colors of his favorite football team–The Chicago Bears.  Blue denim body, orange letters with white applique thread.  I’ve heard that Riley actually said it was “cool”.  Score!

Of course, Piper is only 3 so she’s not so hard to make things for.  Her room is pink and brown and I already had most of the fabric.  Then I took my mother-in-law shopping at Jo-Anns.  I wasn’t even looking for fabric and I found this pink with brown hearts!  That fabric was meant for Piper!
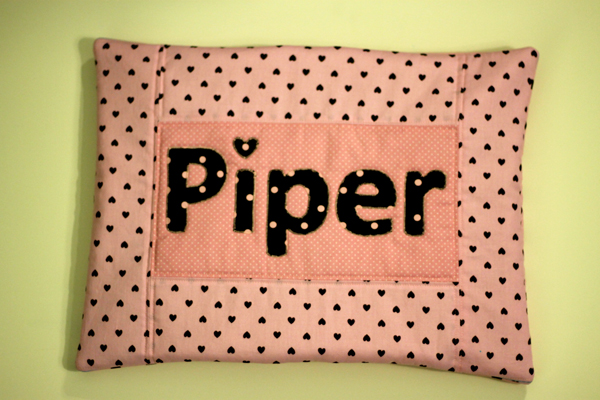
Piper's name pillow with brown hearts

I used a 12″ x 16″ pillow form for both pillows.

Riley’s Pillow

Cut denim and fleece 13” x 38”.  Pin fleece to wrong side of denim and stitch together with 3/8 seam”.

Trim fleece.
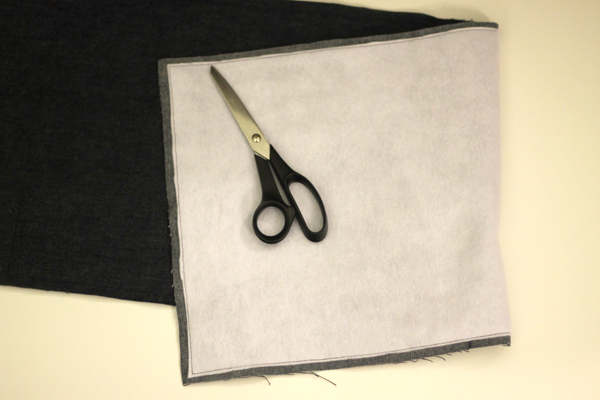
Trim fleece

Finish both short ends by pressing under ½” then turning under another ¾” and stitching.

Fold the denim in half so short edges meet.  Press.  This will be the center of the pillow.  Measure from the center 8” on each side and mark in top and bottom of seam allowances.
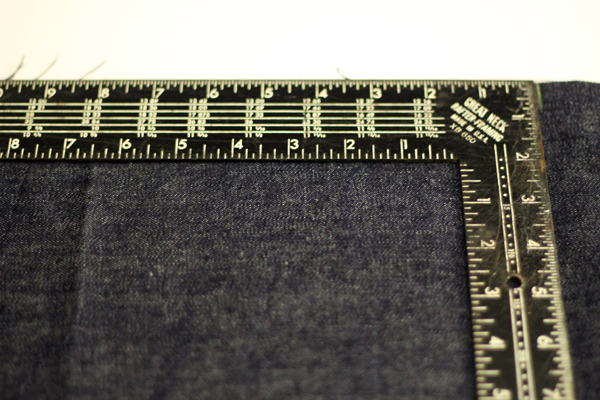
Mark fabric
The center is that fold then mark in the seam allowance, 8″ from the center on each side.

I created the letters in Illustrator but you could also do it in Word.  I used the font Calibri because it is sans serif and has rounded corners. I printed the name out twice and used one set to make sure I had the right spacing for the pillow.  The second set I used to cut the letters from the orange fabric which I had already bonded with “Heat ‘n Bond lite”, an iron-on adhesive that you can get at Wal-Mart or most fabric stores. I then placed the letters and pressed on to the denim and appliquéd with a satin stitch on my sewing machine.
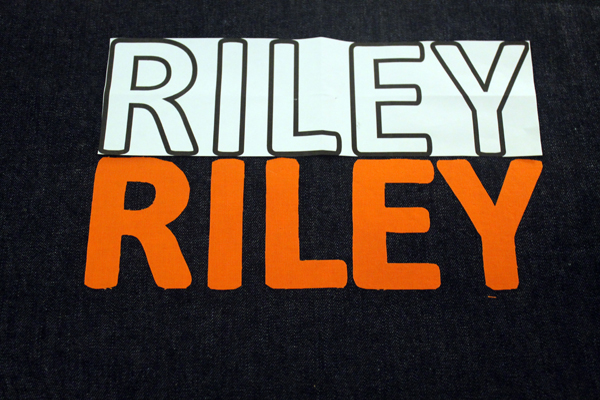
The template and the letters
The template for spacing and the letters

To create the “envelope-style” back to the pillow, fold fabric at marks and fold sides in. 

Fold one side in on the pillow
Fold one side in
Fold the other side in for the back of the pillow
Fold the other side in

Stitch ½” seams on top and bottom.  Trim corners, turn right side out, poke corners out so they are nice and pointy and insert the pillow form.

Piper’s Pillow

Piper’s pillow is a little more difficult.

You’ll need four different coordinating pink fabrics, fleece, and muslin.

I made the name the same way as Riley’s except I did not applique at this point.  This time I wanted the name to fit in a 5 1/2″ x 10 1/2″ space. 
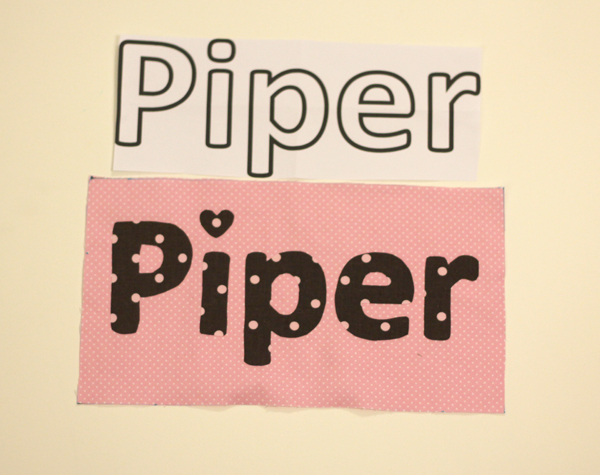
Piper's name

Cut a piece of pink fabric 6″ x 11″, from the second pink fabric cut two strips 4″ x 11″ for the top and bottom and two strips 13” x 3” for the sides.

Stitch top and bottom strips to name panel with ¼” seams, press.  Stitch side strips to name panel and top strips with ¼” seams, press.  Now you will have a 13″ x 17″ rectangle.

Cut the fleece and muslin 13” x 17”, and made a “fabric sandwich”—muslin on bottom, fleece, then the right side of fabric up, pinned together.

Next machine quilt around the inside of the middle panel with 1/8” top stitching, then around the outside, then around the strips.  Applique the letters.

Cut two 12″ x 13” pieces of fabric, muslin, and fleece for back.  Finish one long side on each piece by pressing under ½” then turning under another ¾” and stitching.
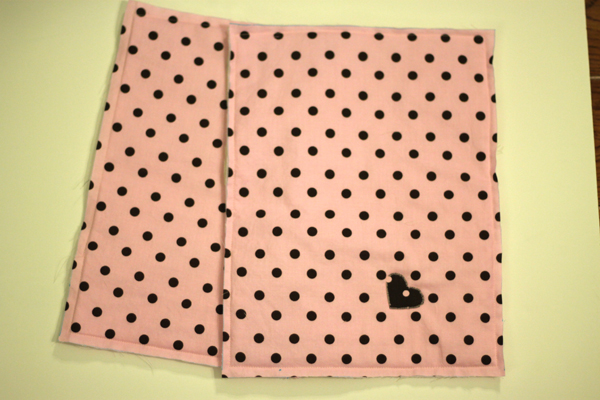
Back of pillow
Always gotta add a little heart to anything I make for the granddaughters!

Layer the backs and stitch with 1/2″ seam on the outside edges.
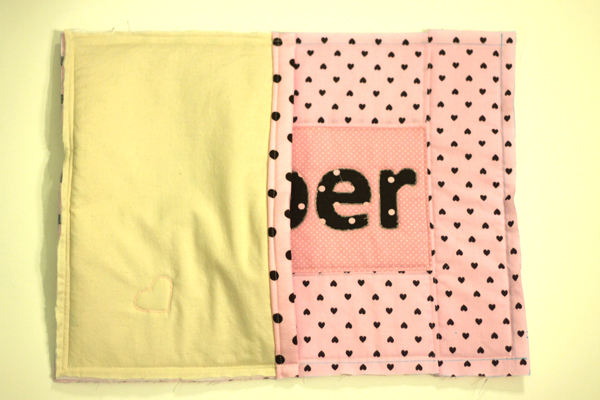
Layer the two backs

Trim corners, turn right side out, poke those corners out with a chopstick or something else pointy.
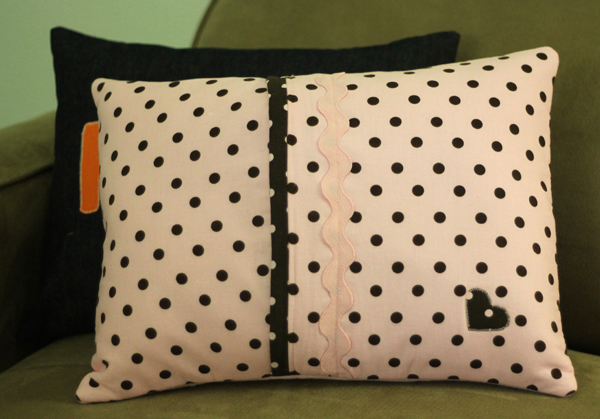
Back of Piper's Pillow
I also added a little bit of trim fabric and rick rack on the back of this pillow.

Done!  Two pillows down, five to go!  (By the time I get those done there might be more grandkids–this could be never ending!)

More DIY Hearts

Tomorrow is Valentine’s Day and just in case you forgot to get a special someone a special Valentine. (Like your mom, bet you forgot all about her, and you know how much she liked getting those construction hearts you used to make her!) Here is an easy-peasy special project.

I had some fabric scraps left from a Christmas project.  (Isn’t it nice that Valentine’s and Christmas are both red-based holidays?)  So this was a chance to use up some of that stuff –bonus for me since I’m making a special gift and creating more storage so I can buy more fabric to hoard.

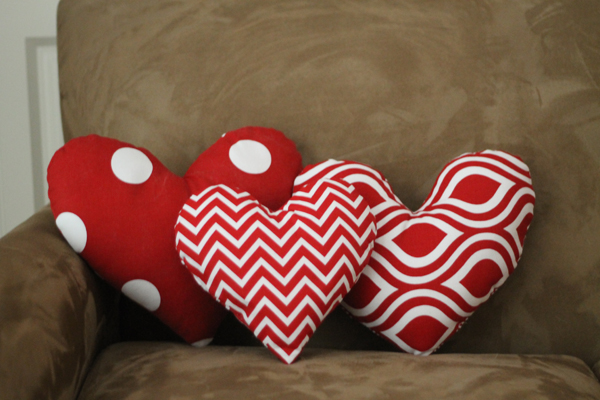
So here’s some heart pillows that I made.  These are easier than last week’s projects–no quilting!

DIY Heart Pillows And so cute on both sides.  This is the back of the big dot pillow:
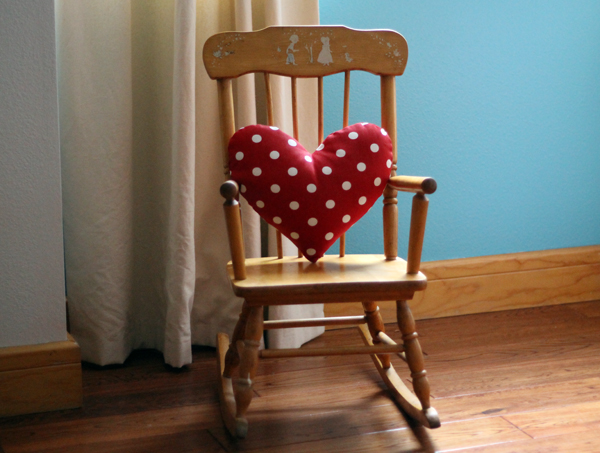
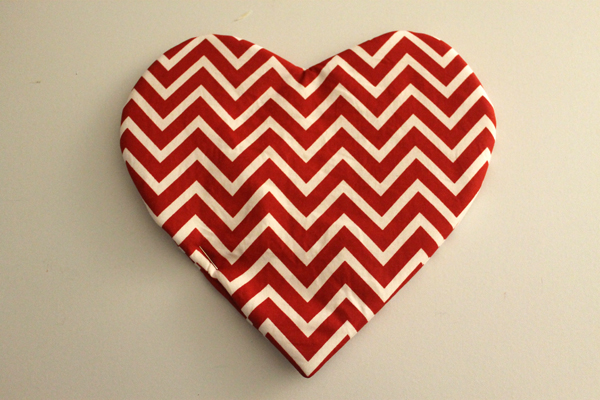
DIY Heart Pillows

The chevron pillow is small and when I was ready to stuff it, I realized it could have been a coaster.  Coasters are even easier….maybe next year!

DIY Heart ProjectAnd it turned out really cute as a little pillow.
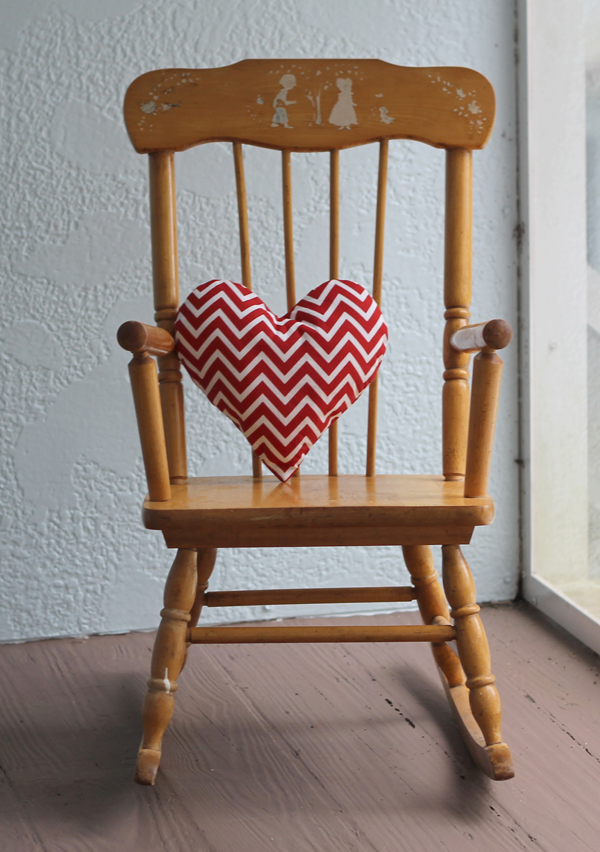
DIY Heart Pillows

I think Maggie’s wee head would look really sweet laying on that pillow but she’s in no mood for modeling today.  She’s got a bit of an attitude.

So here’s the easy peasy directions.

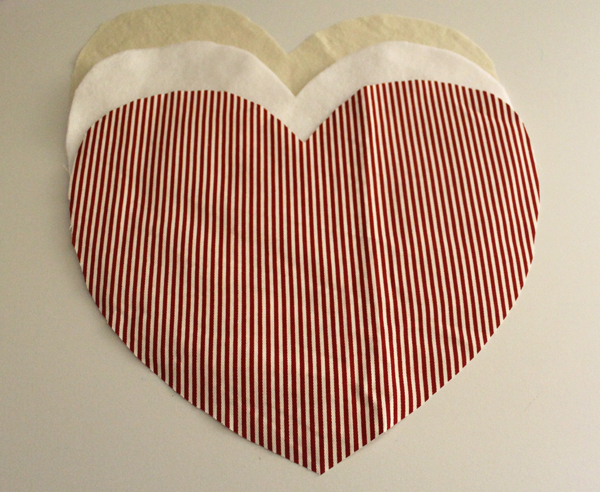
Cut a heart shape.  Yeah, just fold a large piece of paper in half that will fit your fabric ‘bits and pieces’ and cut. I made three different sizes. You’ll need two exterior pieces of fabric, plus two fleece, and two muslin for each pillow.

DIY Heart Pattern

Exterior fabrics

Then make a “fabric sandwich”.  Muslin, top it with fleece, then top that with the exterior fabric.

Fabric SandwichNow you want to line them up and stitch very close to the edge.  Do the same with the other fabric piece.
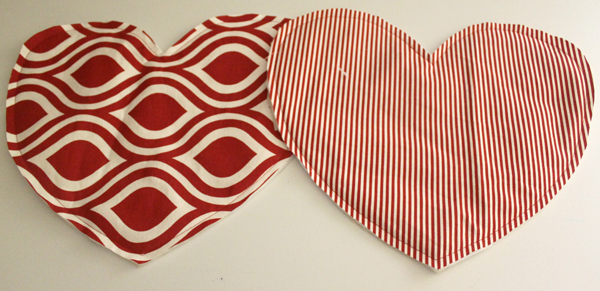
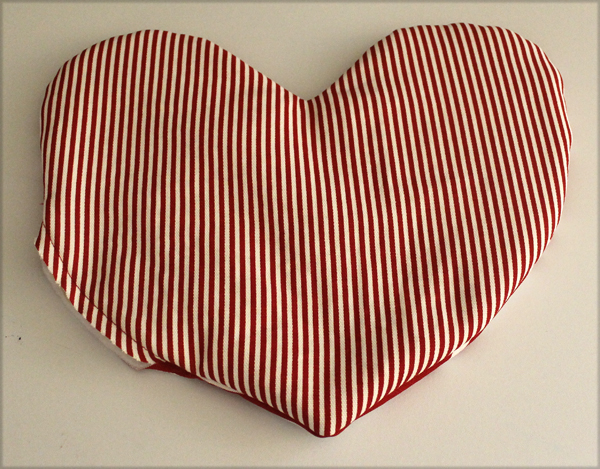
Exterior Pieces

Now put these right side together and stitch around the edges with a 1/4″ seam allowance.  Leave an opening of about 4″ on one side.

Clip curves and corners. 

Turn right side out.

DIY Heart PillowNow stuff it with fiberfill.  Or maybe put beans in there and they could be bean bags!  Or corn.  Corn hole bags!  Hand stitch the opening closed.  Very little stitches if you’re using beans!
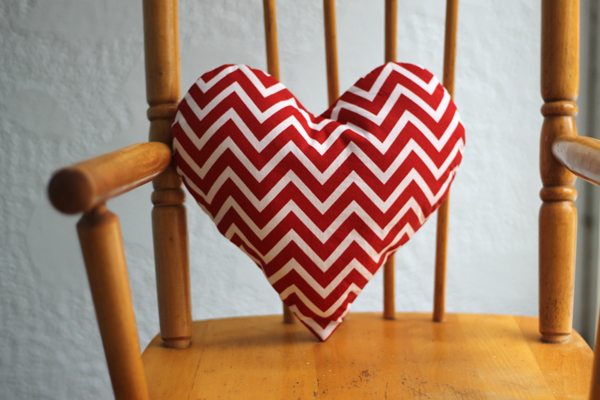
Very sweet.  Very easy.  But very special.

More DIY Hearts


Adventures in the Kitchen with Michelle, Bananas Foster Pancakes

Last week, I posted a little ditty about Cognac Sauce. If you missed it, check it out – this is part two.  

The Finale, Cognac Sauce

Jack Johnson is big on banana pancakes and so am I. I love that song. A romantic morning with the one you love makin’ banana pancakes…ahhhh. Hey, I have some bananas and it’s a Sunday morning pancake day. Oooo, maybe those bananas are passed their date. Wait a minute, these are Organic bananas and they normally last longer than their skins reveal. Yup, still good – but they need to be either in a smoothie, or frozen for ice cream…or a warm banana topping. I can get behind that! I also love Bananas Foster….hmm, the alcohol isn’t really kid-friendly. Answer: Make the warm bananas and then add the cognac sauce for the ‘foster’ punch. Oh, yeah! 

Bananas Foster Pancakes:

Step 1: 

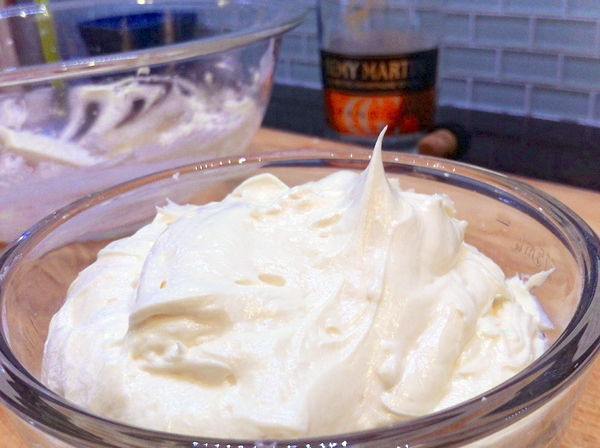
Get out that bowl of Cognac Sauce/Icing you’ve been hoarding in the back of the fridge since the holidays! Next get a couple of bananas (or 3), a pat of butter, and about a tablespoon or 2 of brown sugar. (I just used one)

Step 1 in Bananas Foster Pancakes

Step 2:

Get some pancakes going. My guys like them buttermilk and a bit thin with a little cinnamon and nutmeg in the batter.

Step 2 in Bananas Foster Pancakes

Step 3:

In a small pan get the ’nanas, butter, and sugar on low heat and everything will begin to ‘melt’.

 Step 3 in Bananas Foster Pancakes

 Step 4:

 Nearly done, give it a dash of vanilla. 

Step 4 in Bananas Foster Pancakes

 Step 5:

Bubbly and yummy, with larger pieces of the banana slices still intact. Now, without using an entire stick of butter and a 1/4 cup of brown sugar, it’s more healthy but won’t have that caramelized glossy look. That’s ok, I’m spending my calories on that slightly evil s a u c e.

 Step 5 in Bananas Foster Pancakes

Step 6: 

Oh – there it is, Cognac Sauce…mmmmmm.

 Congac Sauce

Step 7: 

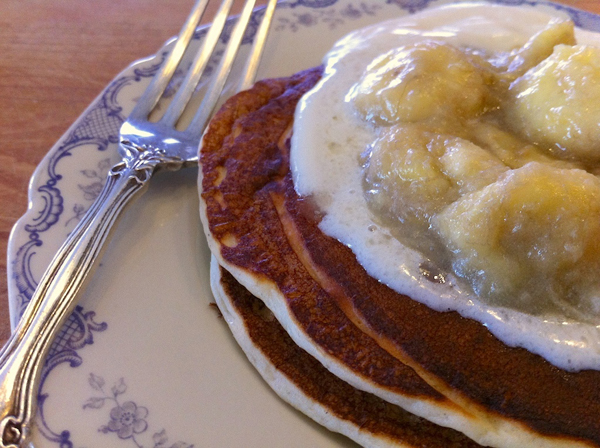
Get a warm pancake or two. Add a dollop of sauce…look at it melt.

 Step 7 in Bananas Foster Pancakes

Finale:

Finale in Bananas Foster Pancakes

Topped with those warm and yummy bananas…OMG ! Just enough ‘liquor’ taste left in the sauce to be decadent. Now, the kids can have banana topped pancakes minus the adult sauce.

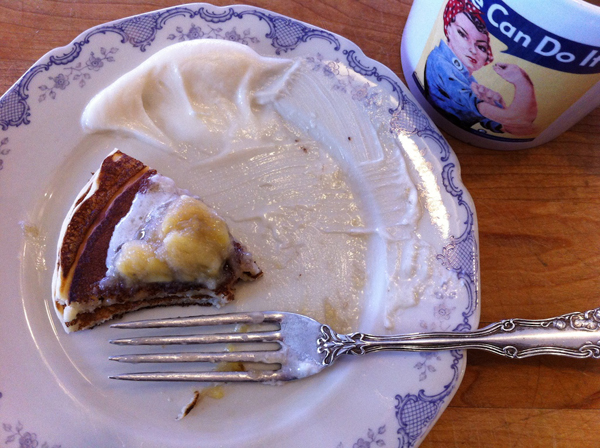
I’ll have mine with, thank you. (Of course I ate them !!) Jack Johnson would approve I’m sure…he may even need to re-write that song.

Finale, Bananas Foster Pancakes

Michelle Beal @ Badzoot

[yumprint-recipe id=’3′]