Sunroom

Coming back from a vacation always puts me in the mood to create something new and I’ve got all kinds of ideas.  But I also wanted to clean up some old projects.  I don’t have much storage–houses in Florida do not typically have basements and the attics are too hot to actually use.  I have numerous baskets and trunks that I use for fabric storage tagged with the appropriate label.  But those hiding places are overflowing and after doing a little inventory I decided that some of this stuff must be used before I buy anything new.

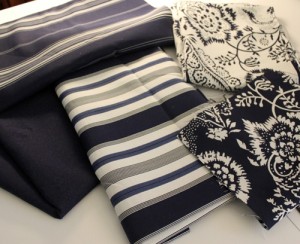
I had these matching fabrics which would really make a cute nautical tote bag for the beach.  But I’m really not into making tote bags right now.  And summer’s almost over.

Sunroom

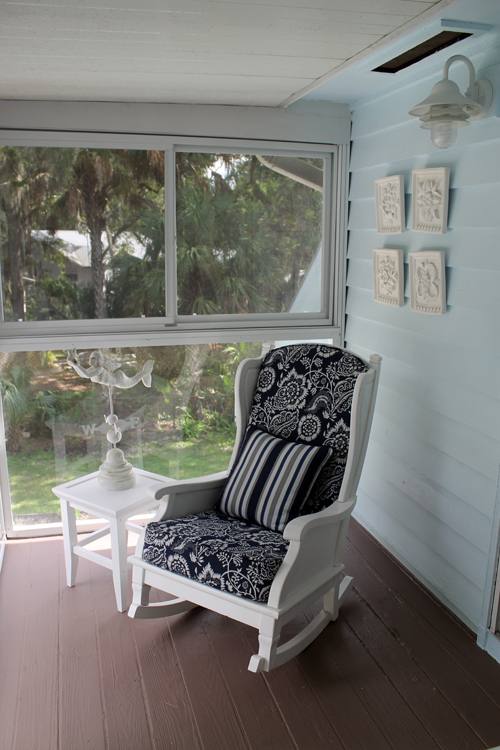
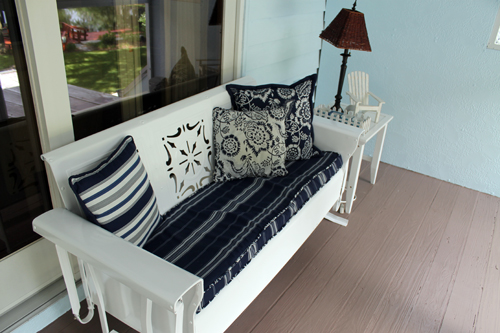
I used this stuff years ago to make cushions and pillows for my sunroom which is outside of the main guest bedroom. (Sometimes it’s a bedroom, it’s more often Terry’s office and my workout room.)

I’ve had this rocking chair for 36 years!  I bought it right before Jes was born.  It was a dark pine with an awful orange upholstery which I thought was GREAT back in 1977.  When I came to my senses a few decades later, I couldn’t strip the dark stain so just painted it white.  My first piece of painted furniture that I did way back in the 90s!

Sunroom

My friends gave me this glider for my 50th birthday.  It was rusted but in otherwise good shape, so I had it powder coated and now it’s beautiful!

Sunroom

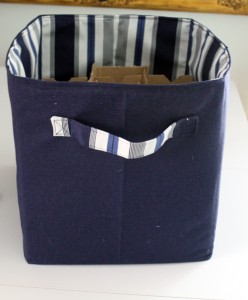
The navy blue and white is the same color scheme in my laundry room and there are two expedit shelves in there which need some boxes. More storage! I’ve been wanting to try a different method to create the boxes so thought that this would be a perfect DIY.

Expedit Box

I planned on giving the instructions for this box today but wanted to make it twice.  One time creating the directions, the second time following and fixing my babble .  But I ran out of interfacing.  Tried to get some at WalMart (which is the only shop that we have here in Homosassa) but no one actually works in the fabric department.  It’s just there for decoration. So I’ll be headed to “far away” to pick up some raw materials today and will give you the tutorial next Friday!

Have a great last summer holiday weekend!

DIY Pouf

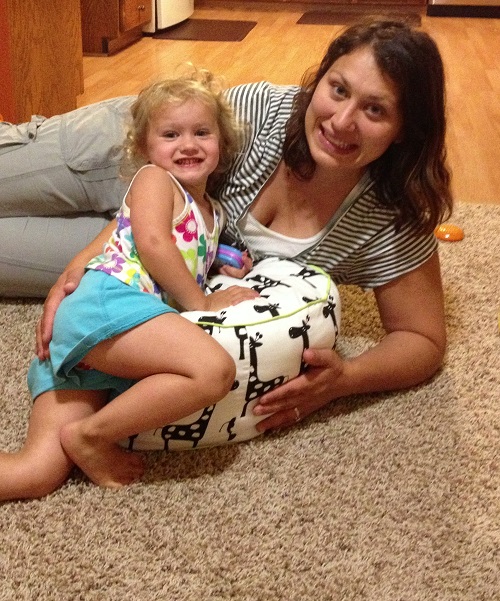
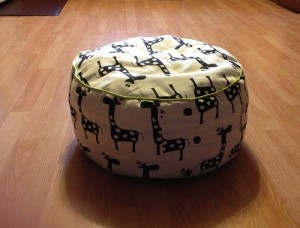
This week I’m featuring a DIY from our daughter-in-law, Lauri.  She made this adorable pouf for our smallest granddaughter.

DIY Pouf
Pretty Princess Piper in pink on her puffy pouf!

Lauri had it pinned on one of her Pinterest boards and decided to create it when she met with her craft group.  Piper picked out the piping.  And it’s not pink!

DIY Pouf
Piper, Lauri and Pouf

One more look at the pouf!

DIY Pouf
So cute and Piper loves it!


DIY Apron with Moda Fabrics

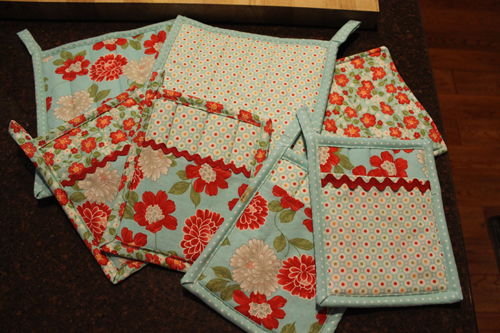
I’ve been kind of obsessed with perking up my kitchen with Moda Fabrics.  I started with tea towels, moved onto pot holders, and now I’ve made an apron–and more potholders, because four potholders just aren’t enough.

DIY Apron with Moda Fabrics
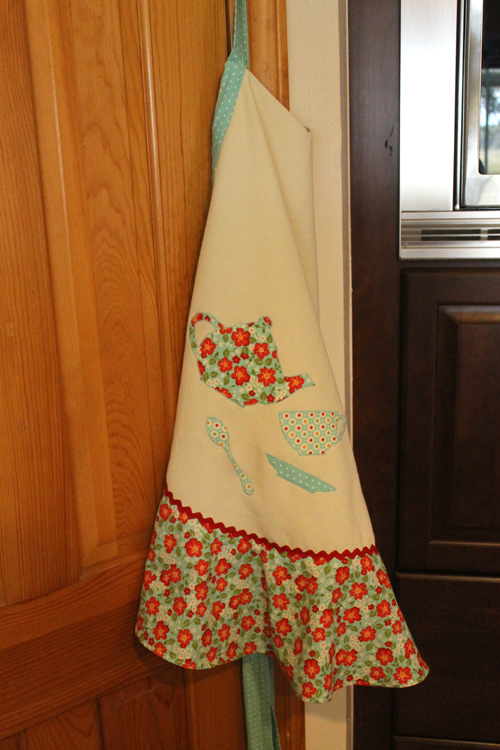
My new apron!
DIY Apron with Moda Fabrics
And more potholders. Now my kitchen is a much happier place with all these bright colors!

It’s so easy to mix and match patterns in the Moda Fabric line.  I had originally purchased three different prints but when I started cutting out the apron I realized that I didn’t have quite enough fabric for the flounce.  So off to my little quilt shop in Crystal River where I picked up a fourth print that also featured aqua and red.  Love it.

I’ve already featured this apron pattern in a previous post.  I made it for a “photoshot” and it was adorable with yo-yos.  Too cute.

DIY Apron

This time I decided to make it for me!  And follow along with the “tea time” theme.

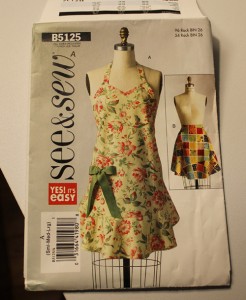
So here’s the pattern:

DIY Apron

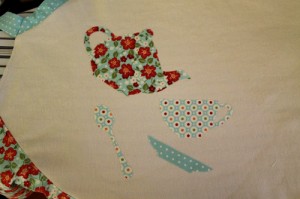
I used the graphics from sew4home that I referenced when I made the tea towels.  I just made them a bit larger with Photoshop.  Using Heat ‘n Bond lite, I cut the graphics out then placed them on the apron in a haphazard pattern.  Because I’m a haphazard cook, I thought that was appropriate.  And I put some rick rack on the flounce just because I recently fell in love with rick rack.

DIY Apron with Moda Fabrics
Place appliques, press, then satin stitch.

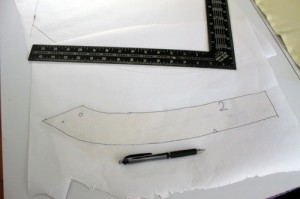
Thought I’d also share a little tip that I came across on pinterest or a different blog–I really should keep track but this one I just posted in my brain. (I do try to credit the original poster on pinterest) Patterns usually come in several sizes now.  The apron pattern was a s-m-l.  You just have to cut along the correct pattern lines.  Since I don’t want to waste the other sizes–hey I might need them if I lose weight or, more likely, gain!  It’s quite tedious to try to cut the fabric along the correct lines.  So anyhow, I found this tip to trace the size that you need onto freezer paper.  Now why didn’t I think of that!  I just happened to have freezer paper that I bought for another tip that I never used.  (Forgot what it was, something about sewing with minky fabrics)

DIY Apron with Moda Fabrics
Trace the pattern onto Freezer paper. Make sure you also note all the markings. Like “place this side on fold”, which I didn’t do and pinned the wrong side on the fold. Drat!

Anyhow, this was SO much easier.  Patterns are rather delicate and after using them a few times they turn into shreds.

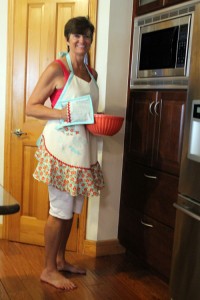
Here’s my adorable new apron. Now maybe this will inspire me to cook more.  (not likely)

DIY Apron with Moda Fabrics
Look at me pretending to cook!  And wow is my hair short!