Bench Update

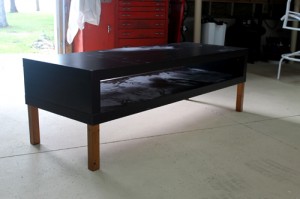
Our newbee homeowner Kathryn is all about saving money and reusing things. Besides buying a bunch of fun things at Renninger’s Antique Extravaganza in February, she has been hitting garage and estate sales every Saturday morning.  And now she can now add dumpster diving to her DIY resume. When she spotted an old Ikea coffee table in a dumpster, she sent Darin in to retrieve it.

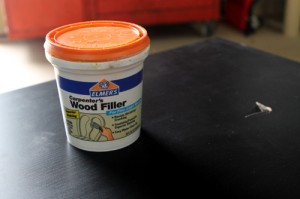
Kathryn wanted to turn her new treasure into a bench for her bedroom plus it would store the required TV electronic paraphernalia. The table was missing  a leg and had a few dents and dings but nothing that couldn’t be fixed by the wizard, Terry.

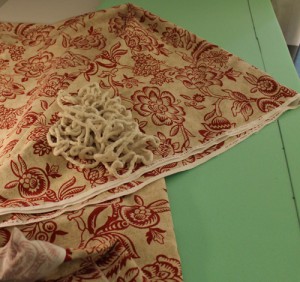
Kathryn asked me to make a cushion for the bench so we headed for JoAnne’s, and with a few of my coupons, picked up foam, piping, and fabric at a reasonable cost.

Bench Update

Meanwhile, Terry used the old legs from the grandkid’s play table that we had updated to a chalkboard table a few months ago and repaired the damaged areas.
Bench Update
Terry changed out the little stubby legs before I had a chance to get a pic.

Bench Update

I primered with Kilz 1-2-3 and then spray painted the new and improved bench to match their other bedroom furniture

Now came the hard part.  I knew we were going to Tampa that Sunday and I wanted to have the bench finished so we could deliver it.  I think my self-imposed deadline stressed me out and just made everything more difficult.  I’ve made numerous cushions and quite often with piping.  Sometimes it’s easy peasy; sometimes not so much.  This one was a pain in the ***.  And I made a mistake which made my heart sink.  I couldn’t repair it without buying more fabric and piping so I camouflaged it and made that side the one that goes against the wall!

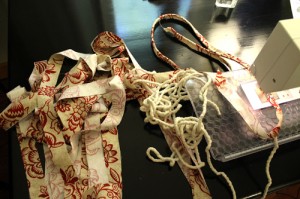
Making piping is simple but boring and monotonous and I usually just want to put my head down and cry before I have enough made.  But I got through all that and then had trouble getting it to wrap around the corners of the cushion.  It’s kind of like sewing blind.  Until you have it finished, you really can’t see if it’s right.  And it was never right!   I was actually planning on creating a tutorial about making piping but after fighting with the bench cushion for a few days, I decided that there has to be a better way.  (Like buying the cushion already made!)

Bench Update

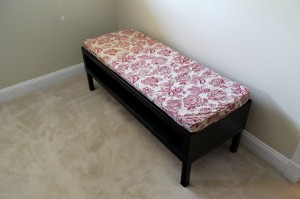
But I finished it by my self-imposed deadline and it was beautiful.  And Kathryn was thrilled.  So it was worth it!

Bench Update

Kathryn and Darin are still renovating the townhouse so I wasn’t able to get a photo of the bench styled yet.  But eventually, it will look like this!

Bench Update

I was really glad when I got that little project finished and delivered!  And this is a little announcement to all family and friends–no more cushions from me–at least until my hair grows back!

DIY Totes, Part 2

I recently made 48 bags for our daughter’s wedding.  The first 29 were all unique, with different embellishments, handles, and facing.  But when I hit a time crunch, the remaining 19 bags were made quick and easy.

You might remember my post from making 20-minute totes for Lauri’s wedding. They turned out really nice but I didn’t like the unfinished edges.  It was just a matter of time before those babies unravel.  So I now have a new method to make totes and all the edges are finished.  This takes longer than the “20-minute tote” but I think the clean finish is worth it.

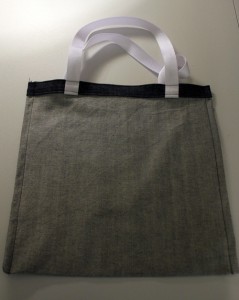
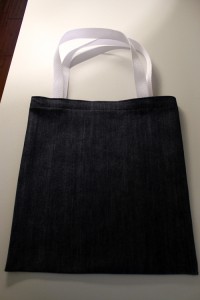
Because all of the totes were denim and there was no special one-way print on them, I was able to get rid of that bottom seam.

Small Tote,  12″  x 13.5″ bag

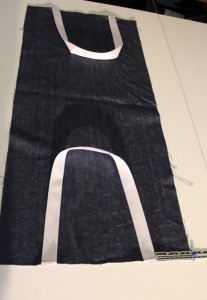
Cut a piece of 14” x 30” denim

Cut 2 22” pieces of webbing for handles

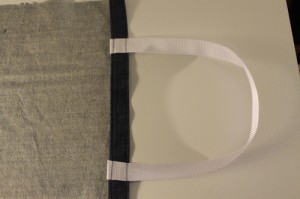
Attach handles 3 inches from each side

DIY Totes, Part 2

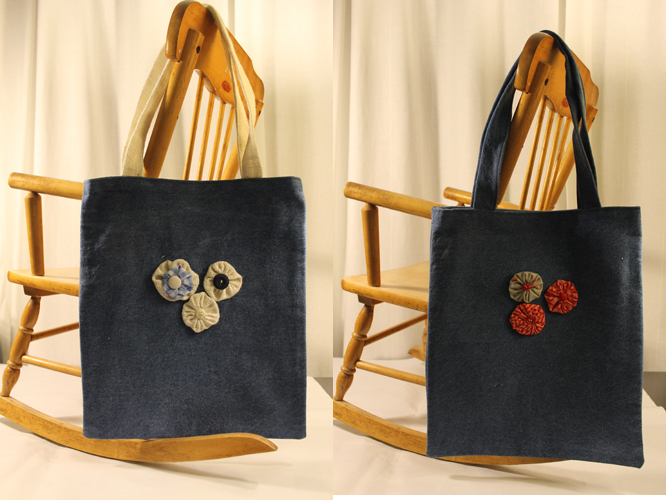
This is when you should put any embellishments like pockets, appliques, or yo-yos on.

Turn under ½ “, stitch 3/8” from edge

DIY Totes, Part 2

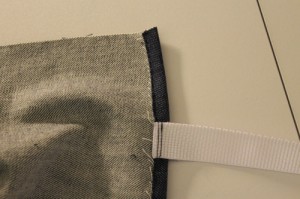
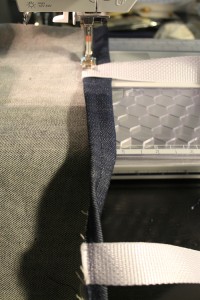
Turn under 1”, stitch 7/8” from edge , Make sure the handles are pushed up when you stitch them.

DIY Totes, Part 2

Top stitch.

DIY Totes, Part 2

Put WRONG sides together

DIY Totes, Part 2

Stitch ¼” from each side.

Turn wrong sides out, press.

Stitch ½” from edge on both sides

DIY Totes, Part 2

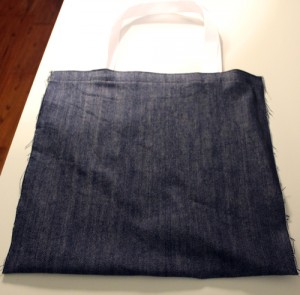
Turn right side out, press.

Done

DIY Totes, Part 1

Easy Peasy!

DIY Totes, Part 1

Way back in October 2012 I made several totes for gift bags for Alan and Lauri’s out-of-town wedding guests. I used a tutorial from the Purl Bee website.  They have numerous easy and fun sewing, crocheting, and knitting instructions.

DIY Totes, Part 1
Here’s Andrew with one of those totes. I understand that they are the perfect size for a six-pack.

Jessica and Andrew asked for 50 totes for their guests for their recent April wedding.  Zowie!  And I managed to make 44 before my machine had a stress attack and had to go to the clinic.  Fortunately I had my old sewing machine tucked away and it came to the rescue for the next 4 bags–didn’t quite make it to the 50 mark.

I decided to use denim for the totes.  I thought it fit in with the bluegrass, blueberries, and blue gingham theme.  Plus I had stacks of old denim that I’d been saving from jeans that have seen better days or just gone of style (You’re not going to catch me in high-waisted mom jeans).  I knew that I would still need to get more denim but I waited for it to go on sale at www.fabric.com and then for it to arrive.

Meanwhile, I made 29 unique bags and came up with a better method to make them.

Here’s a few of the totes:

DIY Totes, Part 1
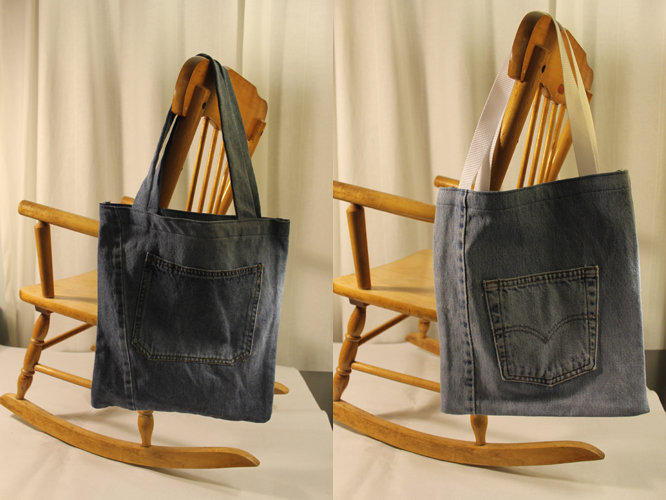
I made several out of old jeans.
DIY Totes, Part 1
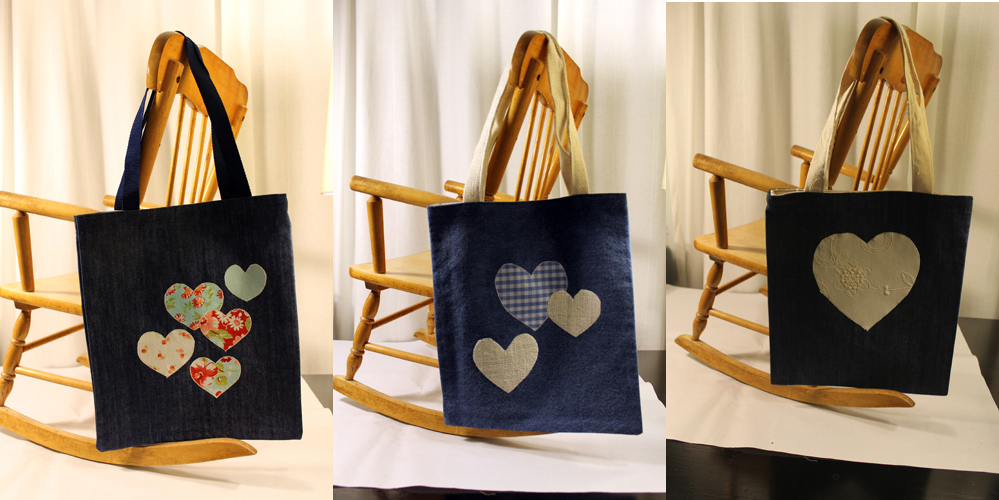
I thought heart appliques were appropriate!
DIY Totes, Part 1
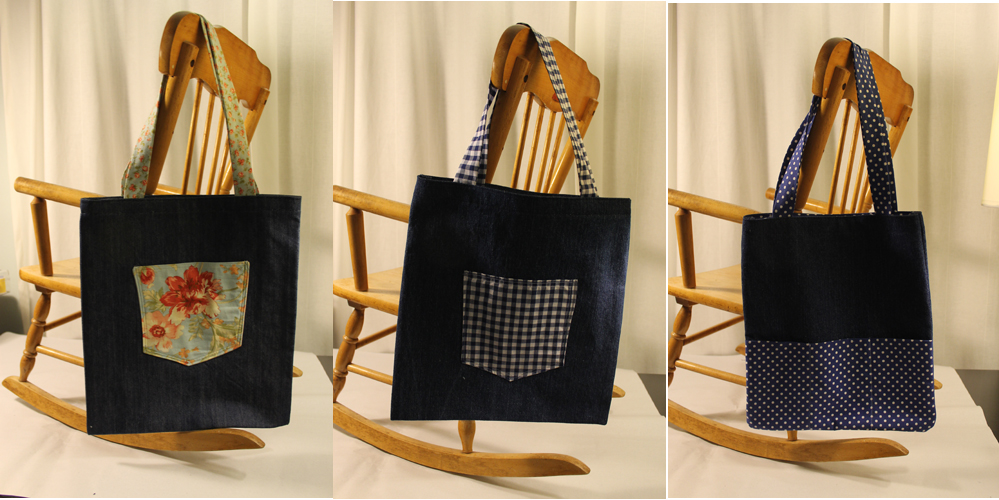
I also made many with different types of pockets.
DIY Totes, Part 1
And yo-yos are always fun.

When I finished bag 29, I started to panic–running out of time.  No more special bags with embellishments or different handles.  This is what the next 19 bags looked like!

DIY Totes, Part 1I’ll post the new instructions for my simple totes tomorrow.  Come back and check it out!