Adventures in the Kitchen with Michelle

Michelle and I have decided to do a couple of days a week of posts dedicated to healthy living.  On Tuesdays, I’ll be doing a post on something fitness, diet related, or maybe try to cook without burning.

Michelle loves to bake and cook and does it quite well.  She is very knowledgeable about healthy ingredients and how to make them work together and will be posting her healthy living ideas on Wednesdays.  This week she has taken the original recipe from King Arthur Flour’s website, which was already full of good stuff and made it even better.

You can find the original recipe here:  http://www.kingarthurflour.com/recipes/take-10-super-cookies-recipe.

And here’s Michelle with her variations:

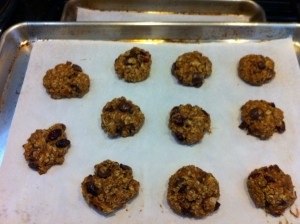
It was not a good day for the ‘Burnt Food Gods’ – they’ll just have to wait. Since it’s let’s-be-healthy month or year, I found this cookie recipe on one of my favorite cooking sites, King Arthur Flour. Take 10 Super Cookies have 10 incredible ingredients for fighting cancer/disease http://www.kingarthurflour.com/recipes/take-10-super-cookies-recipe . And, as you know, I can’t leave anything alone and I changed up a couple of ingredients. That also means that they ended up not looking like the picture perfect cookies from the website. Anyway – let’s get baking.  

Step 1: Gather the goodies together. Shred up some baby carrots (very moist). This is a one-bowl recipe (I like less mess). I exchanged Whey Low Gold for the brown sugar, and Coconut Oil for Canola Oil (because I don’t like canola oil taste in cookies). This brings the calories down slightly, but make them not have any spread when they’re baked. 
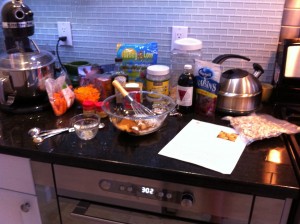
Step 1

Step 2: Add in and mix the ‘small piece’ ingredients. 
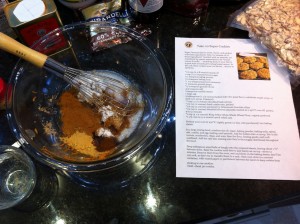
Step 2

Step 3: Fold in the chunky bits. I used the Ghiradelli 60% chocolate chips, cause they’re better for you. I didn’t toast the almonds because I’m l a z y. Also, I actually have Boiled Cider that the recipe calls for ( http://www.kingarthurflour.com/shop/items/boiled-cider-1-pint ). It’s like a thick apple syrup. It’s worth having – your apple pies will never be the same! I think I need to find a way to make an Appletini with it. Yummmm, but that’s another Blog. 
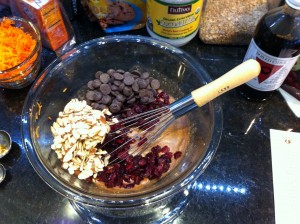
Step 3

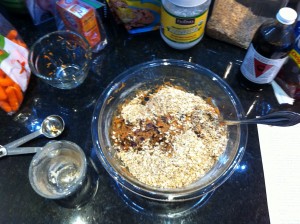
Step 4: Fold in the oats last. 

Step 4

Step 5: Did you heat that oven? Get out your cookie sheets and parchment paper. And…your small ice cream scoop. It makes perfect size cookies. (soooo Martha)
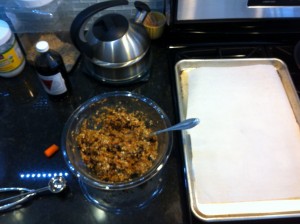
Step 5

 Step 6: Since I exchanged the oil and sugar, you’ll need to form the cookies prior to baking. If you don’t exchange, just scoop them onto the sheets like most any other oatmeal cookie, and they’ll be lovely. But we’re all on a diet so, get ready to get sticky!
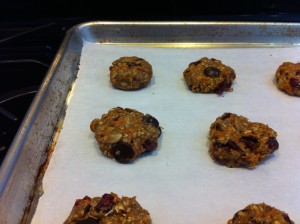
Step 6

 Step 7: While they’re baking, clean up and put away the almonds. Money Saving Tip: I buy nuts at warehouse clubs because they’re cheaper that way. I then use my Food Saver to keep them airtight for months! I’ve had this little gem for more years than I can count – it’s paid for itself over and over. 
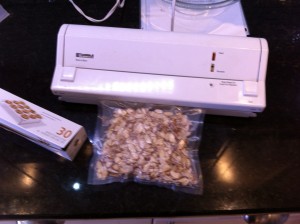
Step 7

Step 8: Here’s the little Take-10 Super Cookie nuggets! These are way too healthy for Christmas Cookie Day, but are great crumbled into greek yogurt. Also over vanilla fro-yo with a drizzle of that Boiled Cider! Jon and William actually really like them, Will’s little buddies, not so much.
Step 8
Yum!

Thanks Michelle for another yummy recipe.  Looks like Will is really suffering while testing out your latest batch!  Looking forward to next weeks post!


Eat to Live Part 2

Oh My God!  (OMG for those that only speak Internet) I am so glad it’s Tuesday.  No more vegan in my life!  Last week I posted that I was starting a vegan diet based on the “Eat to Live” plan.  https://ktgreendesign.com//eat-to-live/  Yeah, I said I could do anything for seven days, but life is too short to eliminate cheese.

I did pretty well sticking to vegan.  (I had eggs on Sunday because we always have eggs on Sunday.  Tradition is more important than diet–especially on Father’s Day!)  We eat a lot of broccoli and cauliflower here already and I added peppers, summer squash, carrots, and mushrooms . A salad for lunch every day of spinach, romaine and garbanzo or black beans.  Smoothies for breakfast with soy milk and fruit.  Another smoothie at night for dessert with silken tofu, cocoa powder, frozen black cherries and soy milk.

But forget that whole “Eat to Live” diet plan.  Dr. Oz, you are wrong.  This crash diet sucks.  Some of the things that Dr. Fuhrman, the doctor behind the plan, recommends avoiding are dairy products, meat, processed foods, sweetener–artificial or real, salt, coffee and alcohol.  My problem with that list is that I really like coffee and happy hour starts at 5.

The good doctor also suggests you read his entire 716 page book before starting the diet.  I still have to finish 1 1/2 books of “Fifty Shades of Bad Writing” so I just skimmed his book. Four fruit servings a day and unlimited vegetables.   The main source of protein are beans.  Agave nectar is really bad!  Also, no cheese–did I already mention that?

But after a week of my revised “Eat to Live”/vegan diet plan, I did lose three pounds.  By limiting Maggie’s treats and leftovers (she didn’t go vegan), she lost one pound. Two more to go for both of us!

I will continue on a less restricted diet for another week.  Mostly vegetarian, I’ll try to avoid processed food, and will continue to cut back on the salt.  I don’t think I can cut back anymore on Maggie.  She already spends a good part of her day crying at the pantry door.  I’ll let you know how we do next Tuesday!

Chunky Monkey
Maybe a little less chunky monkey this week!

Maggie and Me


Adventures in the Kitchen Part Deux

Time to make some lo-cal, lo-fat treats so Michelle is doing the post today.

I’ve been making cereal bars and rice krispy treats (my version) for the Boys for a long time – they’re just too fattening for me. When I found that new lo-fat peanut butter I knew I could find a way to make myself a healthy treat. Now, being that ‘they’ have played with peanut butter to make it more diet friendly…it doesn’t have the same cooking properties. This is the case with almost every lo-cal, lo-fat, lo-sugar,lo-whatever ingredient. So, with that said, this is what I came up with and even Jon likes them. These do not taste like anything even remotely healthy. They’re a great tid-bit to get me thru that 10am snack slump, or a sugar boost after a workout. Enjoy…

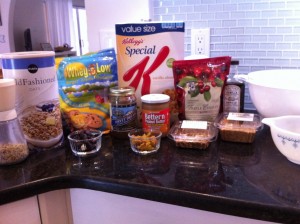
Ingredients:

Ingredients

2C Oatmeal- regular

2C Spec.K cereal (I use a flavored variety because they’re coated and hold up better)

1/2 C chopped Walnuts

1/2 C Pumpkin Seeds, roasted and salted

1/4 C Dried Figs, chopped

1/4 C Golden Raisins

1/4 C Flax Seeds…cause they’re good for you!

1/4 C Dried Cherries

2/3 C Brown Rice Syrup (better for you than corn syrup)

1/3 C Whey Low Gold (lo-cal brown sugar)

1/2 C Better n’ Peanut Butter (yes, regular PB works better,but that lo-fat thing goes out the window!)

1 tsp Vanilla

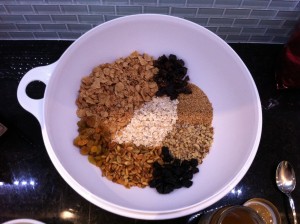
Step 1: In a BIG bowl combine the dry ingredients

Step 1
Step 1

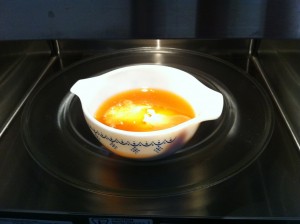
 Step 2: In a smaller glass bowl (I love my old Pyrex for this!!) nuke the wet stuff for 2 min. Stirring at one min. Yes, I cleaned my microwave just for this – you’re welcome.

Step 2

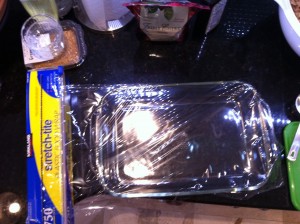
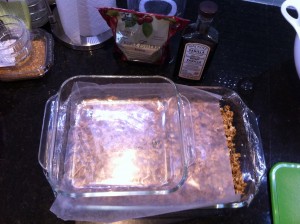
Step 3: Get an 11 x 13 pan, or Pyrex dish. Line with plastic wrap, or parchment. (wow- look at the glare from those under cabinet lights! Like Broadway!!)

Step 3

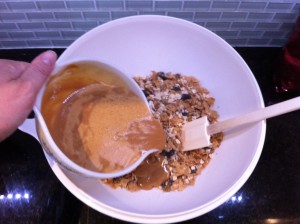
Step 4: I didn’t really need to tell you to dump the boiling cauldron into the big bowl, but I was so impressed with my own ability to manipulate the camera while pouring it I had to brag! Look Ma no 3rd degree burns!

Step 4

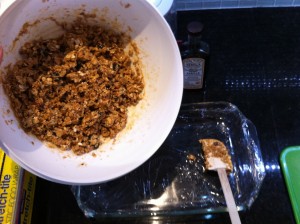
Step 5: Fold the gooey goodness. This is where you find out why you used the ginormous bowl! Now dump it carefully into the pan and spread around.

Step 5

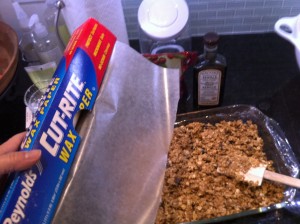
Step 6: Wax paper is my FRIEND! Take a piece and cover the stickiness and press down.

Step 6

Step 7: I’m willing to bet that if you’ve got one Pyrex pan, you’ve got two. Yes, they use the same basic molds and the corners match. Use it to mash the mass and make it submit to your will.

Step 7

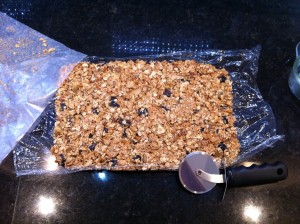
Step 8: Ooooo Sticky!!! After it meshes a bit.(that’s your cue to clean up the disaster you’ve made before the kids get into it) Then use the plastic wrap to pull it out and set on the counter for cutting.

Step 8

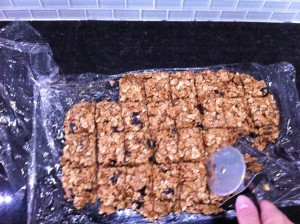
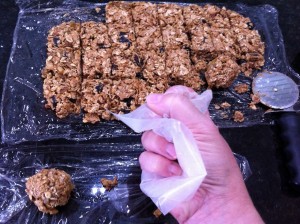
Step 9: Best tool for the job – a pizza cutter! Slice into 32 pieces. These should weigh apprx 1 oz.

Step 9

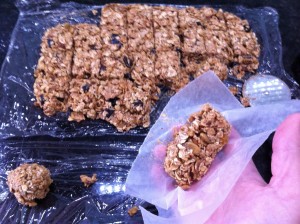
Step 10: More wax paper. Peel each little piece and roll into a ball. You can use wet hands too if you like.

Step 10

Step 11: Anger management….”…I crush you!…”

Step 11

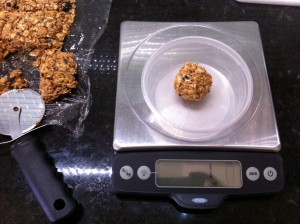
Step 12: Yea, I’m braggin’ again. Lookey it’s exactly 1 oz !

Step 12

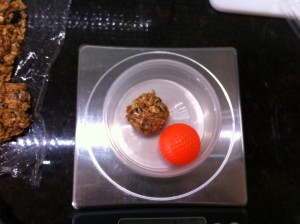
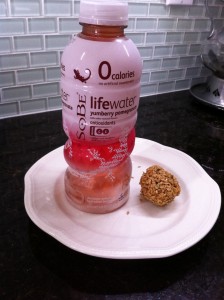
Step 13: And 1 oz. is the size of a golf ball…ok, a practice golf ball.

Step 13

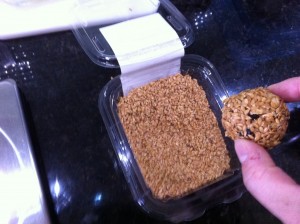
Step 14: I hope you didn’t put those flax seeds away…Take each ball and roll in flax seeds. You can use other coatings, but these seeds have a hard shell that won’t absorb the ‘sticky’. Besides, Mom said they’re good for me.

Step 14

Step 15: There they are! (Geez, again with those lights!)

Step 15

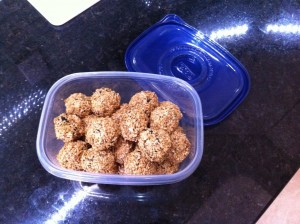
The End: My post-workout atta-girl treat.

Time for a Snack!

No, I have no idea what the calorie content or sugar content is. Or the production costs, but I’m willing to bet it’s cheaper than 32 Kashi bars! If you figure it out, let me know…I just know I like ’em.

Yum, these sound really good, Michelle.  And healthy!  Think I’ll be making some of these since they don’t have to go into the oven to be sacrificed to the burnt food God.  Michelle used Whey Low Gold which can be purchased at Whole Foods or online at www.wheylow.com   You should be able to find the other products at the grocery store.

Kathy