Adventures in the Kitchen with Michelle

 
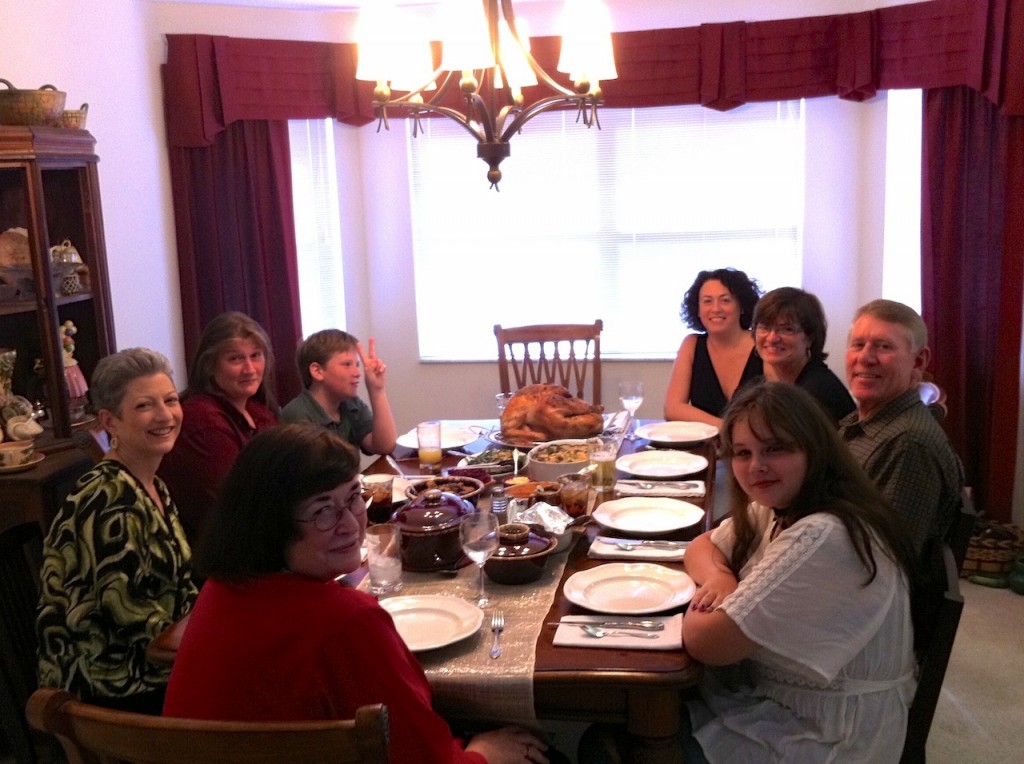
I got up this morning and thought about Thanksgiving. I’m a cook, not a Chef. While I’m nowhere near the rankings of anyone fabulous, I take comfort in knowing that Julia Child considered herself a cook and instructor. There really is no bigger holiday for a cook than Thanksgiving. I love hosting my family and sometimes the occasional friend that pops in. This year I can relax a bit since the crowd will be slightly smaller. Never the less I’ll be happily buzzing around my workspace making tidbits to make people smile.
From most reports, I’m told, I’m pretty good that this cooking thing. As such I thought I’d spend a couple of minutes imparting some of the knowledge I’ve gleaned over the years to help you make your dinner go a bit smoother. Because, I’m thinking that even though most of the readers are beyond knowing how to Do Up a Feast, there may be some newlyweds out there that may appreciate a commentary. 
Thanksgiving
Thanksgiving 2010

Alton Brown says, “Organization will set your free.” Commit that to memory! It’s true.

Menu: I love my cooking shows and food magazines. They’ve got so many great ideas. BTW, that little free booklet from Williams Sonoma is a keeper. Word of warning – I do not advise making a ‘new and innovative’ menu for the big day. 
1. Never experiment on a family holiday, save that for a party with friends. Make the old standards that your family has come to love and add one or two new ones. They’ll still be happy and give you a critique on what new things to keep for next year. 
2. Make notes. Because if it’s more than 2 weeks from now and I have to do it again (say at Christmas) I won’t remember. Did Shirley like that Apple Cider Sidecar drink I made (oh, yeah – make a double batch next time)? How long was that bird in the oven for? How big was it? BTW, I’ve never ‘brined’ or trussed a bird. Mainly, because I stick with my tried and true method…Compound Butter under the skin, a little stuffing inside, a little extra foil on the wing tips and drum ends, and sealed in the biggest foil tent I can make. No turning or basting or flipping…put it in, cook it, take it out. I have enough to worry about with getting my pre–prep stuff assembled and cooked in time. That’s where the organization comes in. 
3. Organize the menu. Make dishes that you can cook half way days in advance. Like fresh green beans – blanch and toss in the fridge, same with those brussel sprouts. Cranberry sauce keeps in the fridge …I never buy the canned stuff! Not when it’s soooo easy to make yourself. If you think about it, much of the real work can be spread out over 3 days..if you’re organized. Oh, yeah and clean out that fridge.
4. Cheat! Yes, I said it…cheat. Use frozen corn fresh from the microwave! I never bother with bread. That’s a great thing to have a guest bring. Or do crescent rolls from a can, Sister Schuberts Parker House rolls from the freezer, or a pitstop at Panera. Salad you say? Oh, no Bag-o-Salad and add some funky topping/dressing you’ve made. If you aren’t good at gravy…cheat. Although, buy something really good like a jarred one from Williams Sonoma or a even a restaurant you like and re-heat. You can practice gravy later with a weeknight chicken. Dessert? I rarely make dessert because well, my Mom is a master of the Pumpkin Roll – a family fave. 
Yowza – check those Mom jeans! And construction kitchen, I’m guessing circa ’99 or ’00 ??)
Workspace: Yes, my workspace is wonderful, now. It hasn’t always been. Boy, have we come a long way! Gone are the days of my girlfriends teasing me about my ‘beautiful wood floors’ – they were plywood! I’ve also tested the durability of the Contact Paper over particle board countertop trick. The stove was an old Whirlpool that came with the house. The absolute bottom of the line – only one big burner out of the 4, and not even a window in the oven door. Even when we moved to the big house, the kitchen was designed for/by retirees. Which means it was like the size you’d find in a nice RV! Point is, you don’t need a $50,000 kitchen (which even my new one is NOT) to make great food.  
1. Assess your workspace and organize. Know your equipment. That old stove had it’s quirks and I learned to deal with them. Has your oven got a hot spot (the place where all cookies turn dark too fast)? Deal with it by turning your bird, or use a pizza stone in the bottom to diffuse it. Don’t let it surprise you. Dig out the small equipment – the roaster pan, and thermometer, gravy boat, etc. Go thru and make sure there’s a serving dish for everything and set them aside. And I’ve been known to scribble it’s contents on a scrap of paper and leave inside it. I’ve actually used this in the past to find OMG I forgot the beans! 
2. Make space. If your workspace is small, move things out of the way for a couple of days. Like, can they live without the toaster for a day? Or the big cookie jar or bread box? 

See, it’s not so hard. You can do this, and make it look easy in the process 🙂 Now, I’m going to go and organize my own menu for this years festivities. Good Luck and have a Fabulous Thanksgiving!! 
Please don’t forget to actually be Thankful – we’ve all got so much to be Thankful for.

Veggie Wash

Michelle is posting for me today.  She actually makes her own Veggie Wash!  So clever!
OK, Boys N’ Girls it’s your old pal Mr. Wizard….(Ouch, I’m really dating myself – and not in a good way). Today we’re making household cleaners….No, not like Breaking Bad! Pay attention dammit! 🙂
I have for you a healthy food lover Veggie Wash. The stuff in the stores is great I’m sure. But my crafty and ‘economically challenged’ Mom sent me this little tidbit (note the spelling of the word Veggie on the bottle? …gotta love Ma…I’m not going to tell you what she comes up with for mayonnaise ).
I’m sharing this with you because I know there are people out there that lick their cell phones to clean ‘the stickiness’  off and then touch all sorts of other stuff with those newly ‘cleaned’ fingers…I would continue to explain that last comment, but that one needs a Blog Post all it’s own! Also, I happen to know it works. How, you ask? Well, back before I knew I needed glasses (I was in complete denial!) I went to clean something baked onto the glass door in my oven. No need to run the self-clean option, I just wanted some glass cleaner to break that greasy whatever off. I reach, for what I thought was my bottle of Sudsy Ammonia/Water mix (yes, I really do make my own glass cleaner, in a yellow spray bottle). I was disappointed that it didn’t remove everything…it was Veggie Wash! Duh!! So, since as a degreaser it scores an 8, I’m thinking those pesticides haven’t much of a chance against it. Have fun…
 
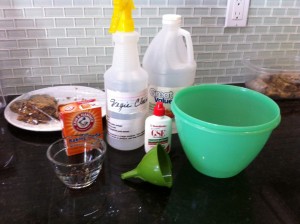
Step 1: Ingredients;
1 Cup Water
1 Cup Distilled Vinegar – yup cleans coffee pots too
20 Drops of Grapefruit Seed Extract – someone has too much time on their hands squeezing all those little seeds!
1 Tbl Baking Soda


Veggie Wash
Step 1
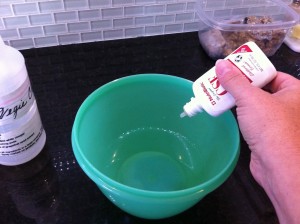
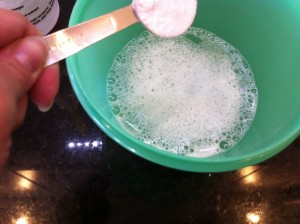
Step 2: OK, Get a bigger bowl than you think you need – NO you may NOT mix it in the bottle…unless we’re all revisiting the baking soda volcano experiments of our Mr. Wizard days!Load in the Water and Vinegar, then count 20 drops of that stuff you went out of your way to pick up at the health food store.
Veggie Wash
Step 2
 
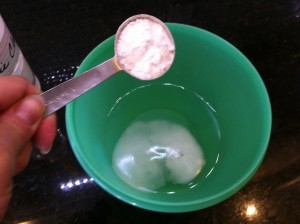
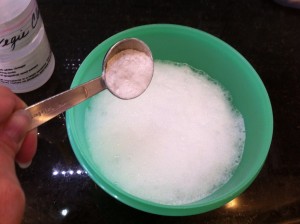
Step 3: Sprinkle, EASY, I said s p r i n k l e the baking soda.
Veggie Wash
Step 3
Step 4: It’s fizzing up pretty good now.
Veggie Wash
Step 4
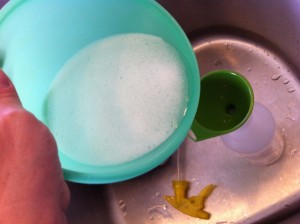
Step 5: Hey, too fast – Better move this rodeo to the sink!
Veggie Wash
Step 5
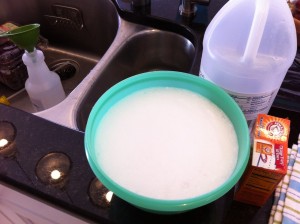
Step 6: OK, that’s it. Now wait for the bubbles to go down. Go get your spray bottle and little funnel.
Veggie Wash
Step 6
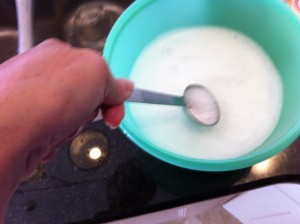
Step 7: I can’t wait for anything – hurry up! A little stir breaks them down.
Veggie Wash
Step 7
Step 8: With a little funnel, pour it into your bottle.
Veggie Wash
Step 8
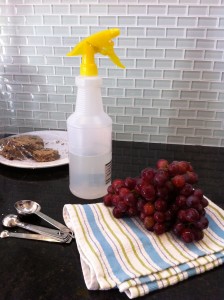
Step 9: There you go – Cheap and easy…and super clean grapes. Just spray it on your fruit, let it wait 3-4 minutes and then rinse. Yummmm, no Sevin dust, Diazinon, or kid spit (which I think is probably a better insecticide than cell phone cleaner)!
Veggie Wash
Step 9
Michelle
Oh, yeah, I know who used to lick off his cell phone to clean it!  Think he gave that up.  And he lives in the very cold white north where germs don’t have a chance to survive!
KT

Adventures in the Kitchen with Michelle

It’s Fall ! Yippee!!! Besides loving all things pumpkin, I love, nearly, all things maple. Western Pennsylvania native – surprise!! One drawback, it’s a diet no-no. Most of it isn’t even real maple syrup either. Like so many things that have been Frankensteined (“It’s Fraaanken-schteen!!!”) like cheese labeled “pasteurized cheese-food product”, and mayonnaise that doesn’t require refrigeration …. makes you wonder. And yet, these things are deemed ‘safe’ and actually have found a place in our culinary quilt called the American Diet. Maple syrup is either 100% Pure Maple Syrup, or an artificially flavored corn syrup product. Lite syrup is just the latter with water aded, it seems. Which is why you really do use 1/4 cup as a serving, because it HAS NO TASTE! And a horrible something happens when they use artificial sweeteners for No-Sugar Maple Syrup. That’s when the stitches come loose and the monster turns bad – very bad.
 
That’s not the maple surple I remember as a child. Yes, I called it surple because I couldn’t say syrup yet…but that wasn’t going to stop me from asking for some! When I was little Grandma had what looked like a ginormous oil can printed with a snowy scene filled with that Northeastern Liquid Gold. And it was G o o d. When it was gone, Grandma kept a bottle of Mapleine, an artificial maple flavor that she’d cook with sugar, or Karo (corn syrup) to substitute until another of those big cans appeared. Now, I’m not sure just what they use to make Mapleine, and I don’t care, because it’s so close to the original I’ll take the chance. Last time I bought a bottle the label actually looked like it did some 40 years ago – which is how I recognized it on the shelf. They haven’t changed a thing. Something that has changed is our choice of sweeteners. Everyone’s heard about how we need to cut back on corn syrup usage and I agree. So, I set about looking for an alternative. Sugar, is well, just sugar and I’m needing to get away from that too. Honey has too much of it’s own character. I have to stay with a natural base to keep the amber goodness. Xantham Gum may thicken Whey-Low or a Truvia, but they have a ‘fake taste’ and the Gum makes a weird texture. Hmmmm, I did mention ‘amber’…. Agave nectar is amber. It’s the right consistency, and takes well to flavoring. Yes, it is technically a ‘processed’ product. It isn’t the darling of the health food world it used to be, now that we know what they have to do to get it. And it’s not one step from tequila either! Although, it has a low-glycemic index which helps the diabetics. Even dieters know the caloric burning advantages to using it. Wow- this is a no brainer. And I just happen to have a ginormous bottle of it –  organic to boot. Let’s blend, shall we…
 
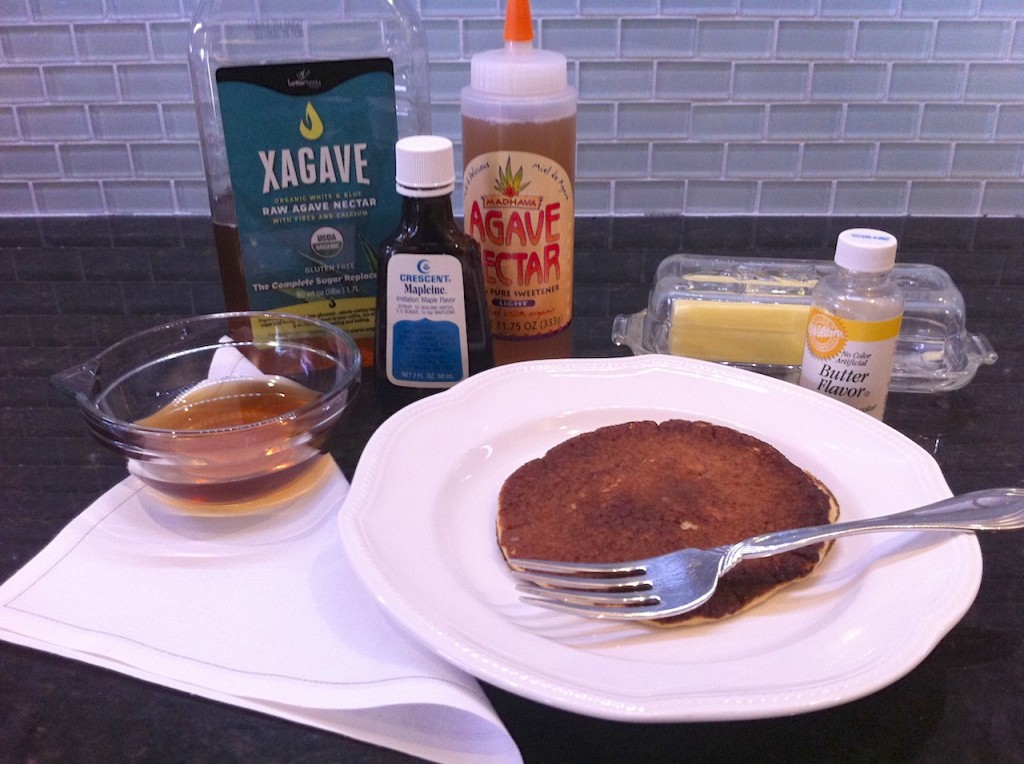
Step 1: Well, there really is only one step. There’s no cooking at involved. I used a 1/2 cup of Agave and 1/8 tsp Mapleine – it’s strong, be careful. Really? That’s it? It’s great!!!
Even though I love pancakes, I know I can only eat one or two. I used only about 2 Tbl on 2 pancakes and that’s all they needed. It soaked in and was mapley all the way thru. Yuuuum. And 2 Tbl is like 120 calories. Which I can’t label as ‘diet’ but it’s at least not the 230 that regular syrup packs on. If you want Butter Flavor, well, ok. We’ve already gone the slippery slope of artificiality so add a drop or two of Butter Flavoring. I use the Wilton for icings that need to taste good, but that real butter will make to soft to decorate with. It’s not bad, and adds a warmer, buttery pancake syrup flavor….just like on the farm. Back when my waistline didn’t care that I had 2 pats of butter and an amber ring of gooey goodness circling my pile of pancakes. I was happy that Fall was back and Grandma had yet another one of those ginormous oil cans….   
Maple Surple