I love Bermuda and I don’t mean the island…. It was Earth Day a while back and I hadn’t come up with anything interesting to post. Turns out, I do have something to help Mother Earth…low maintenance grass. You see, I live in one of those developments that started up during the 80’s and 90’s. Which means that all of the homes have Floratam/St.Augustine grass. Lovely as it seems, to have all of the lawns a nice uniform color, this biological astro-turf is high maintenance! I think I told you all about it in my post about eating a Chickweed salad. “I like grass I can run thru in my bare feet. Yes, I’m way beyond 12 years old. You wouldn’t dare run though that perfect new lawn, or it will die. If it gets too much water, it will die. If it dries out, it will die. If the lawn dude misses a month (mainly because you didn’t pay him the $200 to come out and spray), it will die. With the Great Recession went funding for that, and yup – it died.” OK, about those ‘dead spots’. When we had one of the many ‘landscape professionals’ come out and give us a quote when we first moved in, one of them mentioned, “That patch of Bermuda needs to be sprayed or it’ll take over.”, What?, “Yeah, that’s native bermuda, it’ll turn brown in the winter AND choke out all your St.Augustine.”, “Oh, to replace the yard will be about $20,000, if you just fill in the patches it’s about $10k….” Yes, he did say this with a straight face. Ok, it’s a big yard, but not THAT big. Two words stuck in my brain – Native Bermuda.
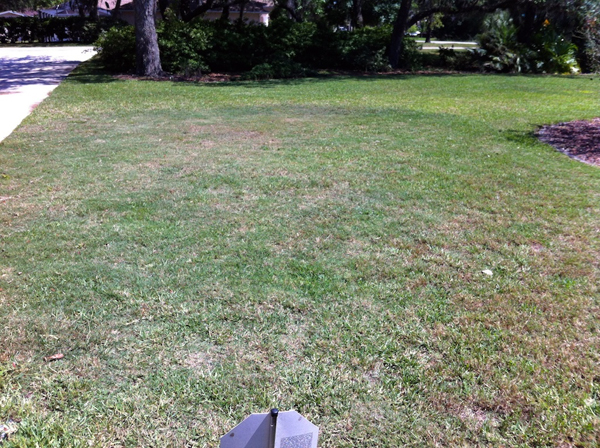
I thanked the nice gentleman and giggled to myself as he pulled away. I’d told him I’d have to consult with my husband about the quote. (totally lying – I knew better) One problem was our HomeOwners Association had a clause that insisted that the lawns be properly maintained, AND that they be Floratam / St. Augustine. We patched the spots ourselves. This is NOT recommended – by ’spots’, I mean we had a huge truck drop off pallets of sod. I now have a healthy respect for those poor souls laying sod. We watered and fed and babied that green carpet as best we could, but eventually, it died too. So a few years went by and before The Great Recession, we endured the not-so-great drought of ’06–’13. With that came some changes in watering restrictions and sod laws. We no longer had to conform to the grass specifications, no matter what the HOA said. Lets face it, we all want lovely lawns, but I like the lake too (which is filling with weeds thanks to all the fertilizer). But now, I can shop for different grass. And I can’t believe I’m saying this, but thank you Mr. Government Man. For the love of Bermuda…and I don’t mean the island! My husband grew up in Arizona. Now that’s a place that’s tough to grow grass in. As such, he knows a thing or two about grass and droughts. He was all over the idea of native bermuda, but seeds just never took. And I hadn’t the patience in my wallet to spend another dime on it. When I discovered that what’s on the ball fields and golf courses, I went shopping. Most people were planting Zoysia, like our neighbors did…and theirs died. I wanted soccer field style toughness…and I wanted it NOW. Then I found ‘Celebration Bermuda’ (http://bethelfarms.com/celebration/) plugs.
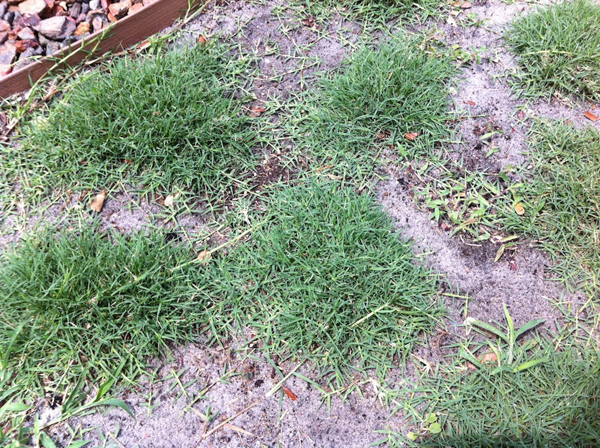
Yes, only plugs, unless you’re a ball field. We ordered boxes of plugs from a farm in Webster. The UPS truck dropped them off with a quizzical look (a box o’ dirt – really? ). And we began the experiment. That was in April 2013. In May, once they decided to stay with us, I took a photo. We only feed the lawn in Spring and Fall, and water once a week ( and NEVER when it rains – I hate that ).
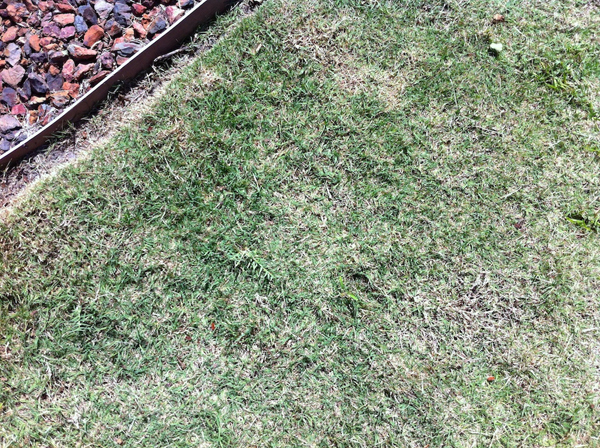
Well, it’s been over a year and the lawn was mowed yesterday, so I thought I’d take another shot. It’s the thickest, most lovely fine bladed green carpet eveah!! It’s blending nicely with the native variety that’s already here. And, yes, it’s chocking out the Floratam, and the dollar weeds, and crabgrass and nearly everything else. It stays put on one side because the neighbors, that have a newer home and lawn, have a spraying company that lays down an herbicide to keep it back. The neighbors on the other side have had the same lawn issues we’ve had and can’t wait for it to creep on over. Our lawn looks like a golf course wherever we planted the plugs !! I can’t wait to put some more this Spring. No over watering, no over fertilizing, and no fussing ! I think the Earth is a little happier that we listened to what the lawn wanted and not just what was fashionable. Happy Earth Day…again. Michelle Beal http://badzoot.com

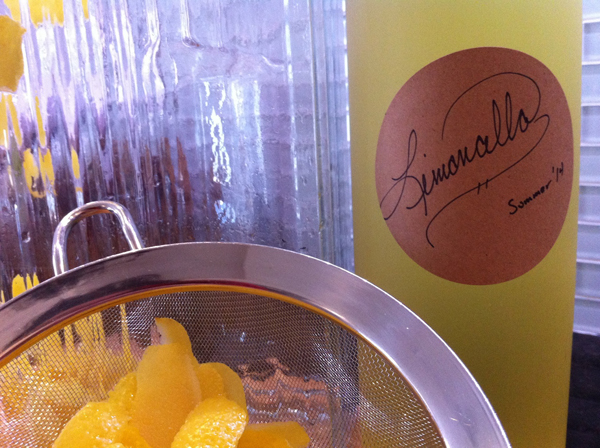
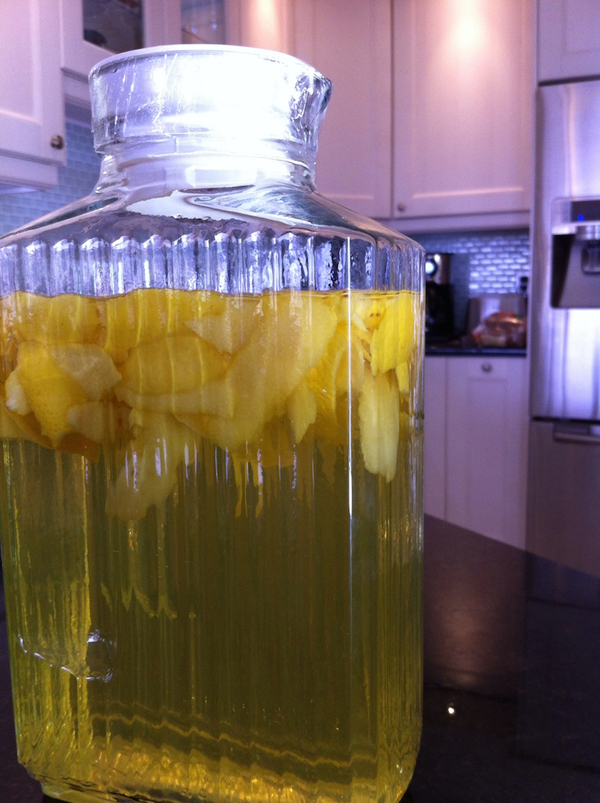
 A 2qt glass pitcher.
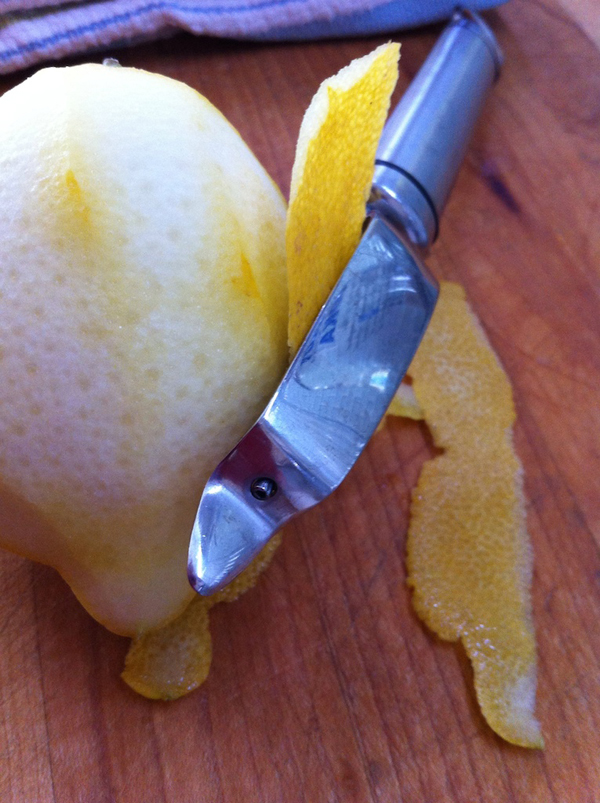
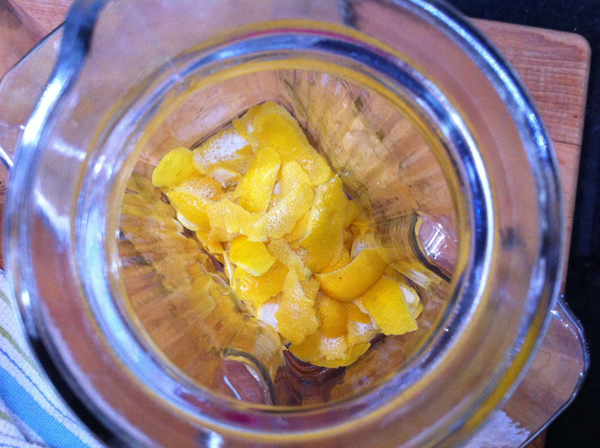
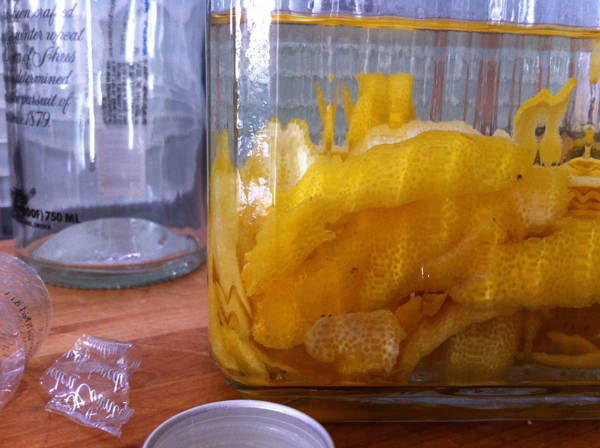
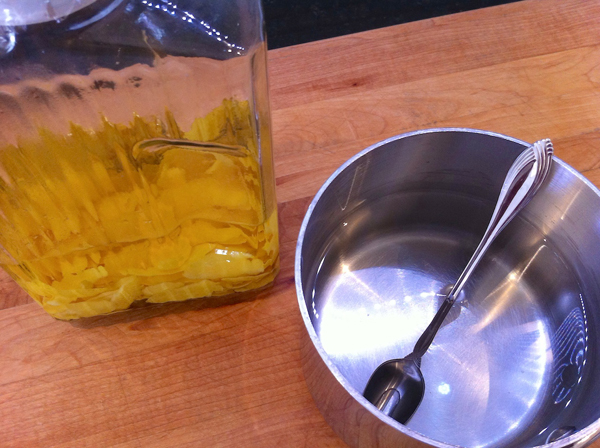 …and later that week. Make the simple syrup by heating the water and sugar to dissolve. Let it cool to room temp and add to the pitcher.
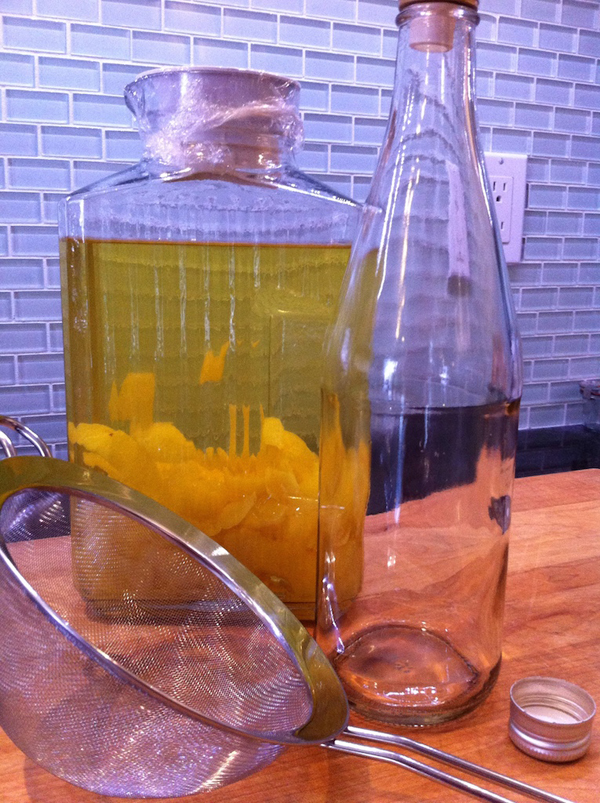
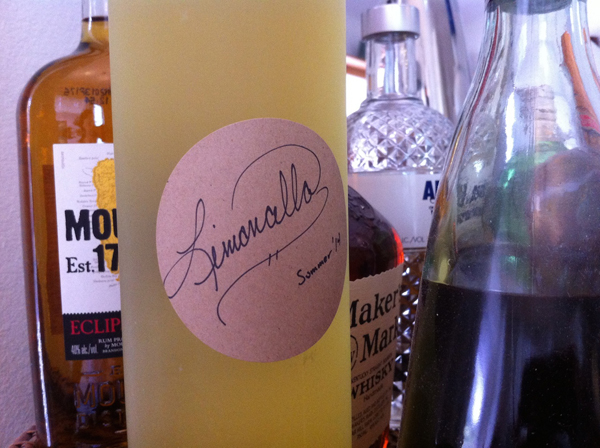
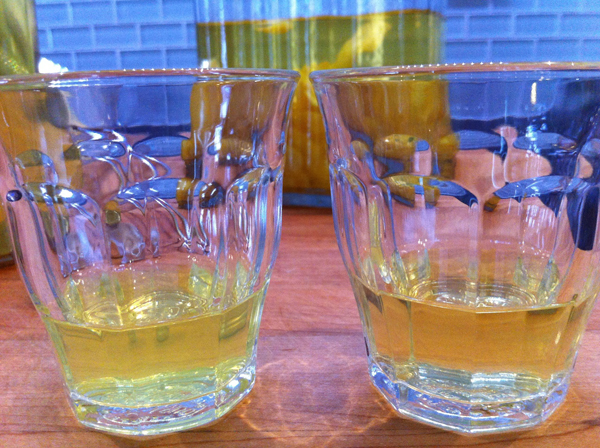 I had just a shot of my store bought variety leftover to compare mine to, and I actually like mine better. The DIY version has a much more fresh and clean lemony taste…not so much ‘lemon Pledge’. Since it’s made with relatively good vodka, I know I won’t be left with a massive headache in the morning! I checked a site devoted to this summer sipping syrup (
 Michelle Beal
 Ohhh, can you smell that!?
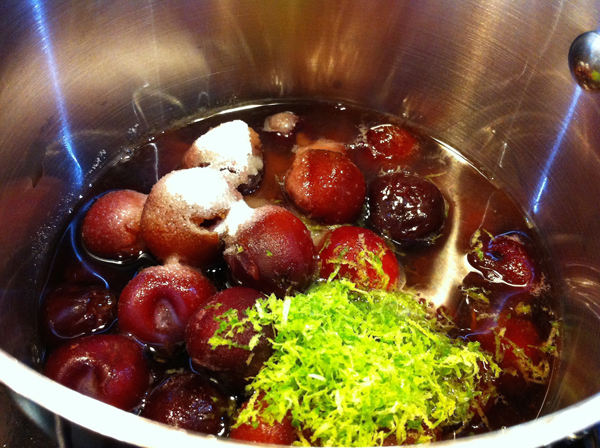
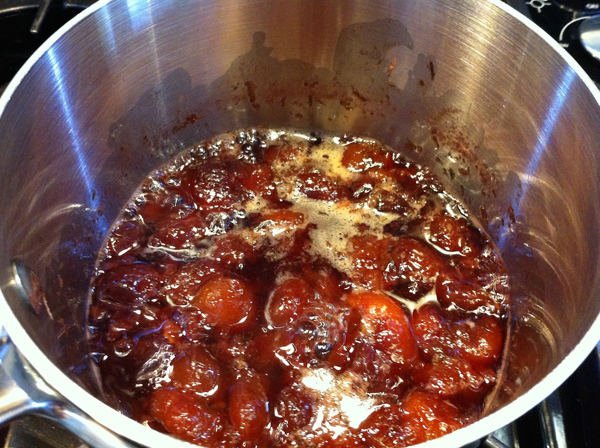
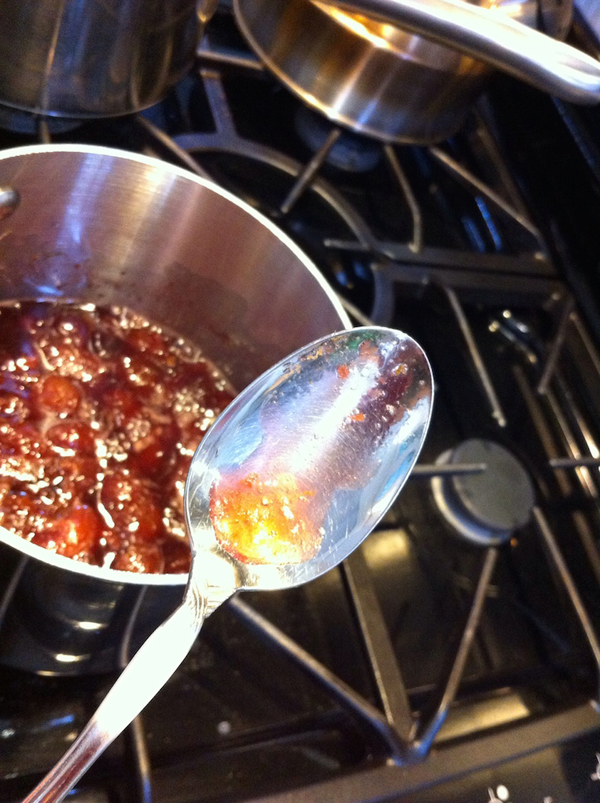
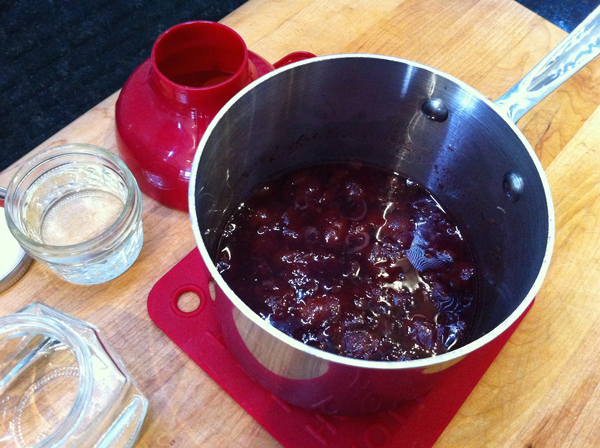
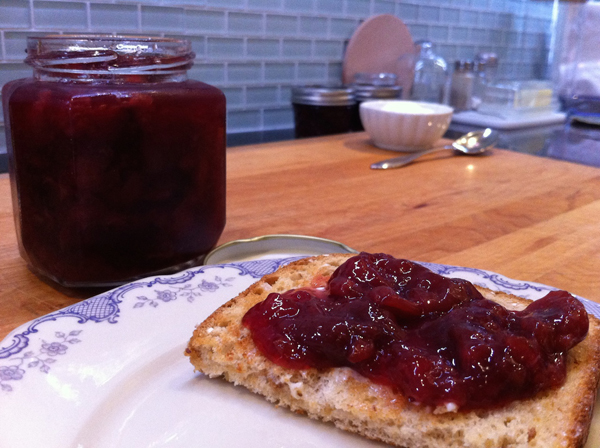
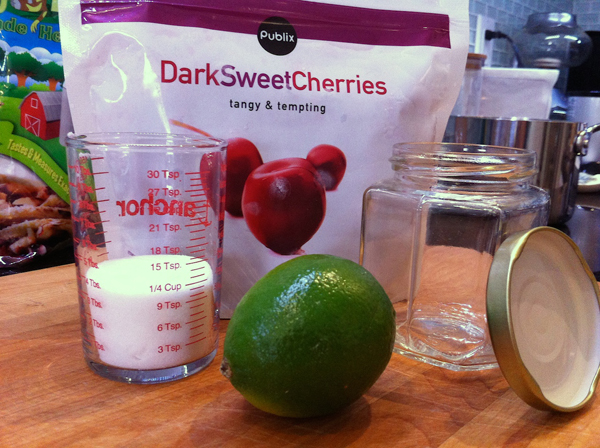
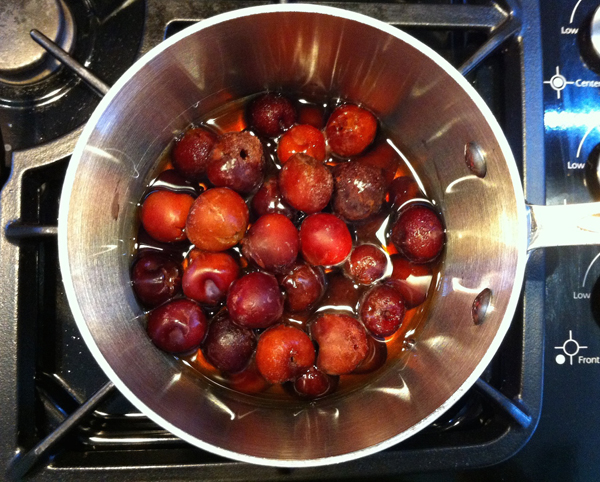
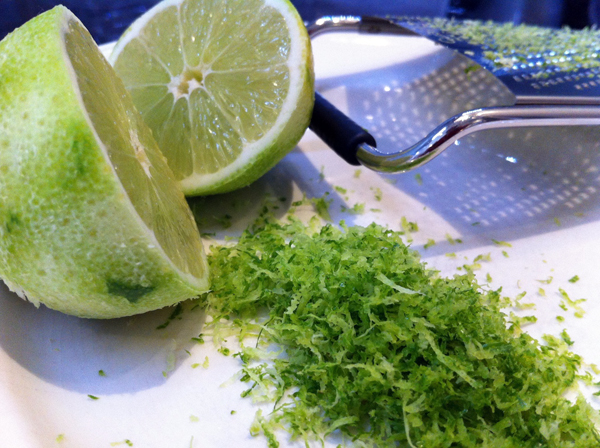
 I’ll bet you forgot that cherries are a super-food. They also have such a strong flavor that the lo-sugar makes it shine thru, with a little help from Mr.Lime. Feel free to warm some up and put it over a cup of vanilla fro-yo tonight. Speaking of warm, have you thought about it swirled into some hot-n steamy steel cut oats? Oh, yeah baby! An everyday treat.