I made a fun blanket last week for a fun friend who was hitting a monumental birthday. (Not a fun one but we made it fun) I call it the Catnap Blanket.
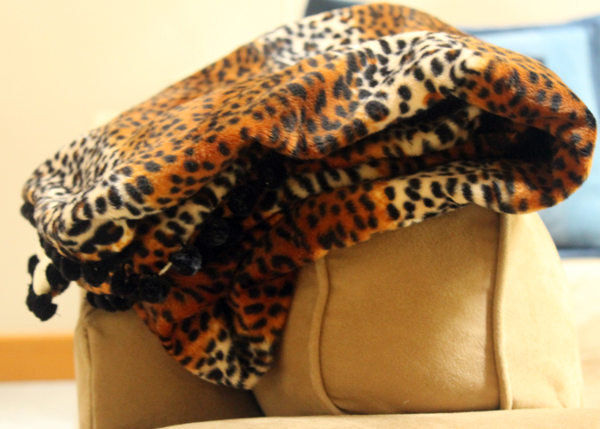
It’s nap size. Which, according to a post on Pinterest is 40” wide and from 50 to 60” long. 40” is easy. Most fabric comes in 45” width and after washing, drying then shrinking, and cutting the ½” selvages off plus doing 1/2” seams, you end up with about 40”.
My friend, let’s call her Yvonne, is a former mermaid and likes all things mermaid and hummingbirds. Which everyone knows so I figured she’d be getting a few for gifts. What only a few people know is that she really likes wild cat prints and has about a dozen cats at her house. Just kidding. Once upon a time there were six and a few of them just happened to follow her granddaughter Austin home after school. That was her story. Austin moved away but the cats stayed.
So I decided to make a very cool leopard blanket with faux fur and an appliqué and to make it even funkier, I added pom poms.
Anyhow….
Here’s what I made.
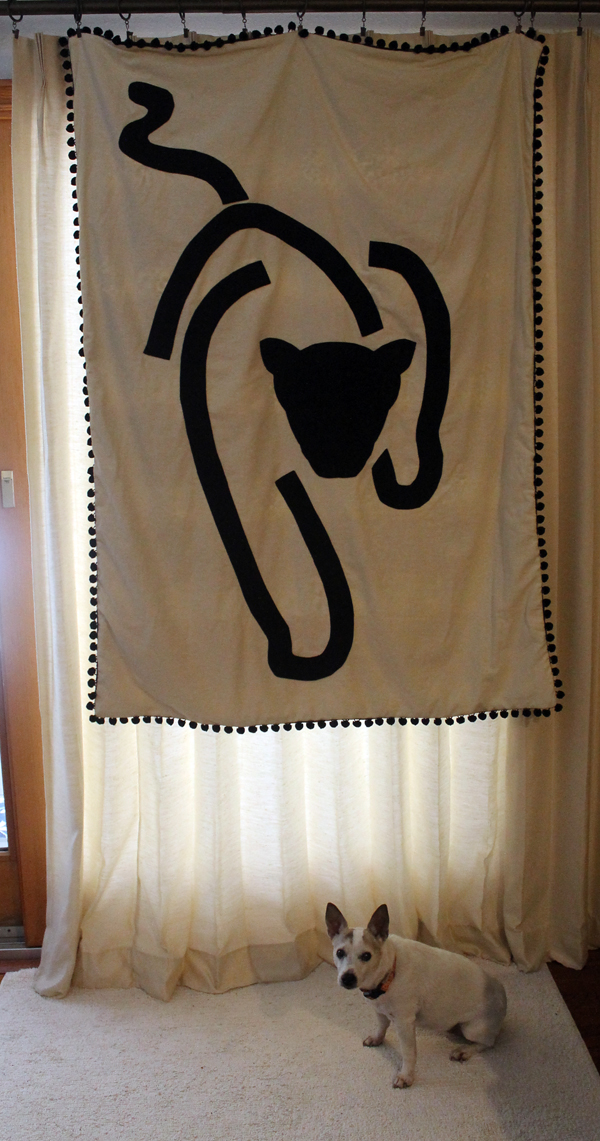
This is a simple project to make. Except the applique. You could leave off the applique and make this in a couple hours. But then it would just be a nap blanket. Not a Catnap Blanket
I wanted something soft like minky for the back but minky can’t be ironed. Well I guess you could iron it but you wouldn’t like the result. And you have to iron that applique. So I went with flannel.
I used fun felt for the appliqué. Wool felt is nicer but can’t be washed and I wanted Yvonne to be able to wash it after Maggie spends the night with her and gets her little dirty paws all over it.
The front is faux leopard fur. I thought about a nice thick black panther faux fur but, once again, Maggie does occasionally stay at Yvonne’s and we wouldn’t want white JR hair mixed in with that black panther.
I didn’t quilt this because I didn’t want lines in that nice soft faux fur so I didn’t use batting. (Hey we live in Florida, we don’t need three layers for a nap.)
So here’s the shopping list. (I bought all of mine at the local Jo-ann’s because I didn’t have time to order it online.)
 1 ¾ yds of 45”wide cream color flannel
1 ¼ yds of 60” wide faux leopard fur
6 yds of black pom poms
1 yd of 72” black fun felt
2 yds of Heat ‘n Bond Lite
I washed and dried everything except the Heat ‘n Bond Lite.
Cut the selvages off of the flannel, it will now be 41” wide. Cut the piece to be 59” long.
Cut the selvages off of the faux fur, it will now be 59” wide. Cut the piece to be 41” long.
The hardest part was creating the appliqué. I found a couple different panther graphics on Pinterest and melded them together then printed them out. The easy way to make a graphic bigger is using an overhead projector and just tracing it onto paper. But who has one of those?
Then I thought about making it really large on PhotoShop and then just printing out letter size portions and taping it together. Waste of printer ink which is 100 times more expensive than gasoline.
But then I said to myself, “What kind of an artist am I if I can’t draw this cat figure?” And then I remembered, “ Oh wait, I’m not an artist, that’s my sister!”
I did it anyhow.
I used freezer paper. Cut and taped it together to the size I wanted. (I didn’t measure it but I matched it up to the flannel and left about 5″ on each side.) Folded it into quarters.
Then I printed out the cat graphic to fit on a letter size paper. Folded the graphic page into quarters.

Then I did a rough drawing on the paper side of the freezer paper—trying to match up each quarter of the cat.
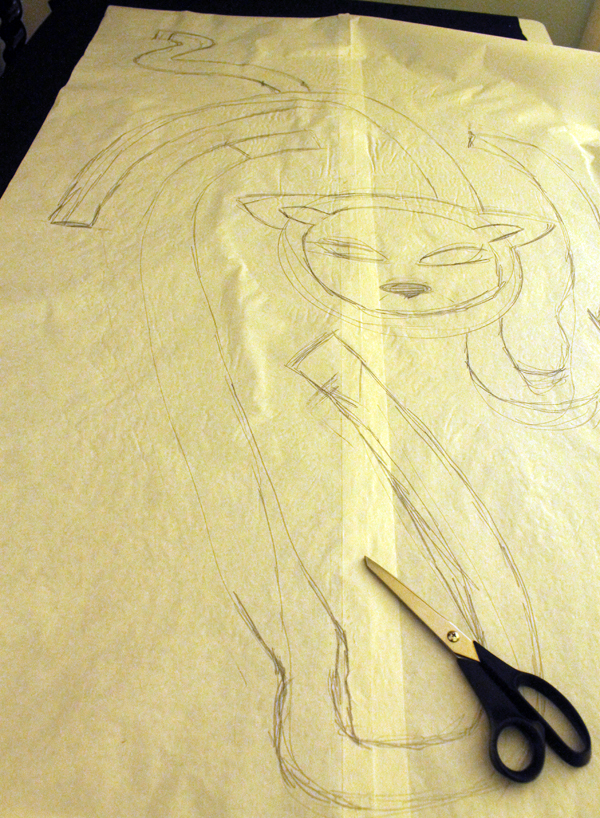 When I was I was kind of satisfied, I put the freezer paper on to the fun felt. Waxy side down, and ironed it. That will make the freezer paper temporarily stick to the felt.
Before I cut it out, I made sure that the appliqué outline width was 2”.
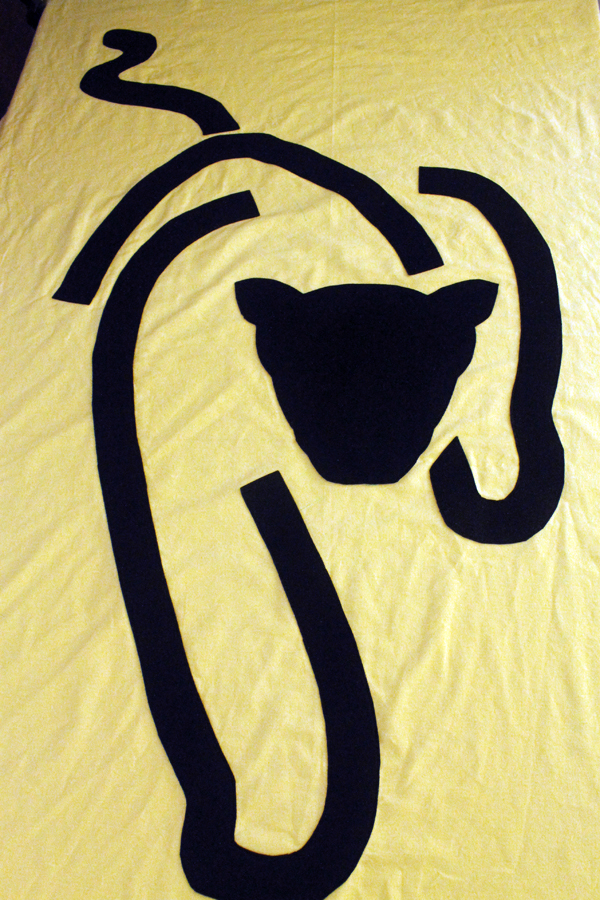
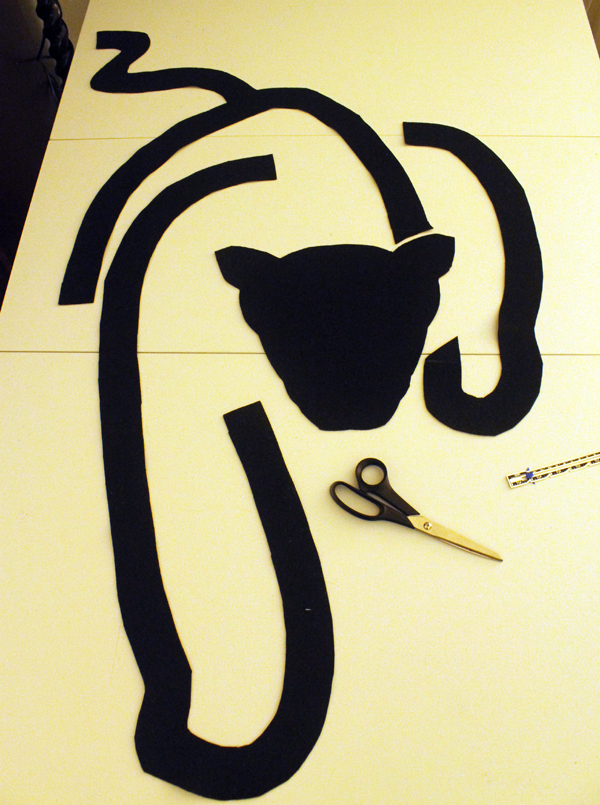 Next I pinned the appliqué fabric to the Heat ‘n Bond lite, cut out the shape, then ironed the back side to Heat ‘n Bond lite. Then I peeled the Heat ‘n Bond lite off of the back and centered the figure on the flannel.
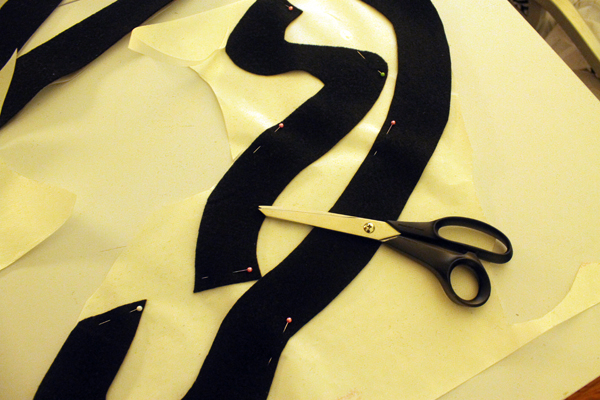
Now I ran into an unexpected problem. The Heat ‘n Bond lite is like a glue that melts when pressed and holds the appliqué in place which makes it easy to sew onto the fabric. But I could not get the stuff to melt onto the felt so it would adhere to the flannel. I went out to their web site and checked if there was a problem with using felt, but no. If the fabric was thick, I was supposed to just press a little longer. Still didn’t work. The website said that I probably used fabric softener when I washed it and that’s why it won’t stick. Can’t remember if I threw a dryer sheet in there or not but washing it again was out of the question. I ended up pinning the appliqué to the flannel, flipping it over, and ironing on the flannel side.
Next I stitched with a regular stitch close to all the appliqué edges.
Basted the pom pom trim ½” from all the sides of the right sides of flannel.
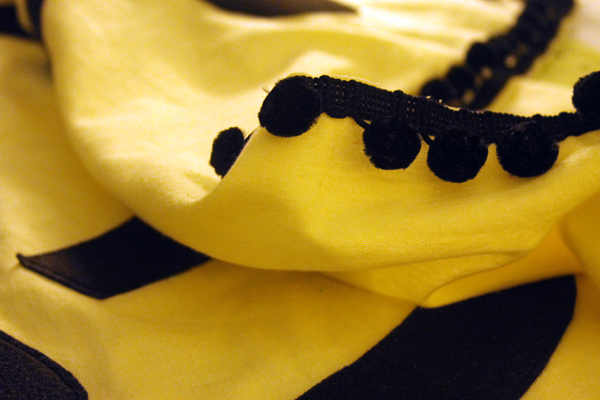
Then I pinned the faux fur and flannel with right sides together and basted on all sides, leaving about a 6” opening for turning. I turned it right side out, checked that the pom poms and edges were okay, turned wrong sides out again and stitched. Turned right side out, checked again, then did a hidden hand stitch for the opening. Done!
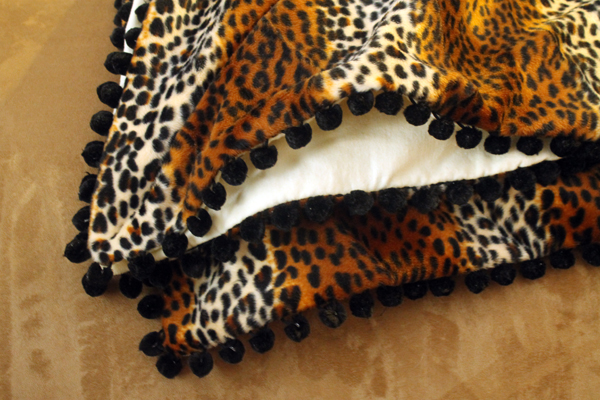 The final measurement was 40 x 58, not counting the pom-poms.
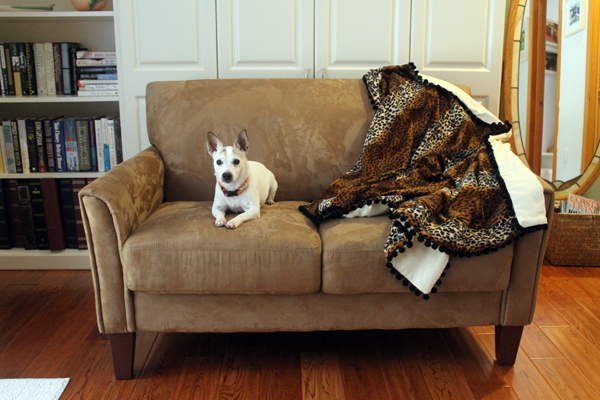 A fun and unique gift!
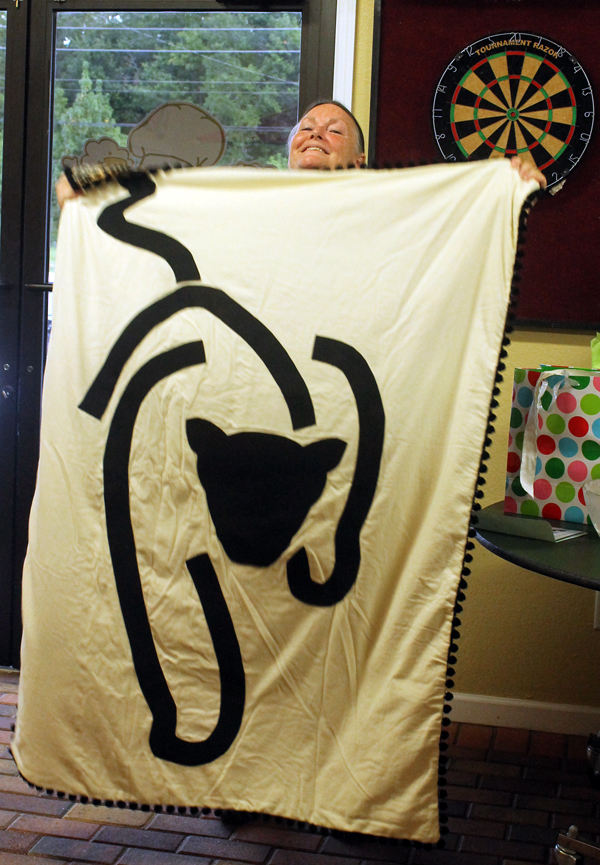
Happy BIG birthday Yvonne!

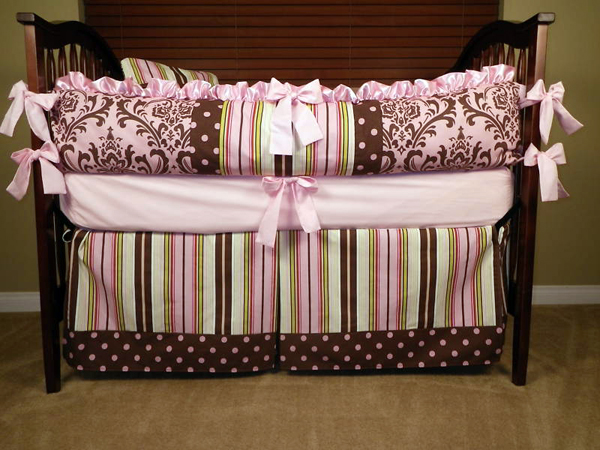
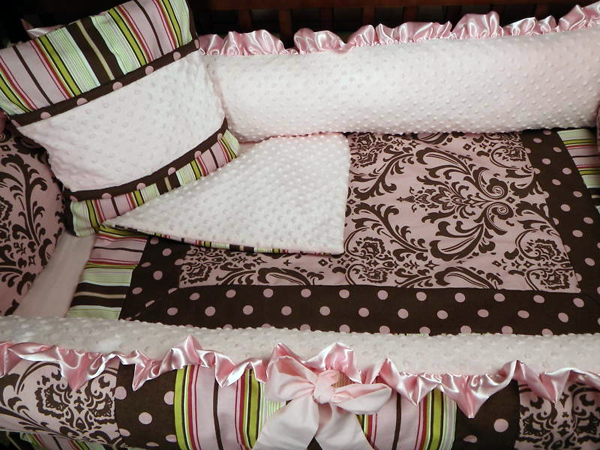
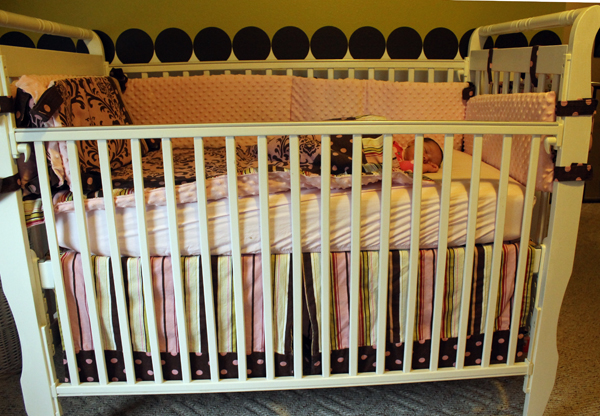
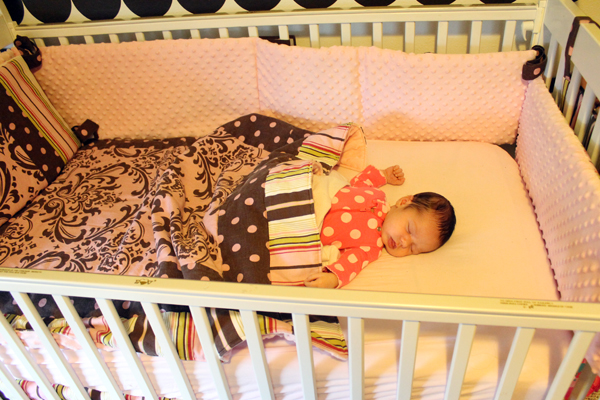

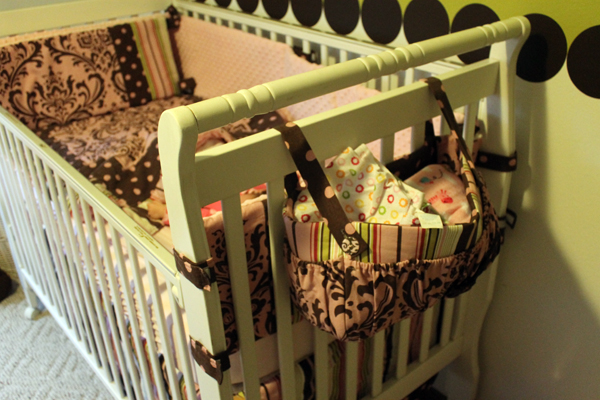
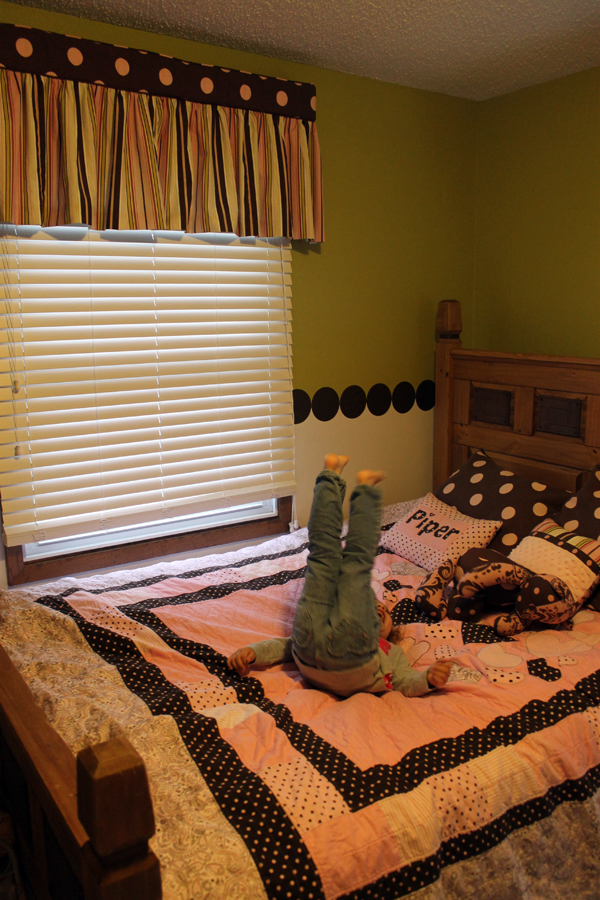
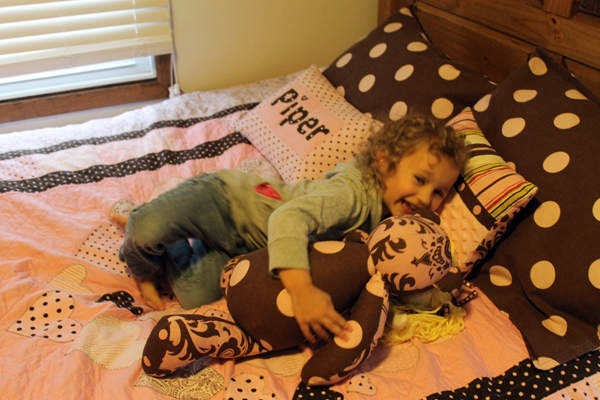
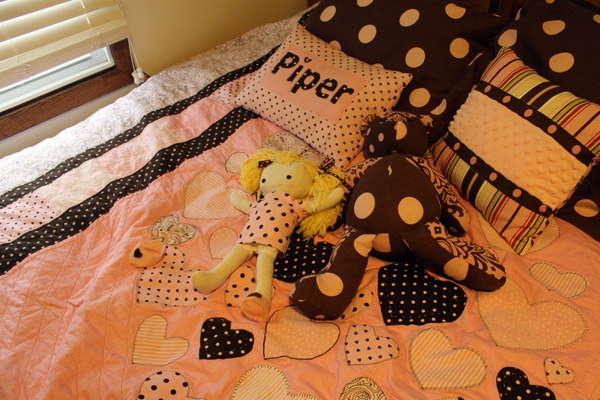
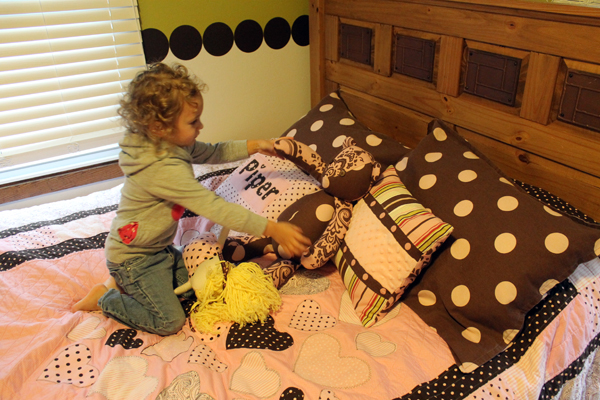 And I’m finally out of that Premier Prints Fabric! But there are a lot of pink and brown quilting prints from Hobby Lobby which I used for the
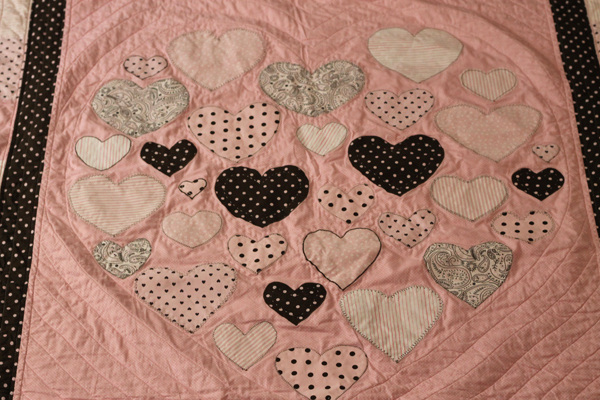

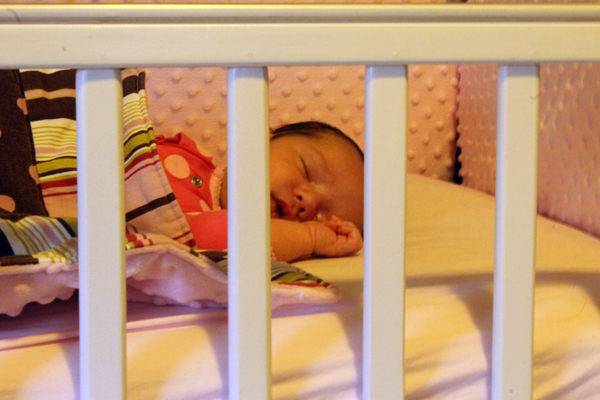 I haven’t made Adley her own quilt yet. But she already has so many sweet baby blankets and the plan is to put twin bunk beds in the room. So I’ll be making that size for when Adley the Queen joins in with Piper the Princess in jumping fun.