DIY Mermaid Tea Towels

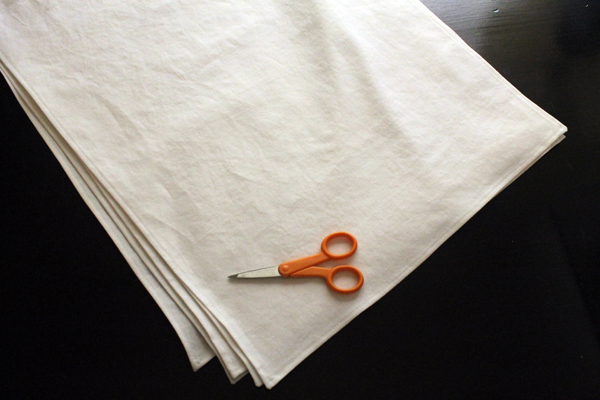
 In last Thursday’s post “Works in Progress“, I mentioned that I had hemmed six tea towels.  The material was Kaufman Essex Wide Linen that I ordered from Fabric.com.  

I had been thinking about making some mermaid tea towels for a friend.  (I always have some project running through my head)  I had just run into Jo-ann’s Fabrics to pick up a new rotary cutter because it was on sale for 50% off. (I’d been waiting for that sale since I dropped and bent my last one!)  Terry was waiting in the car so I was in a hurry but I spotted that fat quarters were on sale for $1.00 each.  I saw a perfect piece for a mermaid tail then picked up a couple more coordinating blue fat quarters.  Everything on sale, and I had a 10% off coupon for the entire purchase. Yippee!

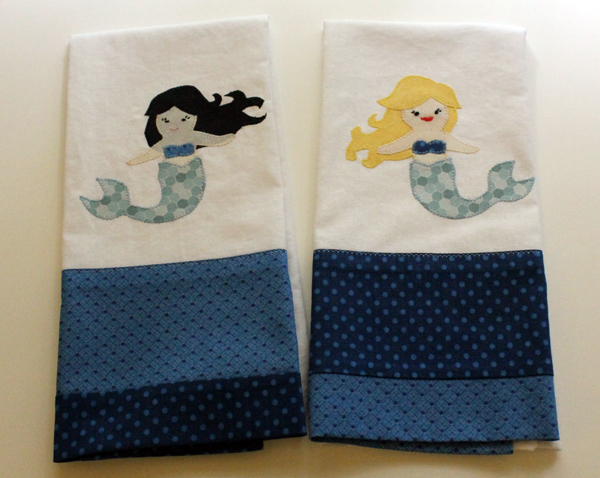
So I made these dish towels.
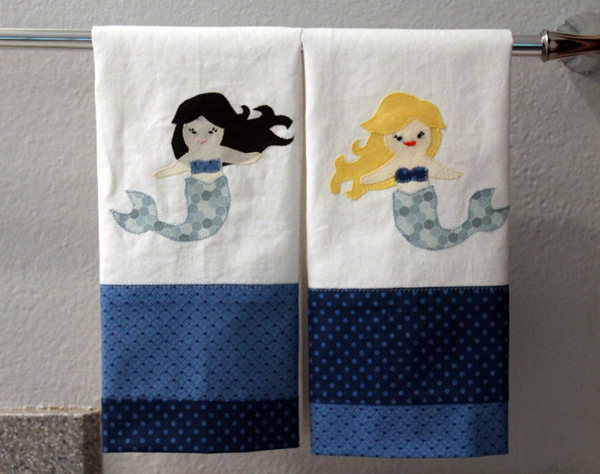
Mermaid tea towels

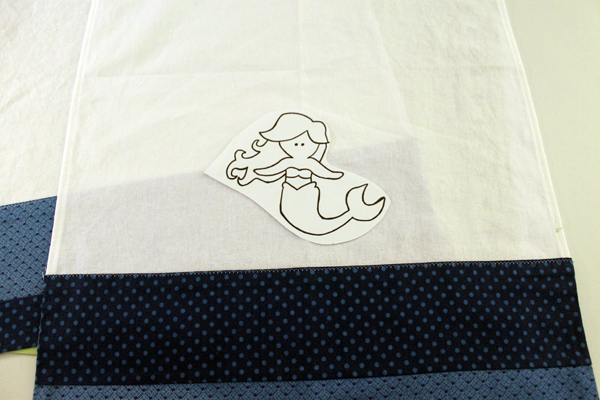
I found two steps difficult with this project.  First, finding a free pattern on Pinterest for mermaids that I liked.   After a few mornings of trying different search phrases on Pinterest, I finally found this one by typing in “Mermaid Pattern” in the search box.
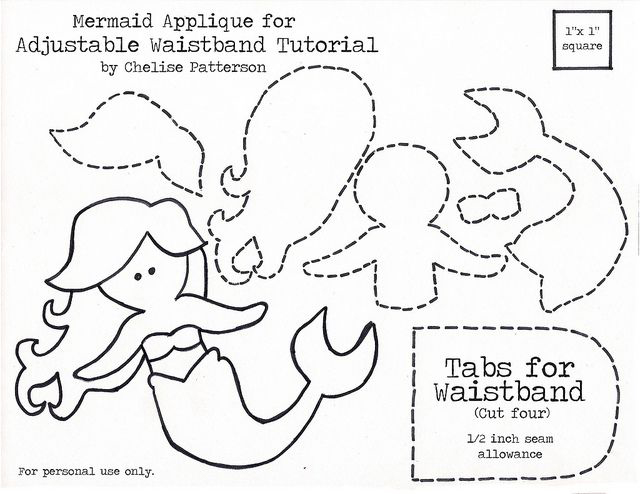
Mermaid PatternThe second problem I had was creating the face.   I tried using fabric paint pens–I am definitely not a painter.  Then I did some embroidery.  Still strange looking but I went with it.
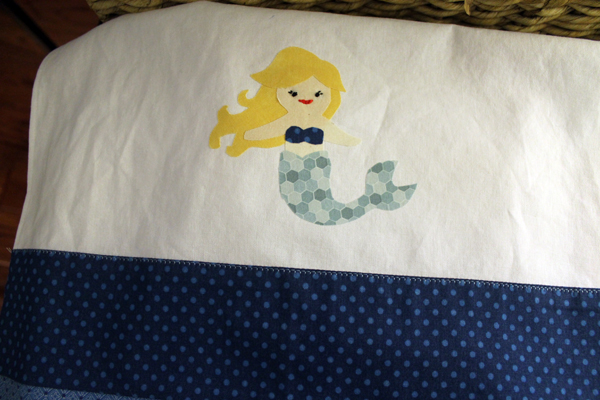
STrange looking mermaid Here’s the sewing instructions:

This makes a 16″ x 23″ towel and has a color band on the bottom.  I wash and dry all fabrics for tea towels prior to sewing.  I also press at every step.  It’s really important to use that iron to get a nice finished product.

I cut the tea towel fabric 17″ x 20″ then hemmed three sides (two long and one short) using the tutorial for clever corners from Sew4Home.com.  The towel is then 16″ x 19 1/2″ with one raw short edge. I like to vary the color bands on all my tea towels.  For each mermaid towel, I cut two coordinating fabrics.  One piece at 4″ x 17″ and a second piece at 7″ x 17″.
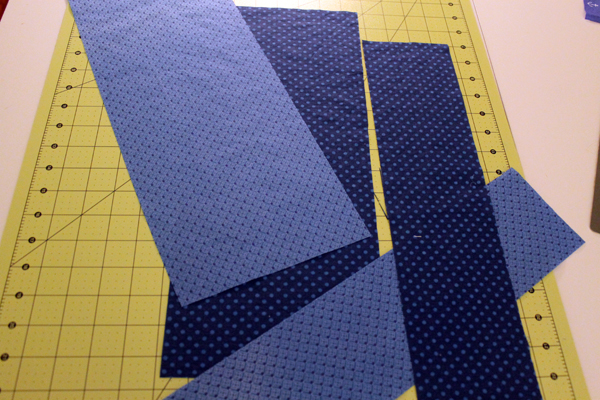
Step 1, cutting strips for color borderSew the 4″ strip to the 7″ strip with a 1/4″ seam. Your color band should now be 10 1/2″ wide.
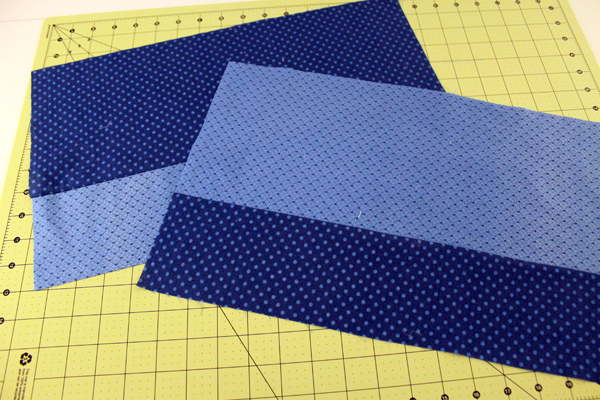
Step 2, sewing strips together

Center the unfinished edge of the towel on the band–wrong sides together.  Make sure you put the 4″ strip against the raw edge of the towel. (Not the 7″ piece) The color strip should be 1/2″ wider that the towel on each side.
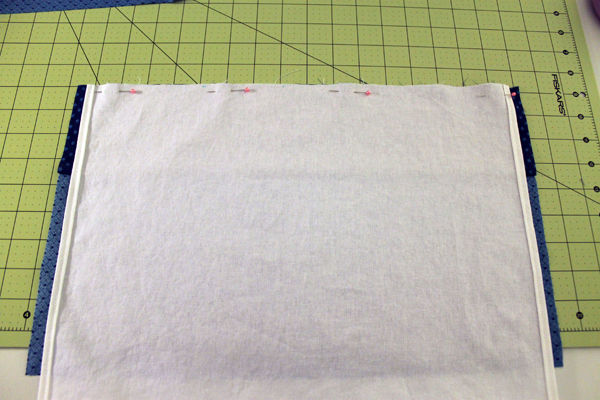
Step 3, center towel on strip  

Stitch together using a 1/2″ seam.  Press under 1/2″ on the unfinished edge of the color band.
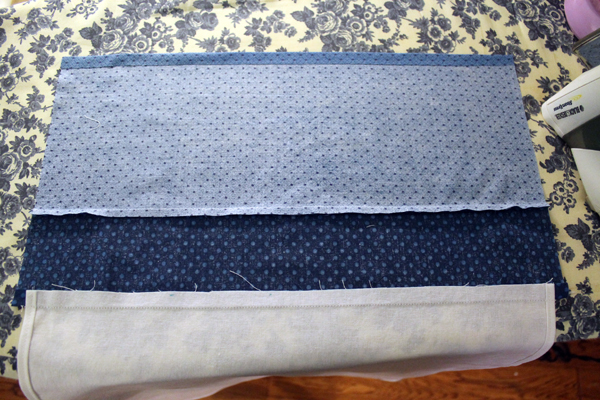
Step 4Fold the color band up to meet the towel seam, right sides together.  The pressed edge of the color band should be on the seam.Step 5
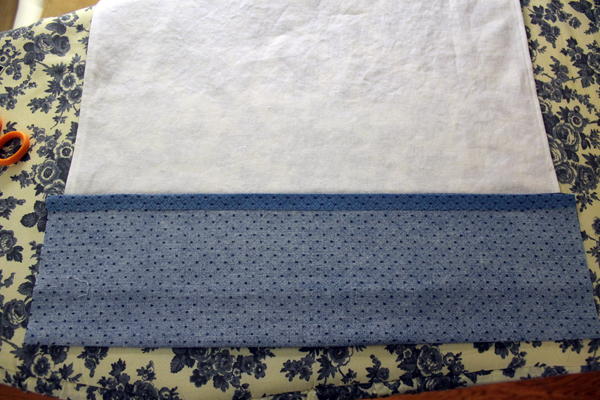
Stitch side edges of the color border with a 1/2″ seam allowance.
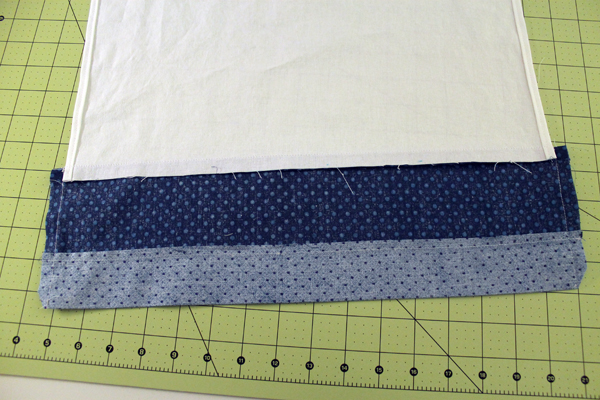
Step 6Clip the corners and turn right side out. Stitch along the top seam making sure you catch both sides.  I used a blanket stitch for a little decoration.  Now it’s finished and pretty on both sides. 
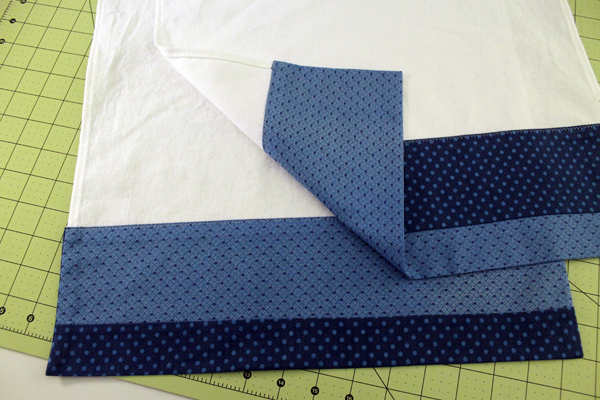
Step7

Now for the applique.  

Applique pattern

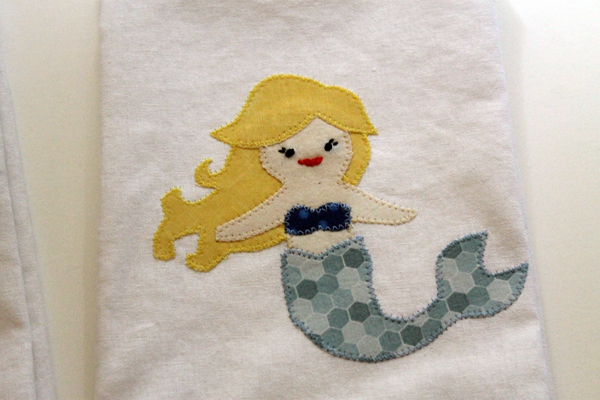
As usual, I used Heat ‘n Bond Lite.  On the second mermaid, I made the face a little thinner so she looked better.  But the black hair showed through the muslin that I used for the flesh.  Next time I’ll use a thicker fabric.  Or maybe iron on interfacing.  
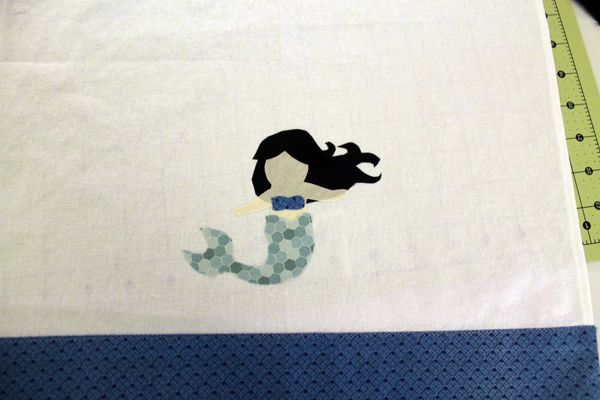
Mermaid pattern

After I pressed the mermaids onto the tea towel I used a zig zag stitch around all the pieces.

Blonde Mermaid mermaidtowel2

I’m a little disappointed with the final product.  But I share my failures along with my successes.  And I’m still giving them to my mermaid friend.  
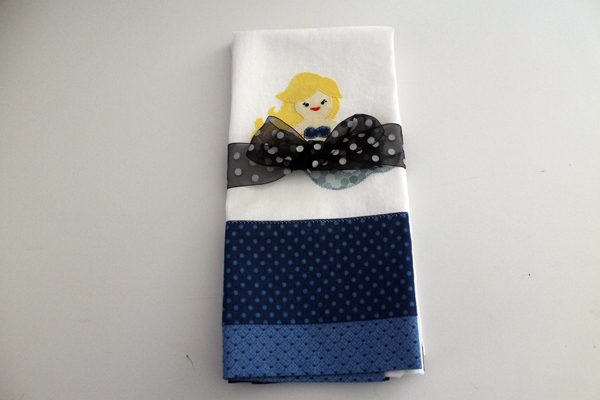
Mermaid DIY Tea Towels


Works in Progress

So many ideas, so little time! 

(Speaking of SO, I saw a bit on the Today show that we use SO too much.  They are right.  I use it in almost every paragraph on this blog.  And I’m trying to give it up.)

So, (just kidding) to return to the subject.

I have a lot of sewing projects going on but nothing finished to show you this week.  But I can show you what you will be seeing in upcoming weeks.

I ordered some more material for tea towels when Fabric.com had Kaufman Essex Wide Linen on sale.  It’s one of many fabrics that I keep on hand. I bought enough for nine tea towels.  I cut out and hemmed six.  But I just couldn’t do the other three.  It’s such a boring and tedious task that I had to stop.  Those other three will have to wait until I need them. 

Kaufman Essex Wide Linen
Linens ready to be made pretty with appliques and borders.

I stopped at a quilt shop in Spring Hill after Michelle gave me a heads up that she saw a sign for a new quilt shop. A bit north of Spring Hill Drive on 19.  Where the old movie theater is. I think it’s called Bay Side Quilt Shop but I couldn’t find anything on it on the web. (And I didn’t think to grab any literature when I was there)  It’s only been open for three weeks and had several shelves of product but will getting more fabrics soon.  They carry the Timeless Treasures and Moda lines plus have all kinds of quilting accessories.  Classes start up in June and they won’t just be quilting classes.  One of the first is to make pine needle baskets. 

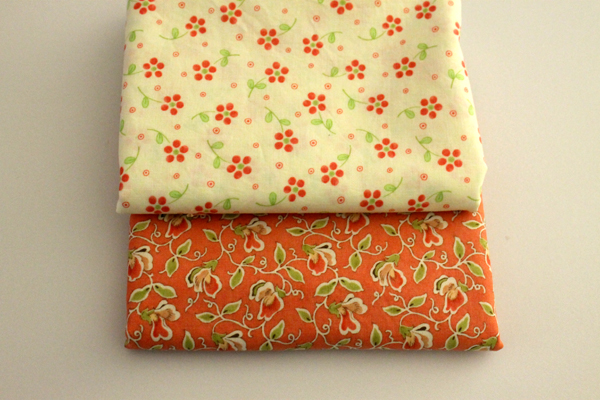
Moda Fabrics
Two pieces from Moda that I bought. I don’t think I can leave a quilt shop without buying something!

After leaving the quilt shop, I stopped at Jo-annes Fabrics to pick up some fleece and denim–two other products I usually keep.  The denim was 50% off and the bolt I picked up was $9.99.  But when I went to have it cut, it was $6.49 a yard.  (I always check before the scissors touch the fabric) That’s not 50% off.  Turns out the denim was actually $12.99 a yard.  Most places would honor the label.  Not them.  I didn’t buy it.  I can get it cheaper at Fabric.com when it goes on sale.  (Just wanted to rant a little)

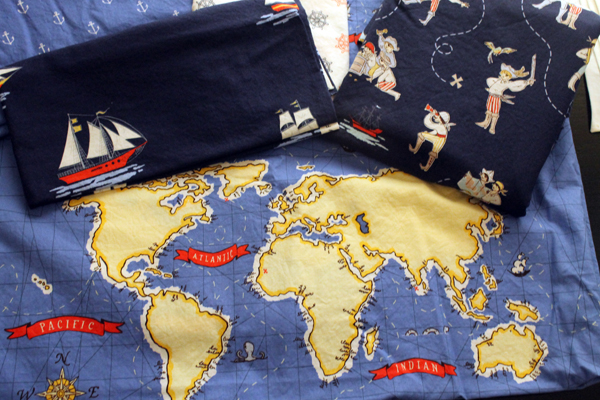
To welcome the newest member of the Green family, Tyson Hugo, I’m making a quilt.  Tyson lives in Seattle.  Plus his parents were married at the Seattle Aquarium. (What a great reception)  So I went with a nautical theme.  These are Michael Miller fabrics that I ordered from Fabric.com.  (Incidentally all children’s fabrics are on sale 25% off through May 26th!  What a deal!  I think I got mine for 15% off.)

Boy Quilt
The map will be the back of the quilt. And aren’t those little swashbucklers adorable?

Then Piper skyped me and asked if I would make her an Elsa costume.  (From Frozen)  Of course!  Here’s the pattern I’ll be using…

Elsa
Think I can put a few off these different dresses together to get an ‘Elsa Look”

This one’s high priority! (As soon as that shiny blue material goes on sale)

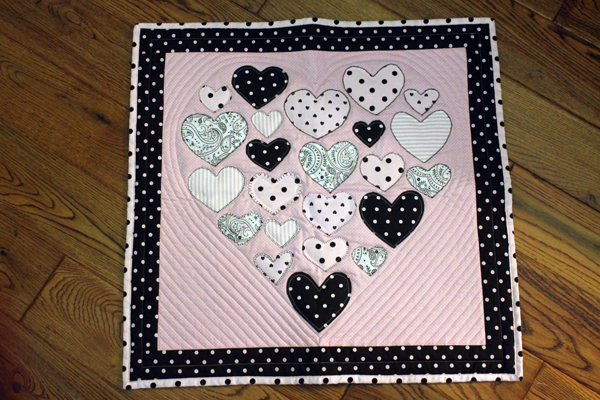
Speaking of Piper, I’ve been working on a quilt for her.  Think I may have mentioned it a few times.   Before I started designing it, I made a small quilt.  Just to see how my idea would look.

Piper's quilt
I call this “Heart of my Heart”

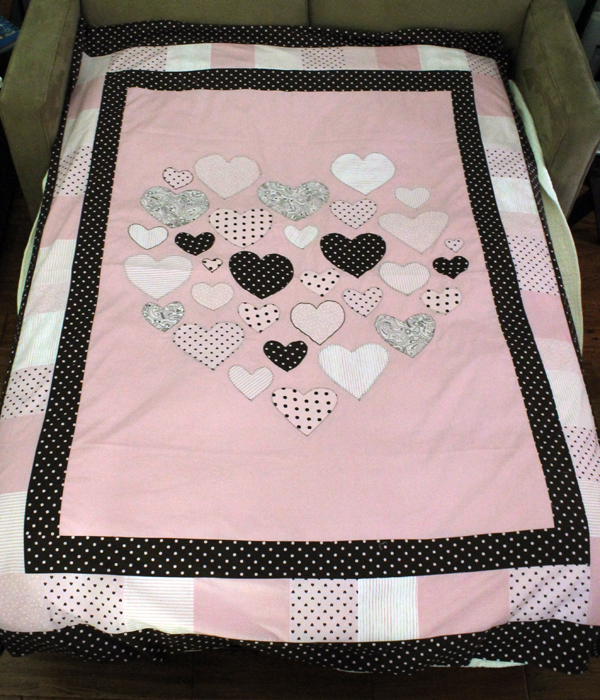
And here’s what I have done so far on the large quilt…

Quilt

Need to put one more border on three sides to finish the piecing part.  Just need to decide if it will be a queen or full-size quilt.  Then putting the batting and backing on and the quilting.  Kind of anxious about the quilting part. But I’ll do it!  And share the finished product and the measurements with you. 

A few other upcoming projects are a bed for Mattie the Cattie and a new tote design.  (Both requested by Jes–I haven’t forgotten!)

That should take me through the summer on my sewing projects.  Hope you’ll join me on Thursdays to see the progress! 

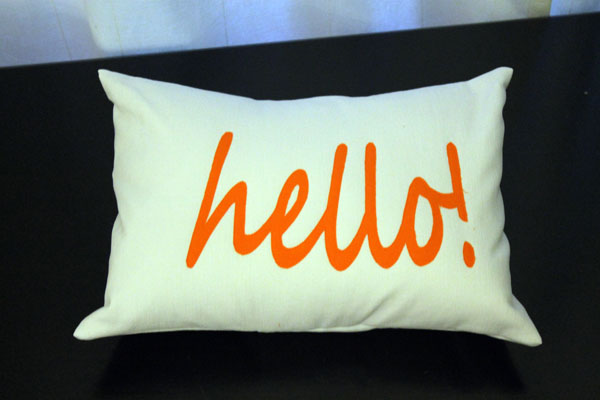
Hello! Pillow

I’ve been a bit obsessed with designing quilts lately but took some time out to make this pillow. 

Hello! Pillow

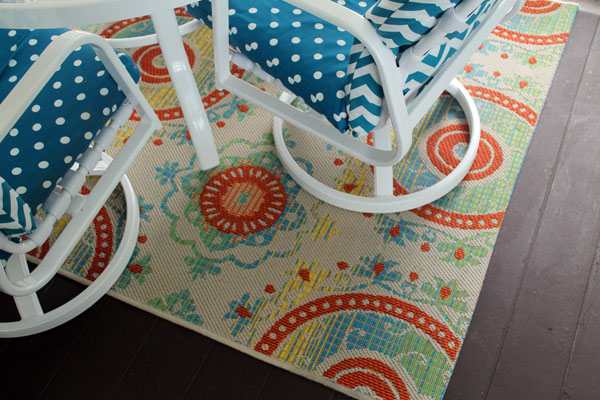
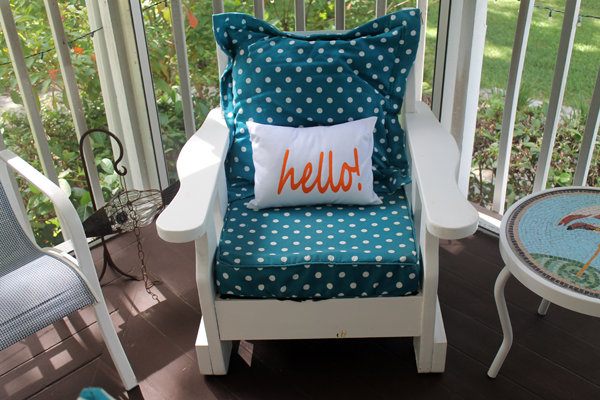
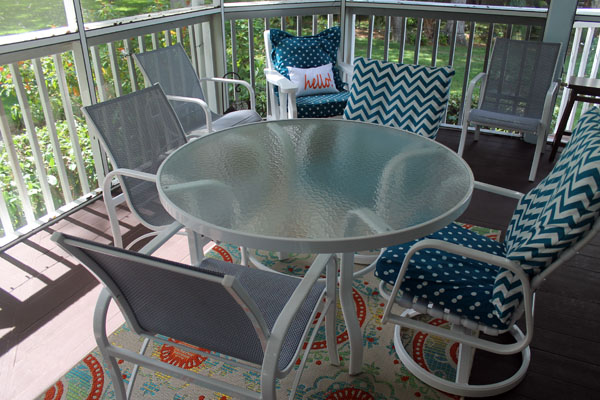
We spend a lot of time out in our screen room.  I updated all the furniture a few years ago and it’s a really comfy room to hang out in.  I wanted to add a rug and it had to be cheap.  So I ordered one that was on clearance from Kohl’s online and just hoped it would match the fabric in the room.  When it arrived I kind of stuck it in a corner in my laundry room because it was not quite what I expected.  After a few weeks I finally rolled it out.  And loved it!  Although the colors aren’t quite the same as the deck furniture, it’s close enough.  And it’s got all these other fun colors–orange, red, green, yellow, and more.

Rug

And a little more orange in the room would make it perfect!

Hence, the pillow.

Hello! PillowHello! PillowI used the same method as I did for the Riley and Jack name pillows.  I used the font Segoe Script and printed it out to the size I wanted. In case you don’t have the font on your computer, here’s a PDF file of the Hello! that will fit on a 12″ x 17″ pillow. just click on it.

hello

Easy Peasy!

Next, I’ll make a mosaic planter in all those bright rug colors!