DIY Baby Quilt

A quilt for Willow

My great niece Victoria is having a baby girl this month and I wanted to make a special quilt to welcome Willow into the world.  I thought Victoria might like a woodlands theme and my first choice was this series from Riley Blake called Enchant.  I love it.

Enchant

But then I stumbled across Victoria’s Pinterest page full of baby ideas and figured out that she is more into purple than pink so instead of the adorable little elfish girls, foxes, bunnies and birds, I went with the Michael Miller Retro Forest Life in Orchid.  Also cute as a button.  In the pic below, the two fabrics on the left are from Fabric.com.  I had carefully matched the pieces on the website’s “design wall”, but when I received them I realized not one of the shades of purple were the same on the two fabrics.  The only color that they shared was an odd shade of green.  I’m not a big fan of green but I did like the dot fabric from our little quilt shop, Tomorrow’s Treasures, and thought it would pull the other fabrics together.

Fabric

I wanted to make a patchwork quilt but the pieces had to be large enough to showcase the woodland scene and all its little creatures.  Back to Pinterest again where I discovered these clever baby quilts:

Inspiration

The only one that had a working link was the “Easy Baby Quilt” on the right.  The measurements for the quilt were 43 1/2″ by 43 1/2″ but I changed it up to measure 40″ x 46″. Here’s my version: 
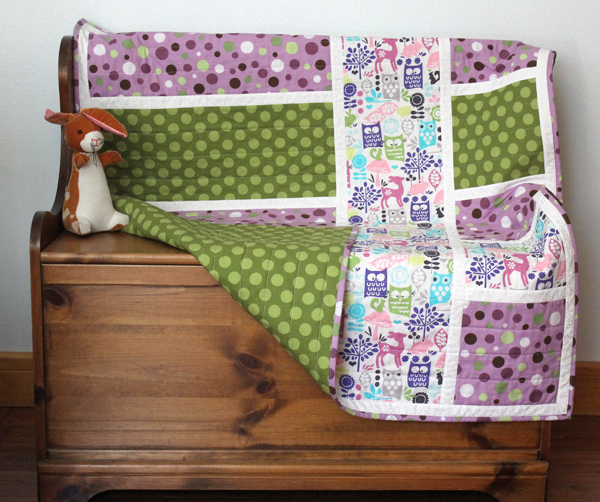
Willow Quilt

I’m not going into details on how to make a quilt but I will share some quilting blogs that I found helpful. I’ve made a few small quilts plus several quilted pillow cases but this was the largest project so far.  I’ve always had trouble basting all the layers together–backing, batting, and quilt top. Inevitably something moves and then I’ve got to start ripping things out.  Having a “walking foot” on my sewing machine helps tremendously but the material still slips. I found the blog, Anyone Can Quilt that recommended using a spray baste.  She suggested 505 Spray and Fix which I couldn’t find locally so I ordered it from Amazon.  Using this spray adhesive made all the difference–no movement at all. Just wait until it’s dry before you start sewing!   And the adhesive will wash right out after you are all done with the quilting.

I also used Diary of a Quilter Beginning Quilting Series Tutorial.  The “Adding Borders 101” and “Machine Quilt Binding 101” were very easy to follow and made both of these subjects simple.  And the last blog I used was Chasing Cottons Quilt Designs where I learned that you must label your quilts and she gave several examples.  Here’s mine:

Quilt Label

This was actually very painful for me because my handwriting sucks and fabric pens are a bit different from a regular pen. Many many attempts were made at this simple little muslin label! Here’s one more look at the quilt, just so you can see how the white frames all the pretty fabric.
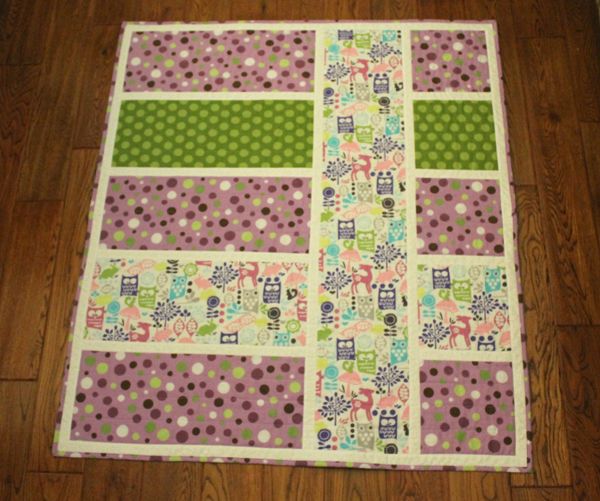
Willow QuiltIt was fun making this quilt and I learned a few new tricks to make it easier.  I’ve been piecing together a queen-sized quilt for Piper and have been procrastinating on the basting step but I think I’m ready now!

Willow will be here very soon and I’m looking forward to meeting her!

More Fabric Boxes

A few weeks ago I posted about the bunnies I was obsessed with and couldn’t stop making.  I ended up with 8 wabbits.  There would have been more but I needed to get Easter gifts to North Dakota.  And sometimes it takes a few extra days to get to the great white tundra.  And I needed to make something for 13 year-old Riley.  A bunny would not work for him.

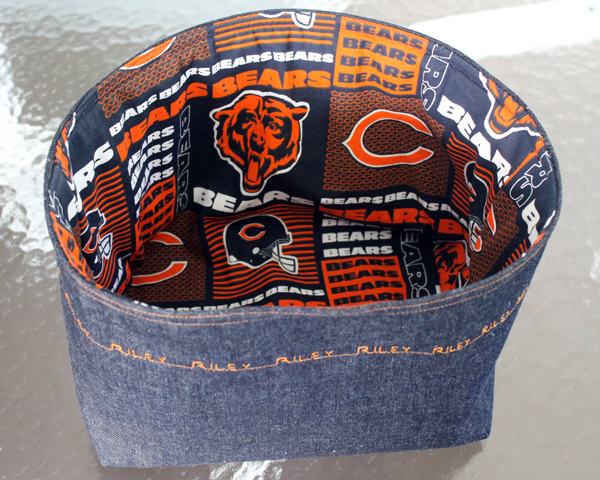
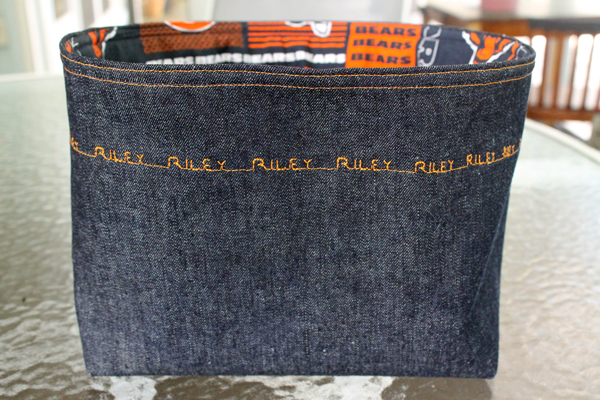
Riley’s a Chicago Bears fan and I’ve already made him a name pillow in their colors plus Bears valances for his bedroom, so I made him a storage box with that theme.  And I put his name on it.  I used the sew4home.com tutorial for fabric boxes that I had used for my office but left off the rick rack and handles.  Didn’t want it to look girly!

Box for Riley

Name
The sewing machine has a program for letters.

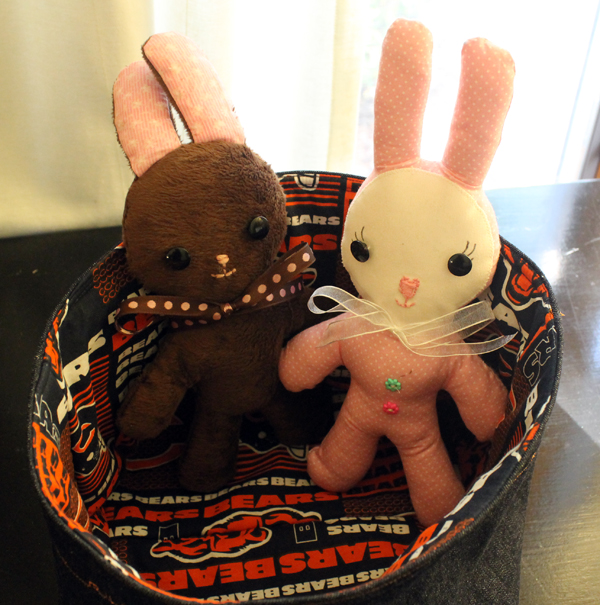
Then I crammed everything in a little USPS box and sent them off to North Dakota!

Bunnies in a box
Bye-bye Bunnies!

Alan and Lauri said that Piper loved the bunnies and named them Chocolate and Strawberry.

That left the other five grandkids.

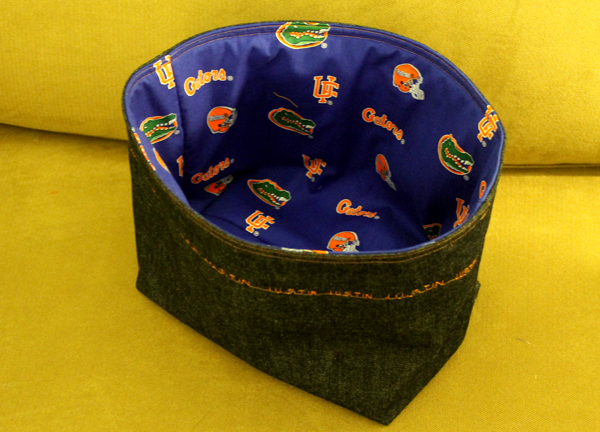
The box for Riley turned out pretty good, so I made one for Justin–he’s a Gator’s Fan.

Box for Justin

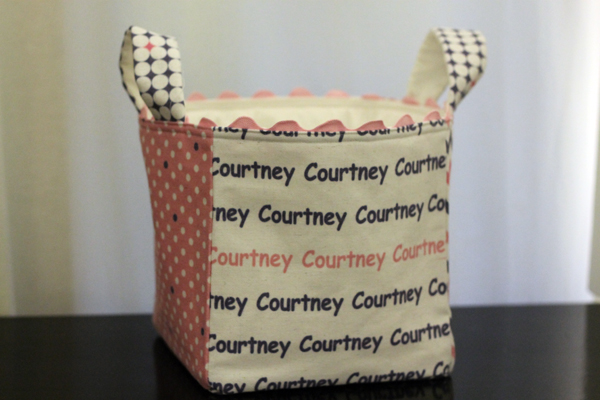
Next I made a fabric box for Courtney following the same instructions from back at Christmas when I made one for Piper .  I still have name fabric for Addison and Kendall, just waiting for a reason to put them together.  Both boxes are super easy to make.  I whipped both of these up in one afternoon.

Box for Courtney

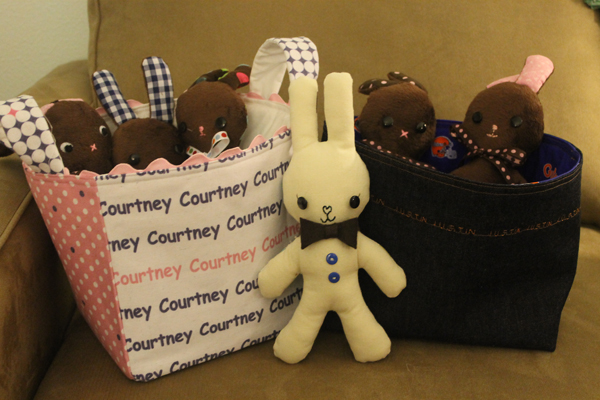
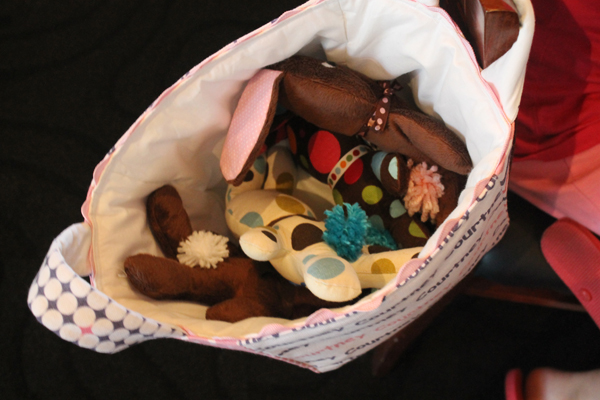
Bunnies and boxes
Boxes and bunnies ready for a trip to Tampa

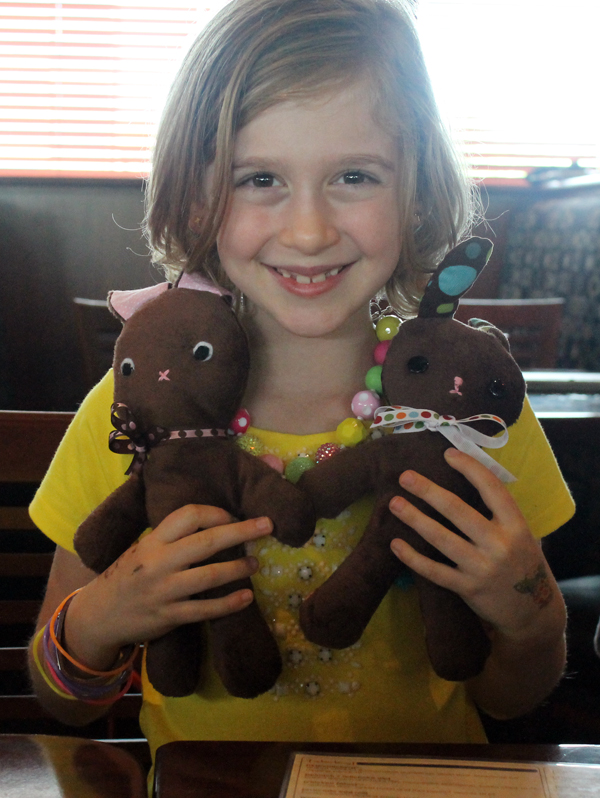
Addison really liked her bunnies. 

Addy's bunnies

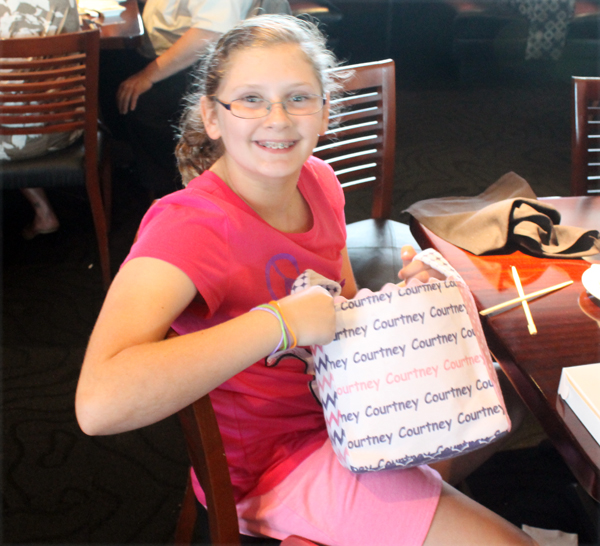
Both Courtney and Justin were thrilled with their fabric boxes.  Justin put a bunch of yu-gi-oh cards in his and headed out the door.  Busy guy. 

Courtney

Bunnies in a box
And she found something to store!

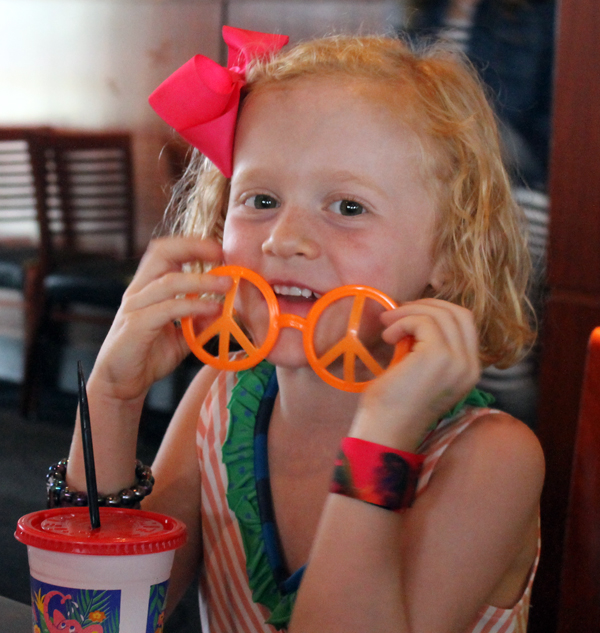
We also celebrated Kendall’s 6th birthday on Easter.  She got a Pottery Barn doll house and all the accessories.  I think her favorite gift though was a pair of glasses from her Great Grandma Shirley.  You just never know!

Kendall

kathryn
Looks like Kathryn liked them, too.
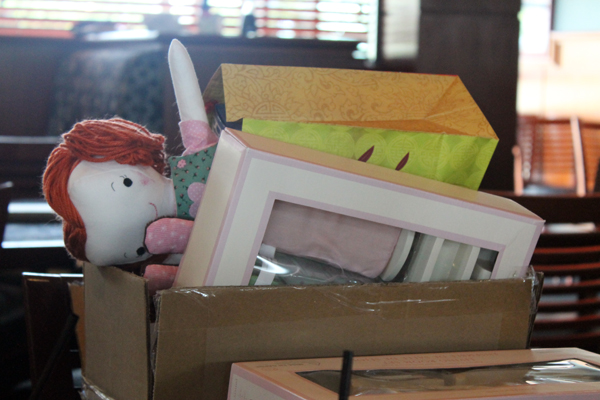
Carrottop
Poor Carrottop discarded with the rest of the gifts!


DIY Easter Bunnies

A few weeks ago I started making bunnies for the four little grandkids. (Figured the three big ones were too cool for stuffed animals.) I used the Lil Softee Pal: Chocolate Bunny tutorial from sew4home. There are directions and pdf patterns to download.The directions and comments said it was easy. So easy.

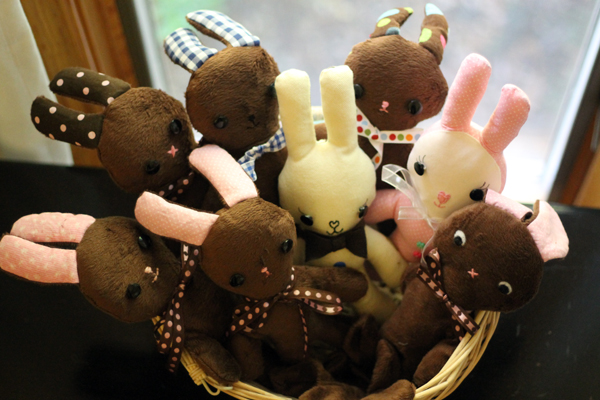
And you know how rabbits multiply? Well, after I had sewn four of these “so easy” bunnies,  it occurred to me, why am I making all brown minky bunnies? Just because that’s what sew4home used? Or because I bought two yards of it?

And that’s when I stepped over the line and entered the bunny obsession zone.

So many wabbits!
So many wabbits!
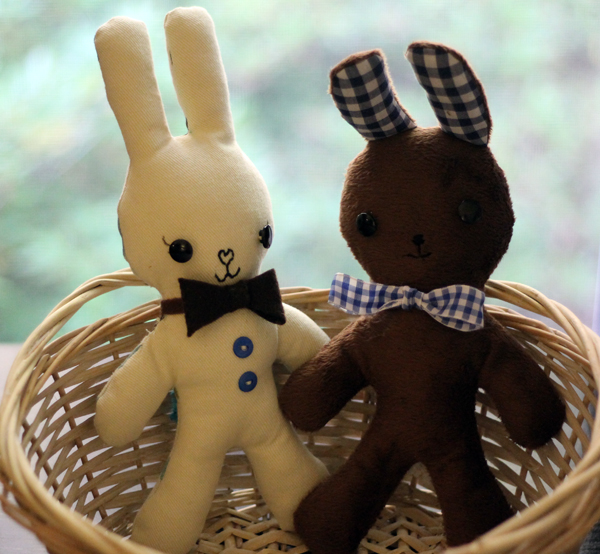
bow ties on boy bunnies
The boy bunnies have little bow ties!
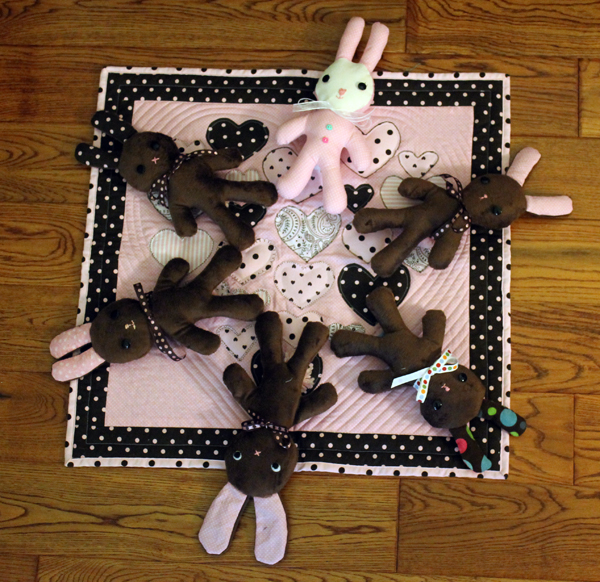
Girls with ribbons
And the girls are properly accessorized with ribbons!

And now I’m going to tell you how EASY these bunnies were.  NOT EASY!  Mostly because minky is of the devil.  It slips. It slides. Even when you sew it through paper like sew4home.com directs you to do. 

I couldn’t find double-sided minky which is what sew4home used. So I bought regular minky. I screwed up Bunny no. 1 by not following the pattern. If you download the pattern, the ears have a seam allowance. But the body doesn’t. And it tells you that in the directions. But I didn’t bother reading them until later.

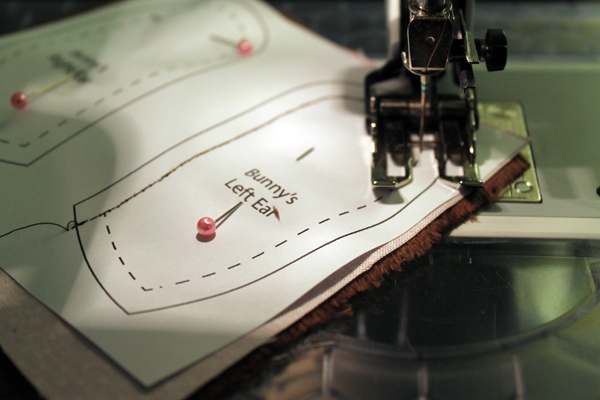
Sew on the ear pattern
Sew on the ear pattern like this.

So the ears were too big. And very floppy. 

Next bunny I put a little stuffing in the ears to make up for the lack of double sided minky which I’m assuming accounted for the ears not standing up.  Adding the stuffing made the ears even more slippery to sew.  Bunny no. 2 went in the trash.

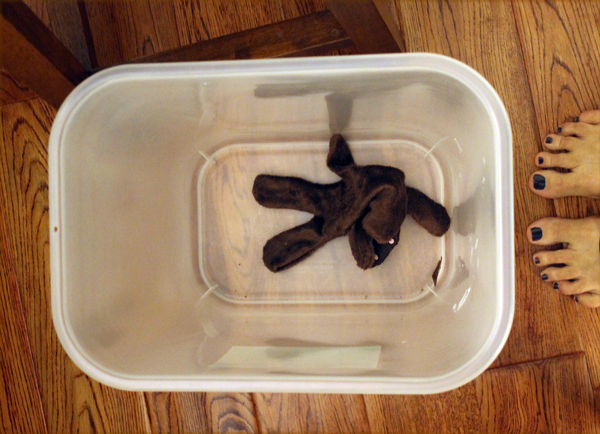
Bunny in the trash
This is a reenactment. There was a lot more trash in there when I tossed bunny no. 2.

But I got him back out. Felt bad about sending him to a landfill.

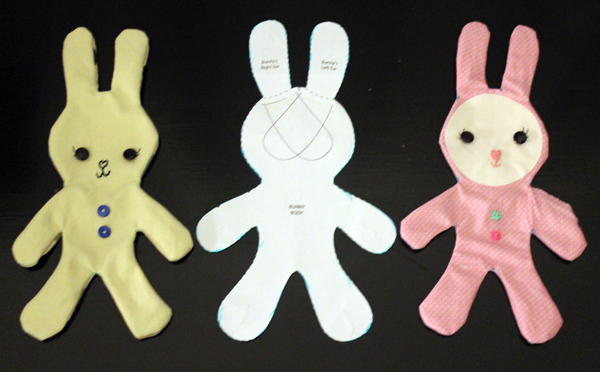
I did manage to make bunnies no. 3 through 6 with the minky fabric.  But then I had the brilliant idea of making the bunnies with regular fabric.  I cut the ear pattern out at the stitching line and taped in onto the body pattern.  Traced around the new pattern with a “mark-b-gone” pen onto non-minky fabric.  Cut it out, leaving about a 1/4 ” seam allowance. Easy Peasy.

Second generation bunnies
So easy–and adorable!

 Next bunny was going to be patchwork but I finally beat the obsession and told myself “step away from the wabbits!”

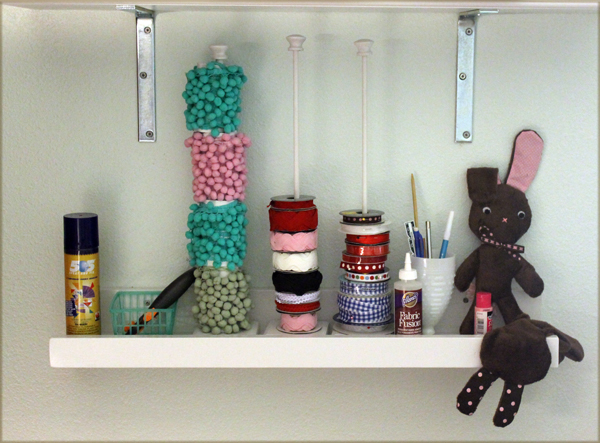
All the bunnies will be headed to new homes next week.  Just in time for Easter!  Except for Floppy and Flattie.  They’re staying right here on my shelf to keep me company and remind me of my failures!

Floppy and Flattie