More DIY Tea Towels

Tea towels are easy to make and fun to give as hostess gifts. 

I started loving unique tea towels when I spotted them at Anthropologie many years ago.
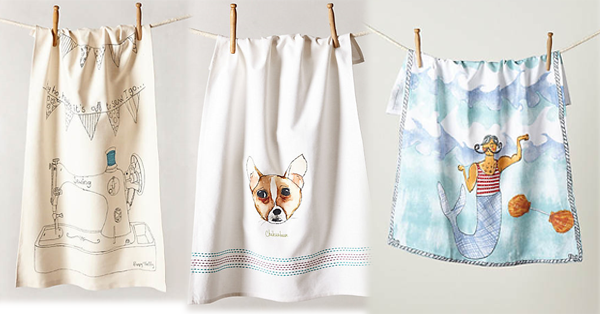
Anthropologie Tea Towels
Just a sample of tea towels available at Anthropologie for $22 EACH!

I have to fess up that I did buy one and made it into a pillow.
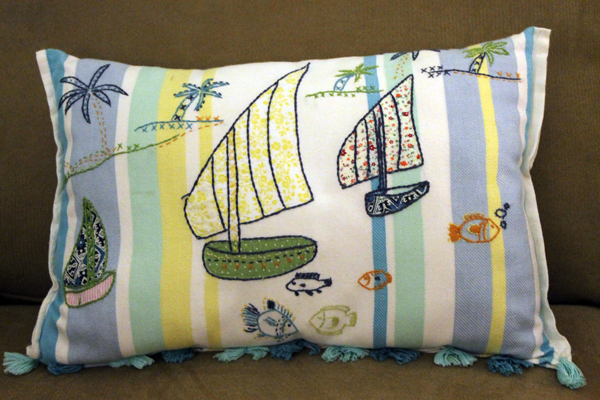
Pillow from tea towel
I couldn’t spend $22 for a tea towel but no problem spending that for a fun pillow!

You can get less expensive towels at Cost Plus World Market but we don’t have any of those wonderful stores in the Tampa Bay area.  The ones that I bought when I lived far far away are worn out now. 

So I started making my own tea towels. I’ve posted about making tea towels in the past and today I just want to give you some hints that I’ve discovered on my “tea towel making journey”.
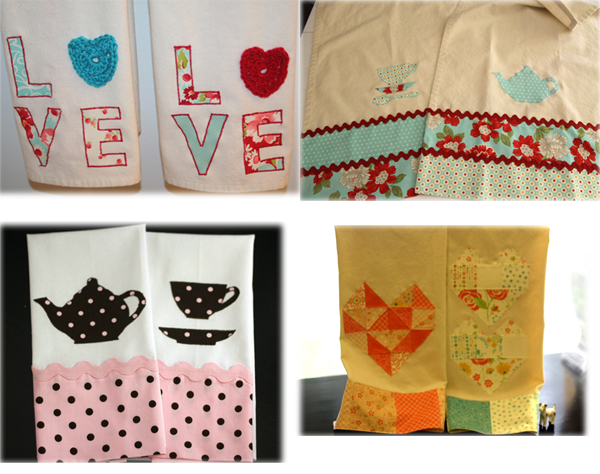
Tea Towels I've made

The easiest method is to use finished plain towels that you can get just about anywhere.  That’s what I used for the LOVE towels in the upper left corner.  The applique fabric is a Moda Charm Pack. 

Then I discovered Moda Toweling which is also easy to use. The towels in the upper right corner are made with the Moda toweling and fabrics. The lower right corner geo-heart towels are made with the toweling and a Moda charm pack. The toweling is finished on two sides which is wonderful since I don’t have to do all that hemming.  I had a problem with the corners being kind of lumpy.  But no more!  I found an easy way to do that hemming.  Once again, Sew4home taught me something new about sewing and now I can make those clever corners!
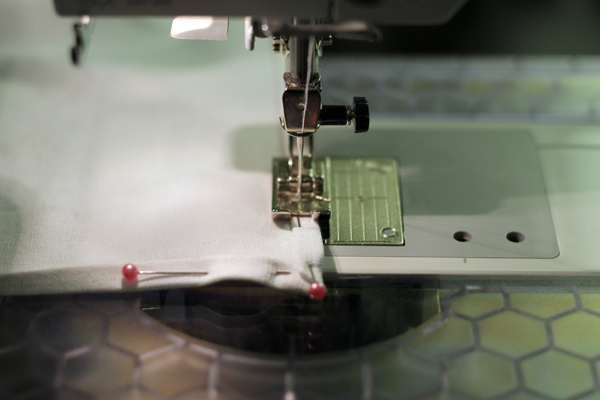
Narrow Hem
Here I am, making clever corners!

Then I didn’t know what kind of fabric to buy. Another one of my favorite sewing websites came through for me, PurlBee recommended Kaufman Essex Linen Blend so I ordered three yards of white from fabric.com

This fabric is 44” wide, after washing and drying it shrunk a little.  I cut the towels 16 ½” wide and 20 ½” long.  Three yards is enough fabric to make 12 towels.

Now let’s discuss the appliques.  I love to use tea items for my tea towels and I pulled the teacup and teapot from Sew4home.  But I also use designs from many other sources and even cut them out of magazines and scan them into my computer.  An easy one I recently discovered from another blog (sorry can’t remember which one so I can’t credit them) is SweetClipArt.  It’s free and there are numerous fun graphics for every season.  It includes a download program which I didn’t use because I worry about picking up viruses.  I just right clicked on the picture and copied it to my computer then made it in different sizes through Photoshop.  You can do the same in Word.

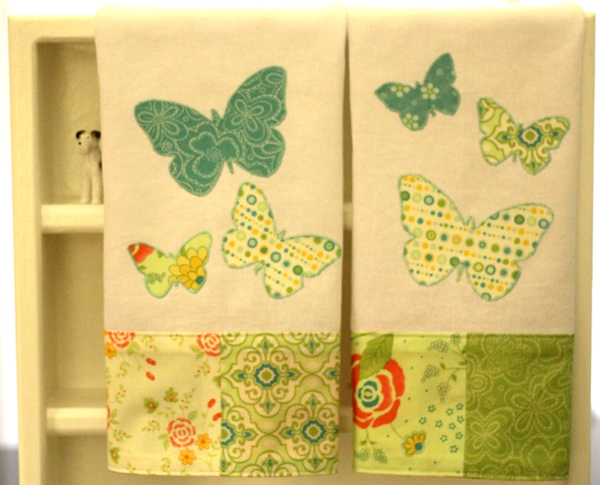
For my latest creation, the warm spring-like weather inspired me to go with butterflies and I again used the Moda Charm Pack “Chance of Flowers” that I bought at our local quilt store, Tomorrow’s Treasures.

Now a little hint about where to put the appliques.  If they fit, I like to place them in the lower half of the tea towel.  For instance, this towel is 22″ long so I put these butterflies in the bottom 11″.  I also centered them in the middle third of the towel so all of the butterflies are visible when hung on a towel rod.

Placed Appliques
This is just before I ironed them down. Of course, when I took them to the ironing board, the butterflies had flown about and I had to place them all over again.


Butterfly tea towel
Here they are appliqued.


Hope those little hints inspire you to make some fun tea towels on your own!

DIY Name Pillow

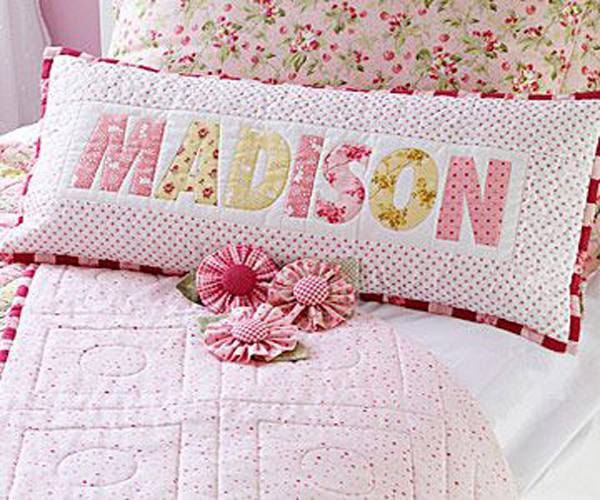
Quite some time ago, perhaps when I first got sucked into the vast vacuum of Pinterest, I pinned this from Better Homes & Gardens.

BH&G pillow
Adorable Name Pillow.  The quilt and yo-yos are cute too! I pinned this so long ago that the link to Better Homes and Garden is no longer valid!

And I said to myself, self, you need to make name pillows for all of your grandkids. 

Well, after all this time I finally got two done!

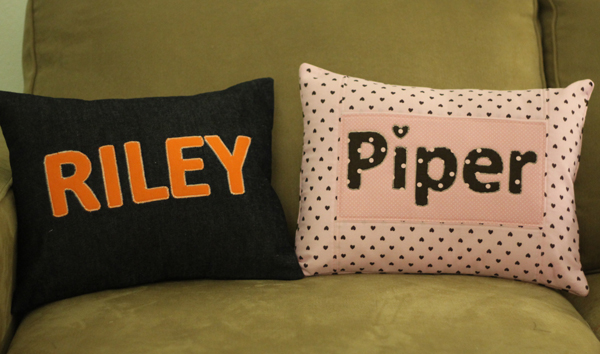
Riley and Piper Name Pillows

A pillow might not be something an almost 13-year old boy wants, but I made it in the colors of his favorite football team–The Chicago Bears.  Blue denim body, orange letters with white applique thread.  I’ve heard that Riley actually said it was “cool”.  Score!

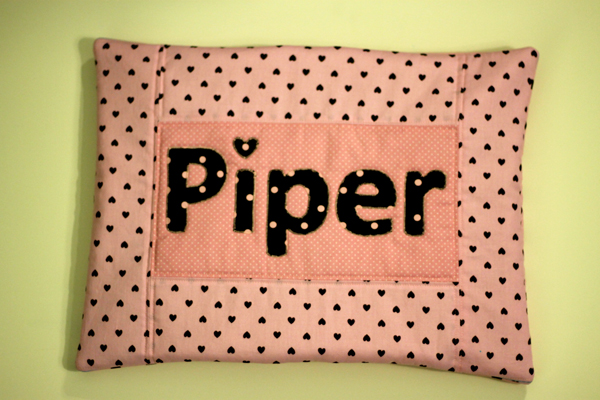
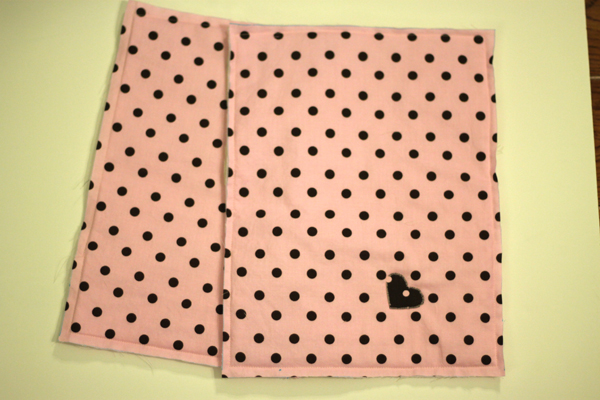
Of course, Piper is only 3 so she’s not so hard to make things for.  Her room is pink and brown and I already had most of the fabric.  Then I took my mother-in-law shopping at Jo-Anns.  I wasn’t even looking for fabric and I found this pink with brown hearts!  That fabric was meant for Piper!

Piper's name pillow with brown hearts

I used a 12″ x 16″ pillow form for both pillows.

Riley’s Pillow

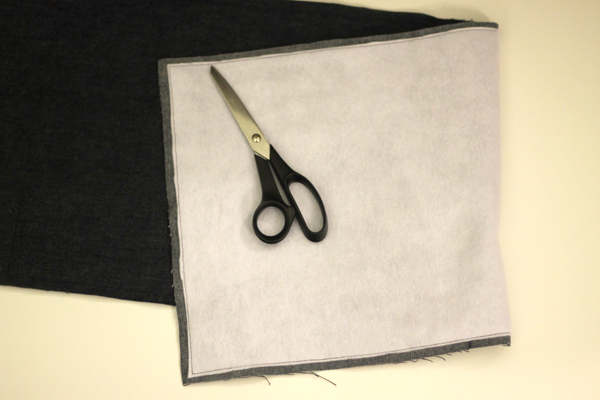
Cut denim and fleece 13” x 38”.  Pin fleece to wrong side of denim and stitch together with 3/8 seam”.

Trim fleece.

Trim fleece

Finish both short ends by pressing under ½” then turning under another ¾” and stitching.

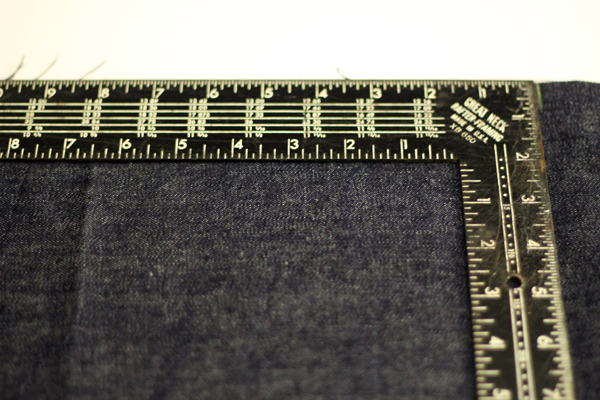
Fold the denim in half so short edges meet.  Press.  This will be the center of the pillow.  Measure from the center 8” on each side and mark in top and bottom of seam allowances.

Mark fabric
The center is that fold then mark in the seam allowance, 8″ from the center on each side.

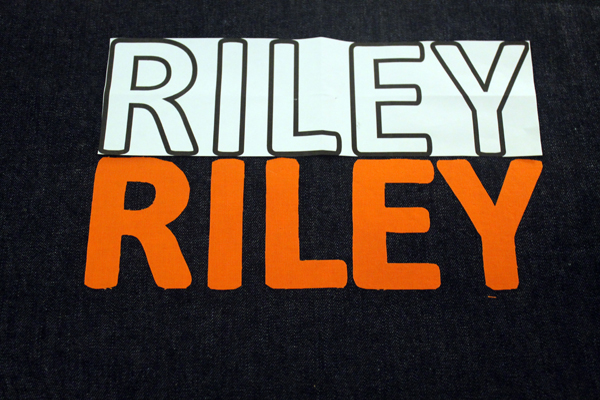
I created the letters in Illustrator but you could also do it in Word.  I used the font Calibri because it is sans serif and has rounded corners. I printed the name out twice and used one set to make sure I had the right spacing for the pillow.  The second set I used to cut the letters from the orange fabric which I had already bonded with “Heat ‘n Bond lite”, an iron-on adhesive that you can get at Wal-Mart or most fabric stores. I then placed the letters and pressed on to the denim and appliquéd with a satin stitch on my sewing machine.

The template and the letters
The template for spacing and the letters

To create the “envelope-style” back to the pillow, fold fabric at marks and fold sides in. 

Fold one side in on the pillow
Fold one side in
Fold the other side in for the back of the pillow
Fold the other side in

Stitch ½” seams on top and bottom.  Trim corners, turn right side out, poke corners out so they are nice and pointy and insert the pillow form.

Piper’s Pillow

Piper’s pillow is a little more difficult.

You’ll need four different coordinating pink fabrics, fleece, and muslin.

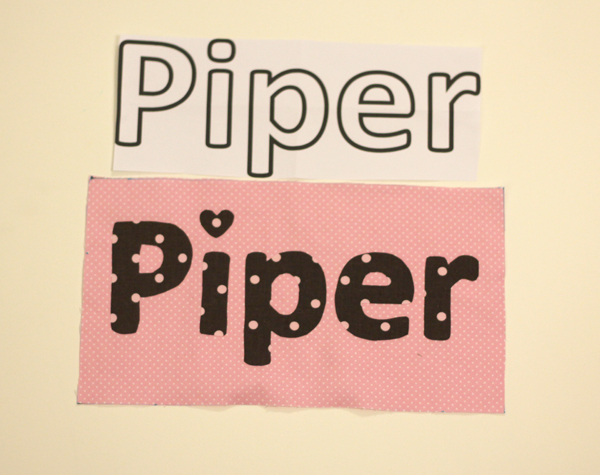
I made the name the same way as Riley’s except I did not applique at this point.  This time I wanted the name to fit in a 5 1/2″ x 10 1/2″ space. 

Piper's name

Cut a piece of pink fabric 6″ x 11″, from the second pink fabric cut two strips 4″ x 11″ for the top and bottom and two strips 13” x 3” for the sides.

Stitch top and bottom strips to name panel with ¼” seams, press.  Stitch side strips to name panel and top strips with ¼” seams, press.  Now you will have a 13″ x 17″ rectangle.

Cut the fleece and muslin 13” x 17”, and made a “fabric sandwich”—muslin on bottom, fleece, then the right side of fabric up, pinned together.

Next machine quilt around the inside of the middle panel with 1/8” top stitching, then around the outside, then around the strips.  Applique the letters.

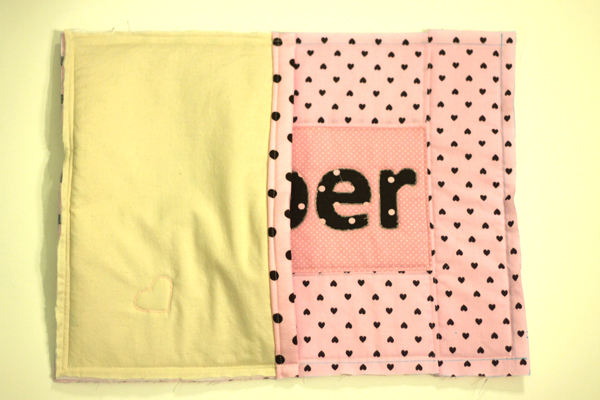
Cut two 12″ x 13” pieces of fabric, muslin, and fleece for back.  Finish one long side on each piece by pressing under ½” then turning under another ¾” and stitching.

Back of pillow
Always gotta add a little heart to anything I make for the granddaughters!

Layer the backs and stitch with 1/2″ seam on the outside edges.

Layer the two backs

Trim corners, turn right side out, poke those corners out with a chopstick or something else pointy.

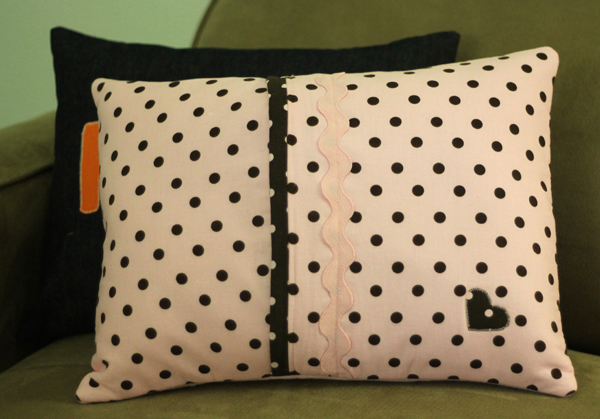
Back of Piper's Pillow
I also added a little bit of trim fabric and rick rack on the back of this pillow.

Done!  Two pillows down, five to go!  (By the time I get those done there might be more grandkids–this could be never ending!)

More DIY Hearts

Tomorrow is Valentine’s Day and just in case you forgot to get a special someone a special Valentine. (Like your mom, bet you forgot all about her, and you know how much she liked getting those construction hearts you used to make her!) Here is an easy-peasy special project.

I had some fabric scraps left from a Christmas project.  (Isn’t it nice that Valentine’s and Christmas are both red-based holidays?)  So this was a chance to use up some of that stuff –bonus for me since I’m making a special gift and creating more storage so I can buy more fabric to hoard.

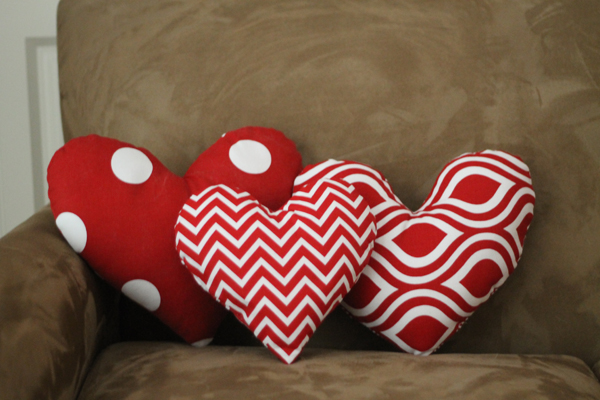
So here’s some heart pillows that I made.  These are easier than last week’s projects–no quilting!

DIY Heart Pillows And so cute on both sides.  This is the back of the big dot pillow:
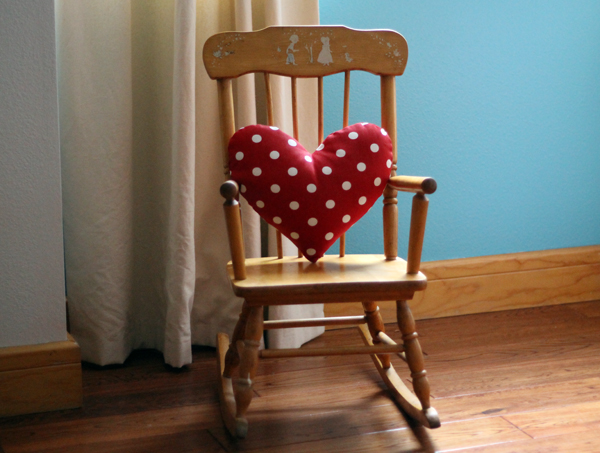
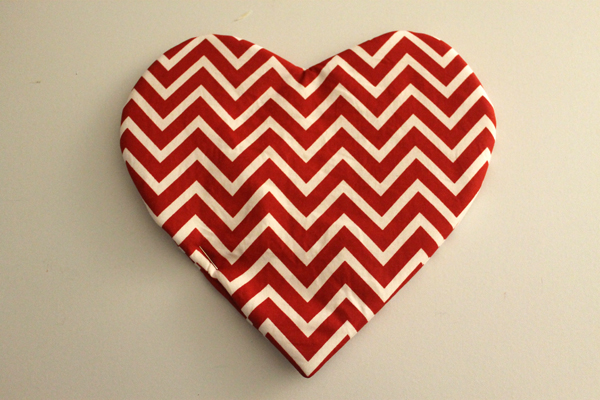
DIY Heart Pillows

The chevron pillow is small and when I was ready to stuff it, I realized it could have been a coaster.  Coasters are even easier….maybe next year!

DIY Heart ProjectAnd it turned out really cute as a little pillow.
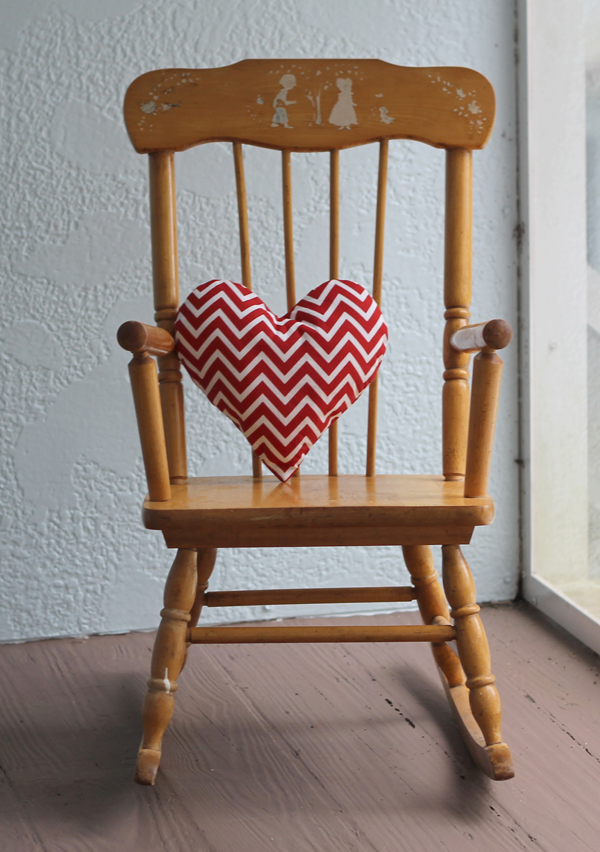
DIY Heart Pillows

I think Maggie’s wee head would look really sweet laying on that pillow but she’s in no mood for modeling today.  She’s got a bit of an attitude.

So here’s the easy peasy directions.

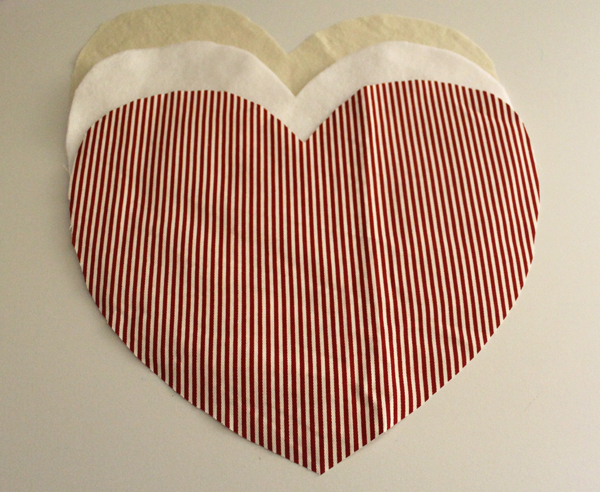
Cut a heart shape.  Yeah, just fold a large piece of paper in half that will fit your fabric ‘bits and pieces’ and cut. I made three different sizes. You’ll need two exterior pieces of fabric, plus two fleece, and two muslin for each pillow.

DIY Heart Pattern

Exterior fabrics

Then make a “fabric sandwich”.  Muslin, top it with fleece, then top that with the exterior fabric.

Fabric SandwichNow you want to line them up and stitch very close to the edge.  Do the same with the other fabric piece.
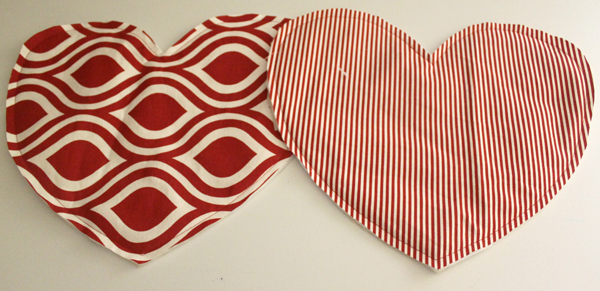
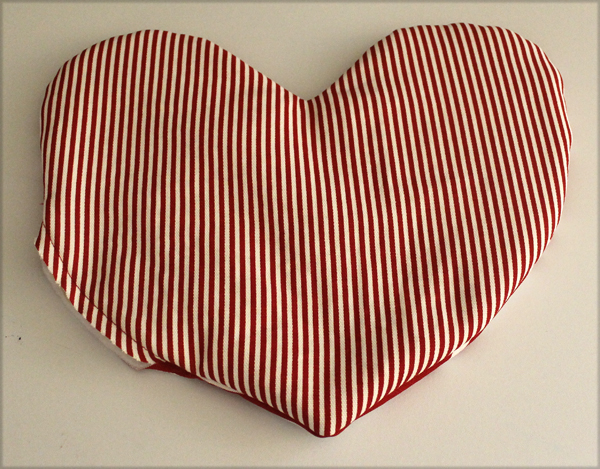
Exterior Pieces

Now put these right side together and stitch around the edges with a 1/4″ seam allowance.  Leave an opening of about 4″ on one side.

Clip curves and corners. 

Turn right side out.

DIY Heart PillowNow stuff it with fiberfill.  Or maybe put beans in there and they could be bean bags!  Or corn.  Corn hole bags!  Hand stitch the opening closed.  Very little stitches if you’re using beans!
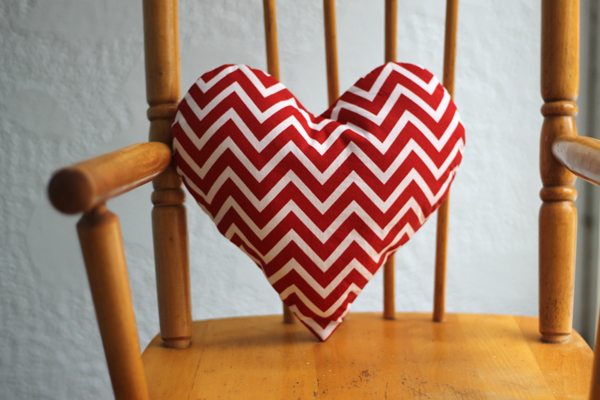
Very sweet.  Very easy.  But very special.

More DIY Hearts