Geo Heart Pillow with Moda Charm Packs

This is the last in the series of three making geo hearts.  Need to move on to something else!  But it was fun.  In my first post on Tuesday I made a geo heart magnet, then yesterday I stitched up a geo heart tea towel using Moda charm packs, and today I’m making a geo heart quilted pillow. 

How cute is Maggie? 
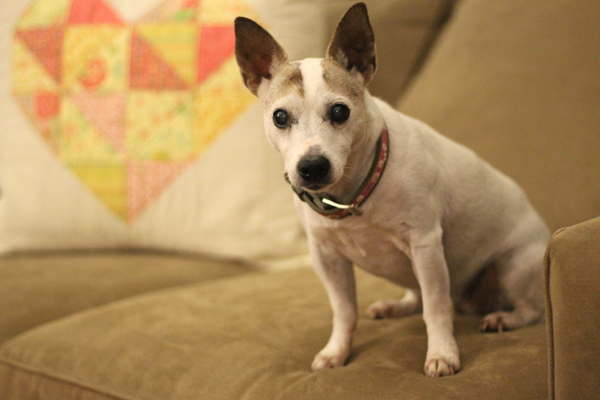
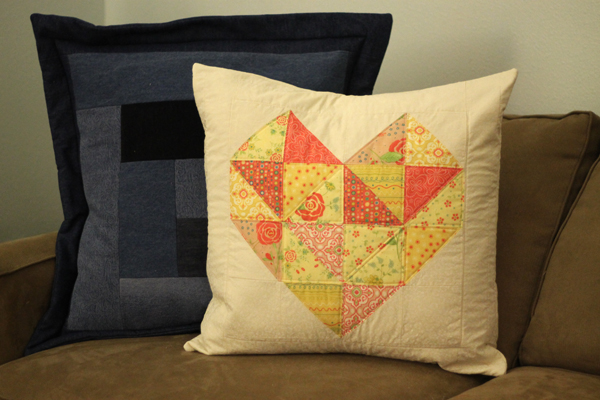
Geo Heart Pillow using Moda Charm PacksOh, here’s the completed pillow…

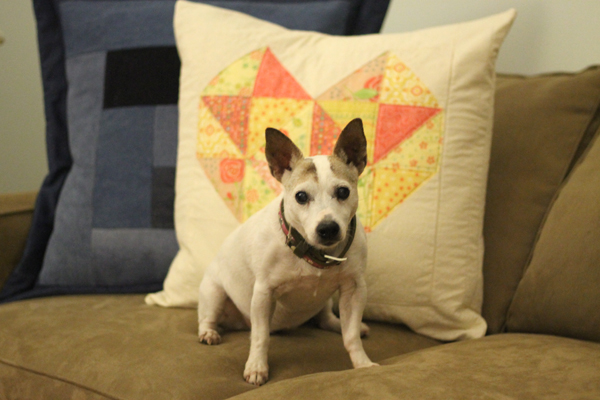
Geo Heart Pillow using Moda Charm PacksAnd Maggie!

Geo Heart Pillow using Moda Charm Packs
Just want you to see that this is a really BIG pillow. But Maggie is also a wee dog.

Okay, that’s it for the cute dog in front of the pretty pillow.  I think I’ll eventually make a quilt using this geo heart pattern.  It’s kind of fun, although time consuming.  I also want to say that I’m a self-taught sewist. (I just saw that word on a sewing blog so it must be a real word!)  There’s probably easier ways to make quilted pillow covers, but this is how I do it!

I picked out 10 of the Moda Charm Pack Blocks.  Also cut out four  5″  and two  4 1/2″ squares from a neutral quilting fabric that I just happened to have stashed away. 

I then cut the 10 charm pack squares and the 5″ squares diagonally.

Next I arranged the triangles into a geo heart shape and put the two 4 1/2″ squares in the lower corners to complete the design.
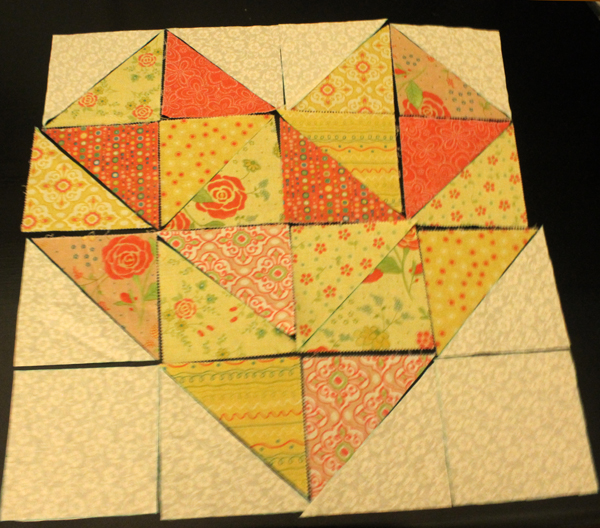
Geo Heart Pillow using Moda Charm Packs

I stitched the triangles together into blocks

Pressed

Then stitched the blocks together on each row

Pressed

Sewed the rows together

Pressed, then added more of the neutral quilting fabric to make the piece big enough for a pillow top.

Mine was a 23” square pillow form.

I cut

2     4 ½” x 16” strip and sewed them on two edges using ½” seams

2     4 ½” x 23” strips and sewed them on the other edges using ½” seam

Then I cut one 23” piece of fleece and pinned it to the back of the pillow cover.

I machine quilted around each triangle in the heart then machine quilted around the heart.

Then I made the back.  I forgot to take pictures of the steps but you can go to my envelope-style pillow cover post–same method but with pictures!

Two 16” x 23” pieces of fabric

Two 16” x 23” pieces of fleece

Sew the fleece to the wrong sides of the fabric with a 3/8″ seam. Trim.

Turn under ½” on one 23” side, then turn 1” under and stitch. Do the same on the second back piece.

Layer the back pieces on the pillow cover, right sides together. Trim corners, turn right side out.

Insert pillow form.
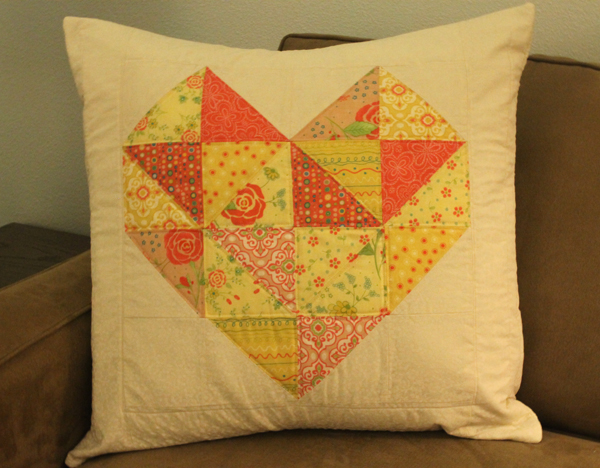
Geo Heart Pillow using Moda Charm Packs

 Very Pretty!  Something fun to do on a rainy day.

Geo Heart Tea Towel

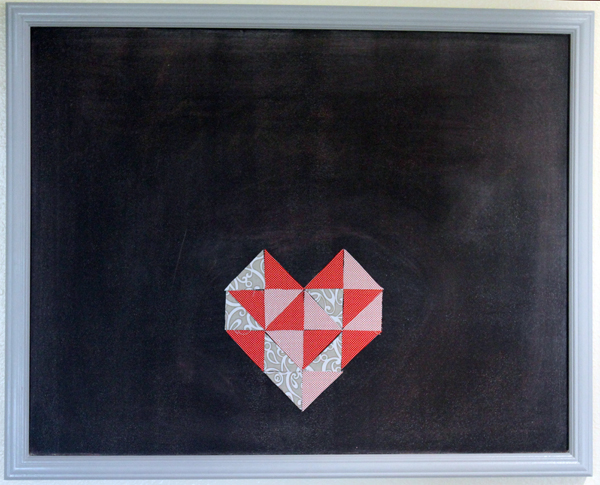
I started out this project series about Geo Hearts on Tuesday, with a angular heart on my magnetic chalkboard. 

Heart on Magnetic Chalkboard

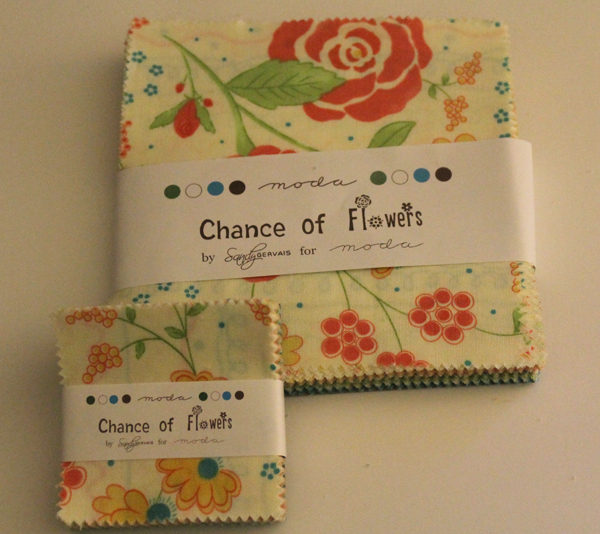
That afternoon I stopped by my favorite quilt shop, Tomorrow’s Treasures, in Crystal River to pick up some pink fabric for a different project and found these charm packs by Moda which I couldn’t resist. 

Charm Packs from ModaPerfect for a “Geo Heart Tea Towel”

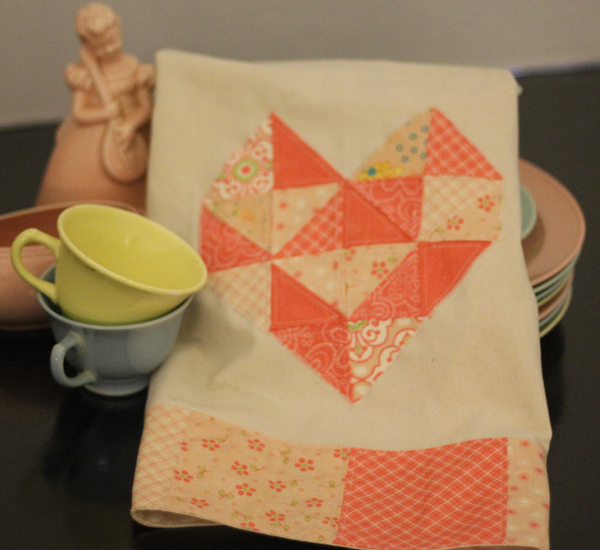
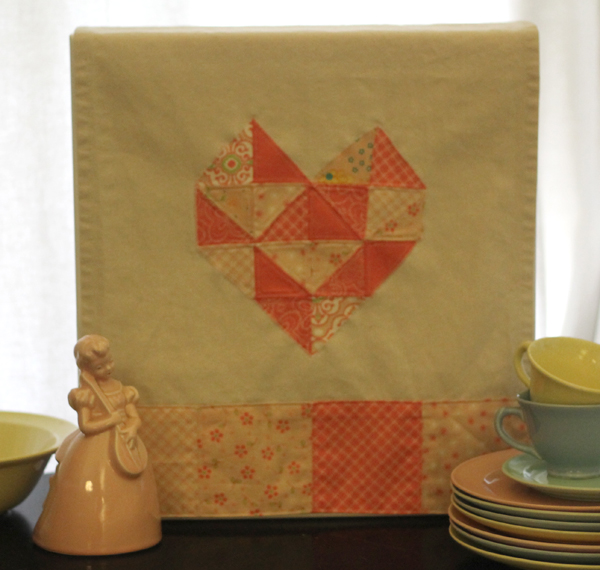
Geo Heart Tea Towel with Moda Charm Packs
Lets have a Tea Party

Okay, now here comes the boring sewing instructions, if you don’t sew, it’s time to move on to another blog–like Badzoot!  If you do sew, this is a relatively easy project–just time-consuming.

I already had some Moda Woven Toweling when I made tea towels way back in July.  It comes in yards and is finished on both sides and it can be cut to any length.   I bought the toweling from www.fabric.com.

When I make tea towels or anything that will be washed and dried, I always prewash and dry for shrinkage.  With these tea towels, I washed and dried the toweling and both charm packs.  (Tip– wash and dry those small pieces in a lingerie bag so you don’t lose even one of those precious little gems.) The toweling started out as 16” but shrunk to 15 ¼”  and the blocks shrunk a bit, too. 

The mini-charm pack has 2 1/4″ squares.  The squares in the regular charm pack are 5″.  I picked four of the large coordinating pieces then 10 of the mini blocks. 

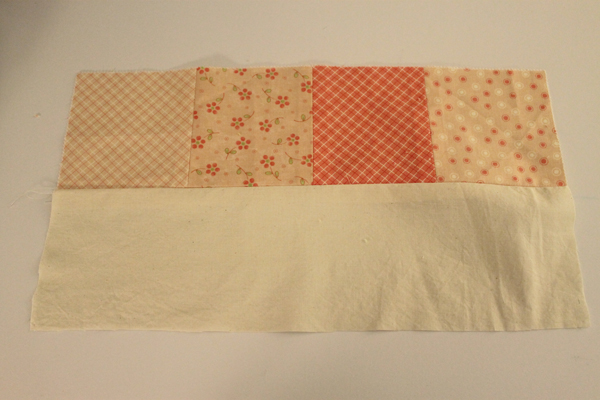
I sewed the large blocks together with 1/2″ seams. I wanted the tea towel to be finished on the front and back—no seams to fray–so I cut a piece of muslin the same size as the four joined blocks and sewed them together along one long edge.

Geo Heart Tea Towel with Moda Charm PacksI want the finished towel to be 25″ so I cut a 22″ length from the Moda Woven Toweling.
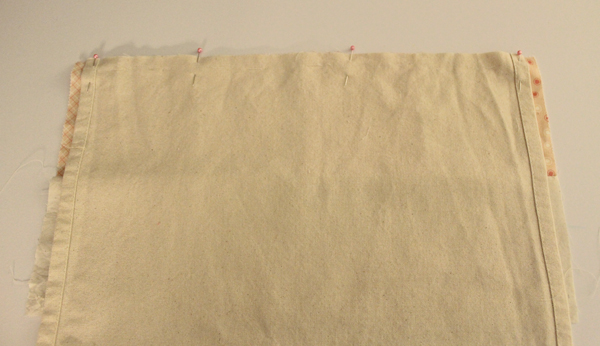
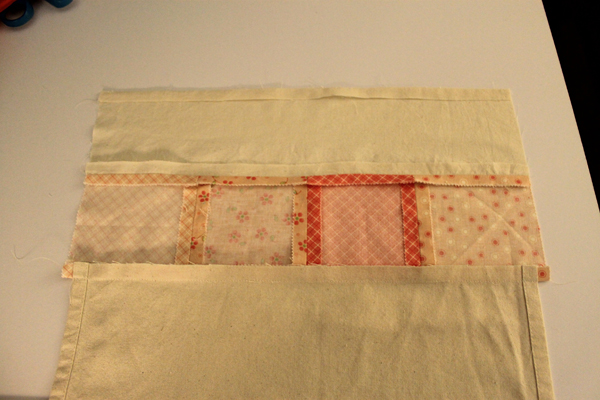
Center the block strip rights sides together on the towel fabric, the strip should be ½” wider on each side than the towel. 

Geo Heart Tea Towel with Moda Charm Packs

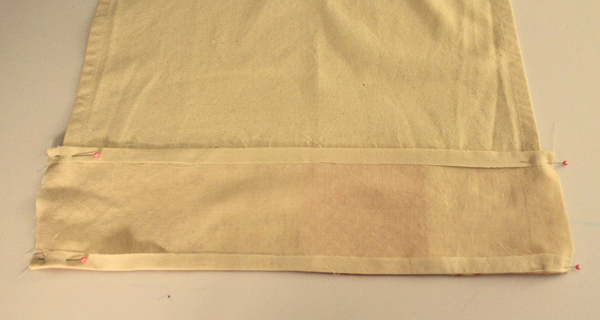
Stitch, press seam down.  Press raw edge of strip under ½”.

Geo Heart Tea Towel with Moda Charm Packs

Fold block strip right sides together up to meet seam on towel.  The ½ “ pressed edge will meet the seam.  Sew ½ “ seams along edges making sure not to catch in the towel sides.

 Geo Heart Tea Towel with Moda Charm Packs

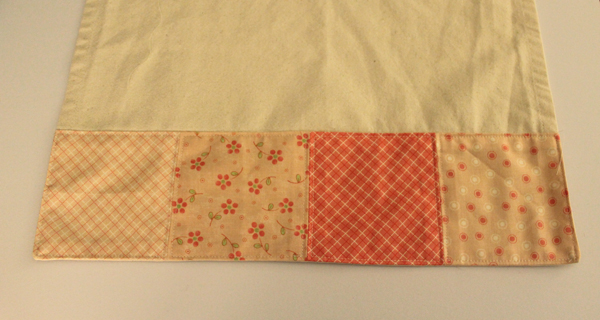
Trim the corners, turn the strip right side out, and use a chopstick (or something similar) to poke the corners out.  Make sure the pressed edge is right on the seam of towel. I usually just turn it right side up then top stitch to catch the pressed edge.  But this time I topstitched around each block–about 1/8″ from each side. 

Geo Heart Tea Towel with Moda Charm PacksOn the other raw edge of the towel, press under ¼” , then press under another 1/2″ and stitch.

Now it’s time for the geo heart.  I cut each one of the 10 mini charms diagonally.  Then I created the design.

Geo Heart Tea Towel with Moda Charm Packs

Stitched all the edges together with 1/8″ seams, one strip at a time.

Geo Heart Tea Towel with Moda Charm PacksI laid the heart shape on Heat n Bond Lite and cut around it to create an applique.  Adhere it to the wrong side according to the directions.  Remove the paper lining, then center it on the towel and press again.  Then I top-stitched 1/8″ inside each little triangle.  Finally, I finished the applique with a satin stitch around the entire heart.
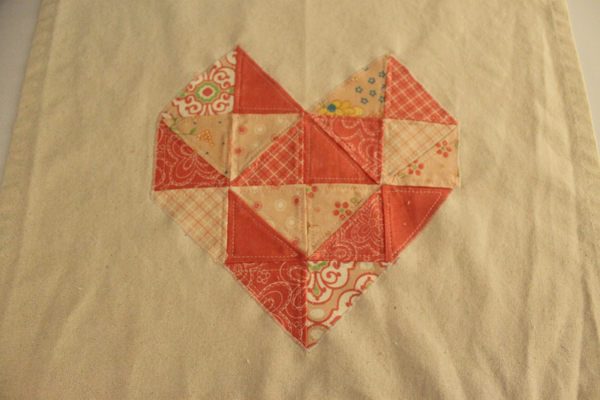
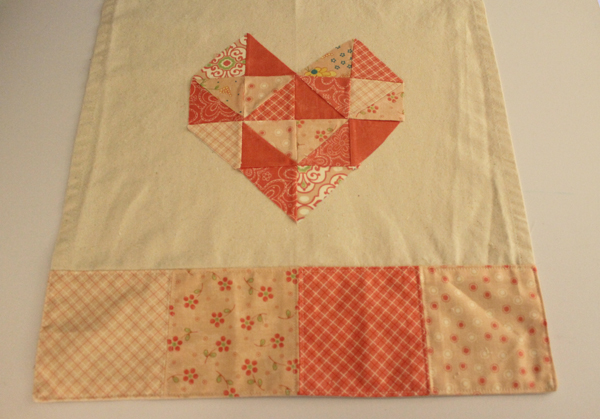
Geo Heart Tea Towel with Moda Charm PacksGeo Heart Tea Towel with Moda Charm Packs

Geo Heart Tea Towel with Moda Charm Packs
Looks nice with my Lu Ray dishes! Maybe I should make some matching napkins!

If all goes well, I might have another Geo Heart Project for Friday!

Sewing FAILURE

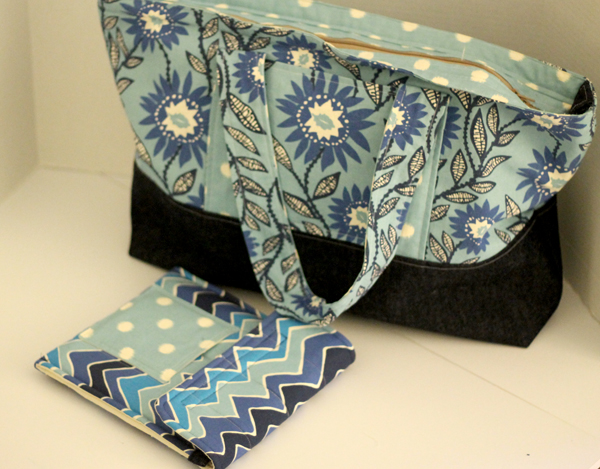
So just want to admit to being a total failure on this week’s project.  It was all about protecting my iPad that I take everywhere.  Love my iPad.  Cause I’ve always gotta be totally connected.  It even has a totally cute little travel case that I made a few years ago so it can be real pretty when it travels with me. Pretty is very important to me and my iPad.

ipad

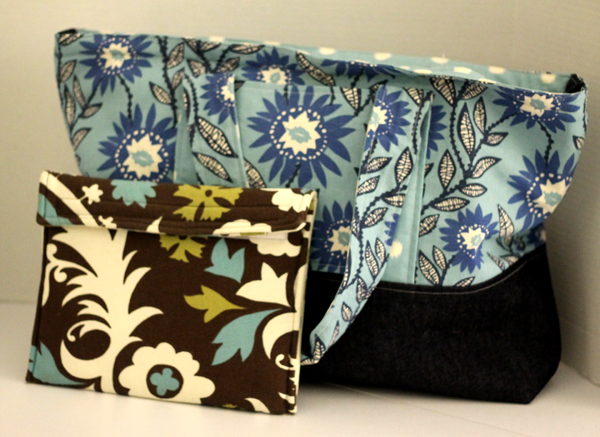
 But that case is not lookin’ good with my new carry on bag.  Makes my soul kinda shrivel up….

Ipad Case

So I had to make a new coordinating case.  I’ve made a few of these in the past and thought I’d change it up a little.  It would look like an envelope and have a loop and button closure plus denim trim.  So cute and easy peasy–in my head at least.

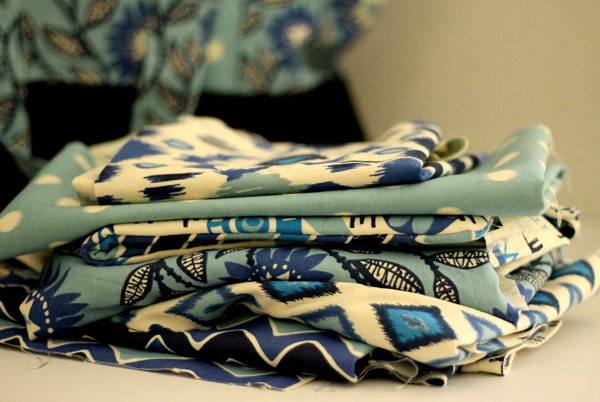
I had a stack of coordinating fabric…

Fabric

One rainy afternoon I measured.  Drew a little pattern. Cut it out.  Sewed it up.  Then I realized I had put the fabrics in the wrong order.  Get the ripper.  And sewed it up again.  And then I discovered that I had forgot to include the flap length to my calculations. Yeah, it was there on my diagram, just not added in.  Had to start all over.

So onto day 2….

Made sure everything was measured correctly.  Cut it out.  On this version I decided to use two layers of fleece to provide extra padding then quilted it.  All done and discovered that the lining had slipped.  Put a new lining on. 

Day 3….

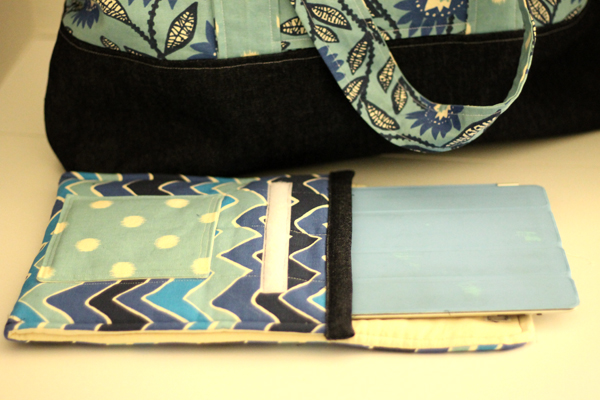
Found a little matching pocket that I must have made for another tote so thought I would use it even though I really didn’t need a pocket.  Put the pocket in the exact spot I should have but the button for the loop closure.  So I had to use Velcro. Grrrrr, didn’t want to use velcro.  Then I couldn’t get the denim trim to lay correctly on the flap’s curves.  Gave up on that.  Tried a different method.  Broke a needle.  Bent the next needle.  And last but not least, sewed the Velcro on upside down. 

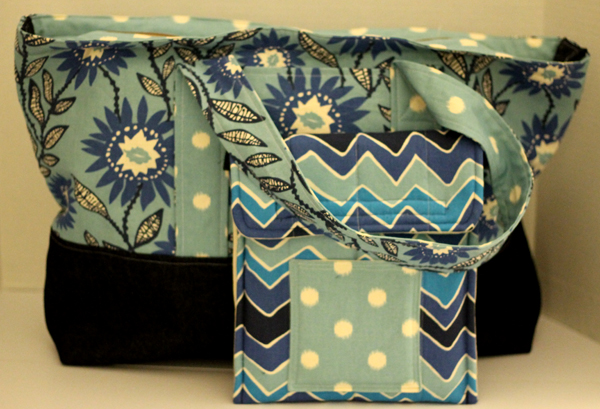
Therefore, there are no instructions for this iPad case.  And I’m not showing any close up shots since the stitching is so BAD. 

ipad case

ipad case

ipad case
See how the bag’s handle conveniently hides the bad stitching on the Velcro?

Normally I would just start all over and learn from my mistakes.  But I’m already on day 3 of this miserable failure so I’m stepping away from the sewing machine….

Step away, step away, for another day.

I’m now going to clean my garage….