Cornhole Bags

Cornhole Bag

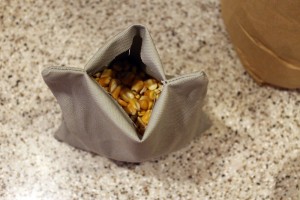
During our last cornhole tournament, one of the bags split at the seam.  We tried a few emergency repairs to no avail. Knowing that we had an even bigger cornhole tournament approaching, we needed to order another set of bags.  But, when I found that 8 bags were $23.99 plus $10 shipping, (almost $5 a bag!) I knew that I had a new DIY project!

After surfing the blogosphere for instructions, I discovered that there are “regulation” cornhole bags. Really? Finished size is 6″ square, weigh about 1 pound, must be made out of duck cloth, and the filling has to be field corn–no popcorn allowed! Triple stitched seams with upholstery thread was also recommended.

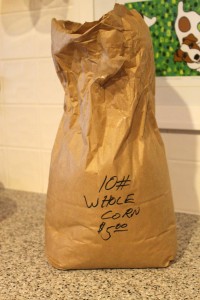
Off to Jo-anns where I purchased a 1/4 yard of duck clock in each color of gray and orange.  Using discount coupons for everything at Jo-anns, the fabric for the two cost $2.75. Upholstery thread was $2.00.  Ten pounds of corn at the local feed store was $5.00 and I only used 8 pounds.  (The other 2 pounds may go to the undeserving squirrels.)  So my material costs ended up being $8.75.  Which is about $1.09 a bag.

The duck cloth is very stiff and thick and the upholstery thread was kind of wirey.  I had to buy a bigger and sharper needle and still my sewing machine was not happy!  I also couldn’t get upholstery thread that matched the fabric even after checking three different stores so I went with a cream color.

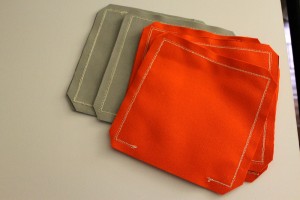
Allowing for 1/2″ seams, I cut 7″ squares.  8 of each color.  Pinned two pieces together and triple stitched the seams using upholstery thread; leaving a 4″ opening on one side.  Trimmed the corners.

Cornhole Bag

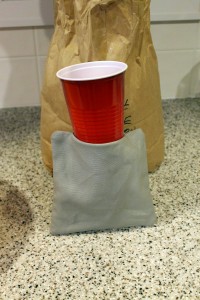
Cut the bottom off of a red solo cup to use for a funnel.
Cornhole bags
Fancy Schmancy funnel!

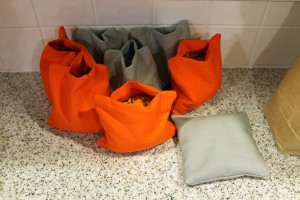
Filled each bag with two cups of corn–approximately 1 lb.
Cornhole bag

Cornhole bag

Cornhole bag

Cornhole bag

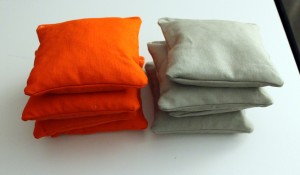
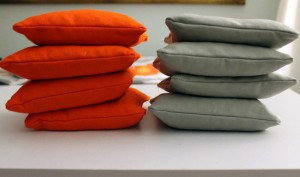
Triple top stitched the side with the opening. Done!  And ready for competition at the Al-La-Palooza!


Easy Boxed Cushions

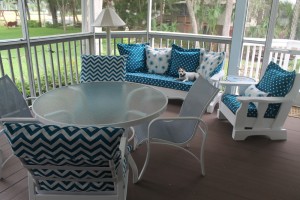
The screened room on our deck is one of our favorite places to spend the evening.  We have a wonderful view of the nature preserve and canal plus butterflies, hummingbirds, and other birds visit daily.  Maggie entertains us by chasing the squirrels around the tree in the deck.  Around and around and around.

During the past year I’ve made new cushions for most of the furniture in the room and we’ve added a ceiling fan so it’s usually very comfortable.  You can check out these two posts to see the updated furniture:  Patio Project and Finished Project.

Patio Project

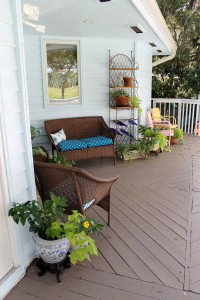
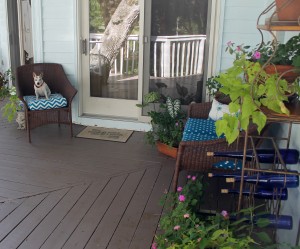
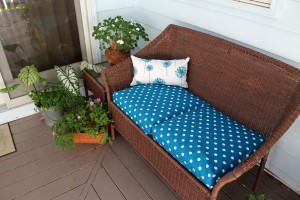
I also wanted to make cushions for a chair and sette that sit in a private corner on the deck.  While the area has a nice view it doesn’t get much use because it’s not screened so whoever uses it is at the mercy of the mosquitoes and sand knats.  But with lots of company headed this way in a few weeks, someone might enjoy the privacy of this little secluded area.

I removed the fabric from some thrift store patio cushions and recovered them with inexpensive muslin.

Easy Boxed Cushions

Since I’m on a deadline, I couldn’t do my typical boxed cushions with fleece lining and piping.  These had to be quick and easy.  On Pinterest I found these directions to make easy Almost No-Sew cushions. But the no-sew was hand sewing.  While it seemed easy, if I’m in a hurry, my handsewing looks like Frankenstein stitches.  I liked the idea but wanted to use my sewing machine.  I also had a tote tutorial from Purl Bee that had boxed corners.  I took the two tutorials and smushed them together to come up with my Easy Boxed Cushions.

I made three cushions and kind of felt like Goldlilocks.  The first was too small, the second too big, and the third just right. (I’m still using the other two even though they are not quite perfect) These instructions are for the “just right”  cushion!

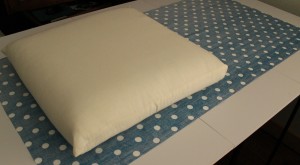
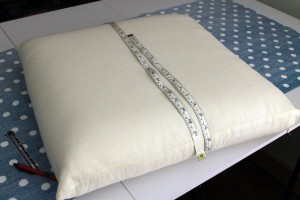
I measured my cushion all the way around and it was 45″.

Easy Boxed Cushions
Measure the cushion all the way around.

I cut a piece of fabric 48″ x 24″ which allows for 1/2″ seam allowances.

You will also need to decide what the width of your boxed sides should be.  After measuring the sides, I decided on 3 1/2″.

Easy Boxed Cushions

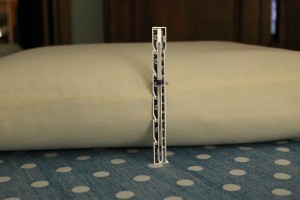
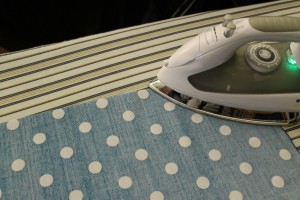
Fold the fabric in half–right sides together–and stitch up the two sides with 1/2″ seam allowances. Iron the fold.

Easy Boxed Cushions
Iron the fold

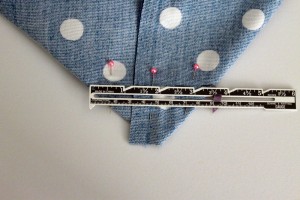
Open it up and center the side seam directly on the ironed fold.  I marked a line perpendicular to the side seam at the point where the corner is 3 1/2″ wide.

Easy Boxed Cushions

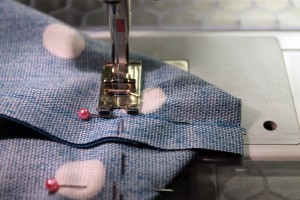
Sew along this marked line.

Easy Boxed Cushions

Cut off the outside triangle at the corner.

Easy Boxed Cushions

Repeat for the second bottom corner.

On the open end, turn the raw edge 1/4″ towards the wrong side of the case and stitch.

Turn the case right side out.  Put the cushion inside.

Easy Boxed Cushions
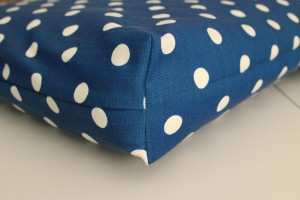
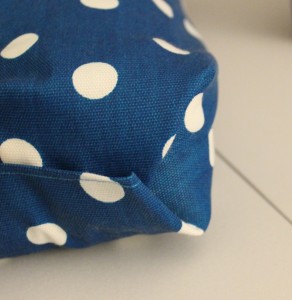
This is what the finished boxed corner should look like.

Fold the back of the fabric over the back of the cushion just like you would wrap a present.  Hand stitch opening.

Easy Boxed Cushions
Fold unfinished corner like wrapping a gift.


Easy Boxed Cushions
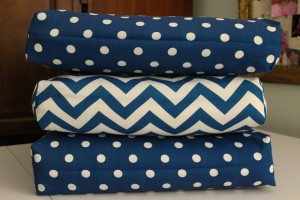
Three finished boxed cushions

Easy Boxed Cushions

Easy Boxed Cushions

Easy Boxed Cushions

Easy Boxed Cushions
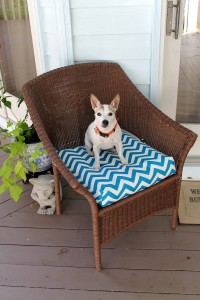
Maggie’s new favorite chair.

I’m very happy with how these turned out. Love them. Now if it would just cool down a little so I can enjoy them!

How to make an Envelope-Style Pillow Cover

Envelope-style pillow covers are open in the back with a flap–like an envelope. Making envelope-style pillow covers is simple and easy. No zippers, buttons or buttonholes. I can quickly change my pillows for each season and holiday–or if I just get bored with the color scheme. Make these covers and just put them over your current throw pillows—saves the expense of buying new pillow forms.

First, measure the pillow that you want to cover. I like the cover tight so I cut the fabric out the same size as the pillow. Most instructions say to make the cover at least 1” bigger on top and side to allow for a ½” seam allowance. In my experience, this makes the pillow cover to big.

To make the envelope closure for the back. Take 2/3’s of the width measurement.

For example. I’m making pillow shams for my bedroom. The pillow that I’m covering is 27” X 19”. 2/3’s of 27” is 18”. I cut two backs—18” x 19”. Cut one front 27” x 19”.

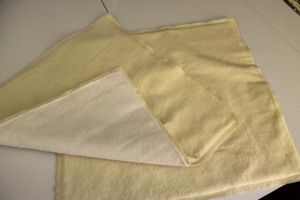
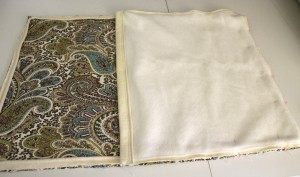
To provide extra stability to my pillows I almost always line the fabric with fleece. Cut fleece the same measurements as the front and 2 backs. Then attach to the wrong sides of the fabric with a little less than a ½” seam allowance. That way this stitching doesn’t show on the finished pillow—saves time from picking those little stitches out that inadvertently show up on the completed project. After sewing on the fleece, trim it to the stitching. (This eliminates some of the bulkiness)

How to make an Envelope-Style Pillow Cover
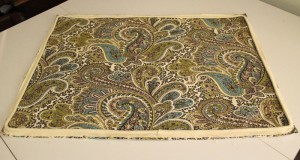
Both back pieces lined with fleece and ready to attach to front

I have used piping on these pillow shams. I almost always add piping, a pillow flange, fringe, or some kind of trim. I think it gives the pillow a “finished” look. That little bit of effort makes all the difference.

If using piping, sew it on the front of your pillow, ½” seam allowances. Snip the piping on the corners as you attach it.

How to make an Envelope-Style Pillow Cover
Front with piping attached

I usually make my own piping which is tedious but much cheaper than buying it already made. Isn’t that what DIY is all about? Since it is so incredibly boring to make piping, I make a lot of off-white denim piping and keep a stockpile for future projects.  I’m not going into detail on how to make piping. There are tons of tutorials on the blogosphere that do a much better explanation than I could. Just do a search on “how to make piping”.

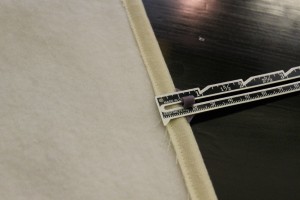
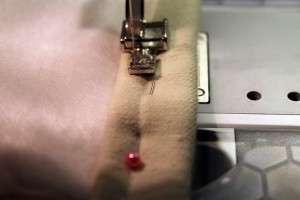
Take the two back pillow pieces. Turn under ½” on one of the 19” sides. Stitch. Then turn this same side under 1”. Stitch. Do the same on the second back piece.

How to make an Envelope-Style Pillow Cover
Turn raw edge on one of the 19″ sides under 1/2″
How to make an Envelope-Style Pillow Cover
Then turn under 1″ and stitch close to edge

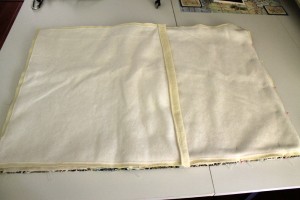
Lay the back pillow pieces right side down on right side of front piece as shown in the following pictures.  In this example, I stitched each back piece separately because the fabric is so thick but these two steps can be combined and both backs stitched on at the same time.  Sew together with ½” seam allowance.

How to make an Envelope-Style Pillow Cover
First back cover placed right sides together
How to make an Envelope-Style Pillow Cover
One back piece overlaps the other

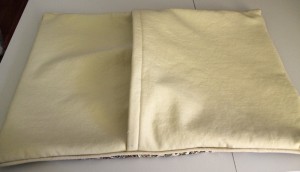
Trim corners, turn right side out.

How to make an Envelope-Style Pillow Cover
This is what the back should look like when turned right side out

Put on pillow form.

How to make an Envelope-Style Pillow Cover
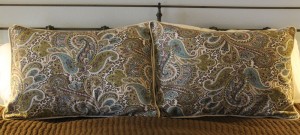
Easy Peasy and Beautiful!