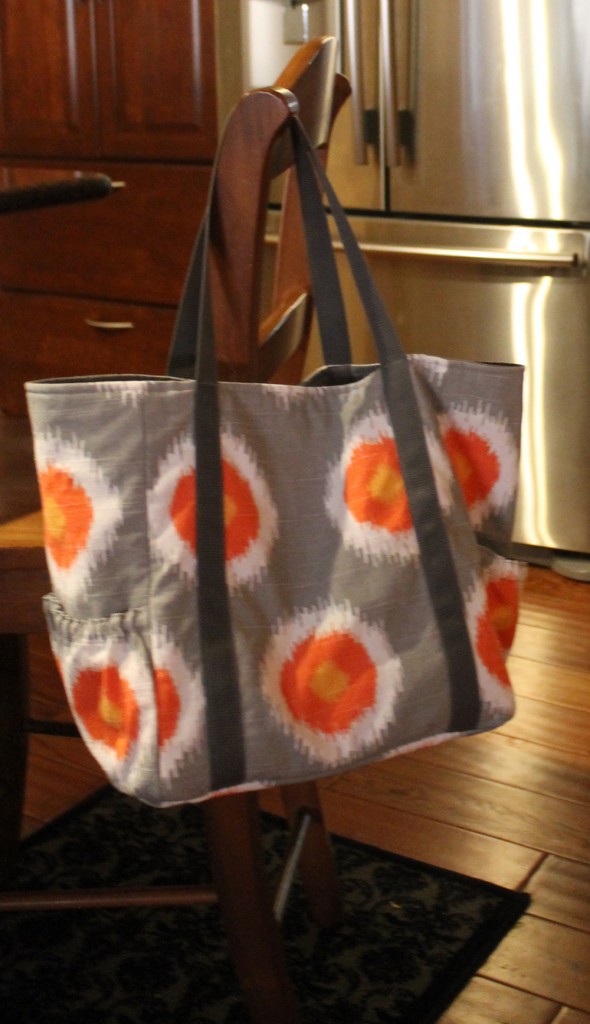
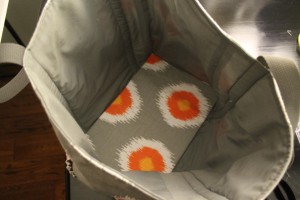
This tote showed up on “One of a Kind”–a discount shopping website that emails me everyday. This lovely bag is advertised at a sale price of $117!
sewing
Sewing Projects
Another Tote!
Jes sent me this link so I would know that shopping tote bags are in style right now: http://www.nytimes.com/2011/12/11/fashion/tote-bags-replace-purses-as-status-symbols.html?_r=1 So my tote bags are very fashionable. I should make more. So I will!
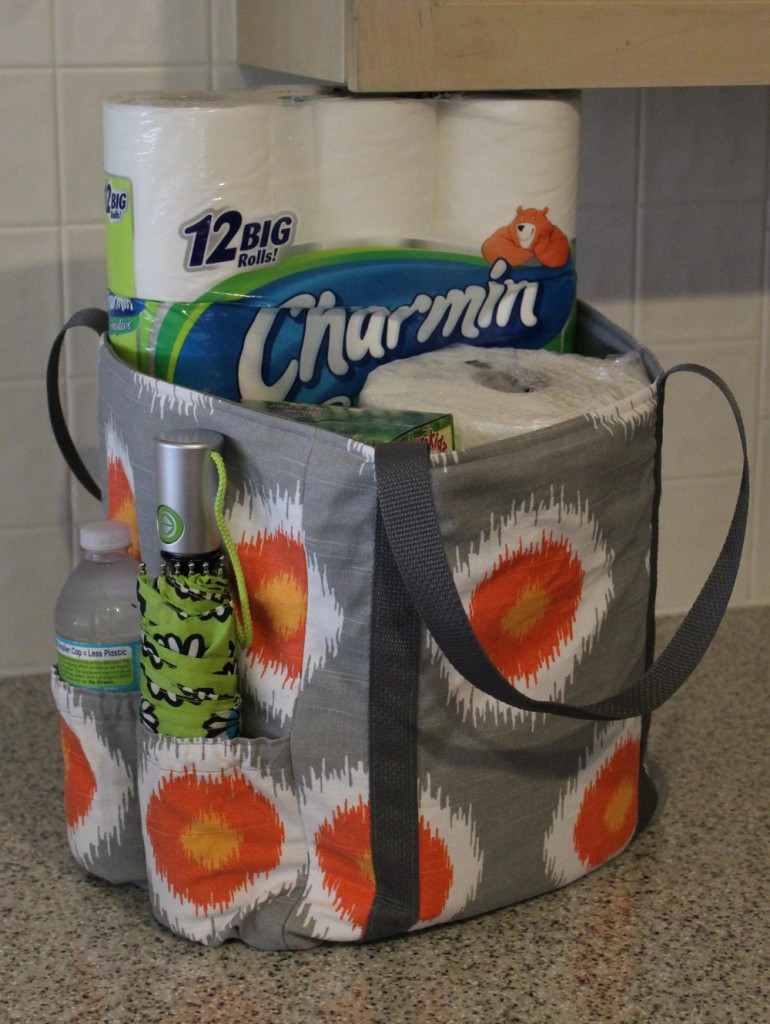
I love the color combinations on this fabric from Premier Prints. Even though it doesn’t match anything in my house, I can make it into a shopping bag and clashing doesn’t matter. And I think I know someone that would like to be very trendy with an orange, yellow, and gray shopping tote.
This tote is basically constructed the same as the last two I posted. Click here to check them out: Shopping tote and Maggie’s Shopping Bag. The major changes on this edition are that I used belting rather than sewing the straps and I put pockets on the outside of both sides. I have only added pictures on this version to help explain how I created the new pockets.
For this tote, I used almost 1 yard of the main fabric, 1 yard of lining, about ¾ yard of fleece, 3 yards of belting, 18 inches of ¼” elastic and 1 sheet of plastic canvas. I used ½” seam allowances throughout, unless otherwise indicated. I also press seams, etc., as I go.
Cut the following:
Main Fabric
2 – 13” x 14” (front and back)
2 – 9” x 14” (sides)
1 – 9” x 13” (bottom)
1 – 17” x 13” (bottom insert)
2 – 12” x 8” (pocket)
Lining
2 – 13” x 14” (front and back)
2 – 9” x 14” (sides)
1 – 9” x 13” (bottom)
Fleece
2 – 13” x 14” (front and back)
2 – 9” x 14” (sides)
1 – 9” x 13” (bottom)
Plastic Canvas – 8” x 12” (bottom insert)
Strapping
2 – 46” lengths (straps)
Sew the fleece onto the wrong side of the main fabric and then trim.
Pockets on outside. Mark center of pocket and center of main fabric side piece with “Mark B Gone” pen. Baste ½” and ¼” on bottom of pocket. Turn in 1/2″ on raw edge and stitch. Fold under again ¾”. Stitch close to fold edge and top of pocket to create casing for elastic. Insert elastic into casing and sew both ends.
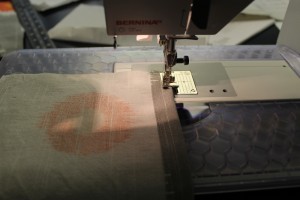
Pin wrong side of pocket to right side of main fabric side panal. Match center’s that were marked with marking pen. Adjust gathers; stitch pocket in place on 3 sides. Sew down center of pocket to create two small pockets.
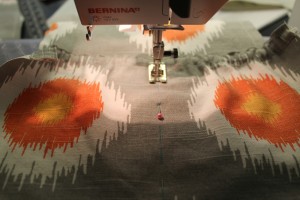
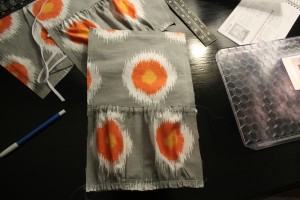
Repeat pocket instructions for other side section.
Tote body. Using the main fabric, stitch side sections to front and back sections. Do the same with the lining. Put right sides together of main fabric and lining. Stitch along the top. Turn right side out, top stitch top of fabric. Baste bottom edges together.
Pin one 46” length of fabric 1 ½” from seam on each of the front and back sections. Top stitch on each side of the straps.
Turn under ½” on all edges of bottom lining. Stitch. Turn bag inside out and hand stitch bottom lining piece to the bottom of the lining. Turn right side out.
Bottom insert. Fold right sides together of the fabric. Sew one narrow edge and the long side. Turn right side out. Narrow hem raw edge. Slip plastic canvas into sleeve and top stitch open end. Press this into the bottom of the tote.
Outdoor Living Project
I love to sew and create things but also love to be outside working in my gardens and yard. We’ve had a LOT of rain in the past month and I have been forced to stay indoors. So I look at it as an opportunity and went back to updating my outdoor furniture that I started on last year. Here’s the post that references the original changes: https://ktgreendesign.com//a-finished-project/
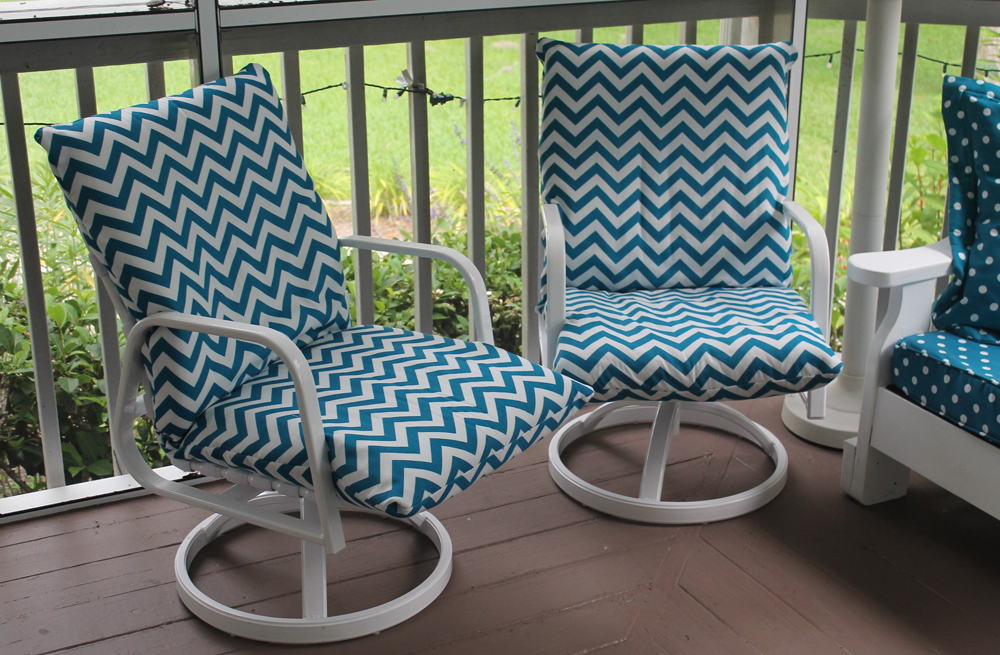
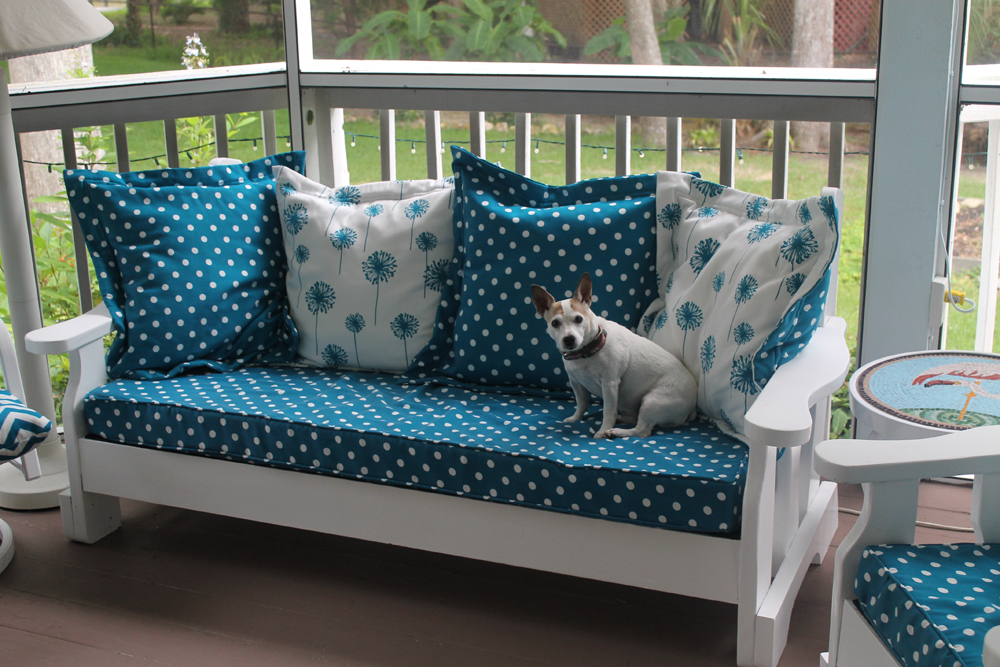
The next step in the project was to recover the two cushioned dining chairs. I bought good-quality chairs thinking that they’d last longer, but the upholstery on them turned nasty right away. Since the covers couldn’t be removed, I cleaned them with a scrub brush and oxi-clean. When they were hopelessly pilled and not coming clean I decided something had to be done. So I recovered the cushions with this cute chevron fabric that matches the sofa and chair. It’s a fabric from Premier Prints that I bought from fabric.com. The covers on all of the furniture is removable since I used velcro on the cushions so I can wash them whenever necessary. Accidents happen! Especially when those grandkids visit!
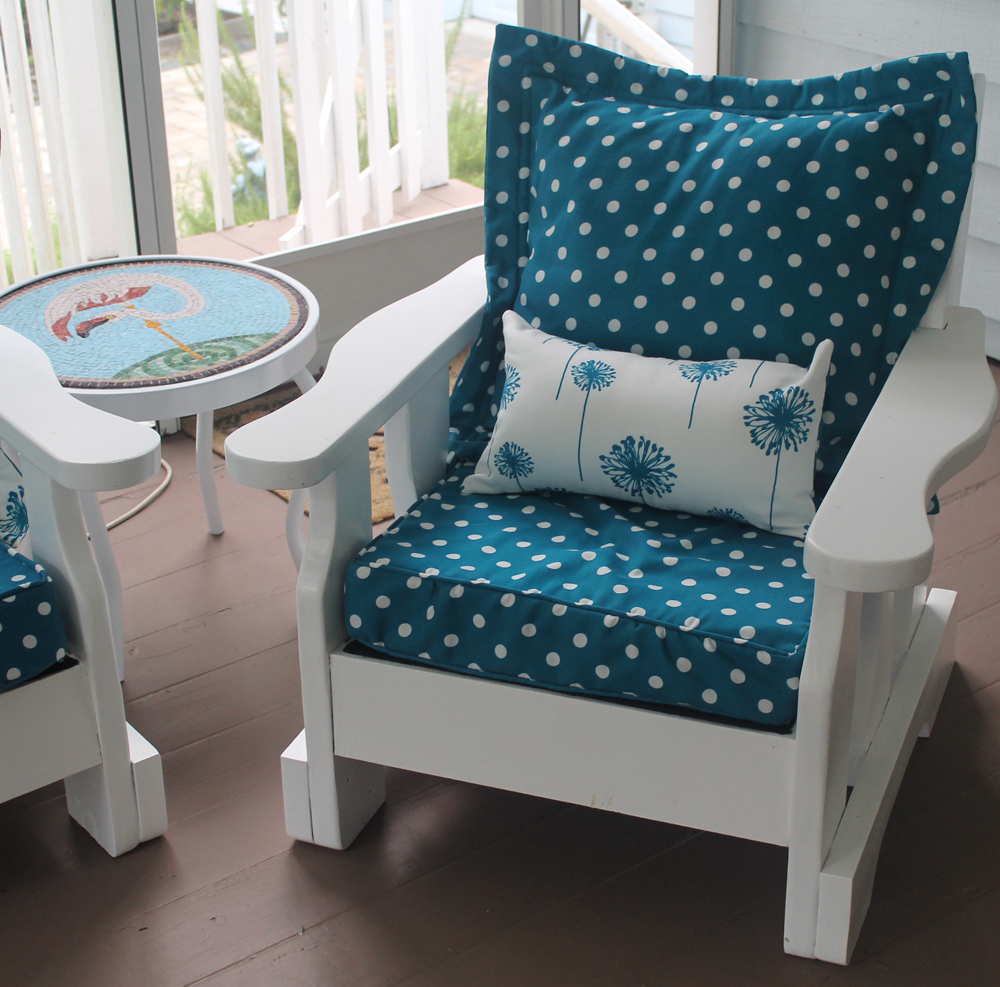
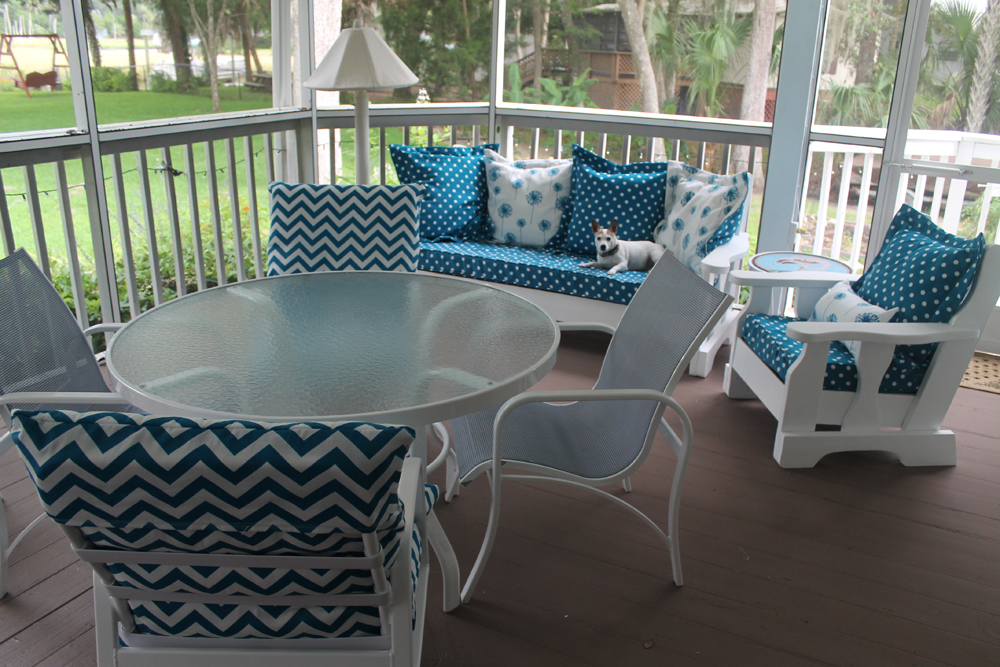
While I’m done with the screened room, we have a huge deck that covers the entire back of our house. There is a little alcove by our bedroom that has some furniture that is crying for new cushions. Will I ever be done? Hopefully not!


