Adventures in the Kitchen with Michelle, When Life gives you Strawberries….

When life gives you strawberries,… 

You can’t make ‘lemonade’, and you can’t just let them rot! Last week I posted to my Facebook a photo of a wedding cake that I’d helped my Mom deliver one gorgeous Saturday afternoon. It was a really simple cake. Very rustic buttercream icing slathered over moist white cake, but best of all, it was filled with strawberries – fresh strawberries!
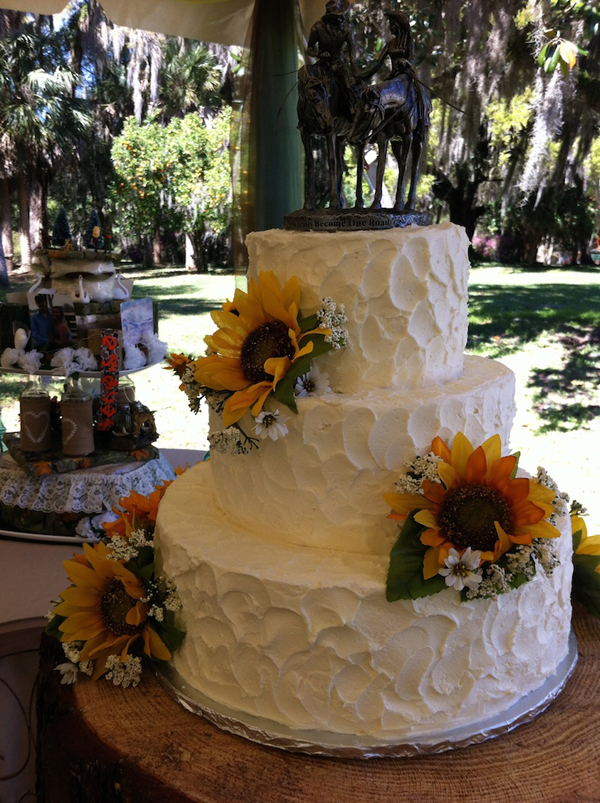
Sunflower Cake

Being as wedding cakes are a one-shot deal, you have to be sure you’ve got plenty of berries to account for mishaps. Besides, this is central Florida and this time of year, those juicy, red gems are everywhere. You just can’t have too many! Well, maybe you can. After we finished dropping off the cake to the party, Mom says, “Oh, and I have some leftover berries you can have. I’m sure you’ll find something to do with them.” That’s great (besides, how many could there be). Wow – she hands me a great big bowl of cleaned and sliced berries. Too juicy to freeze for smoothies, a shame to dehydrate, and they’ll go bad fast now that they’re cut up. That means it’s a short list – a shrub, a syrup, or jam.

Now, why on earth would you bother to make your own jam. I mean really, what a pain, right? Jam is cheap too. It’s fruit and sugar – period. BORING ! This is when you make something that you can’t buy at the store – any store! So, go and get some fresh berries, get your gourmet hat on and don’t be a sissy ! (LOL) 

Bad Berry Bliss Jam 

Step 1: 
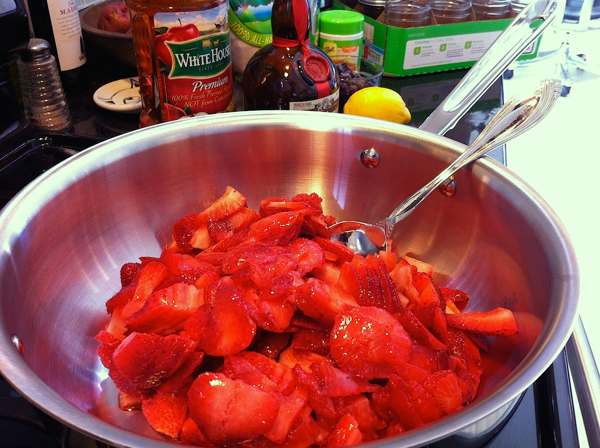
Bad Berry Bliss Jam

Get those lovelies cleaned up and sliced – or cut into quarters. It’s always nice to have some larger chunks of fruity goodness in the jam. 

Preheat the oven to 250deg. Put a couple of spoons in the freezer. 

Step 2:  
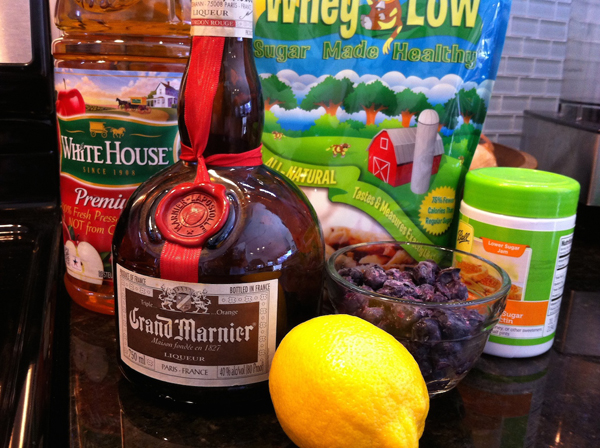
Bad Berry Bliss Jam Step 2

At some point you have to decide where you’re going with all this. Maybe you don’t like Grand Marnier, so you might use a vanilla rum or something. But Grand Marnier is so luxurious and just enough orange (I’m drooling, I know). I keep it here for recipes way beyond margaritas. Maybe you have Cointeau or even a nice Brandy left over from the holidays. You can be creative here, but just think about the way it will marry to the fruit. The alcohol will cook off for the most part, so don’t waste your good vodka. 

Shopping list: 

Strawberries (about 3-4 pints cleaned and cut) 

1/2 Cup Blueberries (fresh is best, but I had some frozen to use up) 

1 Lemon, to zest and then juice 

1 Cup Apple Juice (check your labels for USA products or go organic) 

2 – 1/2 Cups Whey Low (or your choice of sweetener*) 

3 Tbl GrandMarnier 

4 Tbl Ball RealFruit Sugar-Free Pectin * (1-box =3 Tbl) 

*Your choice of sweetener may vary. I like Whey-Low, it makes great jams and baked goods. But anything other than real sugar will require a pectin made special for lo-sugar jams. If you opt for regular sugar, use a solid 3 cups of sugar and regular set pectin. Regular jams are almost 1-1 sugar to fruit ratio. Yeah, that ’s why I make the lo-sugar varieties. 

Speaking of pectin, there’s about 3 Tbl in a pre-measured box. I found I needed more due to the lack of pectin in strawberries, and the addition of alcohol. Yours may set fine with just 1 box. 

Step 3: 
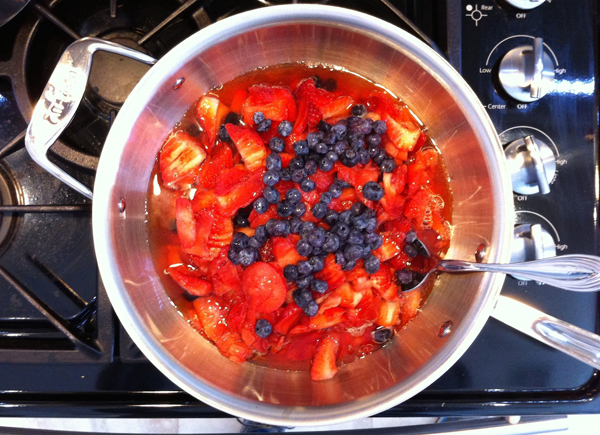
Bad Berry Bliss Jam Step 3

Get the fruit into a med/large pan (this is a 4qt). Meanwhile, get your jars and lids sterilized. Set on a cookie sheet for 30min in the oven (@250). Also, get a pot of water boiling on the stove to sterilize your scoop and funnel for the jarring process. Now, if you intend to keep this in the fridge, then don’t bother. Just put it in clean jars…it may not last long anyway!

Step 4:
Bad Berry Bliss Jam Zest

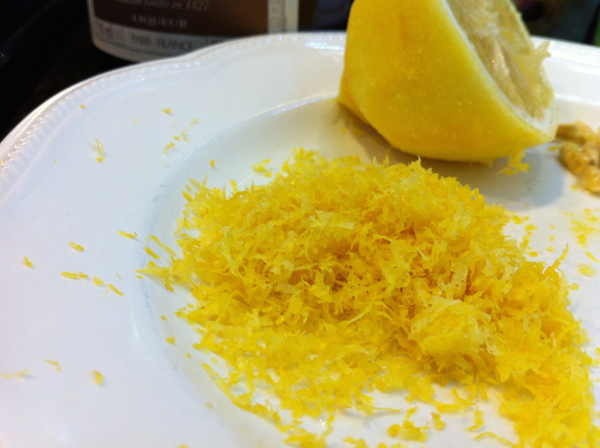
Zest the lemon. You did wash it in warm water first, didn’t you? Eww, you don’t know where that zest has been! OK, now juice it.

Get it all in the pot. Careful adding the booze – turn off the flame, if you’re on gas, while you add. We’re not going for a flambé’ here folks!
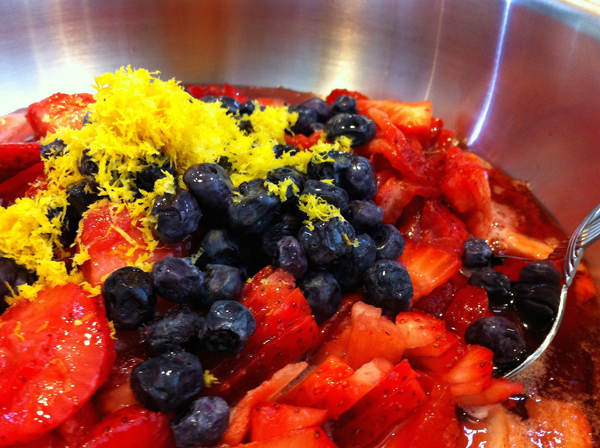
Bad Berry Bliss Jam Step 4Wow – Looks like a fruit salad. I would drizzle this with the booze and serve at a picnic! (a mermaid picnic, wink-wink) 

Step 5:
Bad Berry Bliss Jam Step 5

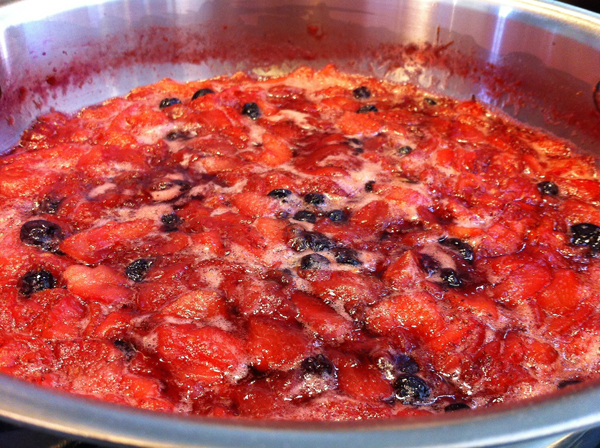
Cook it up. Careful it doesn’t cook too long. The blueberries have lots of pectin on their own and they help with the color. Strawberries can turn an unappetizing color without a ton of sugar to preserve it. The lemon zest gives a brightness that lasts beyond the canning process.

Step 6:
 Bad Berry Bliss Jam Step 6

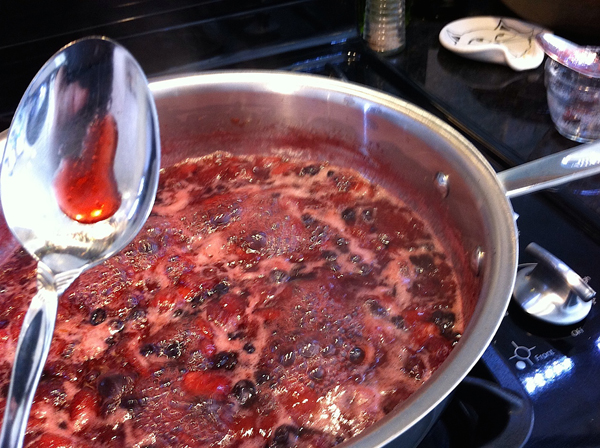
Remember those spoons? OK, go and get one drop a tiny bit of the sauce on it and you’ll see if it gels. If it doesn’t run off the spoon you’re good to turn off the heat. If not, keep cooking a bit. And check it again. 

Step 7:
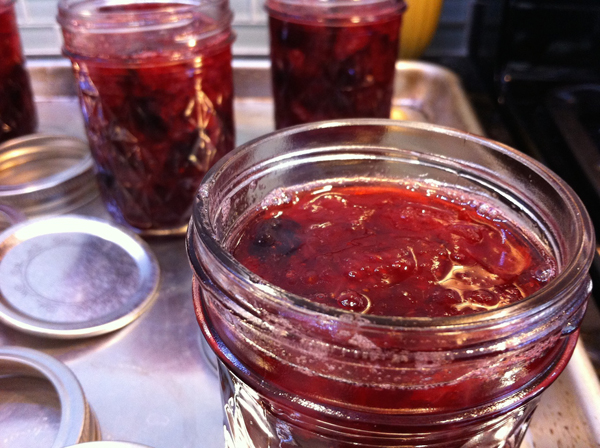
Bad Berry Bliss Jam Step 7Get that yumminess into their jars. 

Step 8:
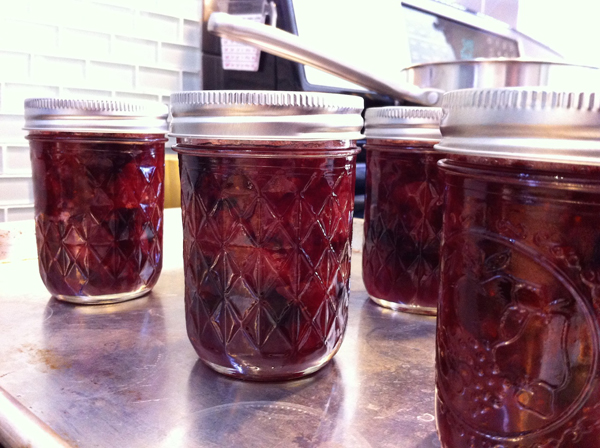
 Bad Berry Bliss Jam Step 8

Finger tighten the lids. Set them in the oven for 30 min at 250deg. To ‘process’. When they come out the lids will pop as they cool and you know they’re safe. 

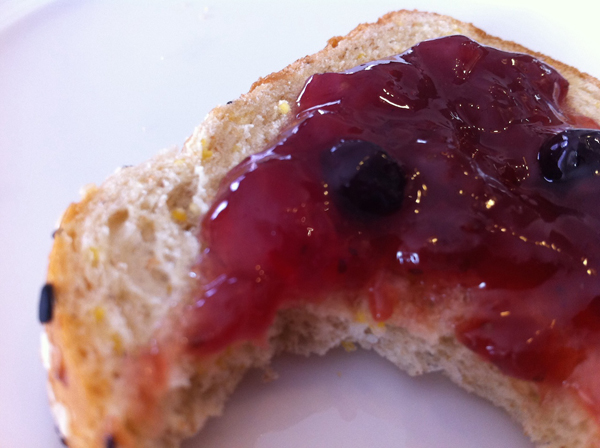
Now, taste it. Ooooo, so bad! But in a good way…you can taste everything in it! The lemon zest, the orange tinged liquor (minus the alcohol) and the freshest berries. This is why you took the whopping hour and a half of monkeying around in the kitchen to do this. There’s 6 – 8oz jars to last me until the next fruit comes into season and I’ll be lacing my pancakes with yet another healthy, creative concoction that I’ll never see on the store shelves ! 
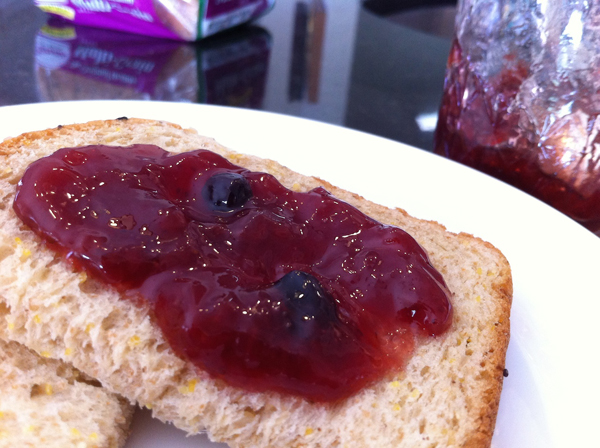
Bad berry Bliss Jam

Bad Berry Bliss Jam

Michelle Beal

http://badzoot.com

[yumprint-recipe id=’7′]

Adventures in the Kitchen with Michelle, Gluten-Free Flour

We’ve got an entire month between chocolate-covered-holidays! Time to clean up our act a bit. These days there’s a huge surge in gluten-free living. So many people have an aversion to gluten, and the symptoms so awful, that even normal folks are tapping in. Even my Mom’s into it, and she’s got some crazy, self imposed, diet restrictions. Sugar-free, Lactose-free, Gluten-free…I don’t know what she actually eats?! Gluten-free, like most specialty diet items, means ‘very-expensive’ and ‘hard-to-find’. More recently, they’ve become easier to find, but wow $8.00 for a little box of flour. Geez. I’m so glad I can still tolerate regular flour. Last year, I saw a tiny article in my Food&Wine magazine from chef Silvana Nardone… and her version of Gluten-free flour to be made up and used like a standard all purpose. Great! I sent the recipe over to my Mom and she immediately set about making, and using it. She loves it ! And since I care, I’ll share it with you too. 

You’re welcome.

Gluten Free Flour 

(11 cups worth!)

 Step 1:

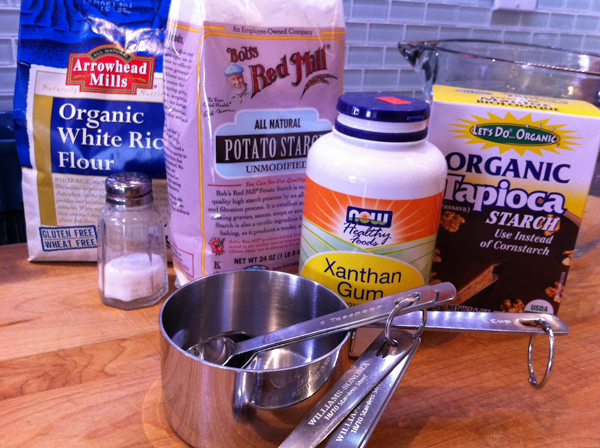
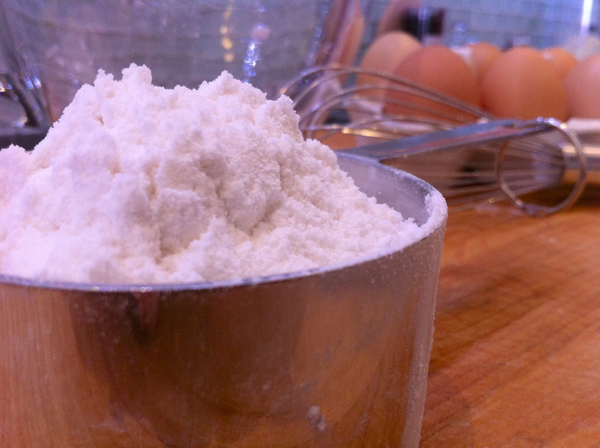
Gather together these slightly pricey items. Now, if you’re gluten intolerant, you probably already stock the little gems.

Ingredients for Gluten Free Flour

 6 Cups White Rice Flour

 3 Cups Tapioca Flour (aka: Tapioca Starch)

 1 1/2 Cups Potato Starch

 2 Tbl Xanthan Gum

 1 Tbl Salt

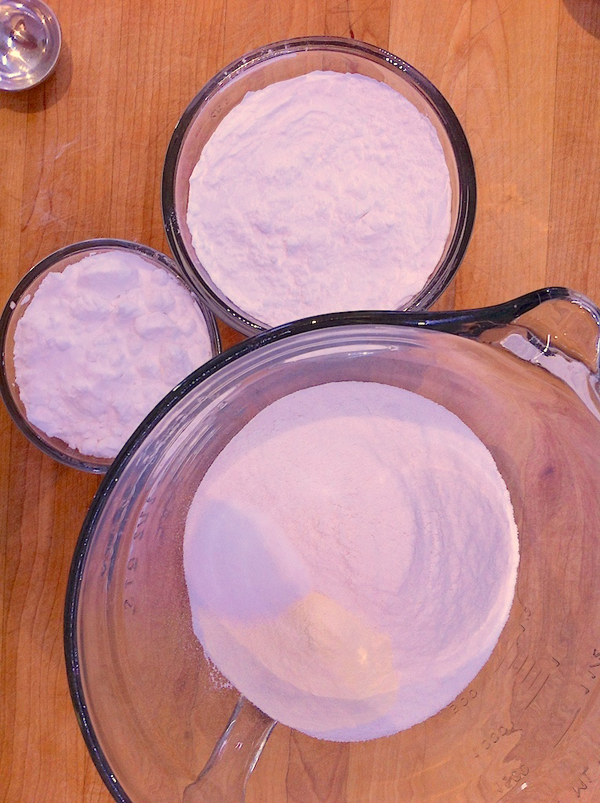
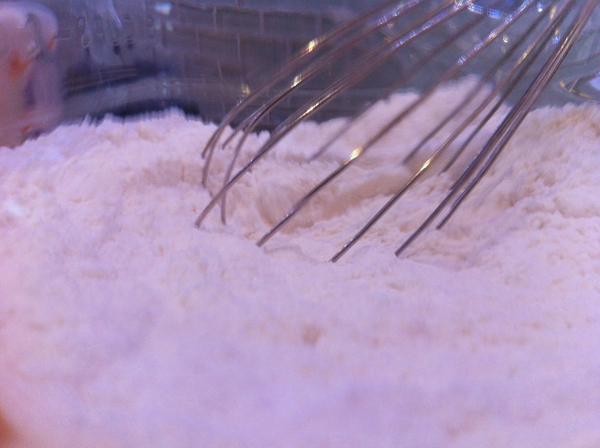
 Combine in a large bowl. Whisk together. Store in a large, air-tight container for up to a year.

Gluten Free Flour Step 2

Adventures in the Kitchen with Michelle, Gluten-Free Flour

Adventures in the Kitchen with Michelle, Gluten-Free Flour

I cut this in half, because I have so many kinds of flour – I was running out of space! At one time, I had the calculations of what it would cost to make this and it was much cheaper than the pre-mix from the stores and online. Although, that was then, and that note is missing from my file. I’m simply too lazy to figure out what that big bottle of Xanthan Gum cost per tablespoon. Ugh – Trust me, this will save you money. Speaking of saving money, I’ll have to give a shout-out to my favorite online health food site, www.vitacost.com Super good prices, free shipping deals, not to mention fast shipping too. My stuff always arrives at least three days before it’s supposed to. In fact, I think I’ll make that cookie recipe printed on their box…and make it gluten-free, of course. 

I’ll be posting some recipes soon that’ll include this new favorite, of my mother’s. She even ‘feeds’ it to her sourdough starter! Gluten-free sourdough? Really? OK, if you say so.

So be healthy – another chocolate covered holiday is right around the corner! 

Michelle Beal

http://badzoot.com

[yumprint-recipe id=’5′]

Adventures in the Kitchen with Michelle, Matzo Toffee

Everyone loves sweets, ok – most everyone. I’ve found that ladies love chocolate, yours truly included, and men tend to like barks and toffees. Hmm, tough chewy things that contain nuts…not going to even try an explain it. Over the holidays I came across, and made, a toffee that was very different than what I was used to seeing. Toffees are labor intensive treats that usually involve a technique that is only shared between the recipe keeper and their relatives or appointed subordinates. Sure they’ll tell you what’s in it and then giggle as you ruin pounds of sugar and butter, along with assorted band-aids for caramel burnt fingers. You’ll spend hours trying to figure out just how to get that certain texture. Only to find that you can’t because you live in Florida – the land of humidity! (water and sugar are NOT always BFF’s) But they knew that. 

Not so fast. I still need to find a way to make something that pleases everyone. This little chocolate covered wonder is crunchy by means of an unusual ingredient – Matzo. Matzo are crackers much like saltines, but are thinner and come in very flat sheets the size of the box. Typically, they’re found in the Ethnic Food section of the store with the other Jewish specialties. Speaking of Jewish, this recipe comes by way of Chef Andrew Zimmern. Yes, the guy who eats everything! Turns out, when he’s not eating fried grasshoppers in Indonesia, he’s coming up with other really good things and has shared this through the Food & Wine site. Since Mr. Zimmern happens to be Jewish he knew all about the crunchy qualities of matzo and was kind enough to share this little tidbit with the rest of us. Yumm!

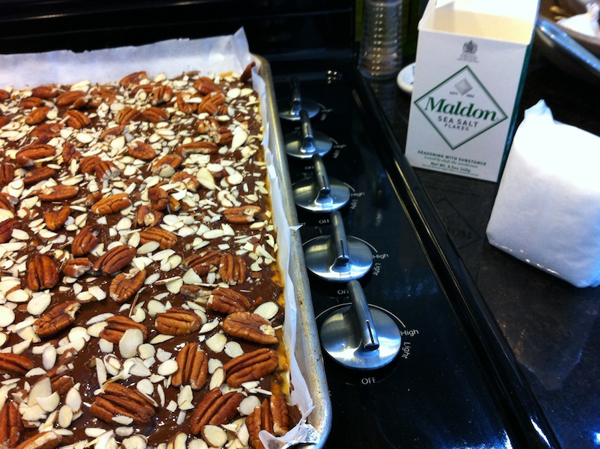
Matzo Toffee, created by Michelle

Matzo Toffee

2 Sticks of butter

5 pieces of Matzo (I used the lightly salted version)

1 Cup Brown Sugar

2 Cups Chocolate Chips – good quality!

1 Cup Almonds, Pecans toasted

Sea Salt

Ingredients for Matzo ToffeeStep 1: Preheat the oven to 350deg. Get a large shallow pan or dish about 15 x 17, I used my cookie sheet. Line it with foil and brush it with butter. Line it again with parchment and brush it with butter also. This sounds odd, but it makes it much easier to deal with later. Just be happy you won’t have to wash the cookie sheet afterward.
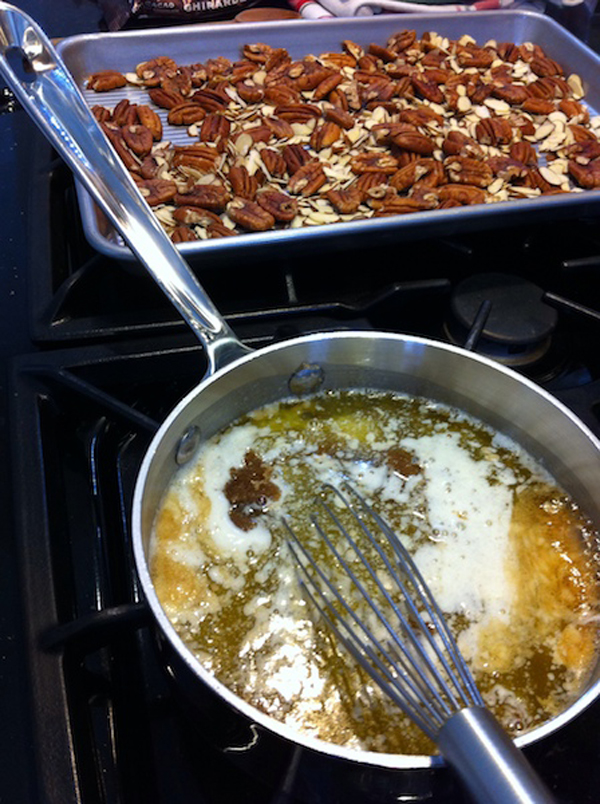
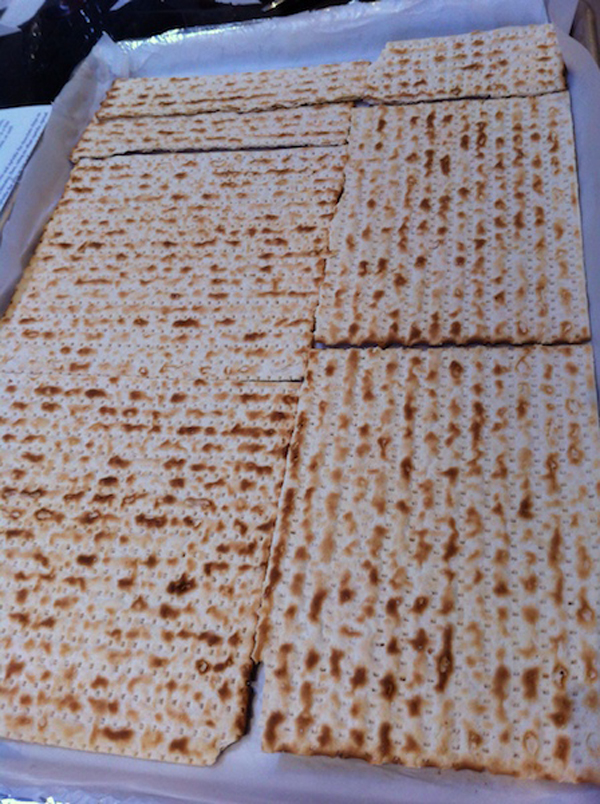
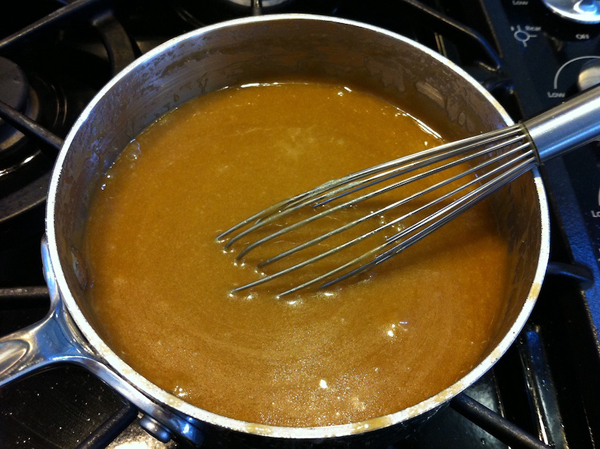
Step 2: Melt the butter (I used this to brush on the pan and then added the brown sugar), and the brown sugar. Over med/low heat, stir or whisk continuously until it comes together into a toffee (about 5 min – see Step 4). In the meantime, use another cookie sheet and pop them into that heated oven for a couple min. to get the nuts toasted. Remember, if you can smell them, they’re burnt.

Step 2 in Matzo Toffee

Step 3: Now, break out that matzo. I didn’t even know what matzo was. It’s basically a saltine, only thinner and more dense. I can see how this will work now, and I wouldn’t substitute. Line the pan with it, breaking it when necessary.

Step 3, get the matzo

Step 4: Here’s your toffee. Mmmm, smells so good!

Step 4, toffee

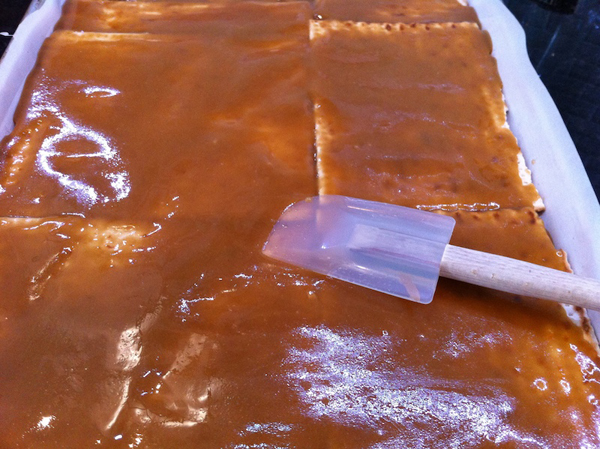
Step 5: Now pour the toffee over the matzo sheets and smooth out with a silicon spatula (no sticking). Pop it into the oven for 5 min or so, until it’s bubbling. Keep an eye on it.

 Step 5

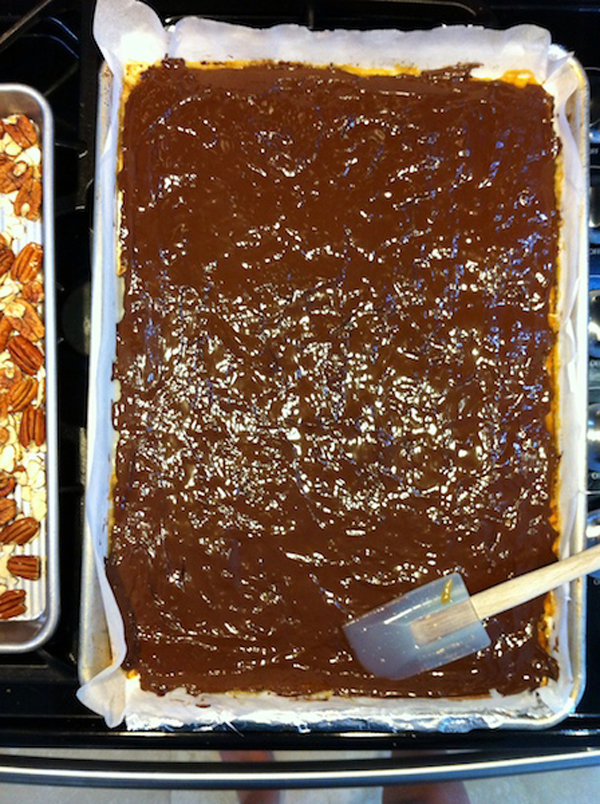
Step 6: Get that hot pan out and sprinkle on the chocolate chips. The toffee is like sugar napalm – don’t touch it! The chips will be melty in no time. Then smooth them out.

 Step 6, smooth out the chips

Step 7: Sprinkle on the nuts. Go and find that flaky sea salt you’ve got hiding somewhere. This stuff is so good, and can be found at both health food, gourmet stores, and online. Careful, a little goes a long way. When you sprinkle it on do it from high over the pan and it will land more sparsely. We’re not covering pretzels here.

step 7

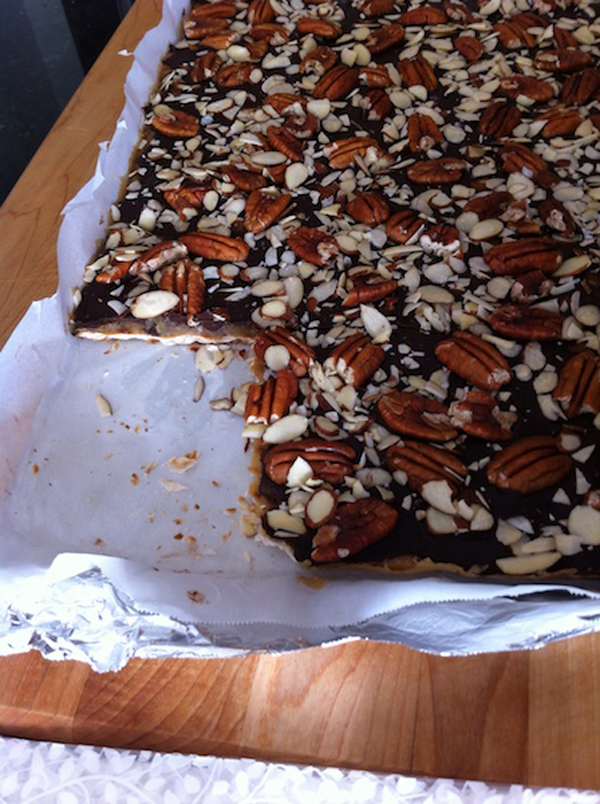
Step 8: Let the whole thing set now. Since I’m in Florida, it’s like 80deg in my kitchen so I parked it in the fridge. It doesn’t take long to set. Get it out and break it up. The double lining makes it slide out and isn’t a sticky mess to deal with. Fold it over it break it up so the chocolate doesn’t melt with your hands.

step 8, break it up

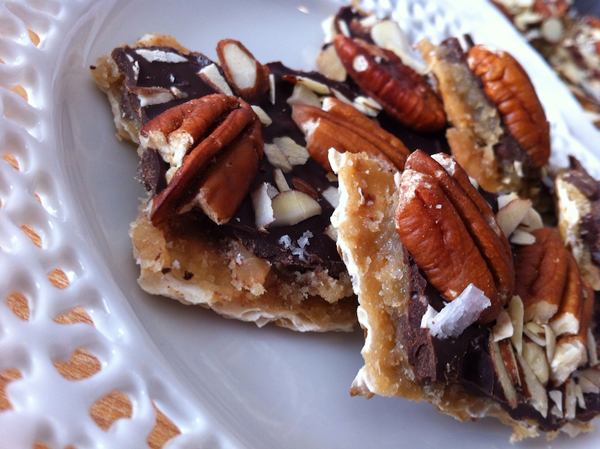
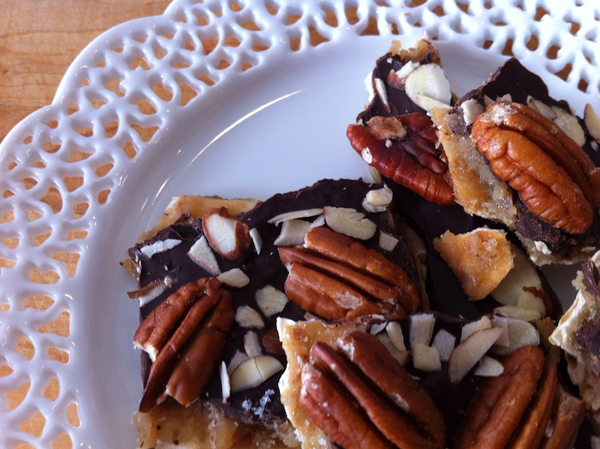
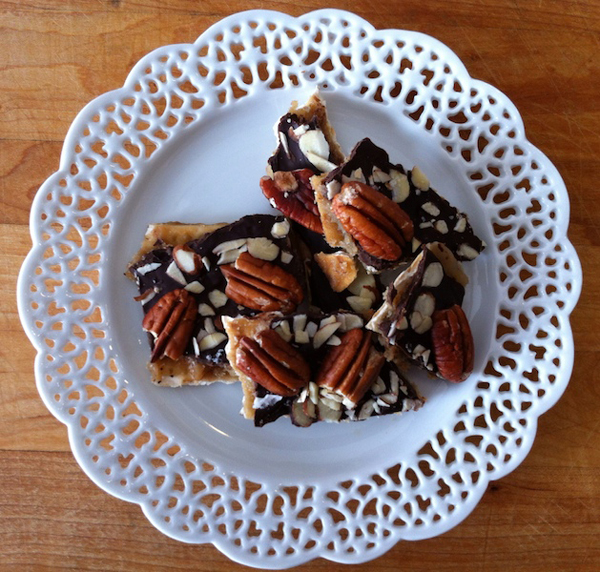
Finale: This is awesome! Salt and toffee and chocolate – why, yes please! The matzo is still crunchy with all that sticky mess and it holds it all together. If you use good chocolate (don’t be afraid to spend a bit for Valhrona or Guittard) this is a treat you can feel confident to give away as a gift.

finale

Finale

Enjoy – When I made these at Christmas, I packaged them up and gave them as gifts to the neighbors, lovely AND tasty for both the gentleman and lady of the house. I’m sure there’s a chocolate covered holiday coming up sometime soon that you’ll need to set out something unusual and that pleases everyone.

(Thank you for the recipe, Mr. Zimmern – but you can keep the fried grasshoppers)

Michelle Beal

Badzoot.com

[yumprint-recipe id=’4′]