Adventures in the Kitchen with Michelle, Limoncello Scented Watermelon Granita

It’s hot – yes, that stupid Global Warming is hard at work here in Florida! Good thing it’s still watermelon season. Because there’s really nothing quite like watermelon in the summer. It’s not something you can get year round (not that you’d actually want to if you could). I mean, you can’t can it or make it into some kind of jam to open in another 4 months and still smell the sunshine. I know there are people who make watermelon jelly, and people who pickle it….um, no thank you. There’s something about cooking melons that just turns my stomach. It becomes something completely different – and somewhat unpleasant to me. I want it cool and fruity – like I just cut it. So, that leaves, the freezer. I love sorbet, but I don’t have an ice cream maker. What’s next, granita…ooo, yes. I’ve seen cooks do that on tv and it looks so simple. Then I cruised the Net for some ideas. I stumbled upon a few recipes that include vodka…hey, now we’re talkin’! Years ago my husband an I had a friend who spouted that ‘real drinkers keep their vodka in the freezer.‘ You know, there’s something to that. It keeps things from freezing too hard as well. But everybody puts vodka in stuff…I wanted to mix things up a bit. Seeing as granita is honestly an Italian dish, and includes lime juice, why not use an Italian liquor? Italians keep limoncello in their freezer for a super cool summer sip. …and I just happen to have some….let’s go make some Limoncello Scented Watermelon Granita (ooo, sounds sophisticated,  hee, hee – it’s not)
Step 1
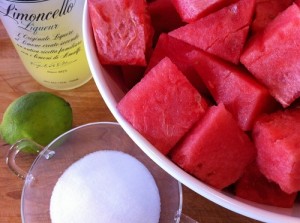
You’ll need:
1 medium watermelon, or just a bowl full chopped up.
2/3 cup sugar
1/2 cup limoncello
1 (or 2 if they’re small) juiced limes
1 food processor or blender, a pyrex dish or other flat freezer safe vessel, a mixing bowl. And a freezer – make a space!
Limoncello Scented Watermelon Granita, Step 1
Step 2:
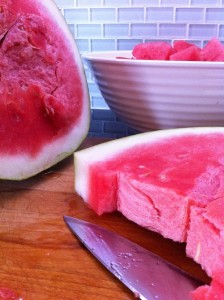
Get the melon  chopped. Depending on the melon and how many over heated kids you have running in and out of the house, you may only use about half of it.
Limoncello Scented Watermelon Granita, step 2
Step 3:
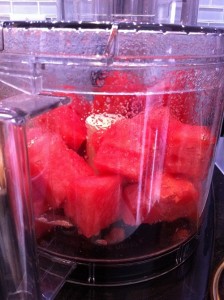
Give the melon a whirl. Work in batches. I made mine into a puree, but there were some dime sized chunks, and that’s fine with me.
Limoncello Scented Watermelon Granita, step 3
Step 4:
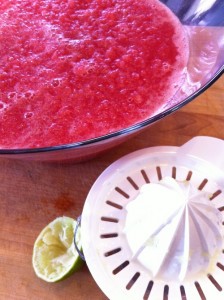
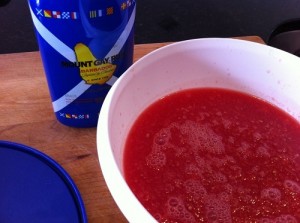
Mix the other ingredients into the melon puree. The sugar will dissolve, just give it a stir.
Limoncello Scented Watermelon Granita, step 4
Step 5:
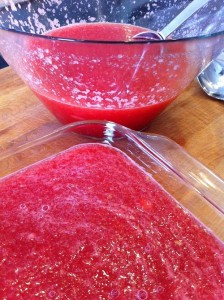
Scoop it into the flat dish.
Limoncello Scented Watermelon Granita, step 5
Step 5.5:
I had some extra that wouldn’t fit in the dish. That bit I put into another bowl and decided to add even more rum (about a cup in about 4 cups of melon mix). You’ve seen those ‘buckets-o-booze’ at the store. The one with the sugar water based flavor stuff that you add an entire bottle of tequila or whatever and then freeze it for margaritas or daiquiris’. Oh, yea. So, this is a slightly more healthy version, because there’s no HFCS or artificial colors…..just fruit and booze. Oooo, I’m all a tingle!
Limoncello Scented Watermelon Granita, step 5.5
Step 6:
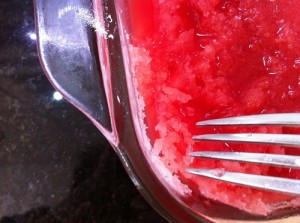
Now, cover it with plastic wrap and get it in the freezer. In about an hour or so, check it and scrape it with a fork. Like a grown-up Slurpee! (hurry freezer – I’m soooo hot here!…and not in a good way)
Limoncello Scented Watermelon Granita, step 6
Step 7:
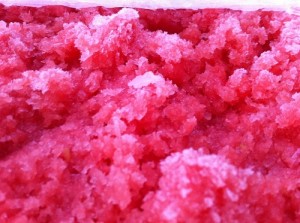
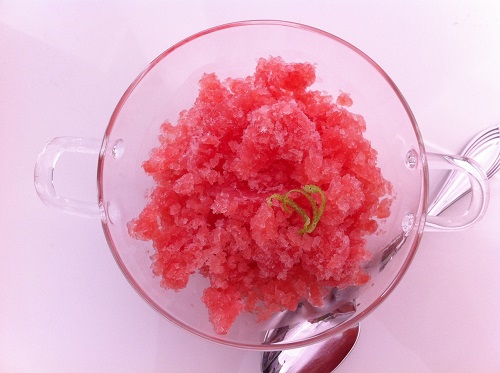
No, this isn’t a shot from NASA of the surface of the red planet…this is cool fruity heaven right here on Earth! And because it’s frozen, you could keep it way longer than any fresh watermelon would survive in the fridge.
Limoncello Scented Watermelon Granita, step 2
Finale:
Finally, and not too soon, it’s done…super cool, incredibly watermelony (is that a word? – it is now!) As I sample it, you can taste the limoncello. It’s very subtle though, and it’s really an after taste. One of those things that make you smile, but you have to ask “What’s in this?” Summer baby – that’s what’s in it!
Limoncello Scented Watermelon Granita, Finale
That looks like the official Labor Day Picnic Drink!
Michelle @ www.badzoot.com

Upper Deck Restaurant in Weeki Wachee

Recently a bunch of us stopped at the Upper Deck Restaurant for lunch.  We had just finished kayaking the Weeki Wachee River and the restaurant is right by Rogers’ Park, the take out point for the kayaks.  Hot, damp, and hungry, we headed for the second floor of the restaurant.  We ate outside on the deck since the hostess told us that inside was about 10 degrees warmer.  No A/C!  But it was actually pleasant with a little breeze.

The Upper Deck
The Upper Deck
The Upper Deck
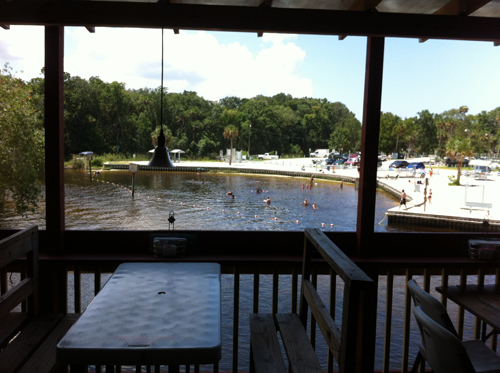
The view of Rogers Park from our table.
Me and William waiting for our lunch.
The Upper Deck
Riley. Whose sunglasses are those?


The Upper Deck
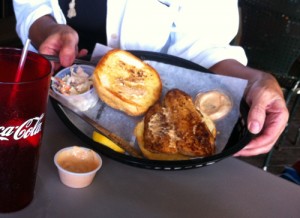
Blackened Grouper Sandwich
The Upper Deck
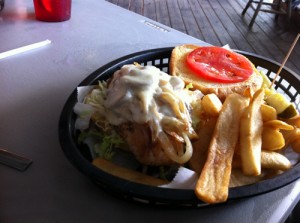
Sliders on Pretzel Rolls


The Upper Deck
Yum!
The Upper Deck
Crab Cake Sliders


The Upper Deck
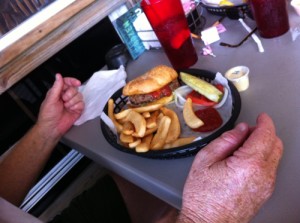
Surprise, Terry didn’t order wings! Hamburger!

Our lunches were yummy and there was plenty of food.  We loved the view and that we could sit outside, be noisy, and spend a little more time talking about our kayaking adventure.  The Upper Deck is a bar but definitely kid-friendly.  We’ll be back the next time we head down the Weeki Wachee River.

Adventures in the Kitchen with Michelle, Red Peppers

This week I found myself up to my armpits in Red Peppers. Ahhhh – summer. Yes, most of the time they’re incredibly expensive, but this was a bumper crop that had to go. Normally, I just chop and freeze them. They’re great to add into a red sauce or salsa as an unexpected flavor. But there were just too many. Even after freezing several bags of them chopped, I still had 5 left. Now what? Hmm, you know, I love a roasted red pepper. I get them in jars and keep them on hand to add into hummus, and salads. Not to mention vegetarian lasagne is simply not the same without them. How hard could it be? Well, apparently, not very! Watch and learn my friends…

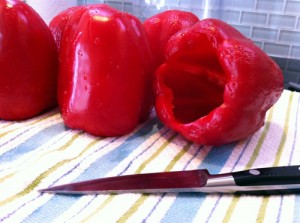
Step 1: First wash up and core your victims. Set them aside to dry.

Adventures in the Kitchen with Michelle, Red Peppers

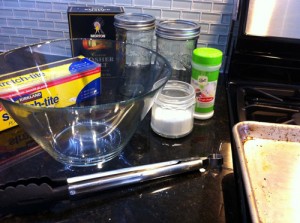
Step 2: Now gather the rest of the equipment you’ll be needing.

Adventures in the Kitchen with Michelle, Red Peppers

There are several ways to do this. Most rub them with olive oil and roast them in the oven. Some Put them on the grill outside and them soak them in jars filled with olive oil and sometimes a few garlic cloves. What I wanted was what I was used to using from the store. Those are suspended in a water solution. No, not just water. I guessed a bit and came up with the following.

In a pan, place 4 cups of water about 3/4 Tablespoon of both salt and sugar. Bring this to a boil. Later, just before jarring, I added in about a 1/2 tsp of Citric Acid (or in my case I had Fruit Fresh from my canning expeditions).

Now, get the oven on a preheat to 250deg and sterilize your jars. And start to roast those peppers.

Step 3:

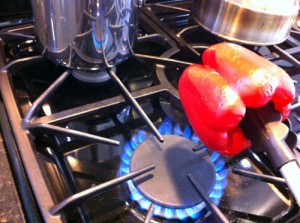
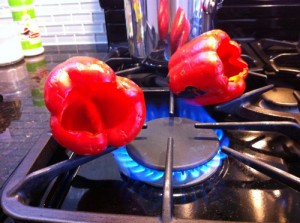
If you’re the official marshmallow roaster in your family, then you’re sure to be the head pepper blisterer too. Light the fire and turn. Yes, they’ll sizzle and pop. Don’t be scared!

Adventures in the Kitchen with Michelle, Red Peppers

Step 3a: Ahh, see, nice black spots of char. Oh, you don’t like burnt marshmallows? Well, whatever – crank that flame and burn, baby, burn!

Adventures in the Kitchen with Michelle, Red Peppers

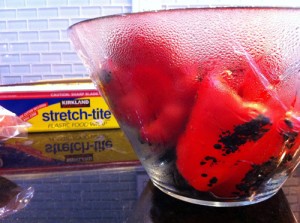
Step 4: Once you’re done, get them into a bowl and cover with plastic wrap. Careful, they’ll burn right thru if they’re flaming toasty. Which is why I don’t really recommend the plastic bag method, unless they’re already starting to cool. Either way, the steam will help peel away the unpleasant bits of charred skin.

Adventures in the Kitchen with Michelle, Red Peppers

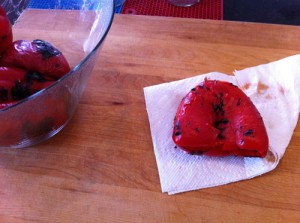
Step 5: Get them out and rub with a paper towel to remove some of the skin. Not all of it, that black stuff is flavah! Now cut them into quarters and lay in the jar. I got 2 1/2 peppers in each.

Adventures in the Kitchen with Michelle, Red Peppers

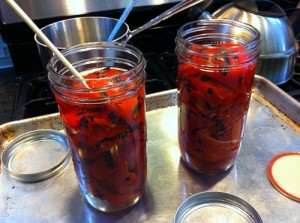
Step 6: OK, now we jar. I like the not-quite-a-quart jars, as they’re large, fit great in the fridge and just look cool. Slowly add the water mixture. I do this 1/2 cup at a time.

Adventures in the Kitchen with Michelle, Red Peppers

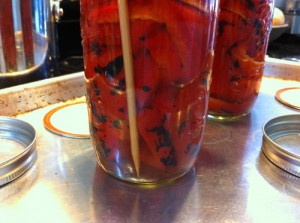
Step 7: I use a bamboo skewer to release some of the air bubbles I could see and continued to fill with the water mixture. Only fill it to the jar’s ‘shoulder’, under the threads.

Adventures in the Kitchen with Michelle, Red Peppers

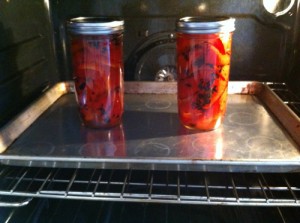
Step 8: Now lid and ‘process’ in the oven for 30 min. Those lids will pop – you’ll see.

Adventures in the Kitchen with Michelle, Red Peppers

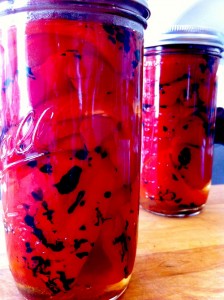
Finale: There, something new to do with all those peppers. They’re healthy, not swimming in olive oil, and a money saver too. Those little red devils can set you back nearly five bucks for a 16oz jar! No way! – Yes way! But these big jars hold 24oz. – cheeeep! And later when you use them, put the unused peppers into a small freezer bag and lay flat in the freezer. Because they go bad quickly. Then you can just break off what you need. Look at that, and you were just going to toss those peppers…oh-no, not on my watch.

Adventures in the Kitchen with Michelle, Red Peppers

Michelle @ www.badzoot.com