Adventures in the Kitchen with Michelle, Not so Chunky Monkey

Adventures in the Kitchen with Michelle, Not so Chunky Monkey

I have a confession to make – I love Ben & Jerry, no really. One thing I love about them most is that they make one of my all time favorite ice cream flavors – Chunky Monkey. Oh, yeah you know the one. Full fat banana flavored ice cream with chunks of chocolate and walnuts,… all it needs is a cherry and some whipped cream. Oops, I’m drooling on my keyboard. 

Problem is it’s just too, well, chunky,…on my backside. Seriously. I could eat the whole pint myself. I can fix that though, the chunky part – I’ll still eat the whole pint of this one. Only, I won’t have to run around the world twice to work it off. Come on I’ll show you.

Not So Chunky Monkey

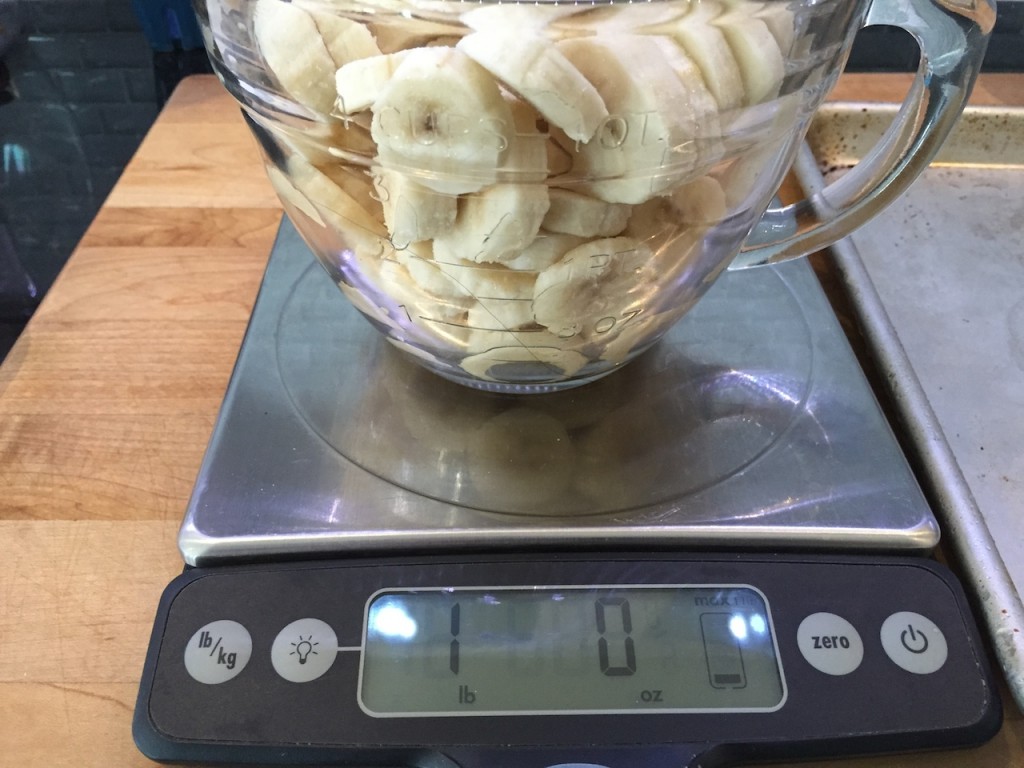
1 lb Frozen Bananas (about 4 cups, or one tray, or 5 or 6 bananas…this is why I weighed this one out)

1/2 Cup Low Fat Sweetened Condensed Milk (about 1/2 can)

1/2 tsp Vanilla Extract

1/4 tsp Vanilla Paste * optional, not everybody has this in their cupboard.

1/3 Cup Walnuts chopped

3 or 4 Tbl Home Made Magic Shell, check out that post here

Step 1:

Step 1, Adventures in the Kitchen with Michelle, Not so Chunky Monkey

Get out all the goodies

Step 2:

Adventures in the Kitchen with Michelle, Not so Chunky Monkey

Measure out those frozen banana slices. I buy bananas and keep them in the freezer in a ziploc  for smoothies.

Step 3:
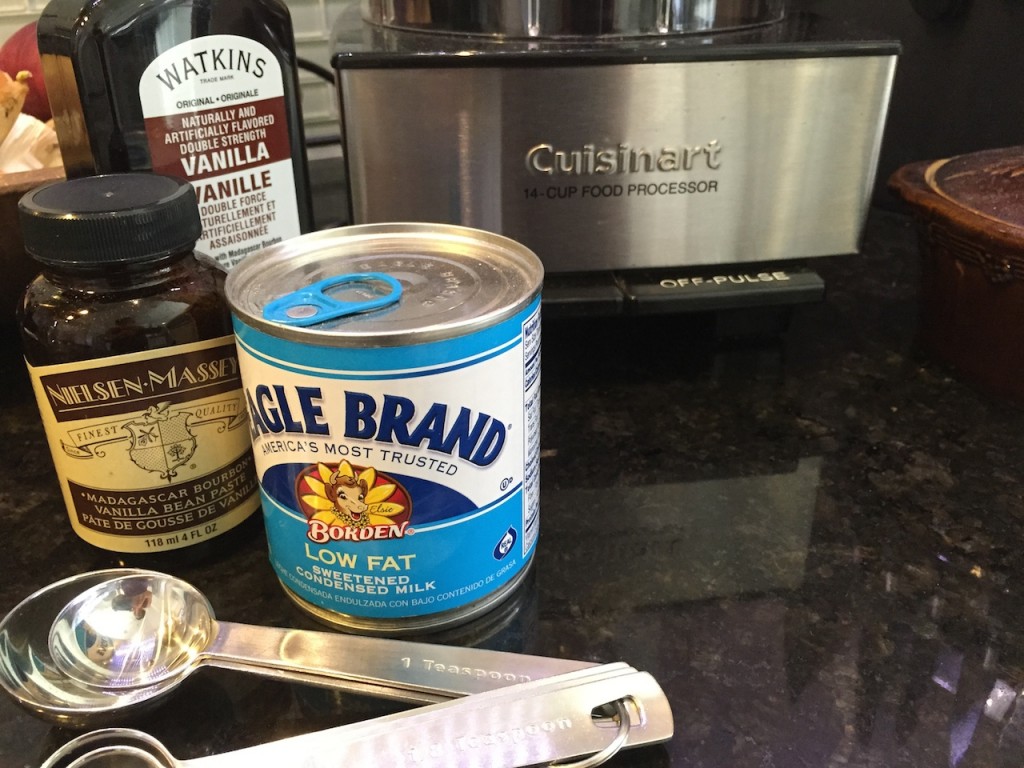
Adventures in the Kitchen with Michelle, Not so Chunky Monkey

In a food processor, add the bananas, milk, vanilla.

Step 4:
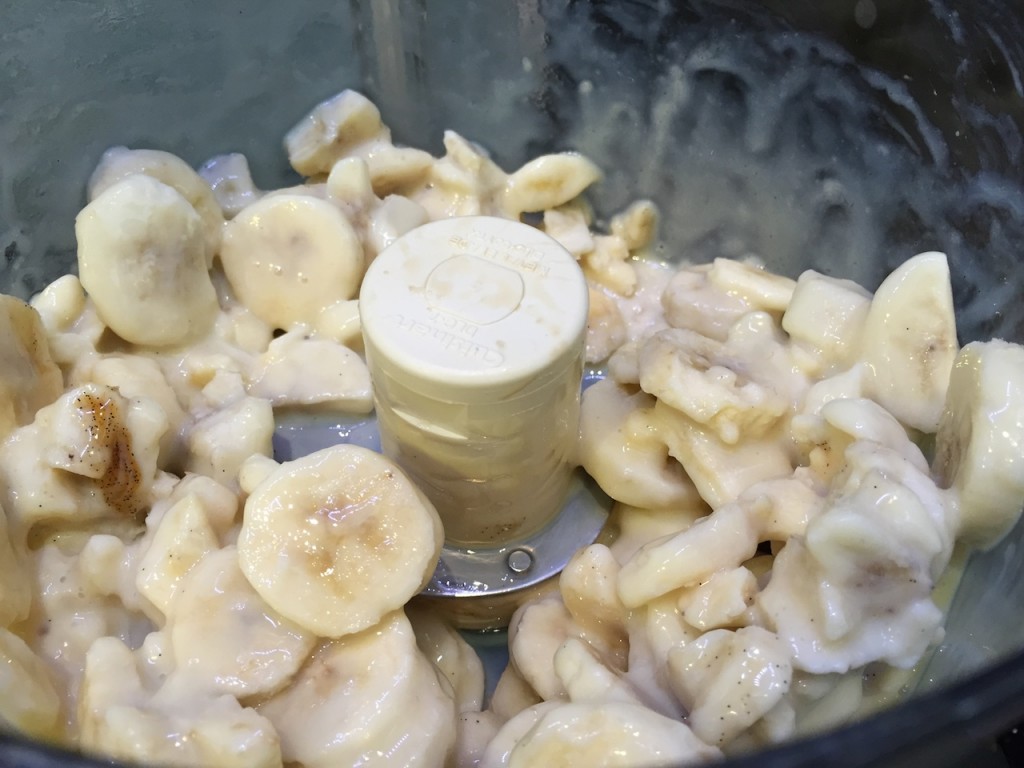
Adventures in the Kitchen with Michelle, Not so Chunky Monkey

Give it all a whirl, pulse it so that all the pieces get a chance to be mashed up.

Step 4a:
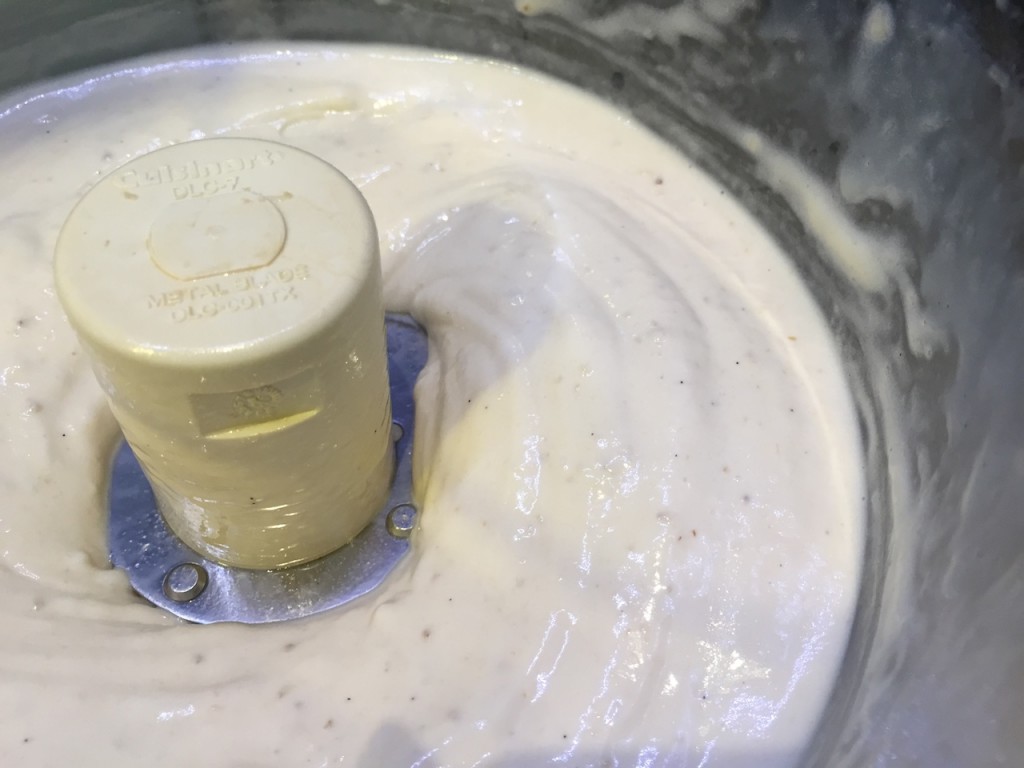
Adventures in the Kitchen with Michelle, Not so Chunky Monkey

There – now it’s a frozen treat. I can’t really call it ice cream – even though there’s cream in it. Hmmm

Step 5:
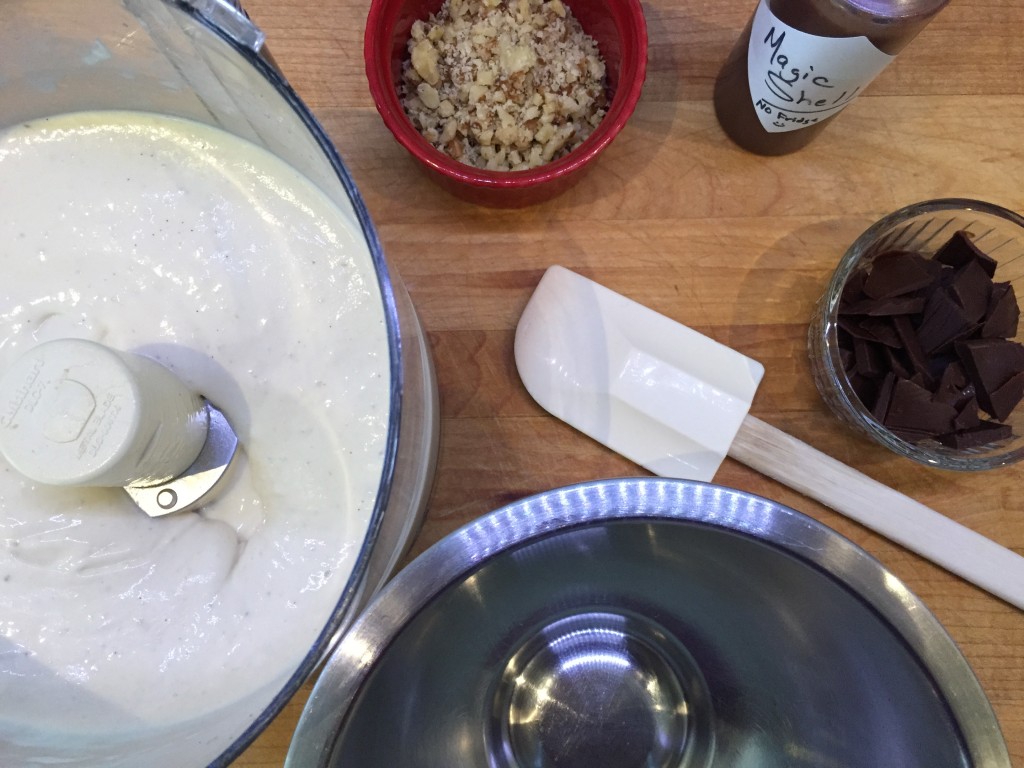
Adventures in the Kitchen with Michelle, Not so Chunky Monkey

Get it into a freezer safe container. I like a stainless bowl because it freezes quick.

Step 5a:
Adventures in the Kitchen with Michelle, Not so Chunky Monkey

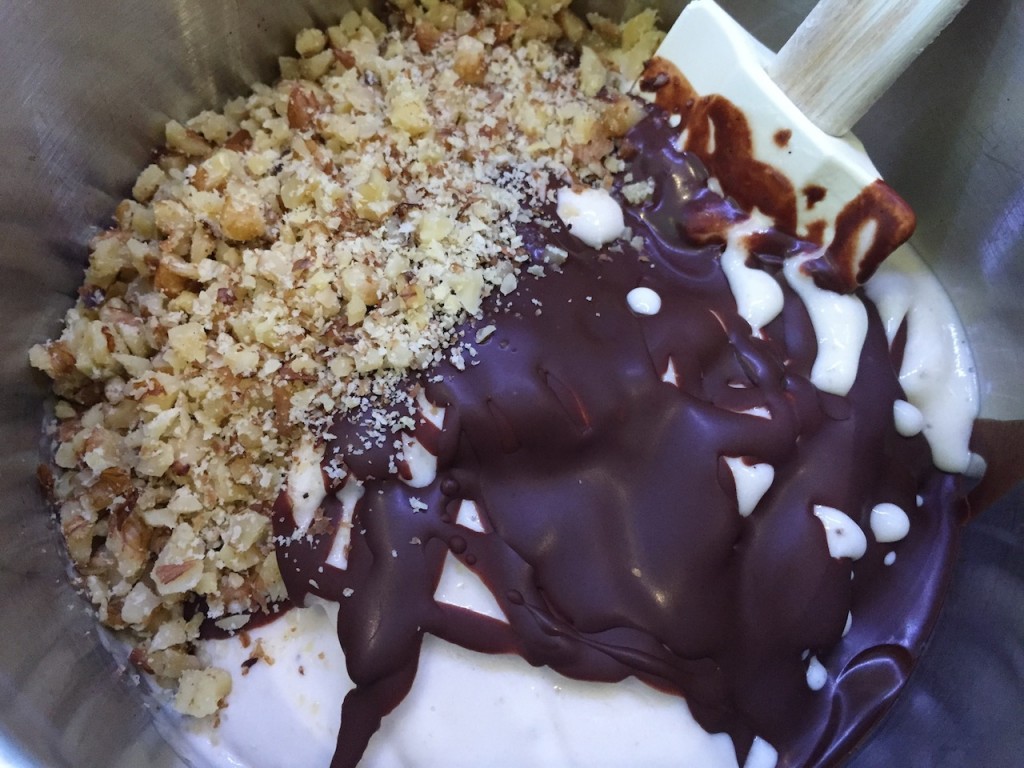
Drizzle on some of that Magic Shell – you did see that post, didn’t you. On that post I showed you to put the chocolate on a plate and freeze to have larger crunchy bits to fold into ice cream. They’re good to have because the drizzles aren’t always thick enough to be considered ‘chunks’. Don’t forget to fold in those walnuts too.

Step 6:
Adventures in the Kitchen with Michelle, Not so Chunky Monkey

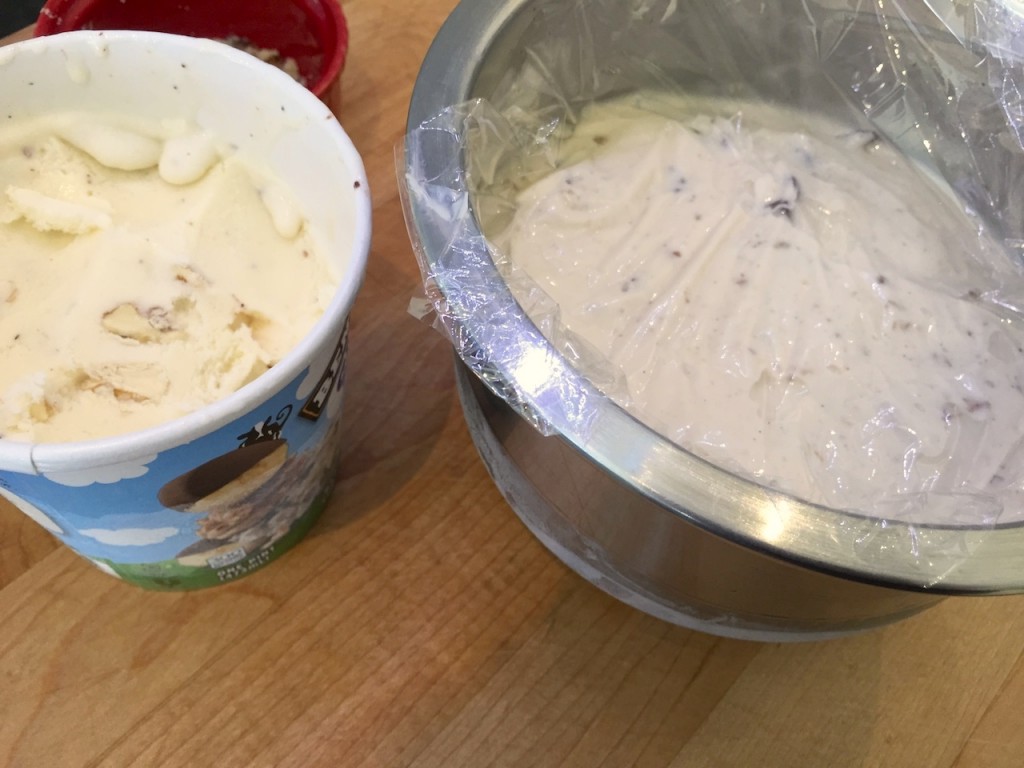
Cover it with plastic wrap, right ON the ice cream so has to keep the bananas from being freezer-fied. Get it chilled until firm – at least a couple of hours.

Finale:
Adventures in the Kitchen with Michelle, Not so Chunky Monkey

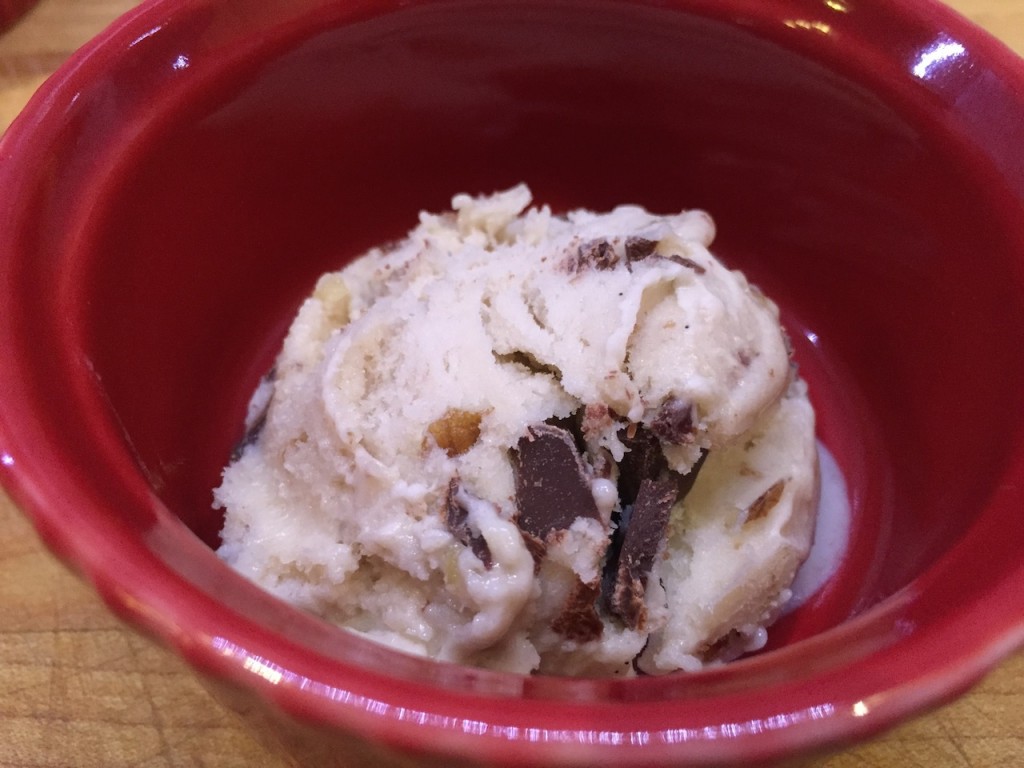
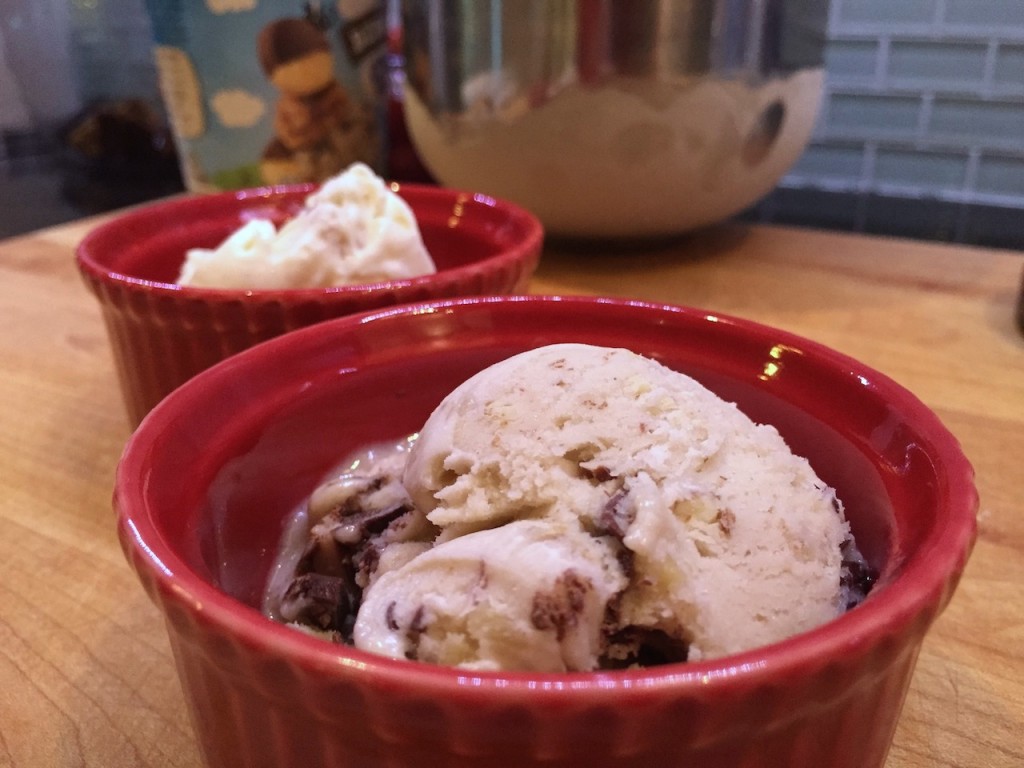
That’s it ! A Low Fat, high flavor and all around good-for-you treat. Not banana flavored ice cream – it’s actually bananas !!! So good – and still has an ice cream texture. Enjoy!

Adventures in the Kitchen with Michelle, Spicy Pasta Sauce

Summer means tomatoes, and even though summers gone. Here, in FL we grow tomatoes – beautiful Ruskin reds that are fantastic. Problem is, you can’t buy them in a grocery store. Yes, that’s right. We have, available for purchase, pre-packaged Tennessee, or Canadian, or Mexican tomatoes. Really? Or the ones that look good, but have whitish flesh that tastes slightly better than cardboard. Then there are the plum tomatoes, that used to be the best tasting, until the stores found out we liked them and started selling them nearly green. That’s ok, I know where those yummy tomatoes went – the farmers market. Oh, yeah. I can’t resist a $3.00 basket of the lovelies. And yes, at times even they’re from somewhere else. Usually they’re the ones with a blemish or two, and that need to be eaten now,…that’s good because I want to eat them,…NOW.

So, I found myself with an overload of that summer goodness…I can’t eat them all in salads! I do love a tomato sandwich, I will confess. I also remember a sauce that my favorite Italian restaurant used to make. It was a spicy marinara, that I’d ask for a little extra and take home. It was so good – Fresh tasting. I’d chill it and use it as a salad dressing. Well, that restaurant was sold and the new owners promptly ran it into the ground. *sigh* But wait – I have plenty of ‘matoes to do it myself. Although, sauce (aka; Sundaygravy) takes days to makes, doesn’t it? After spotting a recipe on the Food & Wine site, by Grace Parisi (why doesn’t she have her own cookbook!?), I knew it could be done – and soooo easy ! 

Come on – I’ll show you.

Spicy Pasta Sauce Step 1

Step 1:

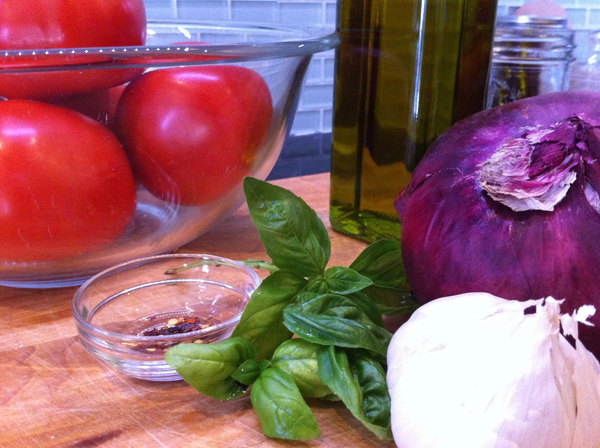
Gather up those tomatoes, about 2 #.

1/2 cup Sweet Onion, sliced thin (Vidailia’s are good, but I had a sweet red one)

3 Tbl Good Olive Oil

2 Garlic cloves, large ones, sliced thin

1/2 tsp Crushed Red Pepper

Salt to taste

1 Tbl Fresh Basil, minced

Spicy Pasta Sauce Step 2

Step 2:

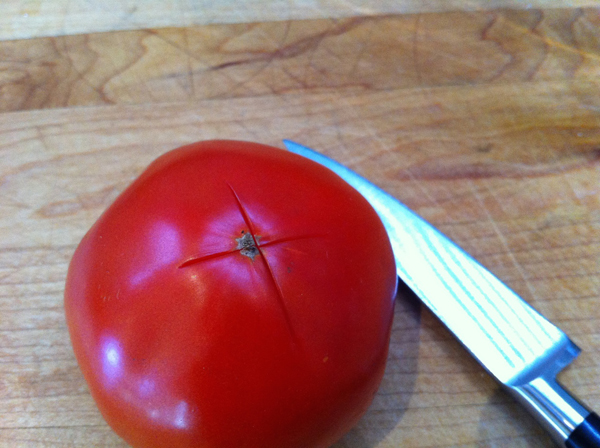
Peel the tomatoes. Yes, peel them – there’s trick to this. Very old, and very simple. Since I have newbie cooks reading, I’ll show you…

Get some water boiling. Cut an X at the bottom of each tomato.

Spicy Pasta Sauce, STep 3

Step 3:

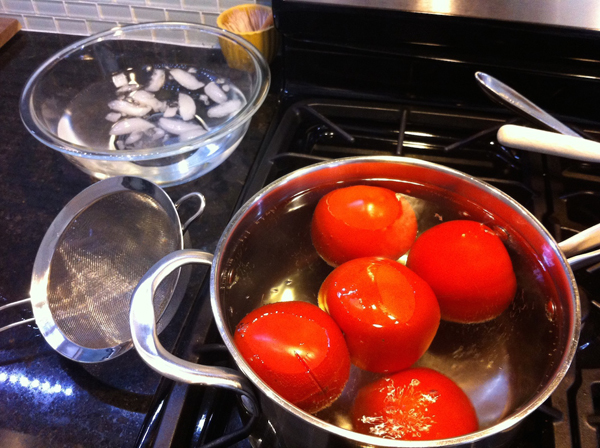
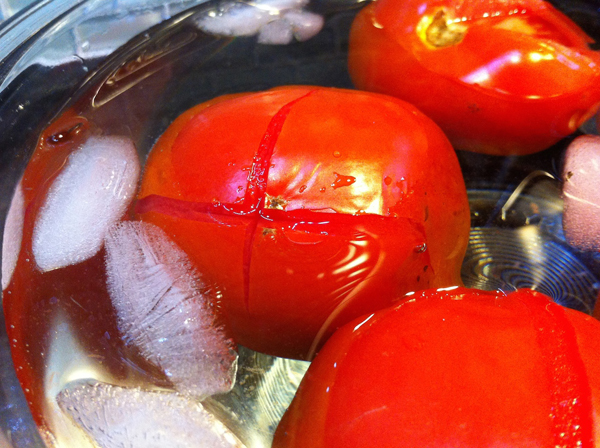
Get the fruit (yes, tomatoes are a fruit) into the boiling water. Get another bowl of water set out with ice in it (an ice water bath). 

Spicy Pasta Sauce Step 4

Step 4:

After about 30 seconds – a minute, scoop them out of the boiling cauldron and get them into the ice water bath. This stops the cooking process and loosens the skin. 

Yes, you can save the boiling water for the pasta to follow. (waste not!)

Spicy Pasta Sauce, Step 5

Step 5:

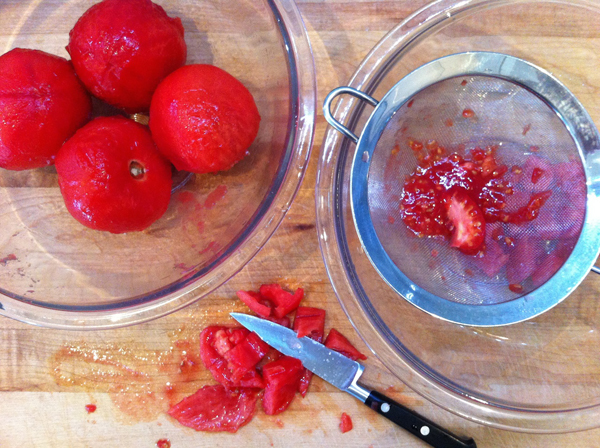
Now, slip the tomatoes out of their jackets and cut them into quarters. Using another bowl, and the strainer, push out the seeds into the strainer and coarsely chop the flesh.

Spicy Pasta Sauce, Step 5a

Step 5a:

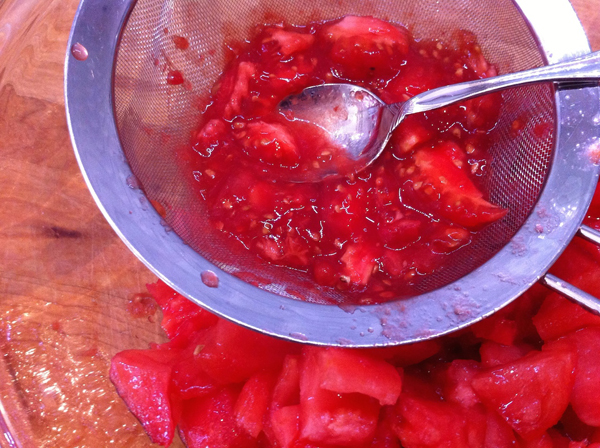
Use a spoon to push all the juice through the stainer and toss those seeds.

Step 6

Step 6:

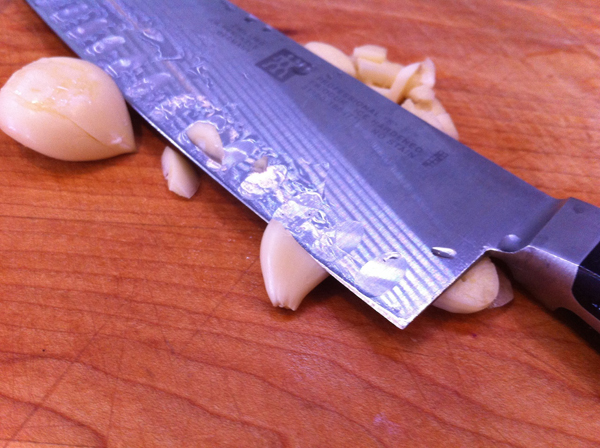
Slice those onions and mince that garlic. For my newbie cooks, note how far back on the knife this garlic is. Garlic is tiny and so strong it’s always cut up small. You’ll have more control, and be in need of less band-aids, if you choke up on the knife and use the hilt (handle) area.

Spicy Pasta Sauce, STep 7

Step 7:

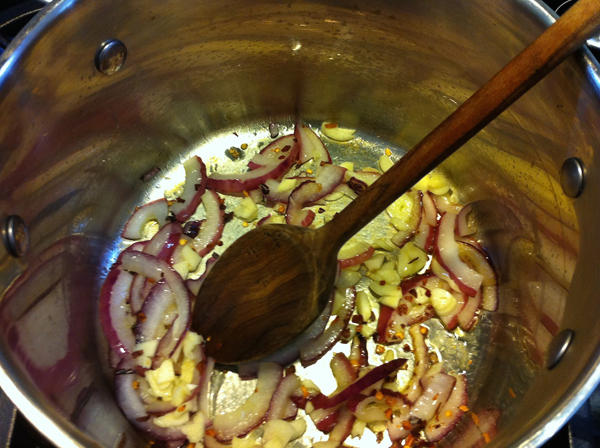
Saute the onions, crushed red pepper flakes a bit then add the garlic. OMG – can you smell that?!


Step 8:

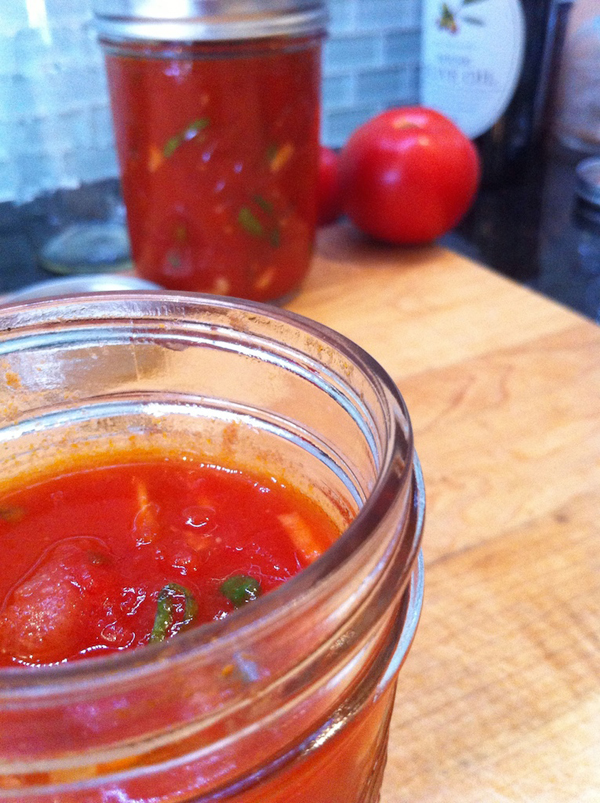
Toss in the tomatoes and simmer for maybe 20 minutes, add the salt to taste (keep it light). Add the basil last to keep it fresh. That’s about all the time needed to make the pasta and a salad…get going…I’m hungry!

Spicy Pasta Sauce, Finale

Finale:

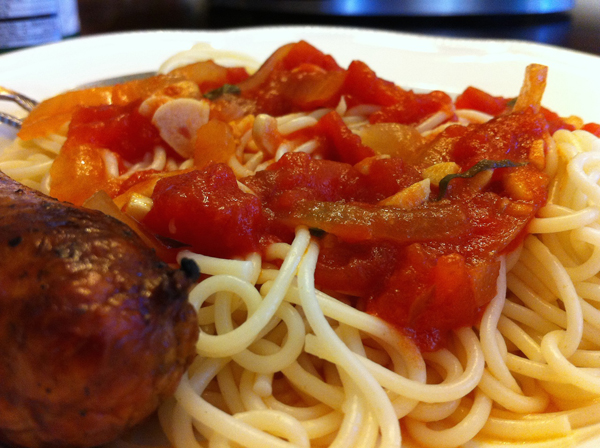
That’s it ! This really only took me about a half hour (without stopping to take pics!). This may seem like a pain with the peeling of the tomatoes and everything, but once you taste it – you’ll never forget the flavor. So simple – like summer should be.

Add a little grilled turkey sausage on the side and it’s a healthy dinner for everyone.

Finale 2

After spending years of opening jars for pasta night, this is a whole other animal ! 

Dressing


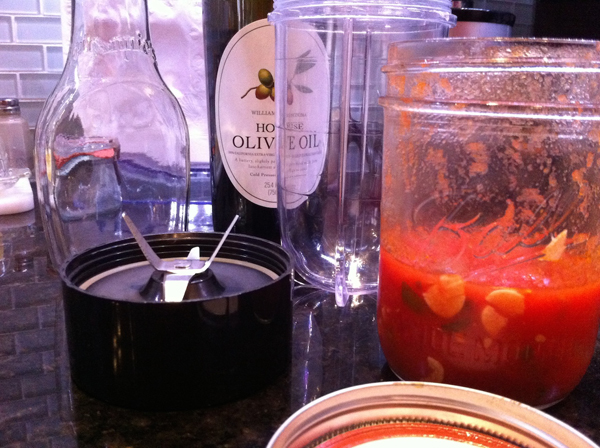
But wait – remember how I said I’d use the restaurant marinara sauce as a salad dressing? Oh, yeah…

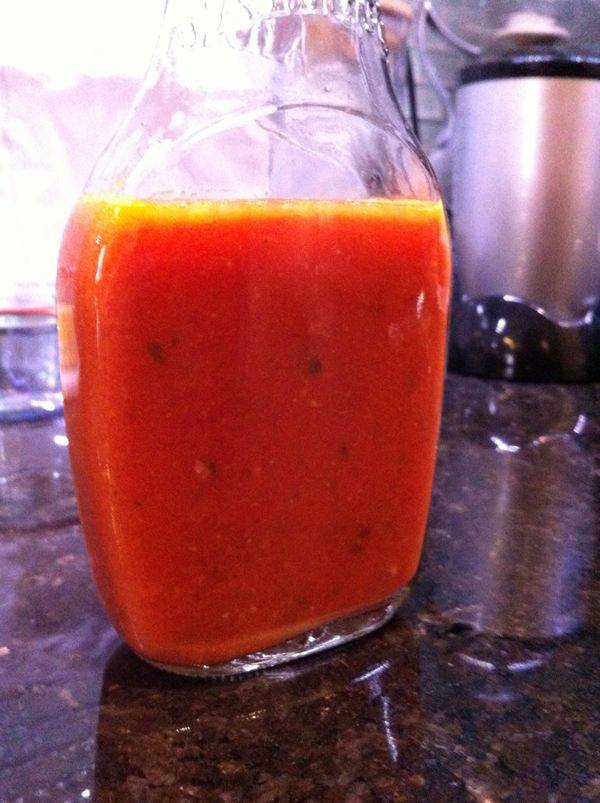
After using it as a pizza sauce – which was awesome ! – the leftovers were run thru the Magic Bullet and bottled.

dressing

It’s a summer treasure. I’ll reserve the store bought jars for winter and await another round of hot weather happiness. 

Enjoy!

Michelle @ badzoot.com

Frosty anyone? …in August!

Oh, yes, Frosty’s – sooo good when it’s sooo hot. And it’s really hot ! But even though the ubiquitous Frosty is a low fat wonder, it doesn’t exactly make the diet playlist. It’s still a machine made milkshake, a really thick one. Anybody with a Pinterest Login will tell you there are a million recipes for them,…well, here’s mine.

Froooosty
Froooosty

Step 1:

Gather together

3/4 Cup Almond Milk

1/2 Banana (frozen)

1/2 scoop Whey Protein Powder

2 Tbl Cocoa Powder

1 Tbl Agave

1 Cup Crushed Ice Cubes

Step 1
Step 1

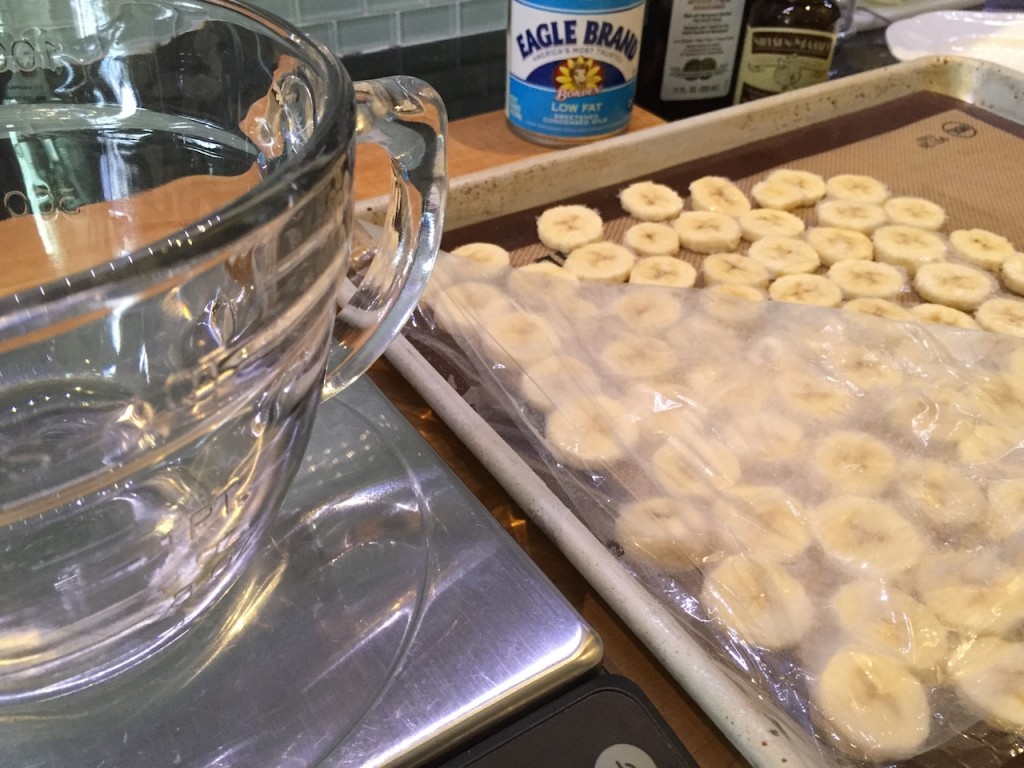
Frozen bananas? Oh yes…take those bananas that are covered in what I call sugar freckles (to get the kids to eat them when they’re best). Slice them up and load a cookie sheet lined with plastic wrap. Cover with more wrap to keep out the ‘freezer funk’ taste. Pop them in the freezer. The next day put them into a container and keep in the freezer for all your smoothie and Frosty needs.

Step 2
Step 2:

Step 2:

Get the goodies into you Magic Bullet and give it a whirl. 

Step 3
Step 3

Step 3:

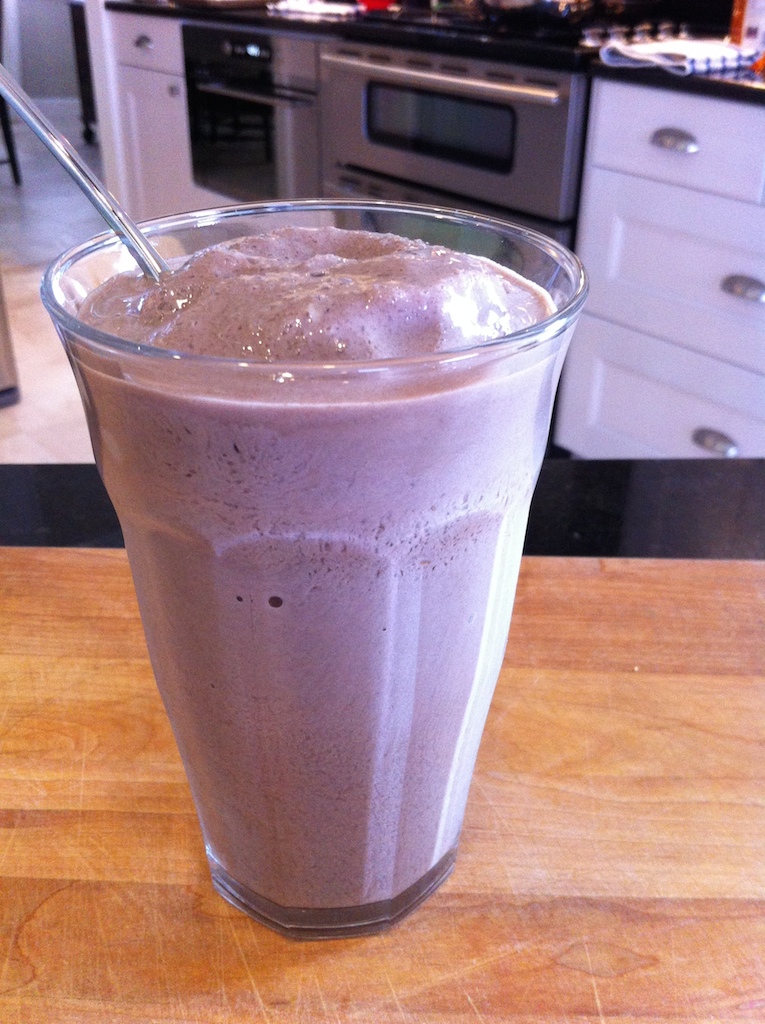
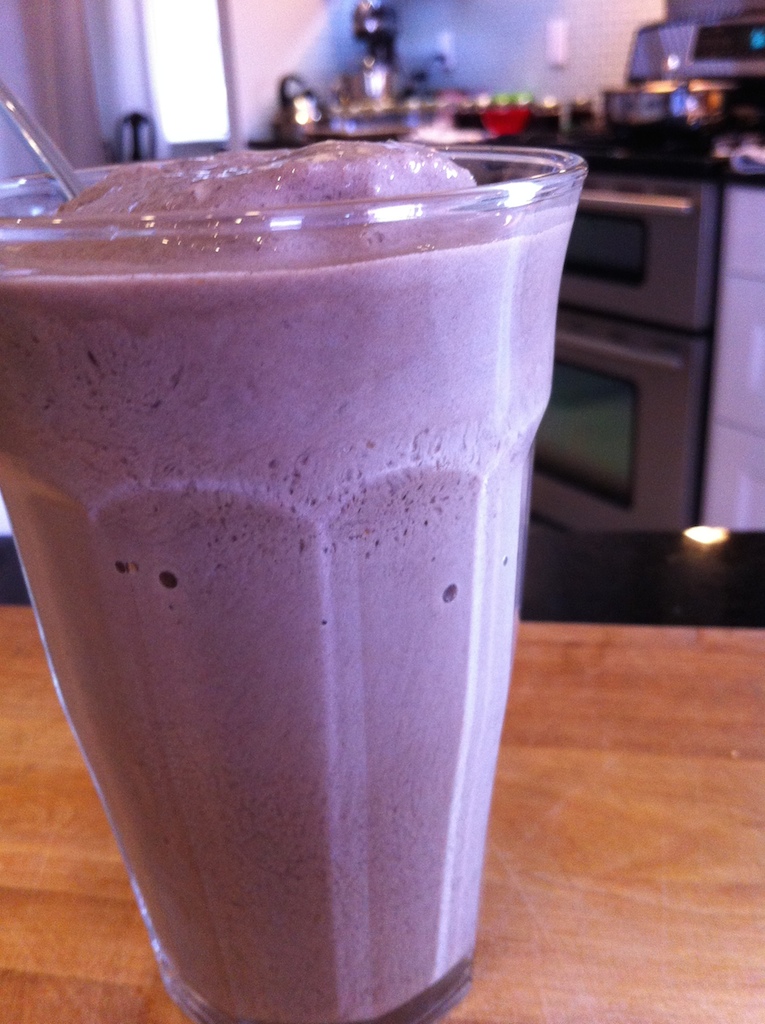
That’s no smoothie – it’s a Frosty !!! (why do I bother with ‘steps’)

Cool chocolatey goodness - and healthy!
Cool chocolatey goodness – and healthy!

Finale:

I think I’ve been a good Blogger girl – I deserve a treat. Oh, thank you – You might need one yourself…go and get that blender out ! Cool deliciousness awaits….