Adventures in the Kitchen with Michelle, Roly Poly Zucchinis

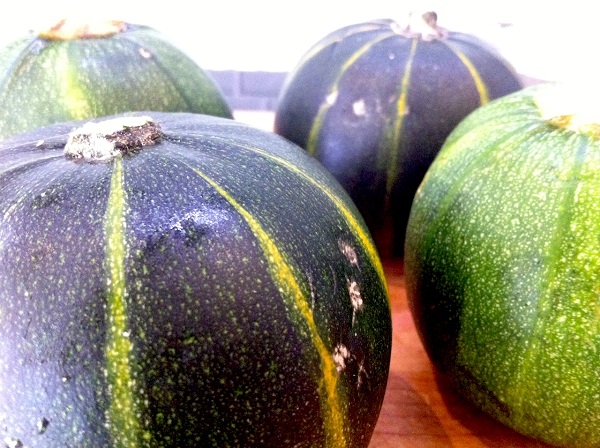
It’s summer and that means a couple of things. One of which is that the Farmers Market is filled with summer veggies,…and school’s out*. I confess to being a sucker for odd veggies – golden beets, giant lemons, and these ‘roly-poly zucchini’s’. A little bit bigger than a baseball, they were just so cute, I had to have them! But what do you do with them? It seems that many people slice them like eggplants and fry them. No, frying, thank you. Next is stuffing. Oh, yes I can do that! I love stuffed peppers, and these would work sort of the same way. Better yet, I had some leftover rice dish from a day or two ago that was awesome (http://www.pbs.org/food/kitchen-vignettes/tunisian-spinach-rice). You could use whatever you have, leftover fried rice from Chinese take-out, a rice pilaf from a couple of days ago, maybe a stuffing tidbit you could add some more diced and sautéed veggies to to make it go further. Mac n’ Cheese, ramen noodles,….Any way you do it, they’re fun and a cutesy single–serving veggie goodness bomb!
 
Adventures in the Kitchen with Michelle, Roly Poly Zucchinis


Roly Poly Zucchini’s (aka – Stuffed Zombie Heads*) 


Step 1:
 Roly Poly Zucchinis
Get those little zukes out and wash ‘em up. Preheat that oven to 350deg.
 

Step 2:
Adventures in the Kitchen with Michelle, Roly Poly Zucchinis

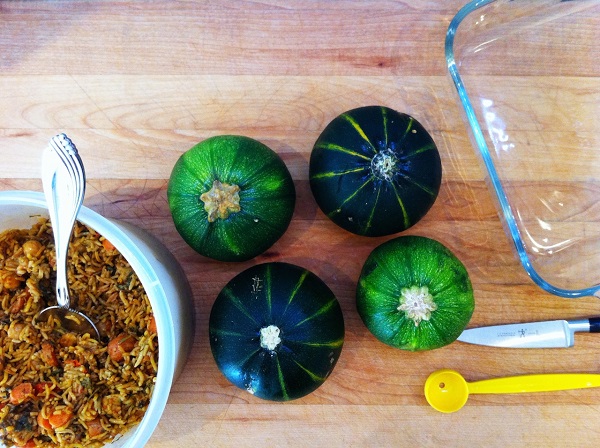
Decide what you’re going to fill them with. Get an 8”x 8” dish and put a little olive oil in the bottom. Find your mellon baller (or a round spoon) and a paring knife.
 

Step 3:
Adventures in the Kitchen with Michelle, Roly Poly Zucchinis
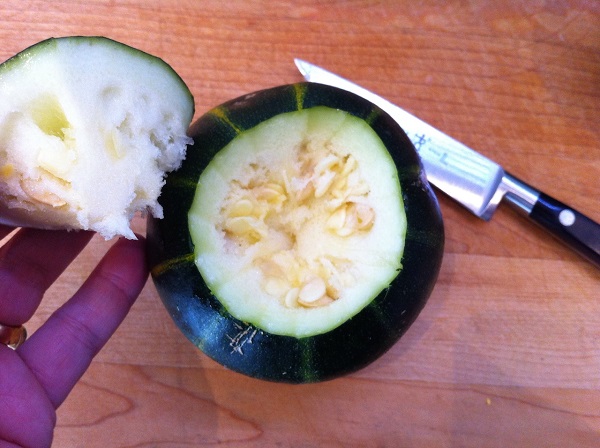
Cut off the tops as if you were carving a pumpkin – they are cousins you know. Using the melon baller, scoop out the seedy innards ,…eewwwww! But leave the flesh – it’s yummy.
 
*This is about the part where my son, who’s been off from school and spending his rain-days binge watching The Walking Dead, comes in and says “Hey, they look like little zombie heads…” – “…braaaaains….crrr..crrrr!” So we all had a good laugh and, yup, it looked like a shrunken zombie head when I was done – LOL
 

Step 4:
Adventures in the Kitchen with Michelle, Roly Poly Zucchinis

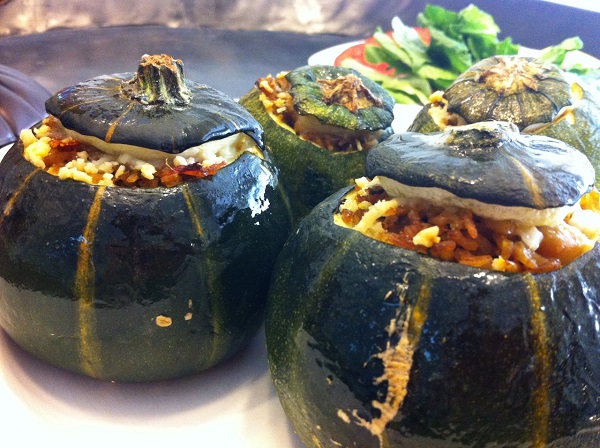
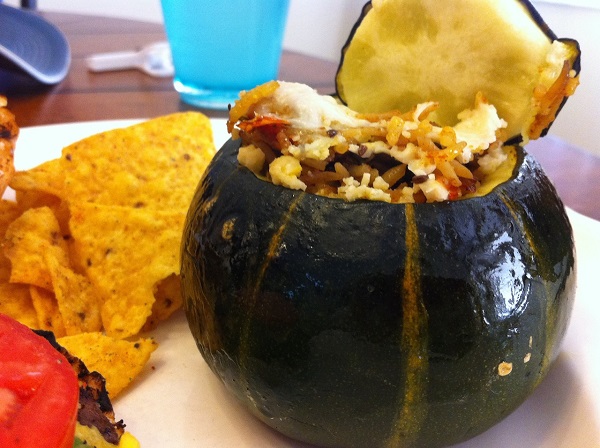
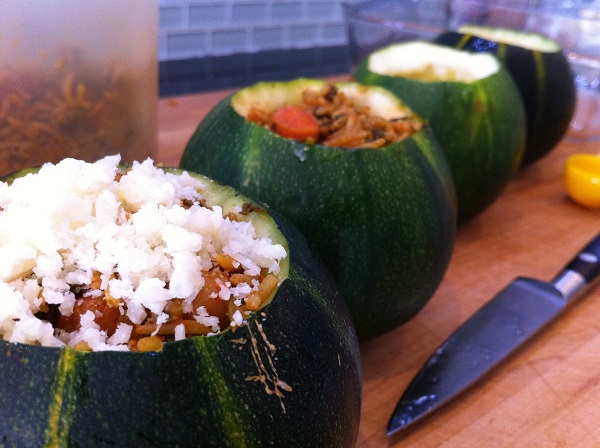
Fill them with you delicious mix and top off with a little parm cheese, just to be showy! If you aren’t feeling all vegetarian, those Chicken Meatballs from Murrays are a perfect fit too. Find them in the fresh Organic chicken section – perfect if you’re feeling both healthy and lazy (no, that’s not an odd combo here). Pre-made and delicious for the lazy me, lower fat, GMO free Chicken for Ms.WannaBeHealthy.
 

Step 5:
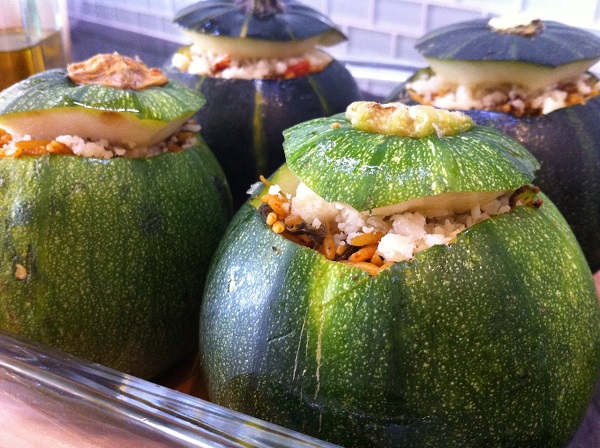
Adventures in the Kitchen with Michelle, Roly Poly ZucchinisSet them in the baking dish. You can put their lids back on (cause they’re cute), but put a bit of oil on them to keep the cheese from sticking.
 

Step 6:

Adventures in the Kitchen with Michelle, Roly Poly Zucchinis
 
Get those bad boys into the hot box for about 30 –45 min., depending on what you filled them with. These zukes have a slightly tougher skin so they stand up to being filled, but not like a hard squash so you can eat the whole thing.
 

Finale:

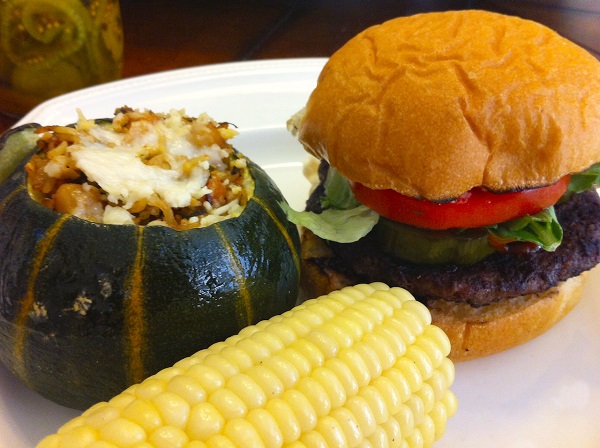
Everybody got a ‘serving’ (zombie head! – LOL) and it made a vegetarian side dish for some summer burgers that was fun for all. Even my meatarians were impressed !
 
Roly Poly Zucchinis
Yum!
   
 
Michelle Beal
 

Adventures in the Kitchen with Michelle, Roadhouse Butter

One of my favorite restaurants around here is Cody’s RoadHouse. Yummy steaks, huge salads, great prices – I don’t ever remember being unhappy with them. One thing that makes me happy is getting my favorite meal as a carry-out. A ginormous salad, with fajita meat, and those rolls ! Mmm, they’re basically dessert for me because not only are they warm and sweet, they have this awesome cinnamon honey-butter to accompany it. OMG – it’s soooo not on my diet ! I always rathole those tiny tubs and use it sparingly. One day I thought about it as I looked at a tub of honey-butter at the store. Ouch! How much is that?! Come on, it can’t be that difficult, and with Pinterest, somebody must’ve made it already. Wow – everybody has a version of it. Mostly labeled Texas Roadhouse Honey Butter. Now, I’ll confess, I’m not a fan of that ‘roadhouse’. Ours is always packed and really loud, and I don’t even remember the butter from when I was there last. So, this is a ‘Cody’s’ version. 
 

Roadhouse Butter


Step 1:

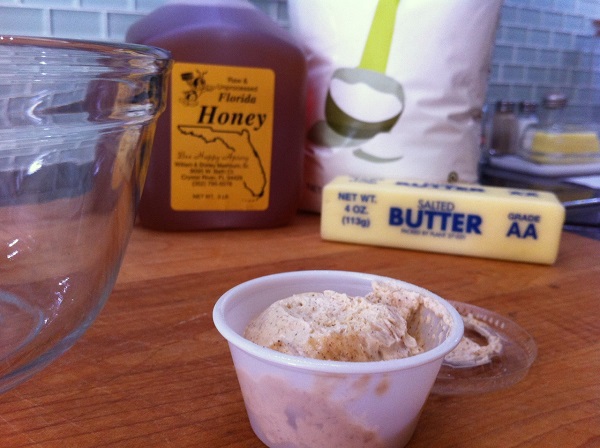
Get out a stick of butter and make sure it’s room temp. Gather up the rest.
 
Ingredients for Roadhouse Butter
 
1/2 Cup Butter (1 stick)
1/2 Cup Honey
1/2 Cup Powdered Sugar
1 tsp Cinnamon
 – really, could it get any easier??!
 

Step 2:

Roadhouse Butter

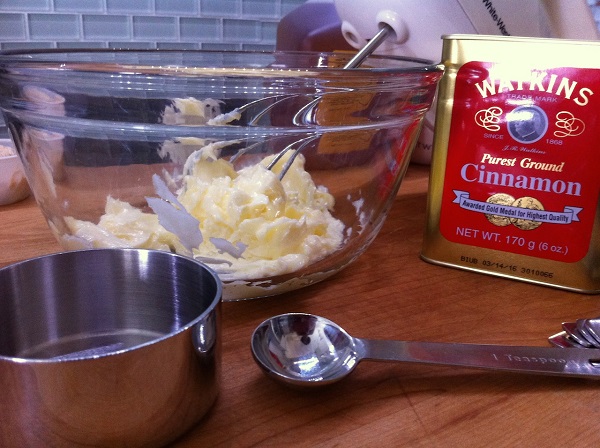
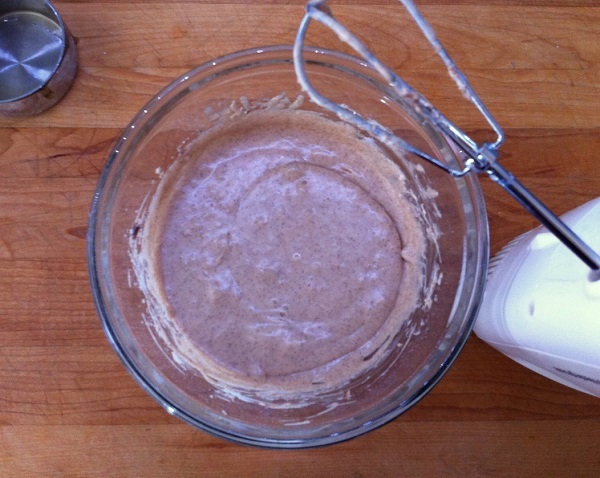
I gave the butter a quick whip to see if it’s smooth enough. Notice the mixer, with ONE beater – yes, you can do that. Great for small things.
 

Step 3:

Roadhouse Butter

I added the cinnamon to the butter and then the honey…kinda sloppy. 
 

Step 4:

Roadhouse Butter

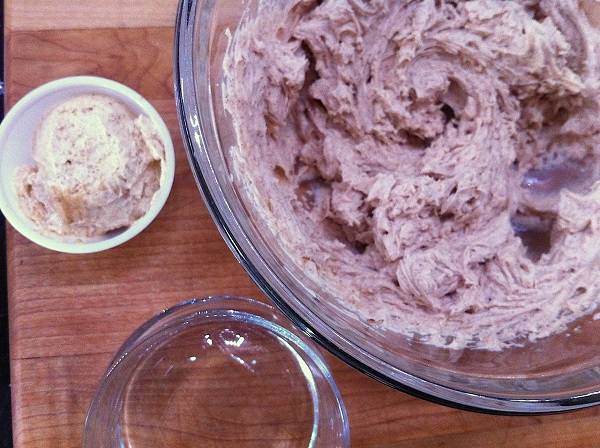
When the powdered sugar goes in it’ll come together like a loose icing – that’s good, cause it’ll icing my toast just fine! Their’s seems to be a factory whipped butter. That’s ok, I like mine better. (I really should wear my glasses when I take photos!)
 
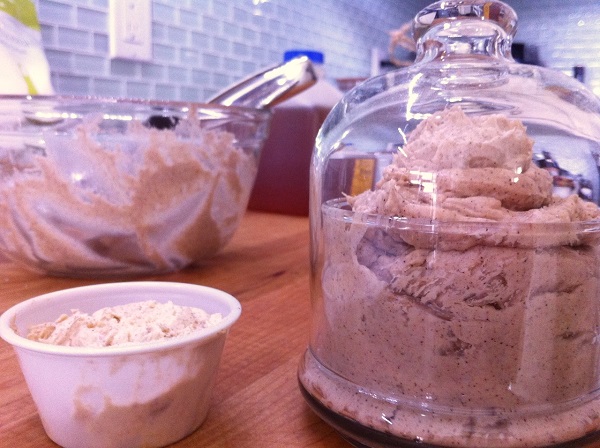
That’s it – I don’t know why I bothered with 4 steps. Now get a ramekin to store it in. If you want to get all fancy, line a ramekin with wax paper and fill it, chuck it in the chill chest and it’ll be a stylish pat. Ours is next to the regular butter on the counter. It’s so good, and a little goes a long way. It’s a nice morning treat and a change from my homemade jams. Next time you make those crescent rolls, slather this inside! Waffles?, oh yeah! Honestly, what’s better than warm butter, sugar, cinnamon, AND honey – It’s just Heavenly !!!
 
Roadhouse Butter
 
Michelle Beal

Adventures in the Kitchen with Michelle, VitaCost Dark Choco Almond Drop Cookies

I’ve been trying to keep myself on a more healthy track. Not always easy. This afternoon I put in an order for some goodies from my favorite online health food company, Vitacost. I was reminded about a pic I took of a box from their last shipment.
 
Adventures in the Kitchen with Michelle, VitaCost Dark Choco Almond Drop Cookies
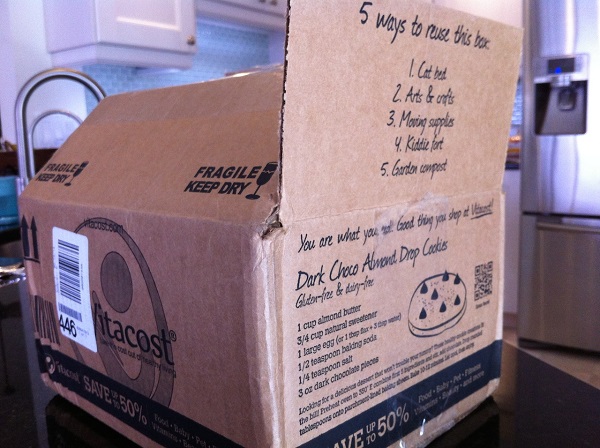
They print funny little things on their boxes. Like, ‘5 Ways to Reuse This Box:, and this time there was an intriguing recipe for an almond butter cookie, with chocolate chips. OK, you had me at ‘chocolate…’ !! On top of it, it was gluten and dairy free…hmm. I might have to try that one. As you know, not all of these ‘healthy’ cookies are much like a treat at all. I’m always skeptical, as I’ve made, and tossed, a lot of glorified dog biscuits. I only share the winners with you – the ones that get a thumbs up not only from me, but my non-health-food eaters.  
 

VitaCost Dark Choco Almond Drop Cookies


Step 1:

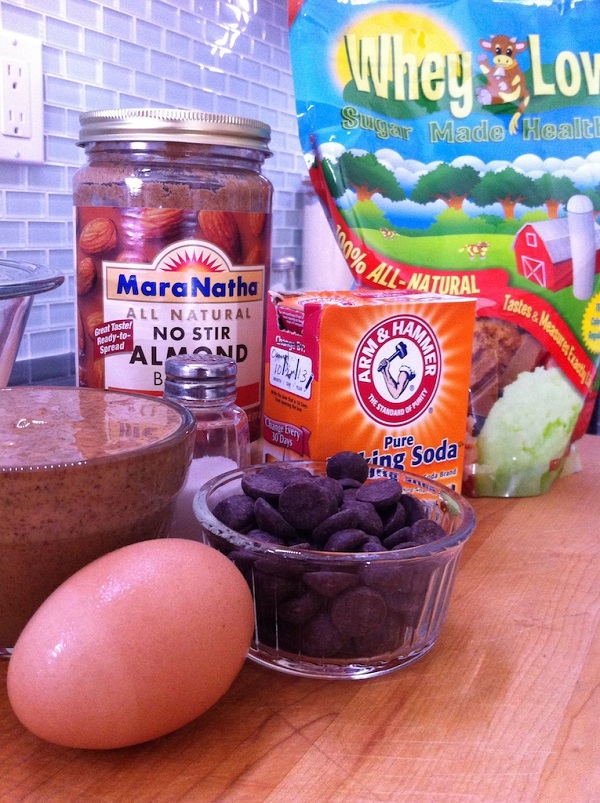
Gather the goods
 
Adventures in the Kitchen with Michelle, VitaCost Dark Choco Almond Drop Cookies
 
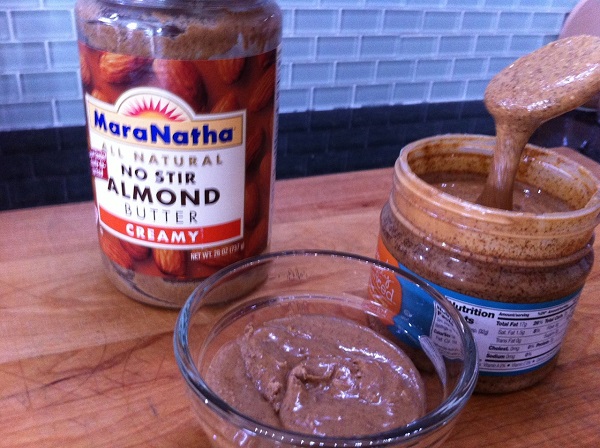
1 Cup Almond Butter – see photo – I use ‘No-Stir Almond Butter’ because after 15 min of stirring the other was still nothing like any kind of ‘butter’. 
 
Adventures in the Kitchen with Michelle, VitaCost Dark Choco Almond Drop Cookies
3/4 Cup Natural Sweetener (I used Whey-Low, but I’ll bet organic cane sugar would be good)
1 Large Egg (you can go egg-free*, but I didn’t)
1/2 tsp Baking Soda
1/4 tsp Salt
3 oz. Dark Chocolate Chips (I used Ghiradelli 60%, about 1/3 cup)
 

Step 2:

Adventures in the Kitchen with Michelle, VitaCost Dark Choco Almond Drop Cookies
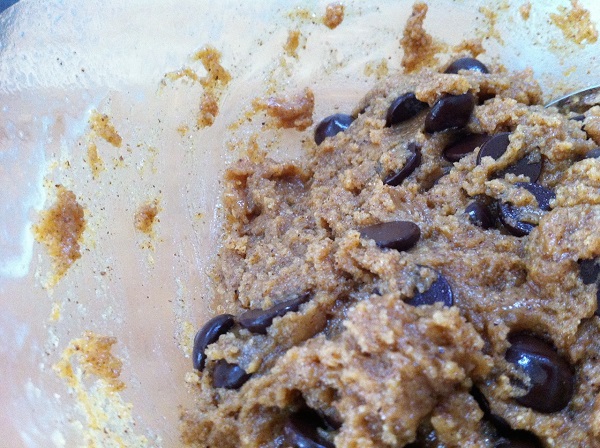
 Preheat the oven to 350deg. Combine the first 5 ingredients in a bowl and mix until smooth. Then add in the chips.
 

Step 3:

 Adventures in the Kitchen with Michelle, VitaCost Dark Choco Almond Drop Cookies
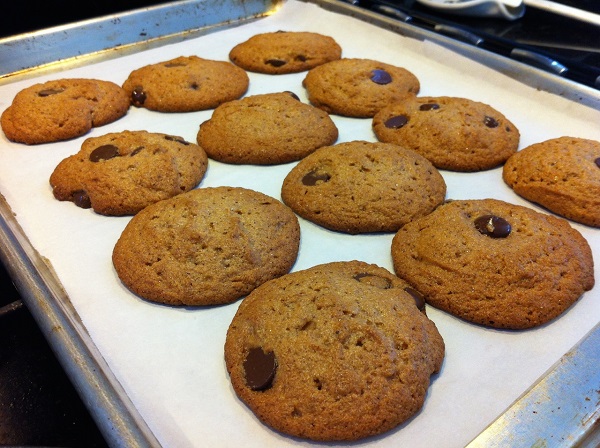
Scoop by the tablespoon onto parchment paper lined cookie sheet and bake for about 12 min. I let mine go a minute more and they were really brown, but they held up better. Let them cool on the pan.
 

Finale: 

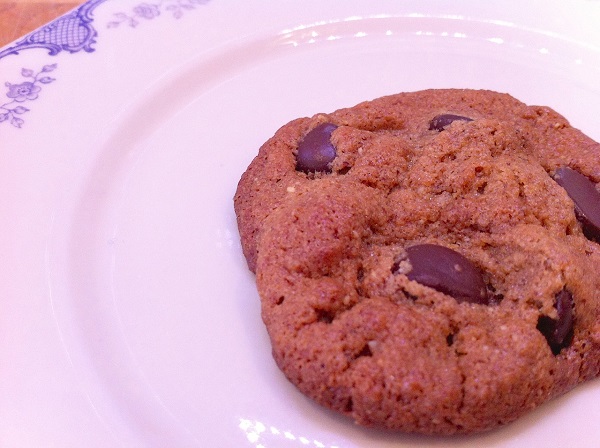
Adventures in the Kitchen with Michelle, VitaCost Dark Choco Almond Drop Cookies

Look how yummy !! Gluten free, dairy free, and could’ve even been egg-free (by substituting 1 Tbl. Flax mixed with 3 Tbl water). So good! Now even though that super healthy organic almond butter was super runny, and nothing I’d buy again, I’d certainly make these cookies again. Maybe next time, I’ll add in a touch of gluten free flour and maybe some chopped almonds, to give it some body. 
But, until then – Enjoy!!
  
Michelle Beal