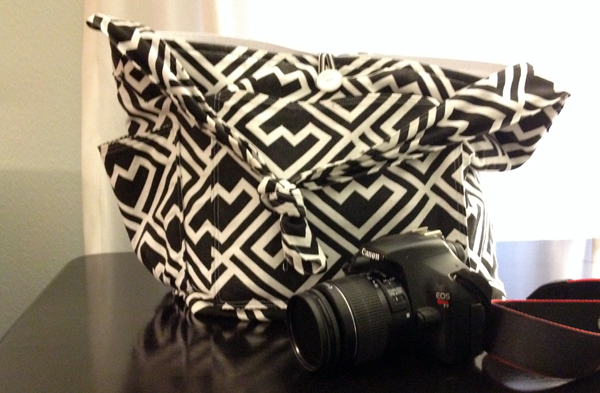
I have wanted to make the perfect camera tote for quite some time. I’ve bought many many many camera bags over the years. Most recently a back pack that is great for when I’m on a plane but not so good when I’m just out for a drive. None of them were quite right. I wanted something attractive that would protect my camera and hold at least one lens. Also wanted a really long handle so I could wrap it around my body like a messenger bag and it had to have a lot of pockets and compartments.
And here it is!
 It has an outside pocket for my notebook plus two for water bottles that are lined just in case the bottles sweat.
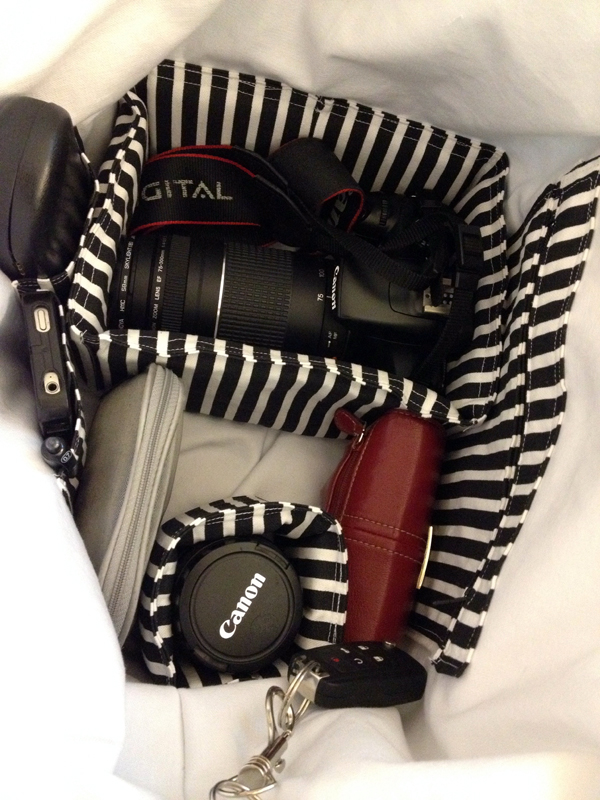
Inside there’s a padded camera compartment plus one for a lens.
A zippered pocket holds all my little things. There are two phone pockets but I use one for my sunglasses and a pen.
And last, but not least, an attached key chain holder.
 When I don’t have my camera, the compartment folds over to the side and there’s plenty of room for purchases.
At first I thought it was way too big and the handle too long. But after using it for a few weeks, I love it. I just put a knot in the handle when I want to carry it over my shoulder.
I padded the bottom of the bag and the camera compartment with 1/2″ foam padding and plastic canvas. I also lined the lens compartment with 1/2″ foam padding.
I’ve attached a pdf for the tutorial. There are several layers of fabric in some parts so you have to have a heavy duty machine to sew through them.
This is the last I’m using the black and white premier prints fabric for this year. Gotta move on to Christmas!
