So does everyone love Expedit shelves from Ikea? If you don’t know what they are, just do a search on Expedit on Pinterest. There are so many good ways to use these shelves. Terry has an Expedit shelf and desk, I have two in my laundry room, and two in the second guestroom–aka grandkids’ room. And that’s what this post is about. Making boxes for the lovely Expedit.
Here’s the expedit in the guestroom.
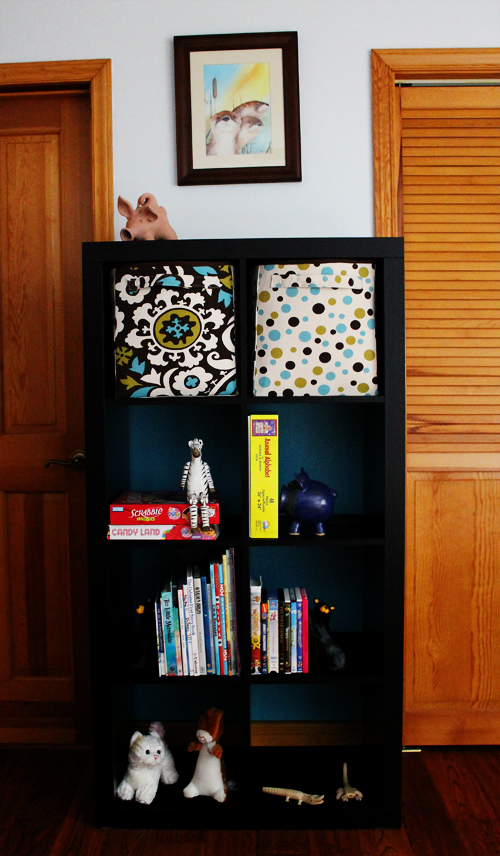
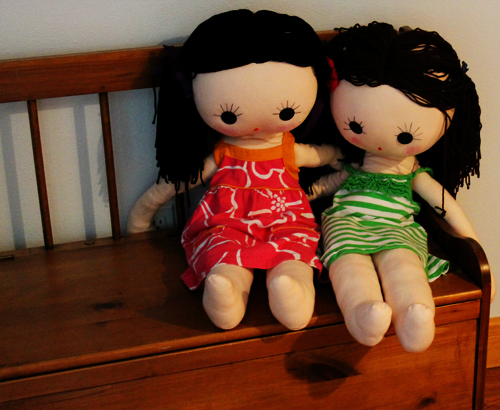
But while I’m in the guestroom, I thought I’d give you a little tour…
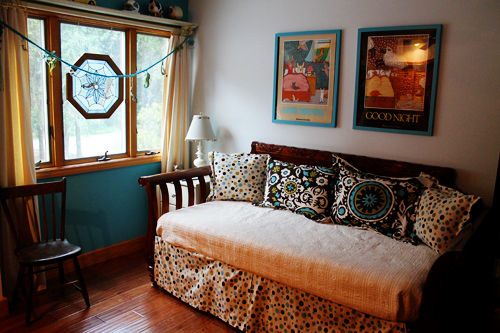
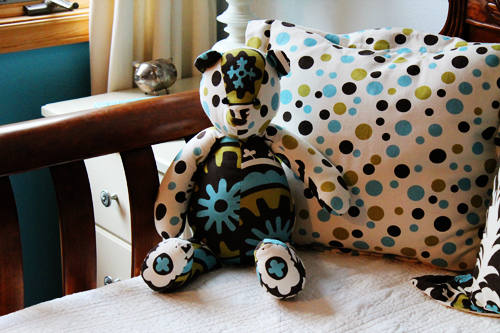
So back to the Expedit Boxes. I had a wee bit too much fabric left after sewing the pillows and bed skirt. So made a bear. Then a tote. Then an iPad cover. Still had some left. Time to make storage containers. And that is the end of that fabric!
Now, all you that don’t sew can go check out another blog, because here are the instructions!
First, I used Pellon Peltex 71F. It’s “single-sided fusible ultra firm stabilizer”. And it’s expensive. $8.99/ yard and I needed two yards per box because it’s only 22″ wide. What is this stuff made of? I used a 50% off coupon plus another coupon that took 10% off my entire purchase. I probably wouldn’t have bought it except I wanted to try something new. Plus I already had the fabric and the muslin that I lined it with. Using the stabilizer also made the project difficult because it was just so stiff.
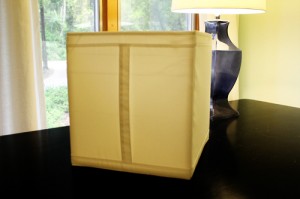
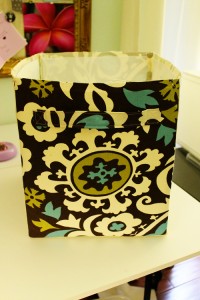
The finished box is 13” high and 12” wide on front and back, the sides are 13” high and 13” wide.
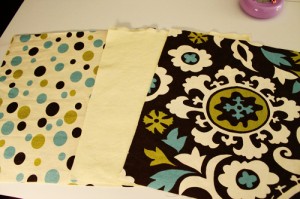
Cut from fabric
3 13″ x 14″
2 14″ x 14″
1 10” x 3” for handle
Cut from lining (muslin)
3 13″ x 14″
2 14″ x 14″
Cut from Pellon Peltex 71F Single-Sided Fusible Ultra Firm Stabilizer
3 12″ x 13″
2 13″ x 13″
Center Peltex on wrong sides of side and bottom pieces and attach per instructions that come with the Peltex. There should be ½” open on each side.
All seams are 1/2″
Create Handle
Fold wrong long sides together, press, stitch ¼” from edege on 2 sides—leaving one narrow end open. Turn right sides out. Tuck in raw edges of open end. Topstitch close to all edges
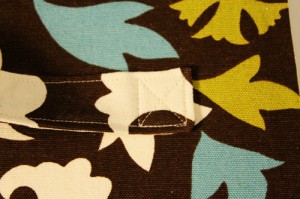
Pin handles 2” from top, 2” from each side. Attach each end by sewing a one inch square then end with an X to make handle secure.
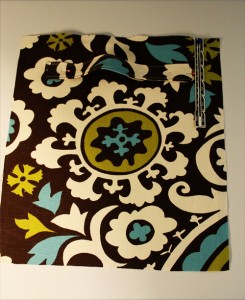
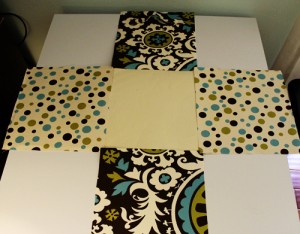
Attach sides to bottom, leaving seam allowance (1/2”) open on all ends.
It will now look like a giant plus sign.
Fold the plus sign, and sew two sides…
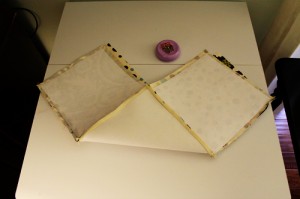
Open up and sew other two sides. Turn right side out.
Now sew the lining together using the same method.
Put the lining inside of the box, wrong sides together. Stitch together along top, ½” seam. Trim close to top seam. Attach matching bias tape along top. Stitch down.
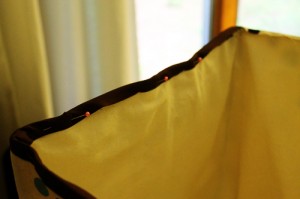
Done!
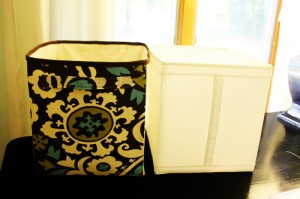
I have recently created a BETTER and less expensive way to create Ikea boxes. Check it out: DIY Expedit Box–Part II.

I love it! And not a stapler in sight. You’re gonna make me learn to sew, ugh! 🙂 I love those shelves and have two of them, no wait, I have three. I think I’ll have to convince myself that a sewing machine is just another power tool and go for it. These look awesome!
Yeah, I really like them. Not so happy with the price of the peltex though. Going to make some more for my laundry room but try a different method.
I like these too~ but not sure if I could make them…. if only I had a mother-in-law coming a few weeks to teach me!
I bet the fabric will have circles!