In last Thursday’s post “Works in Progress“, I mentioned that I had hemmed six tea towels. The material was Kaufman Essex Wide Linen that I ordered from Fabric.com.
I had been thinking about making some mermaid tea towels for a friend. (I always have some project running through my head) I had just run into Jo-ann’s Fabrics to pick up a new rotary cutter because it was on sale for 50% off. (I’d been waiting for that sale since I dropped and bent my last one!) Terry was waiting in the car so I was in a hurry but I spotted that fat quarters were on sale for $1.00 each. I saw a perfect piece for a mermaid tail then picked up a couple more coordinating blue fat quarters. Everything on sale, and I had a 10% off coupon for the entire purchase. Yippee!
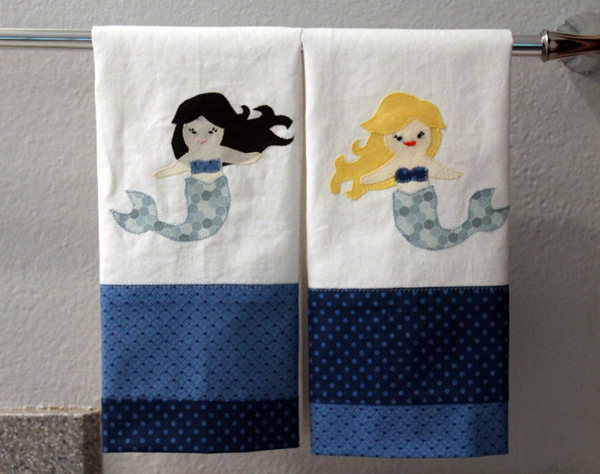
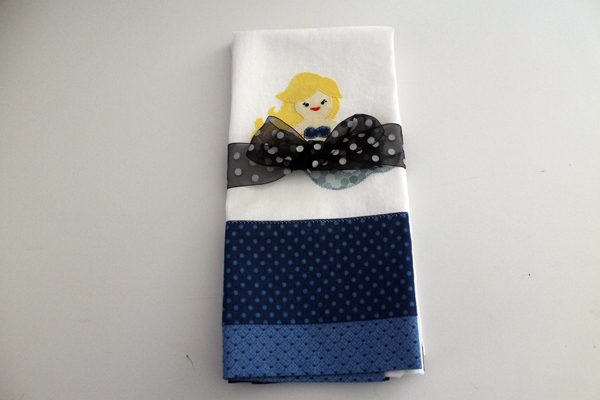
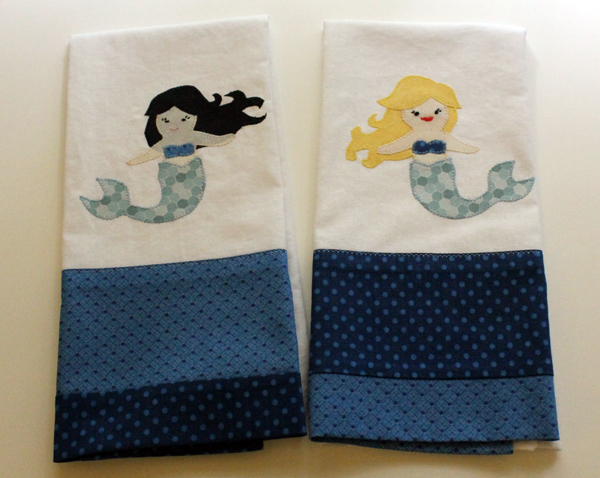
So I made these dish towels.
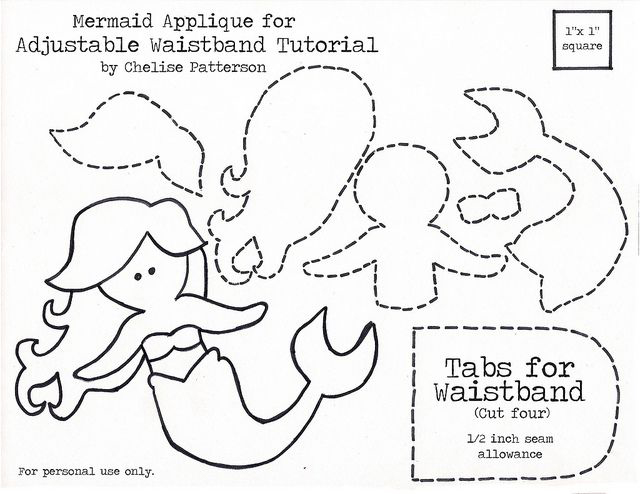
I found two steps difficult with this project. First, finding a free pattern on Pinterest for mermaids that I liked. After a few mornings of trying different search phrases on Pinterest, I finally found this one by typing in “Mermaid Pattern” in the search box.
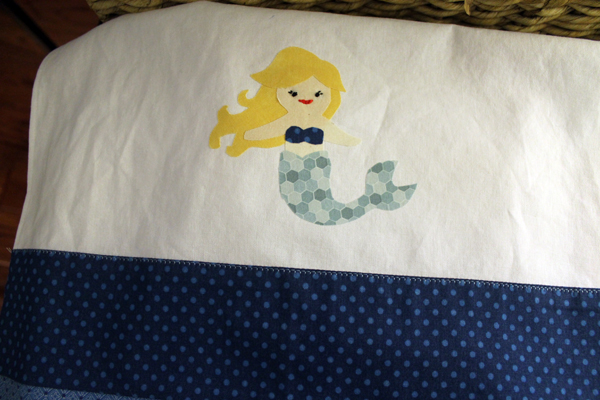
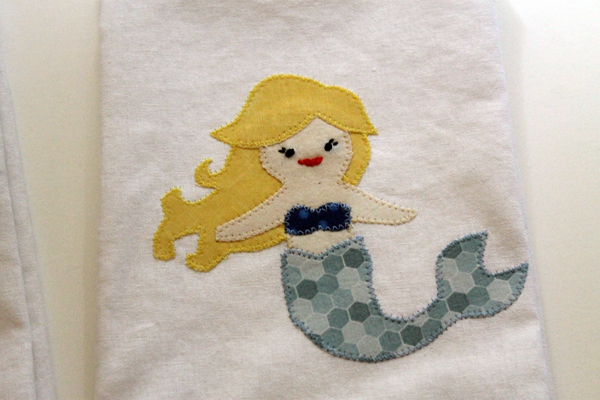
 The second problem I had was creating the face. I tried using fabric paint pens–I am definitely not a painter. Then I did some embroidery. Still strange looking but I went with it.
 Here’s the sewing instructions:
This makes a 16″ x 23″ towel and has a color band on the bottom. I wash and dry all fabrics for tea towels prior to sewing. I also press at every step. It’s really important to use that iron to get a nice finished product.
I cut the tea towel fabric 17″ x 20″ then hemmed three sides (two long and one short) using the tutorial for clever corners from Sew4Home.com. The towel is then 16″ x 19 1/2″ with one raw short edge. I like to vary the color bands on all my tea towels. For each mermaid towel, I cut two coordinating fabrics. One piece at 4″ x 17″ and a second piece at 7″ x 17″.
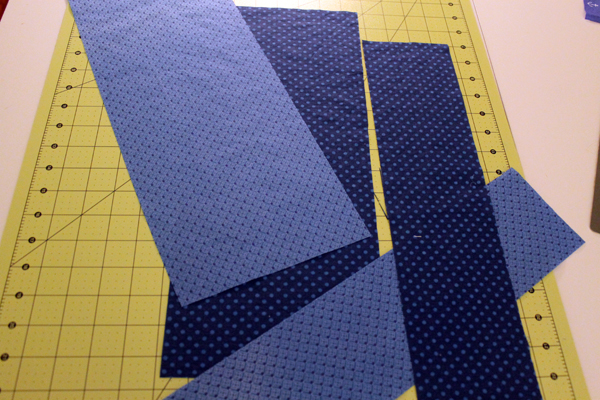 Sew the 4″ strip to the 7″ strip with a 1/4″ seam. Your color band should now be 10 1/2″ wide.
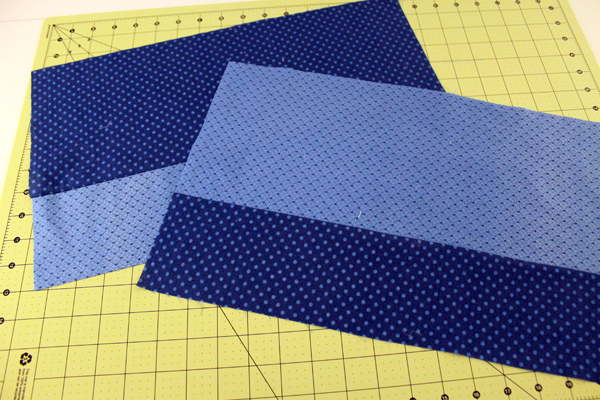
Center the unfinished edge of the towel on the band–wrong sides together. Make sure you put the 4″ strip against the raw edge of the towel. (Not the 7″ piece) The color strip should be 1/2″ wider that the towel on each side.
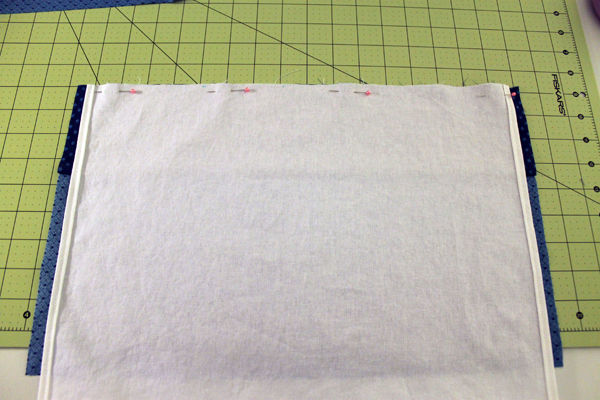
Stitch together using a 1/2″ seam. Press under 1/2″ on the unfinished edge of the color band.
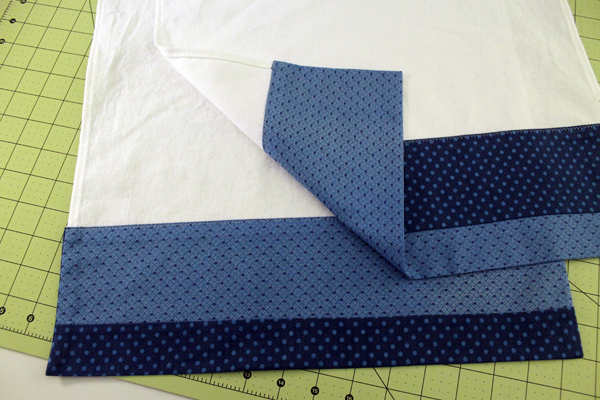
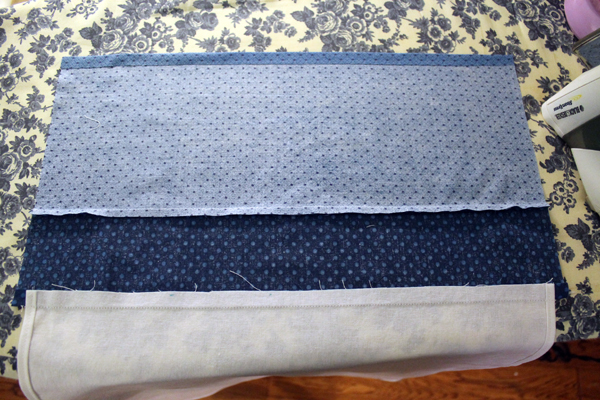 Fold the color band up to meet the towel seam, right sides together. The pressed edge of the color band should be on the seam.
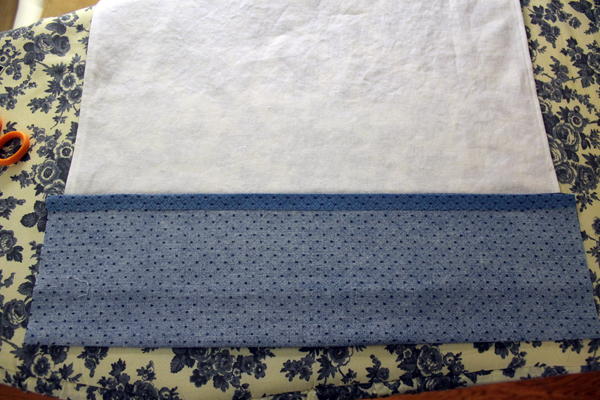
Stitch side edges of the color border with a 1/2″ seam allowance.
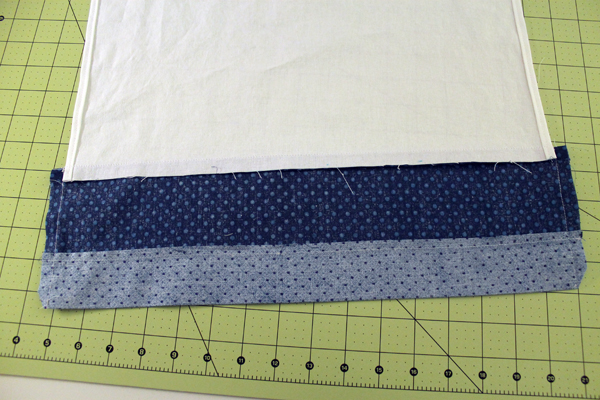 Clip the corners and turn right side out. Stitch along the top seam making sure you catch both sides. I used a blanket stitch for a little decoration. Now it’s finished and pretty on both sides.
Now for the applique.
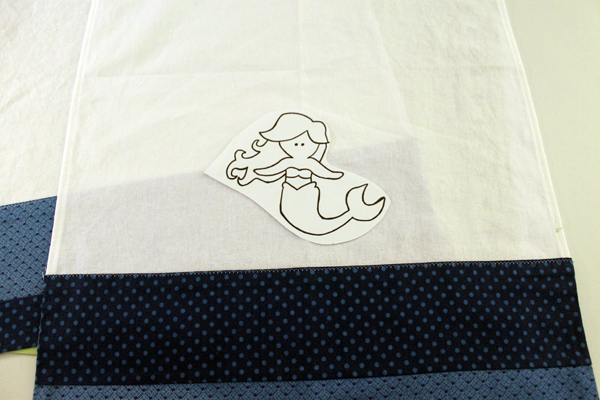
As usual, I used Heat ‘n Bond Lite. On the second mermaid, I made the face a little thinner so she looked better. But the black hair showed through the muslin that I used for the flesh. Next time I’ll use a thicker fabric. Or maybe iron on interfacing.
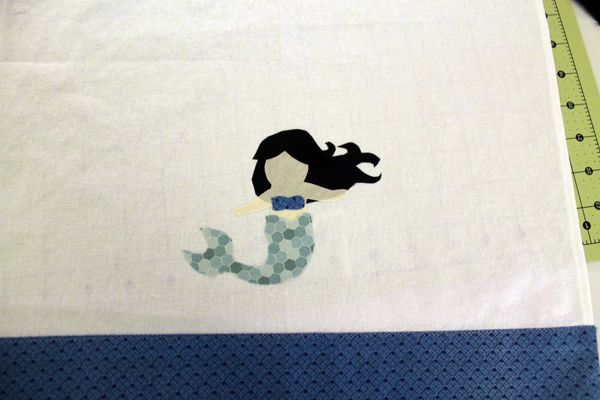
After I pressed the mermaids onto the tea towel I used a zig zag stitch around all the pieces.
I’m a little disappointed with the final product. But I share my failures along with my successes. And I’m still giving them to my mermaid friend.

Those are sooo cute – no disappointment here ! I like their sweet faces. 😉
I LOVE them :-). As I’ve said before “you never disappoint!”
Thanks Yvonne and Michelle!