I love cute retro tea towels, aprons, and pot holders at Anthropoligie, Pottery Barn, West Elm, Crate and Barrel….and all those other cool stores. But Zowie! That stuff can be expensive. But that’s just a challenge for me to recreate them a bit cheaper.
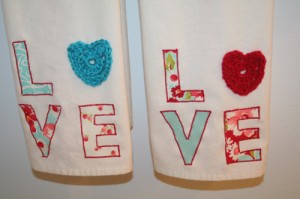
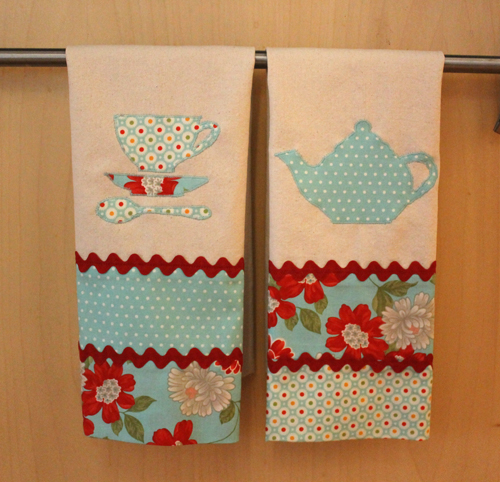
How cute are these?
And I plan to make some matching pot holders–but that’s next week’s DIY!
Whenever I’m starting on a new project I always do a lot of research on Pinterest. I found many tutorials but nothing quite what I wanted–I didn’t want any open seams on the back that might fray–so I just made my own instructions. I also looked for a cute applique to add and what could be better than tea-related items for a tea towel? Got the graphics from Sew4Home. One of my favorite sewing websites. I’m always amazed that I can get this stuff for free!
INSTRUCTIONS
I’ve made tea towels in the past and just used finished towels that I bought at Jo-ann’s.
But this time I wanted to use Moda Woven Toweling. It comes in yards and is finished on both selvedge edges so it can be cut to any length. I bought the toweling from www.fabric.com and I also bought 3 different Moda prints from our local quilt shop, Tomorrow’s Treasures.
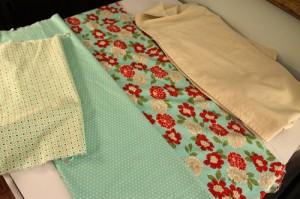
Always wash and dry fabric, toweling, and rick rack for shrinkage. (Tip– wash and dry small items like rick rack in a lingerie bag so it doesn’t get tangled.) The toweling started out as 16” but shrunk to 15 ¼”. I’m using a ½” seam. Any size towel can be used, just make sure to adjust the width to be 1″ wider than the towel.
For each tea towel cut:
20 ½” length of toweling
2 strips of print A, 16 1/4” x 4”
1 strip print B, 16 1/4” x 7”
Cut 2 pieces of rick rack, 16 ¼” long
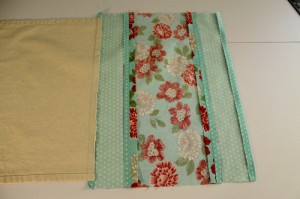
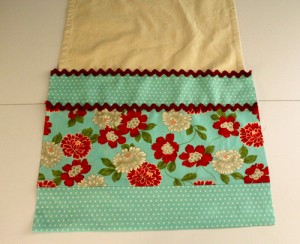
Pin the two strips from A to the large strip B. Right sides together. Sew.
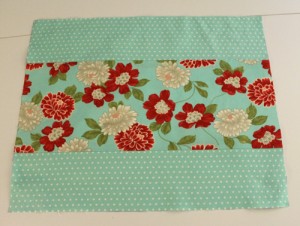
Press seams open.
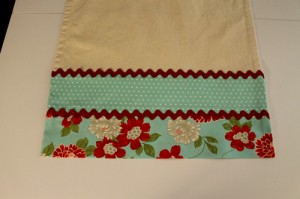
Center the color strip on towel fabric, right sides together, the color strip should be ½” wider on each side than the towel. Stitch, press seam down. Press raw edge of strip under ½”
Time for the rick rack. Center it on the right side of the top two seams of the color strip. Stitch.
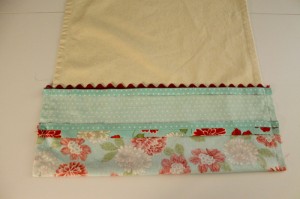
Fold color strip right sides together up to meet seam on towel. The ½ “ pressed edge will meet the seam. Line the seams up on the color strip. Sew ½ “ seams along edges making sure not to catch in the towel sides.
Turn color strip right side out. Pressed edge of color strip should be on seam of towel. Stitch edge.
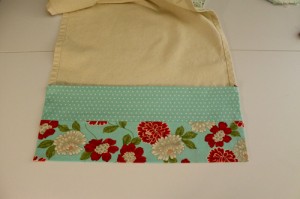
Now finish the other edge of the towel, turn under ¼” and stitch. Then turn under ½” and stitch.
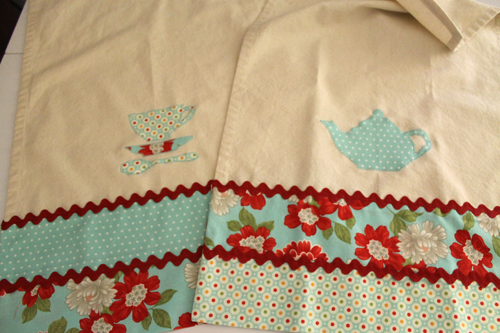
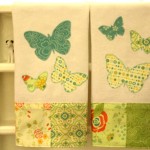
Make appliqués and attach. I use Heat n Bond Lite for my appliqués. I buy it at Walmart and it’s easy to use. Just follow the instructions on the package. I also use a satin stitch on my machine to sew around the appliqué. Every machine is different so just look it up in your manual. This was probably the hardest part because I made those little handles. Next time I’ll pick something easier! Like hearts!
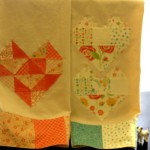
If you like these tea towels, check out my other posts: Geo-Heart Tea Towel and More DIY Tea Towels.

Hi Kathy! Thank you so so SEW much for posting your tutorial and the site you get patterns from. I’m a tea towel whore. Love tea towels and keep them out in my kitchen. They have become ridiculously expensive so I’ve been taking “the towel of the month” classes at my local quilt store (which is also expensive but I learn how to make the towels).
I pretty much just applique, I don’t care about doing a bunch of fancy sewing since these towel are going to be used not just displayed. AND teapots are my favorite, then skulls – thinking I need skellies drinking tea, which would pour through their bones, so maybe not! Thanks again! Gina from Springfield, IL
Thanks for the comment, Gina. I love making tea towels. They are relatively easy and really brighten up my kitchen. I make them as hostess gifts, too. Since I made these teapot towels, I’ve discovered that if you’re going to actually use your tea towels, leave the rick rack off. It’s adorable. But not very useful. I also put rick rack on a bunch of potholders. And it melted! (Well, my husband did use the potholders to take his cast iron skillet off of the grill! What wouldn’t melt???? He now has an “ove glove”)
Love your tea towels. I am excited to make some for small gifts. Thank you
Thank you so much for your comment Hazel! I love making tea towels and have made a bunch–mostly as hostess gifts. You can find more of them on my other blog, DesignsbyKTGreen.com.