I recently made 48 bags for our daughter’s wedding. The first 29 were all unique, with different embellishments, handles, and facing. But when I hit a time crunch, the remaining 19 bags were made quick and easy.
You might remember my post from making 20-minute totes for Lauri’s wedding. They turned out really nice but I didn’t like the unfinished edges. It was just a matter of time before those babies unravel. So I now have a new method to make totes and all the edges are finished. This takes longer than the “20-minute tote” but I think the clean finish is worth it.
Because all of the totes were denim and there was no special one-way print on them, I was able to get rid of that bottom seam.
Small Tote, 12″ x 13.5″ bag
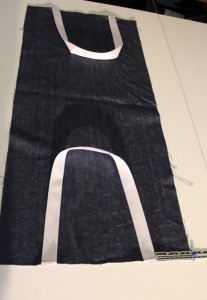
Cut a piece of 14” x 30” denim
Cut 2 22” pieces of webbing for handles
Attach handles 3 inches from each side
This is when you should put any embellishments like pockets, appliques, or yo-yos on.
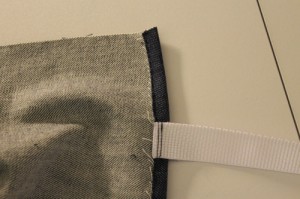
Turn under ½ “, stitch 3/8” from edge
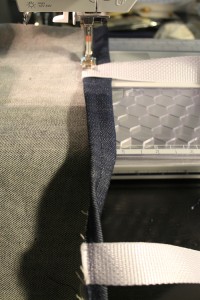
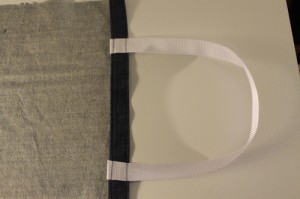
Turn under 1”, stitch 7/8” from edge , Make sure the handles are pushed up when you stitch them.
Top stitch.
Put WRONG sides together
Stitch ¼” from each side.
Turn wrong sides out, press.
Stitch ½” from edge on both sides
Turn right side out, press.
Done
Easy Peasy!

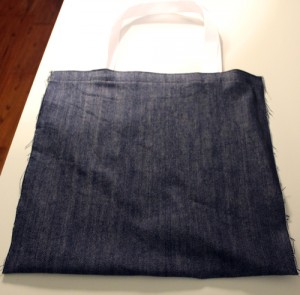


I maybe could make one of those!
Even Michelle could make these with her stapler!