“Everybody Loves Parfait”


Recipes, cooking tips, and products from Michelle
“Everybody Loves Parfait”


Summer’s almost over and the stores are starting to change over what’s in season. Yes, I am really looking forward to all things apple and pumpkin! But until then, I’m using up the last remnants of the days of heat and humidity (oh, yeah that was yesterday!). At my local warehouse club I ran across a good deal on some raspberries. So for a whopping $2.50 I picked up one of those flat, oversized packages marked down before they went ‘bad’. I need to use them quick or freeze them. That said, the things I used them for could easily be done all season with frozen berries. But I digress, one of my favorite things is a salad with a good raspberry vinaigrette. I picked up a Panera Bread Dressing at Target some time ago – I didn’t know they even sold their dressings. I was thrilled to try it. It was good, but still had seeds, which were still like tiny rocks stuck in my teeth! Not to mention, it was really expensive for what it was. After I finished off the bottle I kept it in the back of my mind to re-create. Now’s the perfect time!
I surfed the Net to see if anyone else had done the same and, naturally, there were lots of variations on a ‘raspberry vinaigrette’…almost all of them used a simple mix of raspberry jam and raspberry vinegar and some salt and pepper…”whisk and serve” they said. Uh, no thank you. I want a real salad dressing. Something that adds to the flavor of the veggies, not an overly sweet drizzle with a little pickle-after-bite. So, after some experimenting, I came up with something I really like and I hope you do too.
A Real Raspberry Dressing
Step 1:
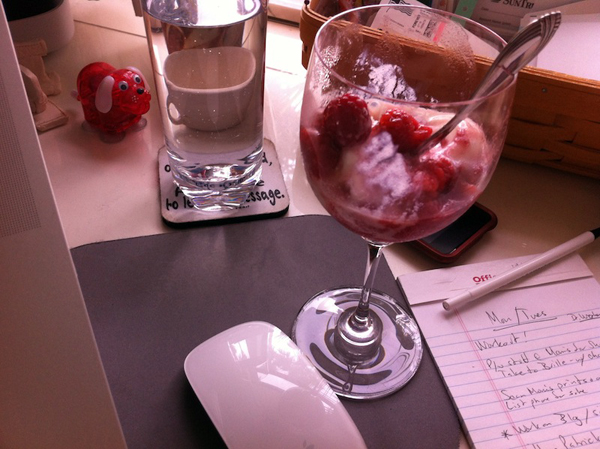
Get those berries washed. We’ll only need about a cup, so find something to do with the rest. You can freeze them on a cookie sheet and then put them in a freezer bag and add to wine glasses when the girls come over and be all Martha-like! Or, you can check the next blog and see what I did with the remaining berries. (Spoiler Alert: Donkey says, “Everybody loves parfait!”)
Step 2:
Get together the cast. When making a dressing I use the best quality ingredients I can get my hands on. Of course, that pricey bottle of balsamic needs to be under lock & key! (it’s soooo worth it though!) Anyway… Here’s what you’ll need:
1 Cup Fresh (or frozen/thawed) Raspberries
1/8 Cup Water
1 clove Garlic (chopped or pressed*)
1 tsp Dijon Mustard (or a spicy brown – which I like too)
2 Tbl Honey
1 Tbl Balsamic Vinegar (oh, yea – the good stuff)
1 Tbl Olive Oil
1/8 tsp Pepper
1/4 tsp Salt
*1/8 tsp Xantham Gum (optional)
Step 3:
Mash those berries thru a somewhat fine sieve. I didn’t use the tea strainer that you see in the photo (but it looked good). Although, if your strainer has bigger holes than the seeds then you may need to. Or use a cheesecloth.
Step 4:
You should have about 1/2 cup of raspberry puree to use. Now get out that mini-blender. Note: using a blender is what gives this dressing the ‘pink frothy’ look. If you want the darker red, smooth fancy bottle style, then just use a whisk. The mustard is a wonderful emulsifier and will hold it for you. But if you whisk, you’ll want to ‘press’ the garlic. Blenders are great, but as they emulsify they incorporate air into many things. In this case, those tiny bubbles never go away. But you can’t taste them either.
Step 5:
Get all the goodies into the blender and give it a whirl.
Step 6:
I opted to add in a tiny bit of xanthan gum to make sure the dressing would never separate.
Finale:
There it is ! A real raspberry dressing. Get some greens, and carrots, add some walnuts and even a couple of whole berries and enjoy! You can go all out and top it with a sliced thin grilled chicken breast – just like the restaurant. Did I mention that this is good for you? Only a tablespoon of olive oil is all…in the whole bottle! Feel free to adjust it to your liking. It’s ok to add more honey, or maybe you don’t like the garlic bite. That’s ok – have fun with it – and enjoy, summer’s almost gone (here)!
Michelle
OK, today I’m going to clue you into one of the best secrets in my healthy eating kitchen – and it sounds crazy (surprise). Soup Socks. These have been around for years. It’s basically a wide mesh cheese cloth woven in a sock. I make my own soup stocks – fat free.
Step 1:
I start with, this time, a rotisserie chicken. I know I’m going to be making soup later anyway, so I’ve got an extra bag of frozen stock from before (see it in the background) to add to the pot. I get a bowl and stretch the sock over it with plenty hanging over the edge. Then I fill it. The carcass from the chicken, the onion ends, carrot pieces, celery tops, a little garlic, and some sprigs of rosemary.

Step 2:
I tie the top and get it in the pot. Add some salt and pepper and get it boiling. Just a simmer please. Let it go for an hour or so. Move it around and the bones should break up and be soft when it’s done. Not to mention, the veggies will have given all they have by then too.

Step 3:
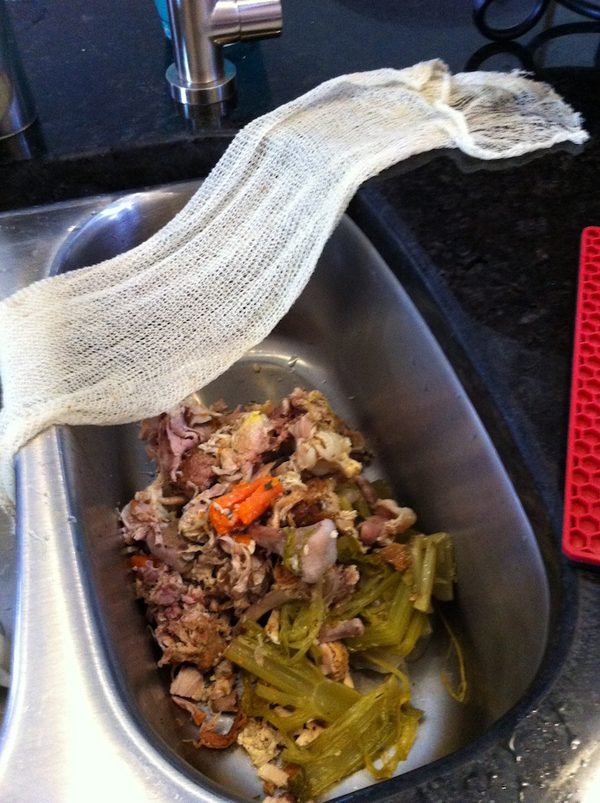
That’s it. Pull out the bag and set in the sink to cool a bit. There’s no looking for another bowl and a giant strainer, etc. Then having to dump a nuclear hot liquid and getting a steam burn. Bag o’ junk – Pot o’ gold! That’s it.

Step 4:
Dump out the refuse and wash out the sock. Just like a grass stained kid sock – turn it inside out and rinse and rinse. I then set it in a coffee cup (or whatever’s in the sink awaiting the dishwasher) with hot water and some dish soap. Um, don’t put it in the regular wash or else it’ll smell like a dryer sheet. Which isn’t really a bad thing until your next batch of broth tastes a bit like Bounce! Let it dry and put it away for next time. Cause this is so easy, there will be a next time.

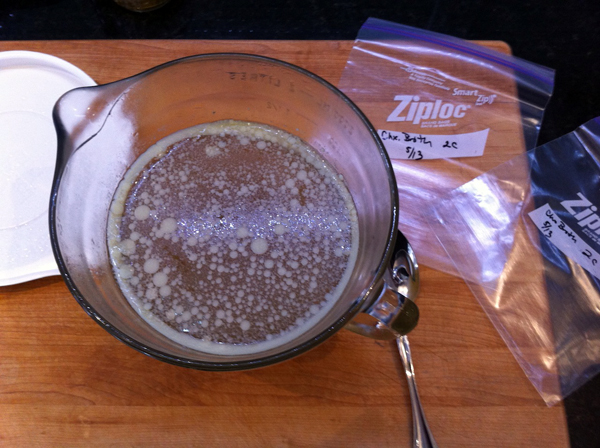
Now, go make your soup…or put your stock in a bowl and later get it in the fridge. Skim the fat off the top and there you have it! Super tasty, no MSG, no price either! This was from stuff you were going to toss anyway! I put mine into 2 cup portioned zip-bags and freeze them flat. Later they stand like little books of yumminess in the freezer waiting for that recipe that calls for ‘2 cups of chicken stock’…and I know you’ve got a ton of ’em! Or, just as it is. You’ll see, when you make your own stock, you can make healthy broth with flavor that you can’t get from a factory filled box. And that crazy ‘sock’ means there’s almost no mess. Luvin’ the Soup Sock.

Michelle