Adventures in the Kitchen with Michelle

That crazy Michelle sent me this post for “diet” sugar cookies. I fully believe that life is too short to eat “carrots at Christmas”. (Like all those fitness magazines like to advise you on avoiding weight gain by eating the low cal stuff on the buffet). But I will be making these cookies after the feasting season!  I did get to do a taste test–after consuming about a million calories at Michelle’s Christmas dinner!  If you ever get invited to Michelle’s for any meal–don’t turn it down. She is the best chef ever. Seriously, and she loves to cook!  And her mother loves to bake. No wonder I’m no good at either. Why bother?  Anyhow, here’s Michelle’s lo-cal sugar cookies that I will make laaaaater.  KT

I’ve been just bakin’ my little fingers raw – and watching my waistline expand a bit. That’s ok, January’s coming, and I’ll catch up. But to tide me over the holiday season I went looking for a sugar cookie that I could eat along side the boys and their sugar and shortening encrusted jewels. I surfed the Net and found a couple. Really? A couple – that’s it? Decidedly, the idea of a cookie that’s primarily sugar, butter, flour, and eggs….like a flat little Pound Cake, will be hard to convert. That combination will pack on The Pounds for sure. So, I thought I’d try out those ‘couple’ of recipes I found…..NOT ! For shame – how dare they even label them cookies! I feel like posting a nastygram on their sites – these were like vanilla flavored dog biscuits! Yuck – I’ll go without thank you.

And then desperation sets in and the Christmas music carries me to the kitchen to plot my revenge.

I will admit this was a challenge. Although the steps are really the same as other sugar cookie recipes, there are two things about this one. First, after the dough is made you must wrap it in plastic and let it rest for at least a hour (I left mine overnight…cause I had other cookies to make!). Second is, when rolling it out, only roll it once. It will warm super quick and become hard to handle. OK, ready… here’s what I came up with:

recipe

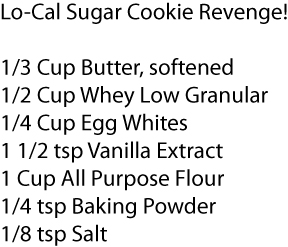
Step 1:Cream together the butter and Whey-Low, add in the vanilla and egg whites and get it smooth. Get the dry ingredients together and then add to the wet stuff.

Step 2: Get the dough into a ball on some plastic wrap, the flatten into a disc and get into the fridge. This delicate dough needs all the help it can get.

Step 3: When you’re ready, heat the oven to 375deg. Roll them out carefully and cut. Any dough left just roll into a gum ball sized ball and put on the cookie sheet instead of attempting to double roll this dough – I tried it and I lost the battle! (Actually, I set it aside and kneaded in some slivered almonds and baked them up. And those were good too.)

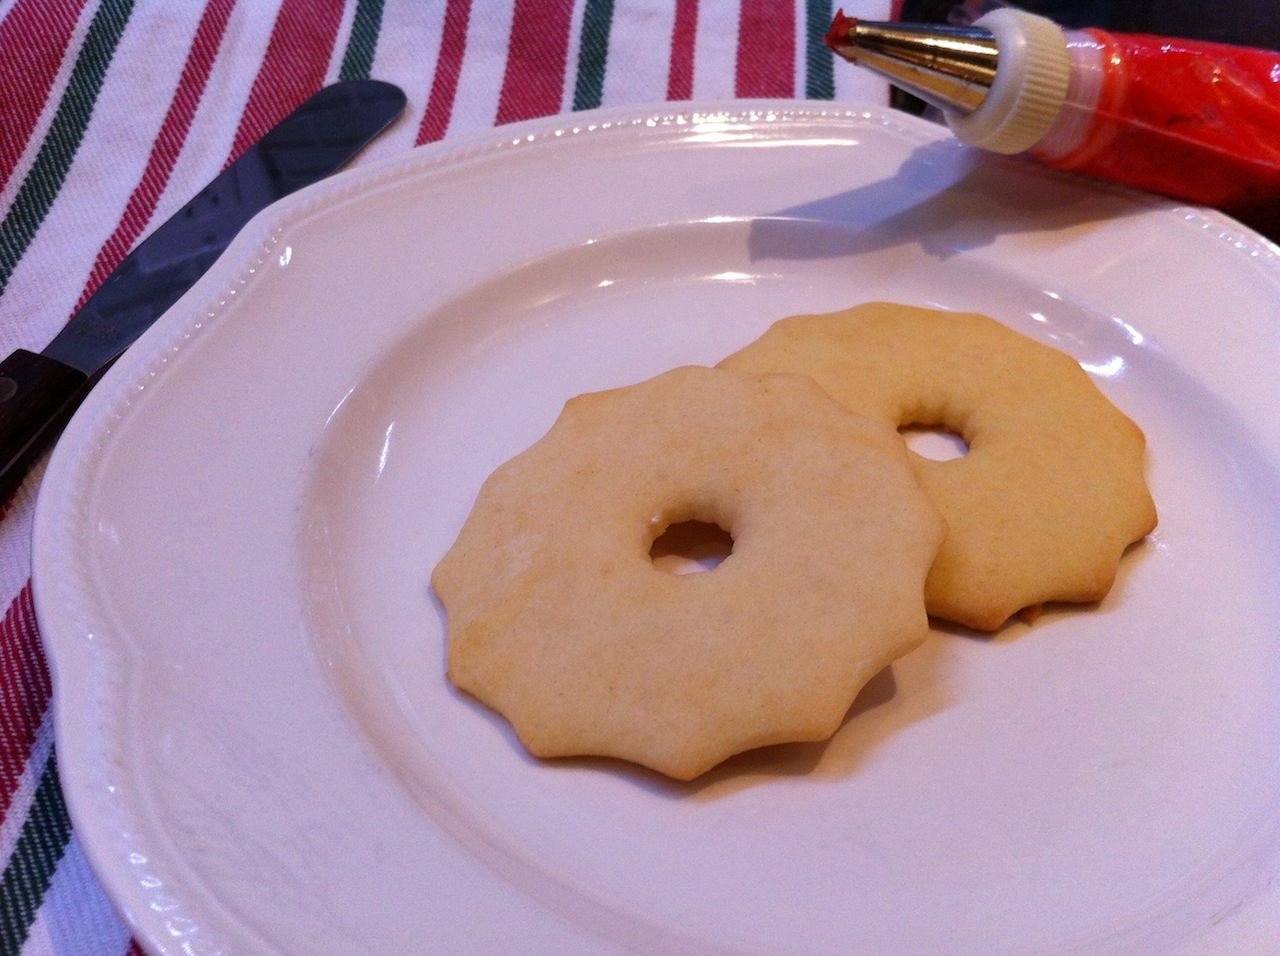
Step 4: There they are. Or are they? Can you tell the full fat sugar cookie – no? It’s the one on the bottom, slightly more brown. Let them cool and eat ’em up. Ooooor, make up a glaze of powdered sugar, milk, and vanilla (or just water) and drizzle over them. (Yes, Whey-Low comes in powdered sugar form too, and it’s good) You could even color it and feel all festive and stuff.

Sugar Cookie 2

And the Recipe Analyzer says…… 45 calories and 2.6 g fat!! And these are 2 dozen, regular size cookies, not those tiny diet ones. Yes, I hate making those recipes for lo-cal cookies and find out the batch makes like 48 of them the size of a quarter! Now, I can settle in with my kerchief and my cookies (cause they’re good!) for a long winters nap….

Happy HolidayTo All – and Happy Baking You Little Elves!

Michelle

Cookie Man 2

Cookie Man 4
William Approved!
After eating a gourmet Christmas dinner prepared by Michelle  followed by pumpkin roll and Christmas bread baked by my sister, I tested Michelle's low-cal cookie.  Yum.  But not as good as full fat full sugar pumpkin roll and Christmas bread!  Decadent!
After eating a gourmet Christmas dinner prepared by Michelle followed by pumpkin roll and Christmas bread baked by my sister, I tested Michelle’s low-cal cookie. Yum. But not as good as full fat full sugar pumpkin roll and Christmas bread! And William is eating a Magic Bar. Decadent!  KT


Adventures in the Kitchen with Michelle

Today was supposed to be rainy. I got everything done yesterday so I could stay inside today and play Cookie Monster Mama. Then it rained early and then it turned cool and the sun came out. Now that isn’t a bad thing, but I sure don’t want to be inside…how about just opening the doors. Ahhhh,….that’s better.


Lately, I’ve been going on and on about things having to do with Fall. Pumpkin, maple syrup, etc. What else? Apples. I love apples – all kinds! My old house in Brooksville used to smell like apples and cinnamon. I miss that. This one’s just too big for all that. I’d burn down the place with that many candles! And Bath & Body Works doesn’t sell their incense oils by the gallon. That said, nothing gives a house a warm homey smell on a cold day like firing up the oven and making cookies.


But I started this little story with an apple prompt. Apples & cookies?? Who does that? I do, that’s who!  Months ago I worked up an apple studded version of an oatmeal cookie. It didn’t turn out as great as I expected. The guys liked it, but it still had nearly a whole stick of buttah!! I put the recipe aside and figured I’d ‘fix it’ later. Man, if I had a dime for every time I said that I’d be rich!!! But this a perfect day for it…Let’s Play Cookie Monster Mama…
Michelle’s Apple Pie Cookies


Step 1: Preheat that oven to 350 deg. Gather the staff. This turned out to be one of my more lengthy recipes. But a little of this and little of that and you’re on your way to a hand-held apple treat that’s just chock full of Fall wonderment. And this one won’t leave your ass looking just as dimpled as the chunky surface of these cookies!
Adventures in the Kitchen with Michelle
Step 1
Dry:
3/4 Cup Whole Wheat Pastry Flour
1/4 Cup All Purpose Flour
1 Cup Oats (NOT quick cooking)
1/4 tsp Baking Soda
1/2 tsp Baking Powder
1/2 tsp Salt


Wet:
1/4 Cup Apple Sauce
3 Tbl Butter (very soft)
1 Egg
1/2 Cup Truvia Baking Blend
2 Tbl Brown Sugar
2 Tbl Apple Butter (my organic apple butter has serious apple punch!)
1 tsp Vanilla Extract
2 tsp Boiled Cider *
1/8 tsp Allspice
1/8 tsp Nutmeg
1/8 tsp Ground Ginger
1/4 tsp Cinnamon


1/2 Cup Golden Raisins
2 Tbl Butterscotch Chips
1/3 Cup Apple (about 1/2 an apple, chopped raisin size)


* Boiled Cider? WTF? Well, it’s a great little secret ingredient I get online at www.KingArthurFlour.com. It’s like concentrated apple flavor – get some and your pies and other apple yummies will never be the same. Boiled cider is to cider the way apple butter is to apple sauce. Hmmm, I’m thinking about an Apple Cidercar, or an Appletini. But that’s another blog. Omitting it from this will take out a bit of punch, but won’t ruin the cookie either.


Step 2: OK, you know the drill – mix the dry – mix the wet. I add the extras to the dry. The flour, etc coats the apples and keep the raisins separated. But you can toss them all in last – whatever.
Adventures in the Kitchen with Michelle
Step 2
Step 3: Here’s the batter. Better get scooping. Bake these up for 13-14 min. or so. Should be about 32 cookies.
Adventures in the Kitchen with Michelle
Step 3
The sun’s going down and I’ll have to close the doors soon. I thought that clock fell back? Mmmmm, a little juice and mineral water spritzer while I type, and of course do a little quality control testing. We’re professionals here folks – I can’t just send out any old recipe.
Adventures in the Kitchen with Michelle
Did I mention these won’t stick to your hips! Wanna know why? Wait for it….. 59 calories!!! Whooooo Wheeeeee! I’m getting so good at this. I think I need to use my other Apple to make up a cookbook…yeah, and if I had a dime for every time I’ve said that…

Adventures in the Kitchen with Michelle

 
I got up this morning and thought about Thanksgiving. I’m a cook, not a Chef. While I’m nowhere near the rankings of anyone fabulous, I take comfort in knowing that Julia Child considered herself a cook and instructor. There really is no bigger holiday for a cook than Thanksgiving. I love hosting my family and sometimes the occasional friend that pops in. This year I can relax a bit since the crowd will be slightly smaller. Never the less I’ll be happily buzzing around my workspace making tidbits to make people smile.
From most reports, I’m told, I’m pretty good that this cooking thing. As such I thought I’d spend a couple of minutes imparting some of the knowledge I’ve gleaned over the years to help you make your dinner go a bit smoother. Because, I’m thinking that even though most of the readers are beyond knowing how to Do Up a Feast, there may be some newlyweds out there that may appreciate a commentary. 
Thanksgiving
Thanksgiving 2010

Alton Brown says, “Organization will set your free.” Commit that to memory! It’s true.

Menu: I love my cooking shows and food magazines. They’ve got so many great ideas. BTW, that little free booklet from Williams Sonoma is a keeper. Word of warning – I do not advise making a ‘new and innovative’ menu for the big day. 
1. Never experiment on a family holiday, save that for a party with friends. Make the old standards that your family has come to love and add one or two new ones. They’ll still be happy and give you a critique on what new things to keep for next year. 
2. Make notes. Because if it’s more than 2 weeks from now and I have to do it again (say at Christmas) I won’t remember. Did Shirley like that Apple Cider Sidecar drink I made (oh, yeah – make a double batch next time)? How long was that bird in the oven for? How big was it? BTW, I’ve never ‘brined’ or trussed a bird. Mainly, because I stick with my tried and true method…Compound Butter under the skin, a little stuffing inside, a little extra foil on the wing tips and drum ends, and sealed in the biggest foil tent I can make. No turning or basting or flipping…put it in, cook it, take it out. I have enough to worry about with getting my pre–prep stuff assembled and cooked in time. That’s where the organization comes in. 
3. Organize the menu. Make dishes that you can cook half way days in advance. Like fresh green beans – blanch and toss in the fridge, same with those brussel sprouts. Cranberry sauce keeps in the fridge …I never buy the canned stuff! Not when it’s soooo easy to make yourself. If you think about it, much of the real work can be spread out over 3 days..if you’re organized. Oh, yeah and clean out that fridge.
4. Cheat! Yes, I said it…cheat. Use frozen corn fresh from the microwave! I never bother with bread. That’s a great thing to have a guest bring. Or do crescent rolls from a can, Sister Schuberts Parker House rolls from the freezer, or a pitstop at Panera. Salad you say? Oh, no Bag-o-Salad and add some funky topping/dressing you’ve made. If you aren’t good at gravy…cheat. Although, buy something really good like a jarred one from Williams Sonoma or a even a restaurant you like and re-heat. You can practice gravy later with a weeknight chicken. Dessert? I rarely make dessert because well, my Mom is a master of the Pumpkin Roll – a family fave. 
Yowza – check those Mom jeans! And construction kitchen, I’m guessing circa ’99 or ’00 ??)
Workspace: Yes, my workspace is wonderful, now. It hasn’t always been. Boy, have we come a long way! Gone are the days of my girlfriends teasing me about my ‘beautiful wood floors’ – they were plywood! I’ve also tested the durability of the Contact Paper over particle board countertop trick. The stove was an old Whirlpool that came with the house. The absolute bottom of the line – only one big burner out of the 4, and not even a window in the oven door. Even when we moved to the big house, the kitchen was designed for/by retirees. Which means it was like the size you’d find in a nice RV! Point is, you don’t need a $50,000 kitchen (which even my new one is NOT) to make great food.  
1. Assess your workspace and organize. Know your equipment. That old stove had it’s quirks and I learned to deal with them. Has your oven got a hot spot (the place where all cookies turn dark too fast)? Deal with it by turning your bird, or use a pizza stone in the bottom to diffuse it. Don’t let it surprise you. Dig out the small equipment – the roaster pan, and thermometer, gravy boat, etc. Go thru and make sure there’s a serving dish for everything and set them aside. And I’ve been known to scribble it’s contents on a scrap of paper and leave inside it. I’ve actually used this in the past to find OMG I forgot the beans! 
2. Make space. If your workspace is small, move things out of the way for a couple of days. Like, can they live without the toaster for a day? Or the big cookie jar or bread box? 

See, it’s not so hard. You can do this, and make it look easy in the process 🙂 Now, I’m going to go and organize my own menu for this years festivities. Good Luck and have a Fabulous Thanksgiving!! 
Please don’t forget to actually be Thankful – we’ve all got so much to be Thankful for.