Adventures in the Kitchen with Michelle, HandMade Harvard Beets

Spring is finally here – and that means outdoor markets. I love outdoor shopping of nearly every kind…art shows, antique fairs and farmers markets. Here in Florida we’re able to enjoy most of them year round. Trouble is, Farmers Markets are traditionally set up in a park or centralized community space in most towns – Florida towns aren’t always set up to accommodate. In fact many of Florida’s ‘towns’ are really overgrown housing developments that sprawl on for miles and evolve into a tax base with a zip code. Presto, instant town. Notice I didn’t say ‘city’. City means a whole other level of bureaucracy and taxing authority that these development dwellers aren’t ready for. The down side is that there’s not real structure or community feel of any kind. No city center or community space to hold things like fairs and farmers markets. To get around all this we rely on parking lots. Our local Rural King allows our farmers market to commandeer their parking lot on Saturday Mornings. (Thank you RuralKing !) There we can get home made preserves, baked goods, plants and flowers, and local fresh veggies. I’m thinking I need to do a little blog about our tiny market, http://www.hernandocountyfarmersmarket.webs.com But that’s next week – 

Anyway, on my trip to Beasleys Farm stand, I found many yummy things. Fabulous poblano peppers, tomatoes to die for,…and beets. Ooooo, I love beets! They’re so good for you too. My Grandmother used to make what she called Harvard Beets. Slightly less pungent than standard pickled beets. Sort of the bread-n-butter version for beets. It’d been so many years since I’d had hers, and I’d been so used to the over-the-top taste of the store jarred variety,…could I do it? Seeing as everything else I’ve tried (for the most part) has turned out to be far and away better than the commercially produced version, I had to give it a shot. 

HandMade Harvard Beets 

Note: Most Harvard Beet recipes are for dinner consumption. Many start with already jarred beets. They’re served with a thick sauce laced with cornstarch and butter. I planned on canning these, so the butter was out. Besides, I don’t ever remember Grandma putting butter in those beets – and she put butter on everything! 

Step 1
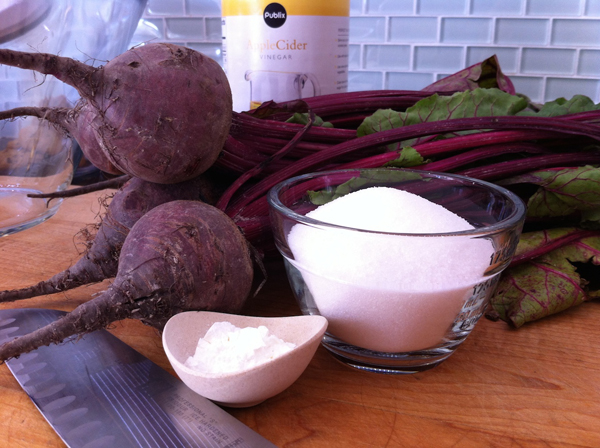
Handmade Harvard Beets, The Ingredients

1-1/2 lbs Fresh Beets, trimmed 

2/3 Cup Sugar 

1 tsp Cornstarch * (if you want a thick syrup, use 4tsp) 

1/2 Cup Cider Vinegar 

Get out some jars to sterilize, unless you plan on just leaving them in the fridge, which is fine too. There are never half-eaten jars of beets here. If it’s opened – it’s consumed. Yes, I will eat an entire jar of pickled beets…alone. I have to portion control myself. 

Step 2: 

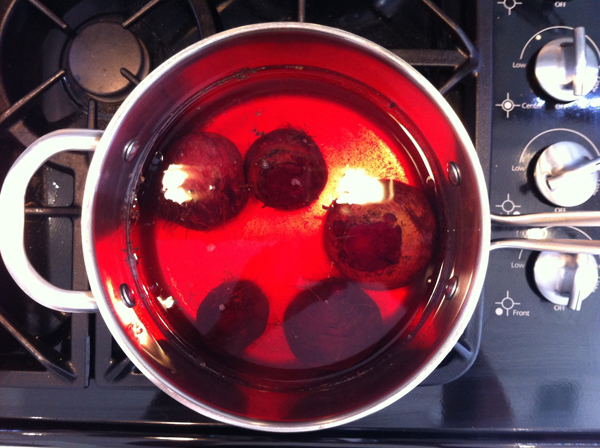
Take the beets, and get them in a pot and cover with salted water. Simmer them for about 40 min. until fork tender. 

Handmade Harvard Beets, Step 2

Step 3: 

Drain the beets and save the liquid. I strained mine thru a tea strainer to catch any less-than-apetizing bits that were in the juice. 
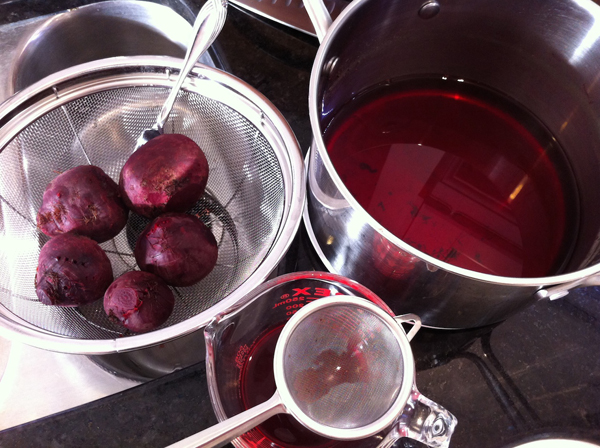
Handmade Harvard Beets, Step 3

Step 4: 

Take 1/2 cup of the liquid and add the sugar, corn starch, and vinegar. Cook up into a syrup making sure the sugar has melted and the cornstarch is thickening. Feel free to double this to have extra if you’re jarring the beets. Processing means you’ll need to cover the beets in the jars. 
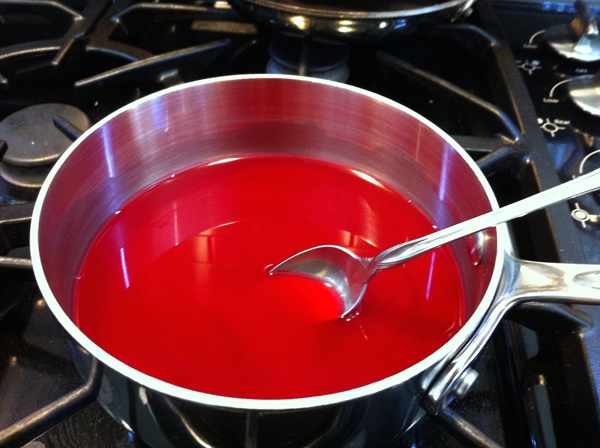
Handmade Harvard Beets, Step 4

Step 5: 

When the beets are cool enough to handle, peel them by rubbing the skins off onto a paper towel. Unless, you use a piece of plastic wrap under that towel your hands will resemble an unpopular skin condition. Maybe not your best look – take out some insurance. 
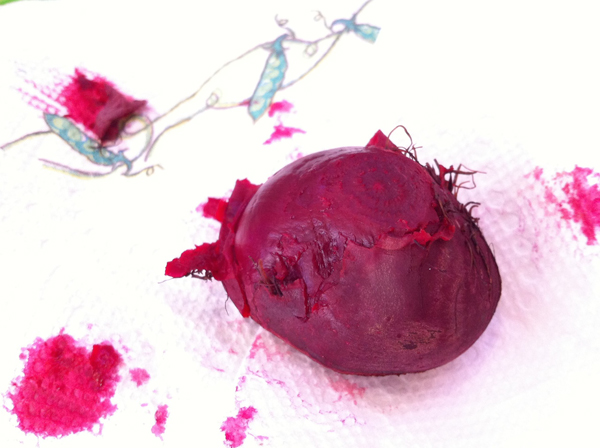
Handmade Harvard Beets, Step 5

Step 6: 

Slice up those beets and get them into their respective vessels. Note the green cutting board, there’s a reason the Indians use beets as a fabric dye…your lovely wood cutting board will forever be Easter egg pink. The green plastic one cleans up in the dishwasher.
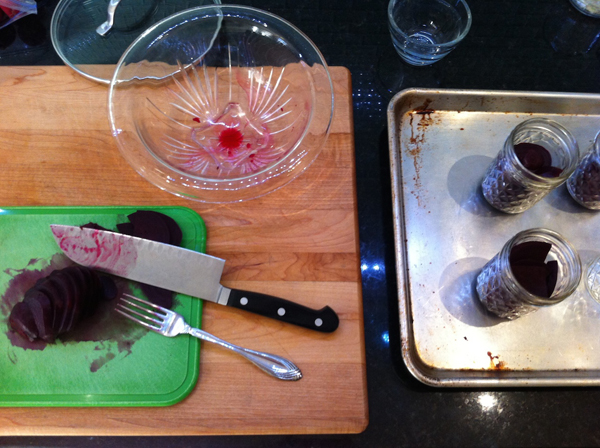
Handmade Harvard Beets, Step 6

Step 7:

Top off the jars with the warm liquid and get the lids on.
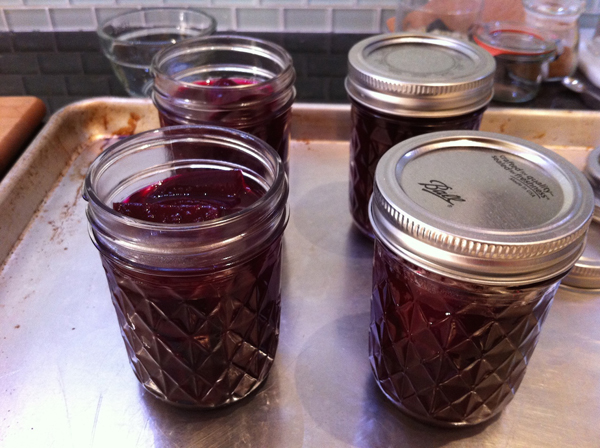
Handmade Harvard Beets, Step 7

Step 8: 

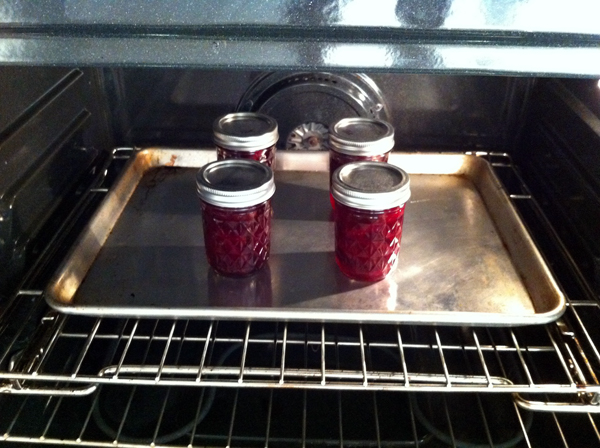
If you’re processing them, get the jars into a 250deg oven for 30 min. Don’t forget to label them. They look a lot like a fruit jam – pretty disappointing for a Sunday morning pancake fest! 
Handmade Harvard Beets, Step 8

Finale: 

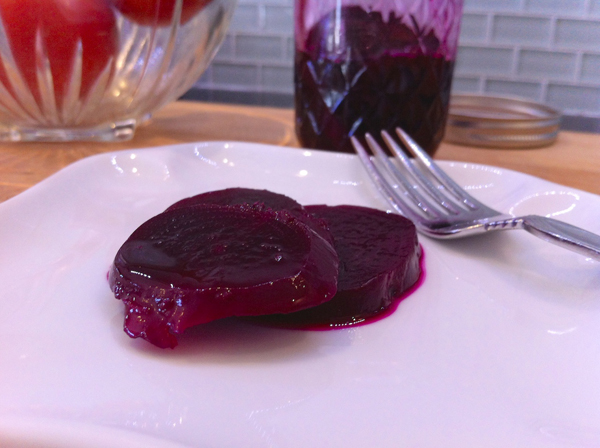
Handmade Harvard Beets, FinaleLet those beets marinate for a day or so. Voila’ Harvard Beets ! Slightly sweet, just like I remember. There’s an honest beet flavor, too. Not those watered down tasting things from a salad bar…these are firm and fresh tasting. No gooey syrup, but just thick enough to hang on the slices. Now, I need a side of cottage cheese and it’ll be just like I remember. Yuuuummmmmy!! 

And, yes, I’ll still eat the entire jar in one sitting,….and call it lunch. 

But wait, after you’ve eaten the beets, don’t throw out that liquid! I’ll show you what I do with that next week. 

Michelle Beal

http://badzoot.com

[yumprint-recipe id=’8′]

Adventures in the Kitchen with Michelle, When Life gives you Strawberries….

When life gives you strawberries,… 

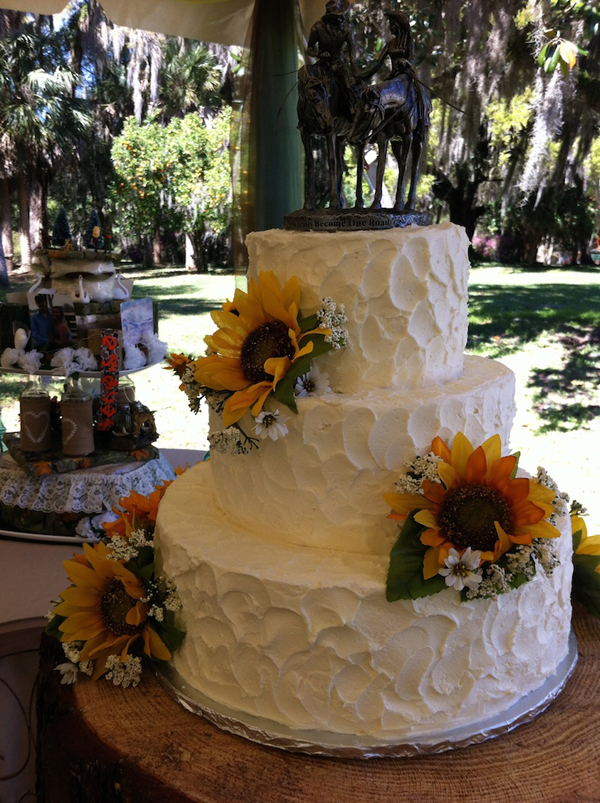
You can’t make ‘lemonade’, and you can’t just let them rot! Last week I posted to my Facebook a photo of a wedding cake that I’d helped my Mom deliver one gorgeous Saturday afternoon. It was a really simple cake. Very rustic buttercream icing slathered over moist white cake, but best of all, it was filled with strawberries – fresh strawberries!

Sunflower Cake

Being as wedding cakes are a one-shot deal, you have to be sure you’ve got plenty of berries to account for mishaps. Besides, this is central Florida and this time of year, those juicy, red gems are everywhere. You just can’t have too many! Well, maybe you can. After we finished dropping off the cake to the party, Mom says, “Oh, and I have some leftover berries you can have. I’m sure you’ll find something to do with them.” That’s great (besides, how many could there be). Wow – she hands me a great big bowl of cleaned and sliced berries. Too juicy to freeze for smoothies, a shame to dehydrate, and they’ll go bad fast now that they’re cut up. That means it’s a short list – a shrub, a syrup, or jam.

Now, why on earth would you bother to make your own jam. I mean really, what a pain, right? Jam is cheap too. It’s fruit and sugar – period. BORING ! This is when you make something that you can’t buy at the store – any store! So, go and get some fresh berries, get your gourmet hat on and don’t be a sissy ! (LOL) 

Bad Berry Bliss Jam 

Step 1: 

Bad Berry Bliss Jam

Get those lovelies cleaned up and sliced – or cut into quarters. It’s always nice to have some larger chunks of fruity goodness in the jam. 

Preheat the oven to 250deg. Put a couple of spoons in the freezer. 

Step 2:  

Bad Berry Bliss Jam Step 2

At some point you have to decide where you’re going with all this. Maybe you don’t like Grand Marnier, so you might use a vanilla rum or something. But Grand Marnier is so luxurious and just enough orange (I’m drooling, I know). I keep it here for recipes way beyond margaritas. Maybe you have Cointeau or even a nice Brandy left over from the holidays. You can be creative here, but just think about the way it will marry to the fruit. The alcohol will cook off for the most part, so don’t waste your good vodka. 

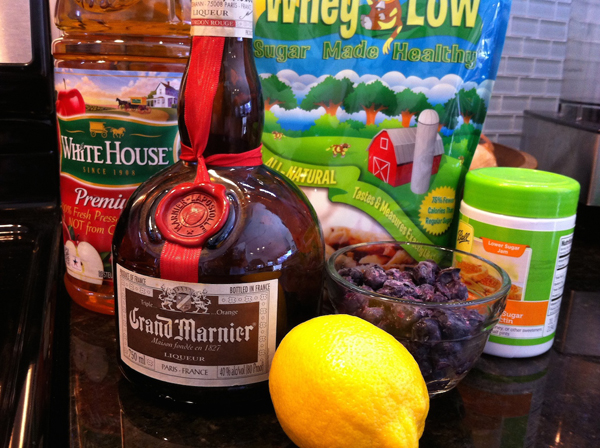
Shopping list: 

Strawberries (about 3-4 pints cleaned and cut) 

1/2 Cup Blueberries (fresh is best, but I had some frozen to use up) 

1 Lemon, to zest and then juice 

1 Cup Apple Juice (check your labels for USA products or go organic) 

2 – 1/2 Cups Whey Low (or your choice of sweetener*) 

3 Tbl GrandMarnier 

4 Tbl Ball RealFruit Sugar-Free Pectin * (1-box =3 Tbl) 

*Your choice of sweetener may vary. I like Whey-Low, it makes great jams and baked goods. But anything other than real sugar will require a pectin made special for lo-sugar jams. If you opt for regular sugar, use a solid 3 cups of sugar and regular set pectin. Regular jams are almost 1-1 sugar to fruit ratio. Yeah, that ’s why I make the lo-sugar varieties. 

Speaking of pectin, there’s about 3 Tbl in a pre-measured box. I found I needed more due to the lack of pectin in strawberries, and the addition of alcohol. Yours may set fine with just 1 box. 

Step 3: 

Bad Berry Bliss Jam Step 3

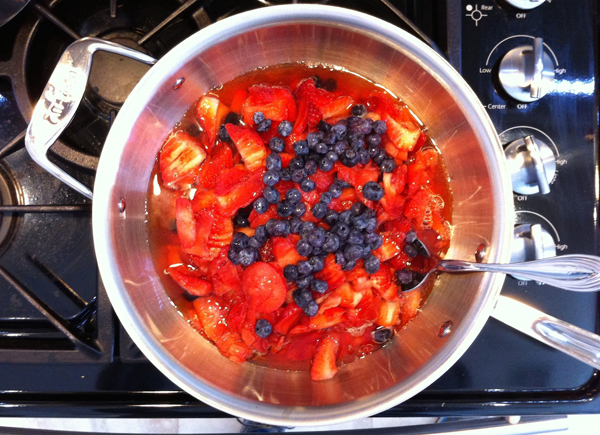
Get the fruit into a med/large pan (this is a 4qt). Meanwhile, get your jars and lids sterilized. Set on a cookie sheet for 30min in the oven (@250). Also, get a pot of water boiling on the stove to sterilize your scoop and funnel for the jarring process. Now, if you intend to keep this in the fridge, then don’t bother. Just put it in clean jars…it may not last long anyway!

Step 4:

Bad Berry Bliss Jam Zest

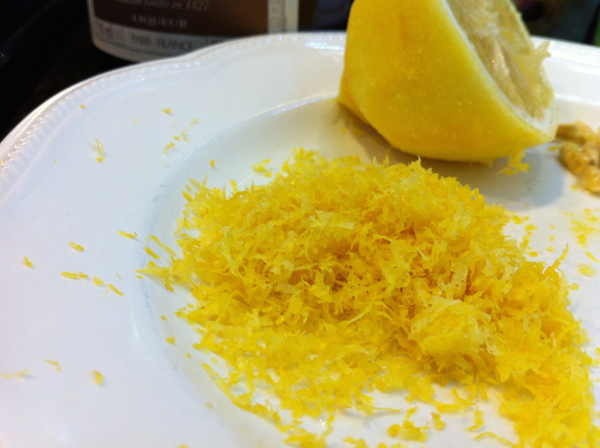
Zest the lemon. You did wash it in warm water first, didn’t you? Eww, you don’t know where that zest has been! OK, now juice it.

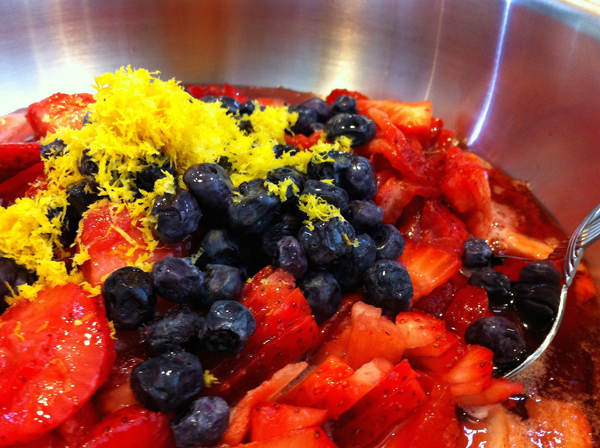
Get it all in the pot. Careful adding the booze – turn off the flame, if you’re on gas, while you add. We’re not going for a flambé’ here folks!

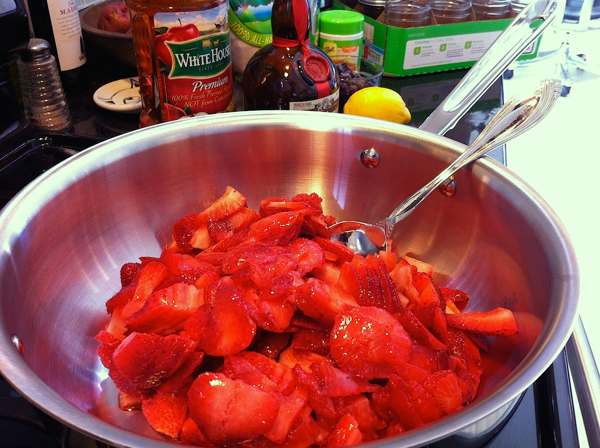
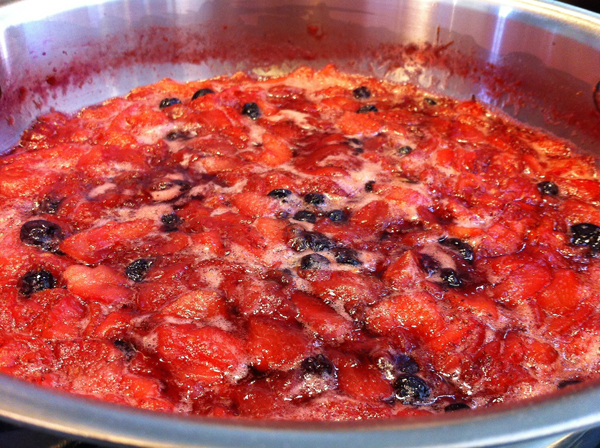
Bad Berry Bliss Jam Step 4Wow – Looks like a fruit salad. I would drizzle this with the booze and serve at a picnic! (a mermaid picnic, wink-wink) 
Step 5:

Bad Berry Bliss Jam Step 5

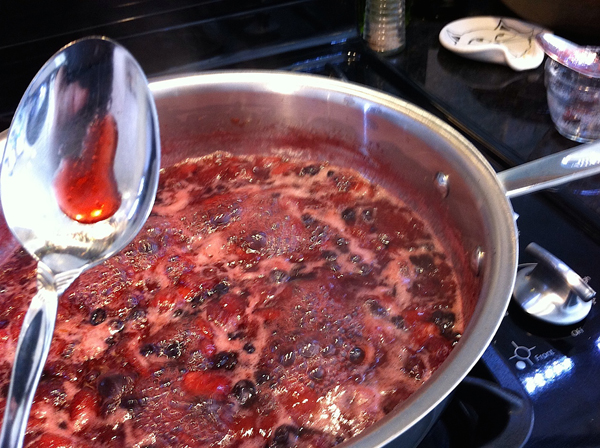
Cook it up. Careful it doesn’t cook too long. The blueberries have lots of pectin on their own and they help with the color. Strawberries can turn an unappetizing color without a ton of sugar to preserve it. The lemon zest gives a brightness that lasts beyond the canning process.

Step 6:

 Bad Berry Bliss Jam Step 6

Remember those spoons? OK, go and get one drop a tiny bit of the sauce on it and you’ll see if it gels. If it doesn’t run off the spoon you’re good to turn off the heat. If not, keep cooking a bit. And check it again. 

Step 7:

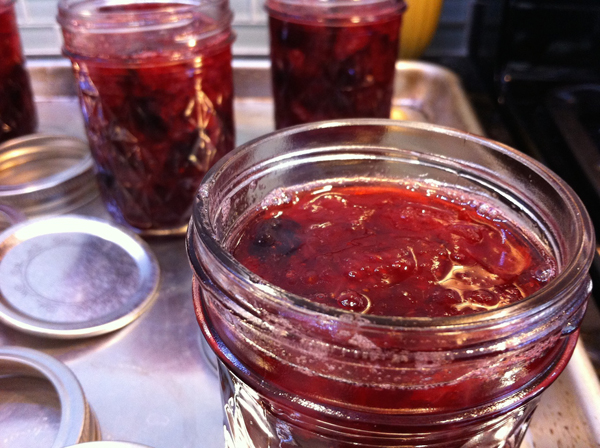
Bad Berry Bliss Jam Step 7Get that yumminess into their jars. 
Step 8:

 Bad Berry Bliss Jam Step 8

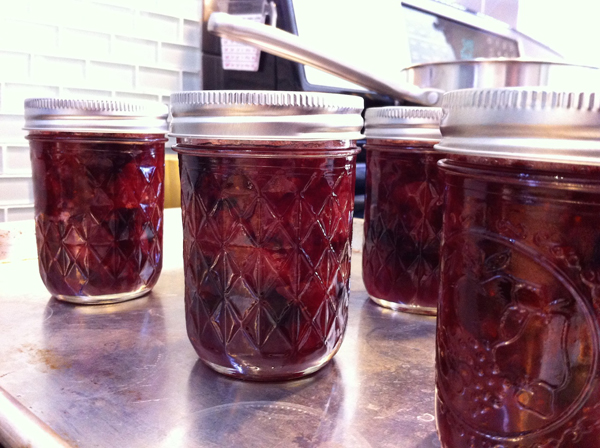
Finger tighten the lids. Set them in the oven for 30 min at 250deg. To ‘process’. When they come out the lids will pop as they cool and you know they’re safe. 

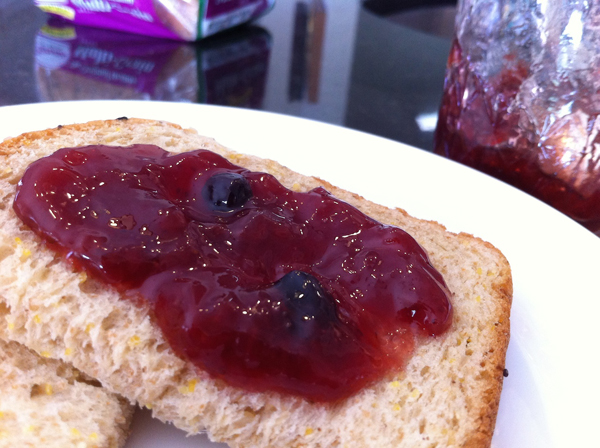
Now, taste it. Ooooo, so bad! But in a good way…you can taste everything in it! The lemon zest, the orange tinged liquor (minus the alcohol) and the freshest berries. This is why you took the whopping hour and a half of monkeying around in the kitchen to do this. There’s 6 – 8oz jars to last me until the next fruit comes into season and I’ll be lacing my pancakes with yet another healthy, creative concoction that I’ll never see on the store shelves ! 

Bad berry Bliss Jam

Bad Berry Bliss Jam

Michelle Beal

http://badzoot.com

[yumprint-recipe id=’7′]

Adventures in the Kitchen with Michelle, Gluten-Free Zucchini Bread

Remember that Gluten-Free Flour Mix I sent you last week? You don’t – well go and print it out. You’re going to want to keep it…well, if you’re a gluten-free devotee. I promised I’d share a recipe or two with you on what to use it in. Well, I found a good one. A riff on an old classic. Zucchini Bread – summers coming, and those vines will be sprouting flowers and little squashes like crazy. And as with every year, it’s great at first, but they don’t know when to stop! That’s when you go looking for creative uses. Yum – Zucchini Bread – a quick bread. Although, quick breads are usually nothing I’d consider a bread at all. They’re just loaf sized muffins! Gooey sweet and dripping with calories,…oh, yeah and FAT! (and not the good kind!) That’s not bread. Have you seen some of the recipes? I’ve got jam recipes that call for less sugar! Ain’t No Way !! I stumbled on a Yogurt-Zucchini recipe that looked good, but the reviews were mixed. Then I got my brain going, played with it and made it pretty much mine….Gluten-Free, Lo-Fat, Lower Sugar,…All Good! Have an open mind (and an empty stomach) and let’s go. 

Michelle’s Yogurt-Zucchini Bread : Gluten-Free 

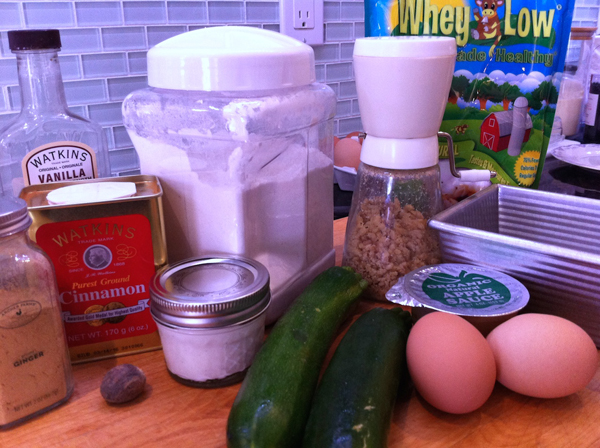
Step 1: Pre-heat the oven to 325 and dig out that loaf pan. Then gather…

 Step 1, Michelle’s Yogurt-Zucchini Bread : Gluten-Free

1/2 Cup Walnuts, chopped (you can add more, up to a cup – it’s ok, they’re the good kind of fat)

2 Cups Gluten-Free Flour

1/2 tsp Baking Powder 

1/2 tsp Baking Soda 

1/2 tsp Salt (or a bit less) 

3/4 Cup Whey-Lo (or Truvia, whatever natural sweetener – or even good old sugar, but add 2 more Tbl)

2 Large Eggs (you Vegans can sub the eggs – but I didn’t)

1 – 4oz. Apple Sauce (about 1/3 cup)* 

2 Tbl Vegetable Oil*

1/2 Cup Greek Yogurt, lo-fat, plain  (It just occurred to me that there are yogurts (diet ones mainly) that have gluten, so either make your own or check the label.)

1 Cup Coarsely Shredded Zucchini (about 1 medium zuke) 

1-1/2 tsp Vanilla 

1 tsp Cinnamon, ground 

1/2 tsp Nutmeg, ground 

1/4 tsp Ginger, ground 

Step 2: 

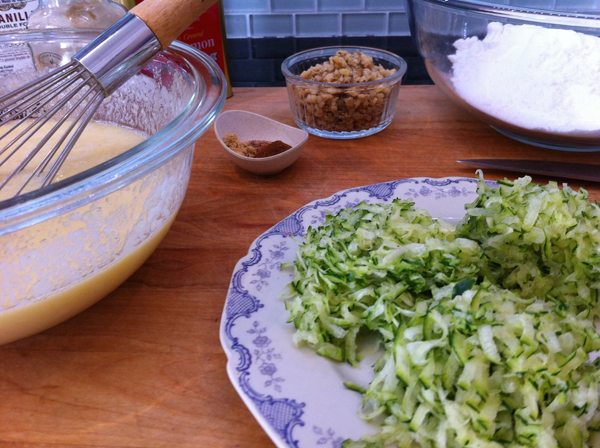
Mix the dry in a large bowl. Mix the wet in a smaller bowl. * the apple sauce and oil is a big part of the moisture. My apple sauce containers don’t measure exact. I emptied one into a 1/2 cup measure and topped it off with the oil, which came out to be about the 2 Tbl I listed. You can do as you like – all sauce, or all oil, or 1/2 of each. But I’m all about Lo-Fat here. 

Shred the zucchini.

Step 2, Michelle’s Yogurt-Zucchini Bread : Gluten-Free

Step 3:

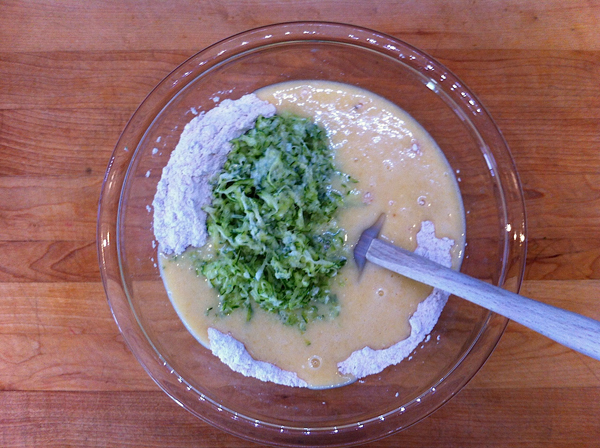
Add the wet to the dry, and fold in the zucchini and walnuts until just combined. Pretty simple

Step 3, Michelle’s Yogurt-Zucchini Bread : Gluten-Free

Step 4:

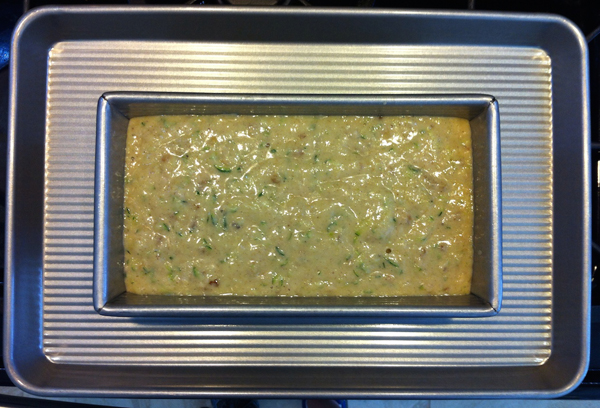
Get it into your standard loaf pan, and into the hot box.

 Step 4, Michelle’s Yogurt-Zucchini Bread : Gluten-Free

Step 5: 

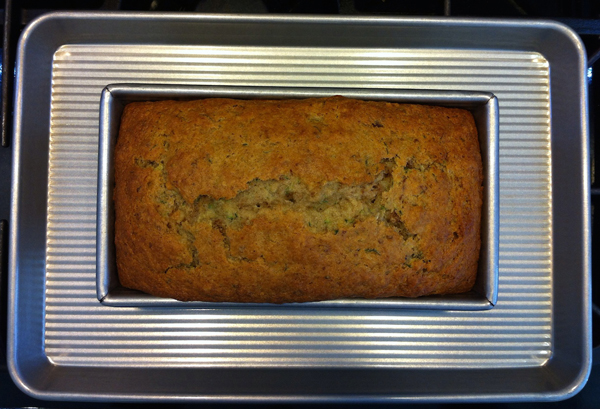
After about an hour and 10 min. there you have it.

Step 5, Michelle’s Yogurt-Zucchini Bread : Gluten-Free

Step 6: 

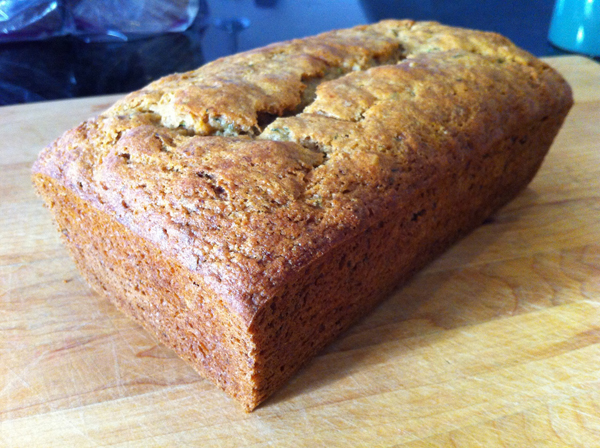
Let it rest in the pan for about 30 min and then de-pan – Mmmm, smell that!

Step 6, Michelle’s Yogurt-Zucchini Bread : Gluten-Free

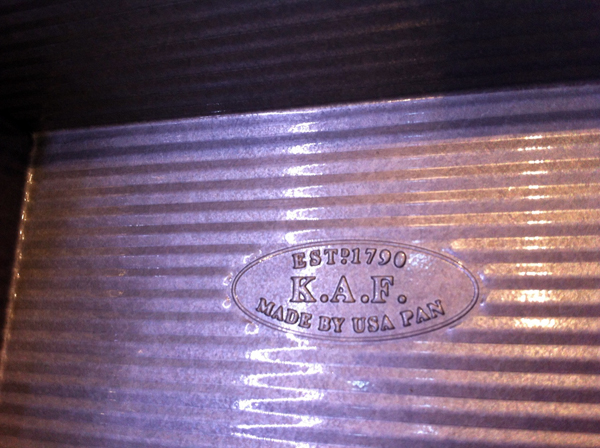
Speaking of pans – I’m loving the not-so-new USA Pan Co. They make the signature pans for King Arthur Flour and the top-notch Gold Touch Pans at Williams Sonoma. They are fabulous ! Even America’s Test Kitchen raved about them. Heavy folded steel/aluminum for even cooking, non-stick, a light coating that doesn’t burn. I don’t care that I can’t put them in the dishwasher. They wipe so clean! I’m in love. Oh, and yes, they’re made in America, Pennsylvania in fact. (lot’s of cool things come from PA)

The Pan

Finale:

Finale, Michelle’s Yogurt-Zucchini Bread : Gluten-Free

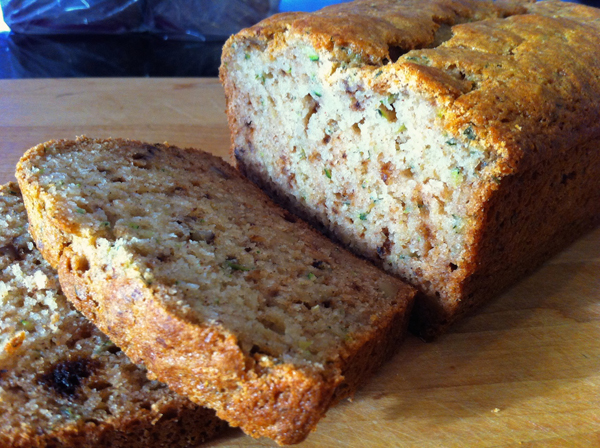
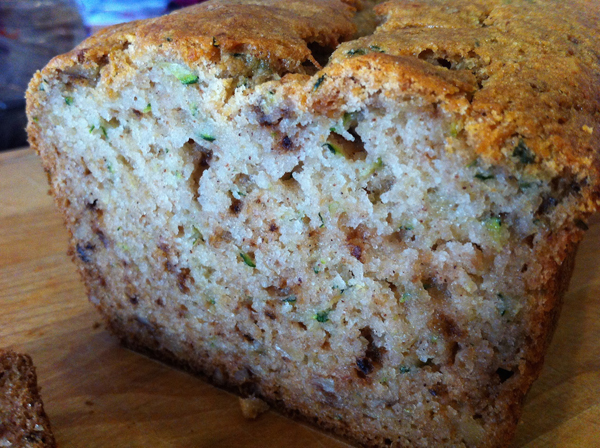
Look at that. Gluten-free…what?!! The texture is like any other quick bread, the spices bring up the flavor factor.

Texture, Michelle’s Yogurt-Zucchini Bread : Gluten-Free

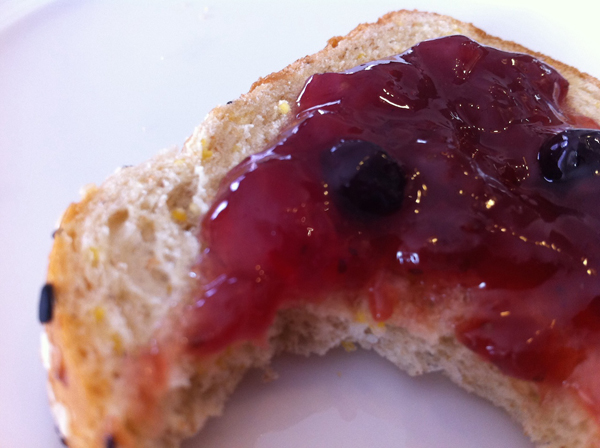
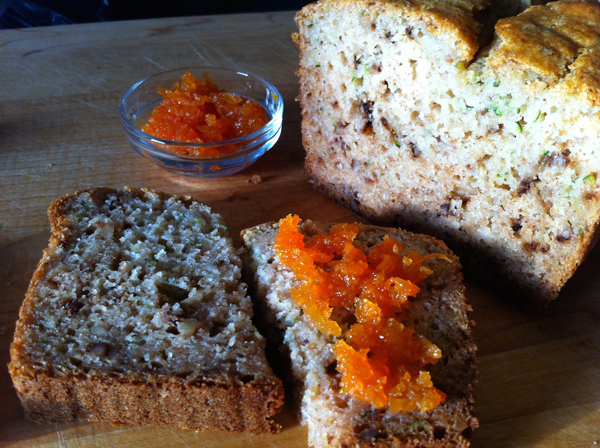
You may add more sweet – or just some honey after you toast it. Me, well, I tried it and passed it around without telling my taste test victim the difference. That’s when Jon says, hey, you know what would be good on this,….that carrot stuff. O M G !! Yet another thing to add to the list of edibles to be made more fabulous with the addition of Carrot Jam ! Besides, carrots and zukes are friends. Fire away.

Michelle’s Yogurt-Zucchini Bread : Gluten-Free

Now you can have all your food groups for breakfast…add some coffee (cause that’s a breakfast food group here too) and you’re set – no gluten required ! 

Enjoy! 

Michelle Beal 

http://badzoot.com

[yumprint-recipe id=’6′]