Candy Cane Christmas Quilt

One last sewing project before Christmas!

I’ve been posting on Pinterest a bunch of holiday quilts.

So many quilts!  So little time! I wanted to make a quilt for ME!  And Maggie.  So we could curl up together and take some nice holiday naps.  Whilst listening to holiday music. And drinking hot cocoa.

And I ended up making a patchwork quilt in red and white since I just happened to have several red and white pieces of fabric already. 
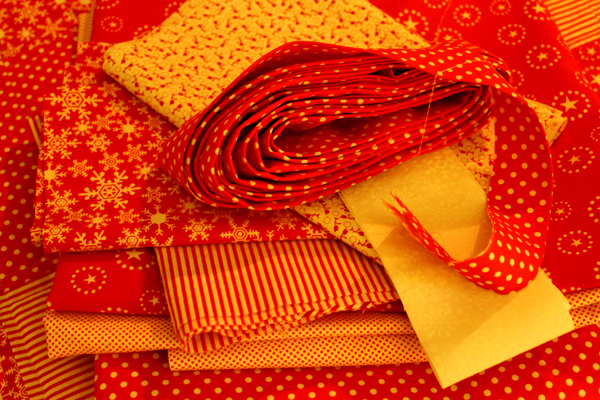
redandwhitefabric

(Unfortunately, I didn’t quite have enough fabric so had to get a little more!)

Like I wanted to base the quilt on a candy cane stripe and I didn’t have any.  

Now here’s a boring little dance on how I bought the fabric.  I do not usually purchase fabric at Jo-anne’s for quilts.  There is some quilting snobbery out there that fabric from big box stores won’t stand up to the test of time. Quilts are made to last forever and be handed down to future generations…. blah, blah, blah, blah.  Could be true, but I couldn’t find a red stripe anywhere else. Even on my internet fabric stores that I frequent. And I had to have a candy cane stripe to make a candy cane quilt!    And since I was there at Jo-anne’s and the fabric was so cheap and I had to wait in line, anyhow, I bought the red with white snowflakes, too.  And my rationalization?  This quilt will only be used for one month a year so how hard can that be on it?  Plus it’s for me–if it falls apart, I’ll know not to buy that type of fabric again! 

The polka dot fabrics are from Moda and I did order them from Fabric.com.  The remaining fabrics were all scraps left over from projects from last year and I bought all that fabric from our Crystal River shop, Tomorrow’s Treasures. 

This was relatively quick and easy.  Especially since I was stuck at home because I was SICK so I had plenty of time to sew and recuperate.  (Probably need to disinfect it from germs.)

Here’s the patches waiting to be sewn together.
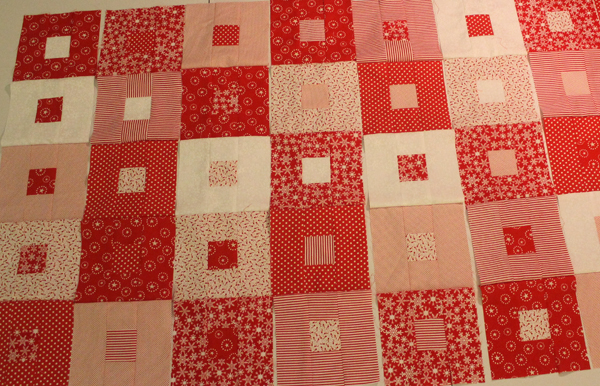
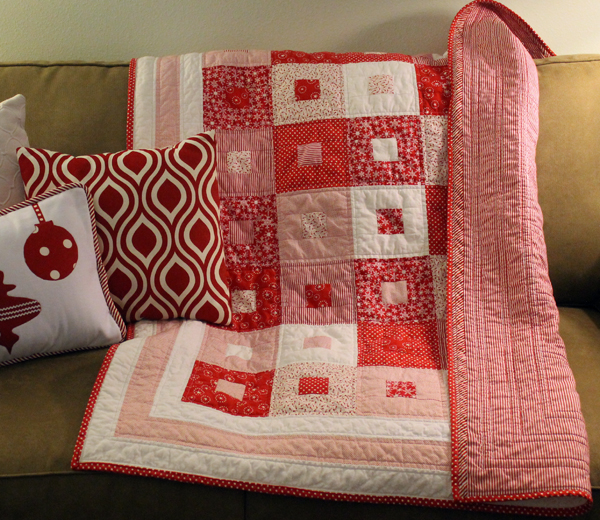
PatchesI’m still a quilting novice so I’m not going into many details. I believe that the above blocks are called “Nine Patch”. The quilt finishes to about 42″ x 60″ which is a nice “nap size”.  (And Maggie and I like nothing better than a nice nap.)  I got very bored with all the quilting and my sewing machine was making some wheezing noises so I didn’t quilt around each of the little center blocks.  But the outside of the large blocks and the borders are quilted at 1/4″ from the seams.

My favorite part of quilting is definitely the design stage.  I even bought a pad of graph paper and colored pencils and now draw the quilt and color exactly how I want it!  I like to pick out the fabric, too.  So many choices!  Do you think I can just design quilts, buy the fabric, and get someone to do the labor?  For free?  Yeah, I thought not.  So I’ll just have to keep sewing.  I think my machine might need some maintenance first, though
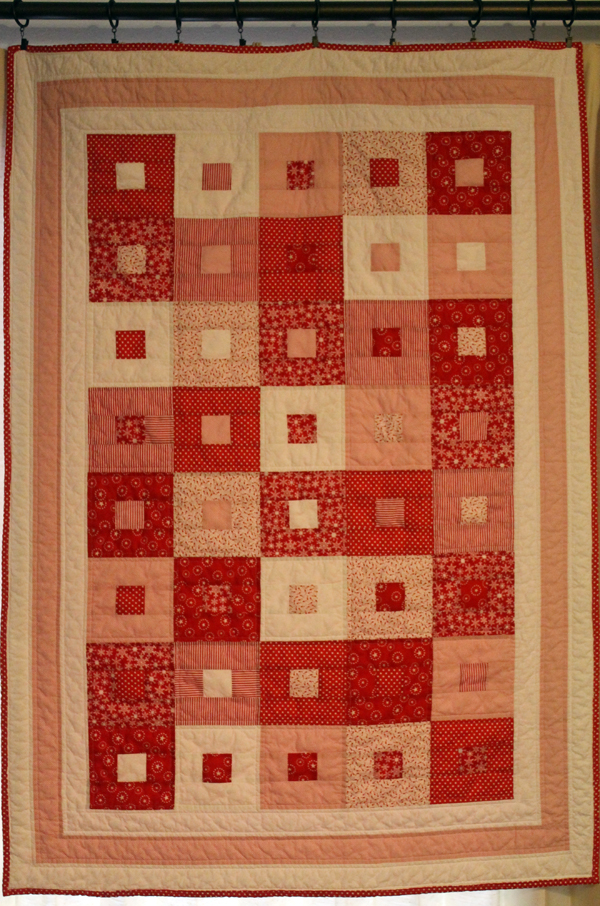
Quilt
Pretty Pretty Pretty!

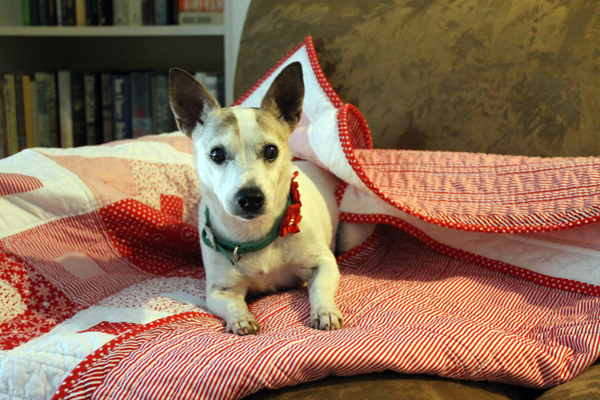
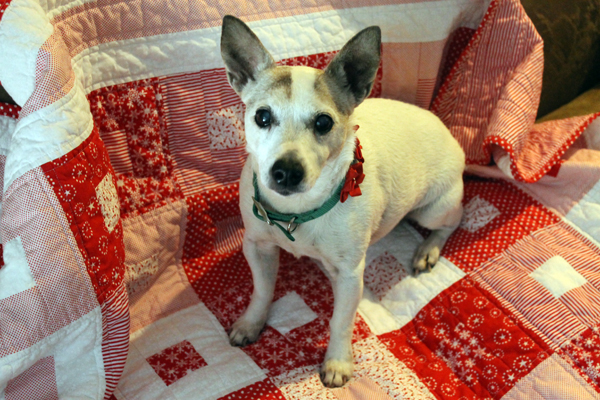
And some obligatory Maggie photos…

MaggieMaggieI threw the quilt on the couch in the family room after our photo session and Maggie claimed it. (Now you might think that’s the same couch that I took the other pictures on, but not so, I have four sofas in three different rooms that are all the same neutral color.  I keep asking myself “How did that happen?”)
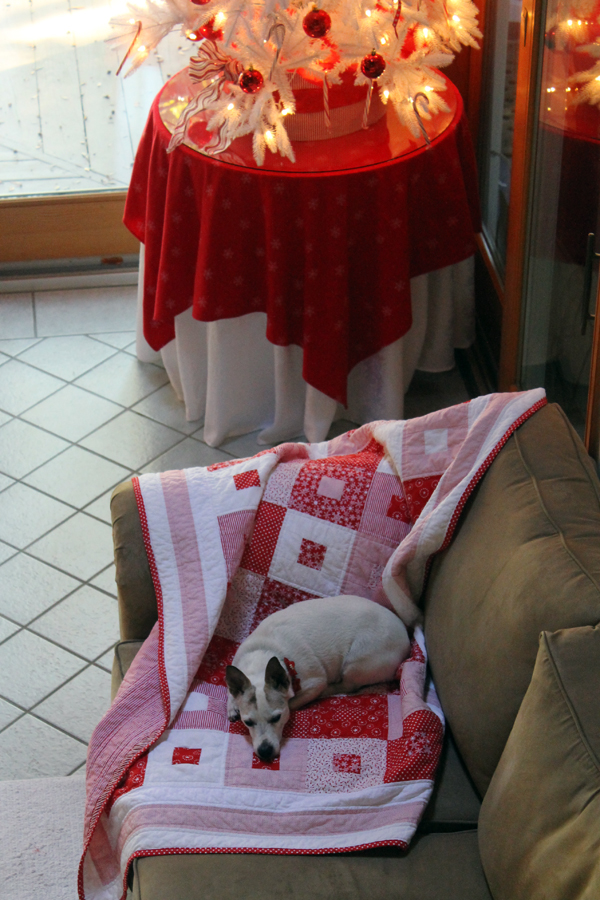
Candy Cane Christmas Quilt
Nap Time!
Candy Cane Christmas Quilt
One more Pic! And this is the sofa bed in my office!

I’m a little burnt out on sewing right now.  So I’m taking a couple of weeks off from my sewing corner.  But I’ll have some kind of DIY project on Thursday.  Could be about Christmas Baking!  I can smell the cookies burning already!

DIY Easy Peasy Table Topper

Okay.  This is so simple that I shouldn’t even consider it a sewing project.  But after making those pillows I showed you a couple a weeks ago, I needed an easy peasy project. 

I have one of those cheap round cardboard tables.  Actually it’s not so cheap or cardboard.  I got a couple of them at Ballard Designs way back in 1998 and they’ve lasted five moves since then.  That’s sturdy.  One of them is usually in the corner of my music room.  But this season it’s in my family room holding a Christmas tree.  And it needed a new holiday-style table topper.

Christmas Tree
This is a very sad tree.  I think it needs something!  Perhaps a topper.  And maybe fluffed.  Oh, and some gifts, too!

I’ve made many toppers in the past but usually with home decorating fabric which is typically 54″ wide.  A 54″ square is perfect for a luxurious table topper.

But the Christmas fabric I wanted to use was 41″.  A 41″ square looked kind of wimpy–I tried it. So here’s the easy peasy way to make a table topper.

I have a whole lot of this red flannel fabric.  It’s got cute snowflakes on it.  I can’t remember why I bought so much. What was I thinking? Maybe I was planning to make Maggie and I matching Christmas pajamas.  And then forgot. 

lots of fabric

It was about time that I finally used that fabric.  Because I’m always on a mission to reduce my fabric stash.  So I can buy new. 

I needed a 54″ square.  I cut two 55″ lengths from this fabric.  I didn’t even cut off the selvages (that’s that 1/2″ stiff edge along the side of the fabric).  Which is a big no-no in the sewing world. 

Although I didn’t worry about that no-no, I couldn’t just attach a 14″ strip to the 41″ inch panel to make a 55″ square.  Never.  A sewist must attach equal strips to each side. This goes for curtains, blankets, and tablecloths.  That’s the rule.  It’s a balance issue.  And I have enough trouble keeping myself balanced.

I stitched the two 41″ wide panels right sides together along the 55″ side.

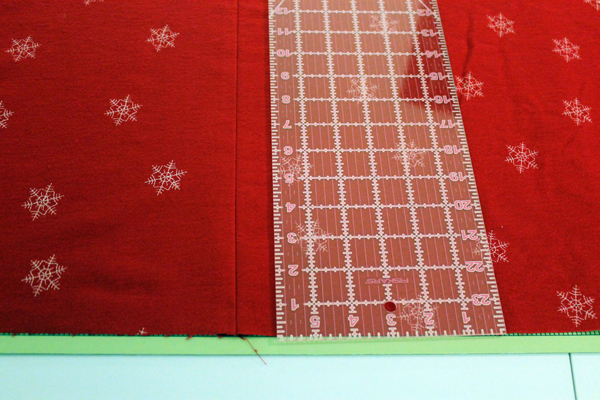
Next I pressed the seam open.  Measured 7″ from the seam and cut. 

DIY Easy Peasy Table Topper
The right side of the ruler is 7″ from the seam.  Just slice with your rotary cutter right there.

Now I have a 48″ wide and a 34″ wide piece. I took the 34″ wide piece and pinned the selvage side to the other side of the 48″ wide piece–right sides together.  (confused?) Stitched, pressed the seam open.  Again measured 7″ from the seam and cut.  

So now I have two pieces–one is 55″ wide and the other is 25″ wide.  I put the 25″ wide piece back in the fabric stash (still enough for Maggie’s pjs) and put a 1/2″ hem on all sides of the 55″ piece.  

54″ square table topper. 

Easy

Peasy

Perfect!

Table Topper
Wow! That table topper made a really big difference!


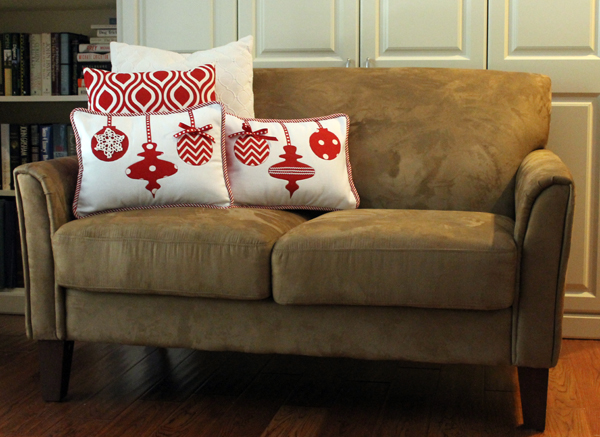
DIY Christmas Ornament Pillow

It’s beginning to look a lot like Christmas! 

At least it is in my sewing room.

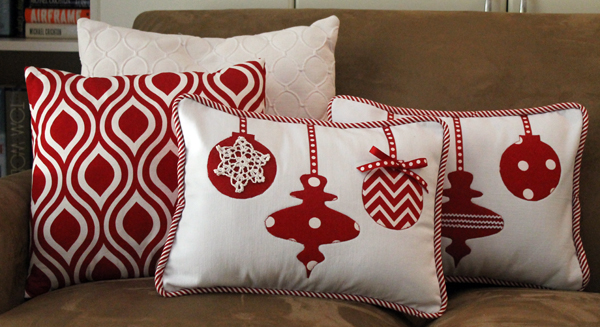
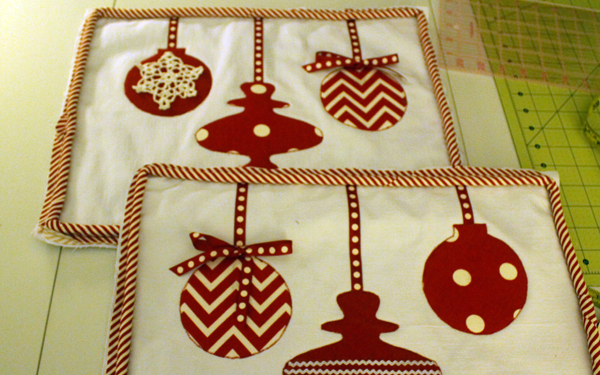
I’ve been browsing through all those catalogs that come in the mail this time of year and spotted some really adorable pillows embellished with ornaments.  So cute.  And $49 each.  Zowie.  I have a bunch of bits of fabric left from making Christmas stockings that I posted about in September and thought this was a good opportunity to use up some of that fabric.

And I made two.

Christmas Pillows

Because as soon as my daughter-in-law in the cold white north sees this, I’m going to hear from her.  Hey, it matches her Christmas stockings!

This is not an easy peasy pillow like I made last year right before a Christmas party. This one takes some sewing skill. And a lot of time. So I’ve put extra photos and steps in the tutorial to help explain.  But it’s still difficult.  

You can get the patterns for the ornaments by following this Better Homes and Garden Link or downloading the PDF that I already pulled from the site.

BHG_Ornament-Felt-Stocking

The pattern is marked to enlarge it 200% but that’s not big enough.  I made the round ornament 3 3/4″ wide and the odd shaped one is 5 1/4″ at it’s widest point.

ornament pattern

I also made the piping.  This is extra thick piping with red striped fabric. Piping is not difficult to make, just boring, monotonous and tedious.  I wanted a candy cane stripe cut on the bias–not found locally–so I had to make it.  Check out my tutorial for making piping if you want to make your own.    

You will need for each pillow:

White denim–13″ x 17″

Scraps of fabric for ornaments.  I used Premier Prints that I ordered from fabric.com

2 yards of piping

red flannel– two pieces of 13″ x 12″

fleece–one piece 13″ x 17″, and two pieces 13″ x 12″

1 yard of ribbon

embellishments

fabric glue

heat ‘n bond lite

white thread

red thread

I used 1/2″ seams throughout unless otherwise indicated.

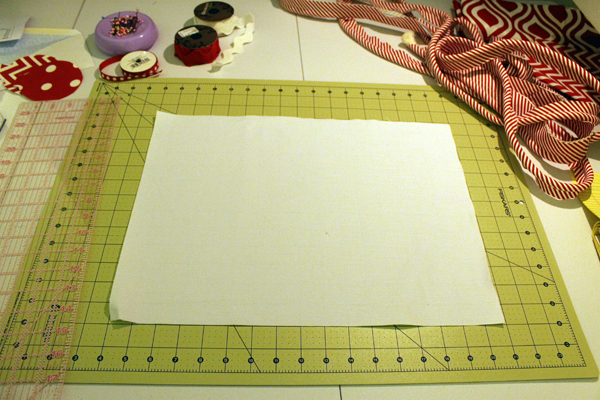
Start with the 13″ x 17″ white denim.

Cut a piece of denim 13" x 17"

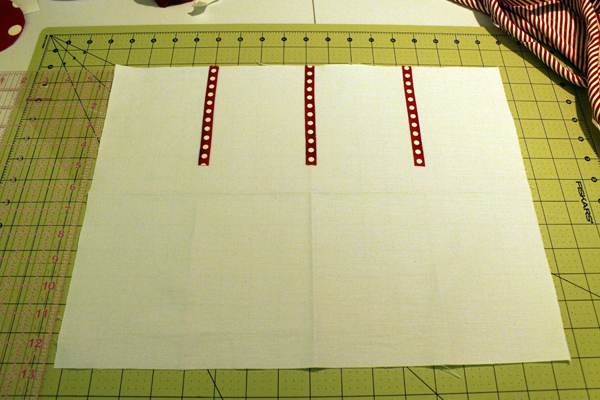
Cut three 5″ pieces of ribbon.  Place on front and glue.  You might want to stagger the ribbon lengths.  (I originally planned on putting 3 round ornaments all at the same height but then changed my mind.)  

Add 3 5" ribbonsThere are folds on the above fabric.  That’s how I evenly placed the ribbons without measuring.  I pressed the center fold then folded each side into the center and finger pressed those folds.  Perfect spacing!
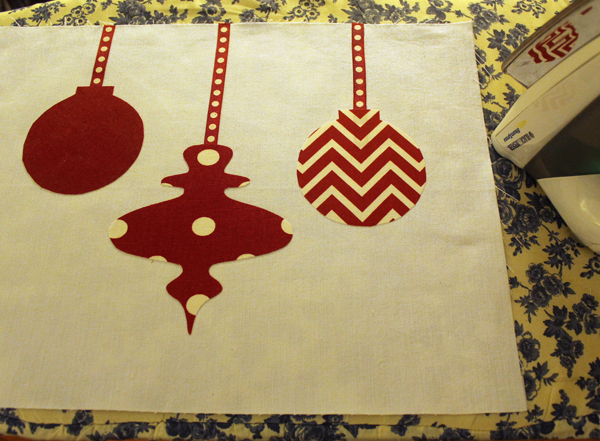
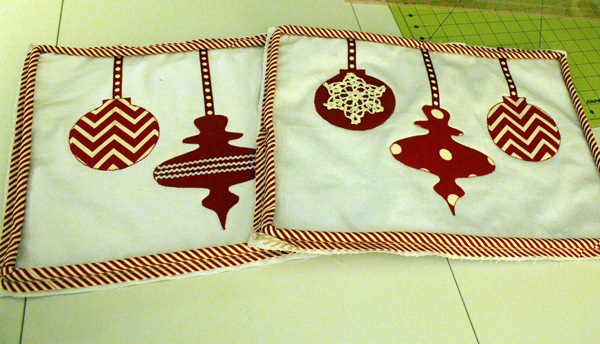
I used heat n’ bond lite on the back of the the ornaments. Follow the instructions on the package.  After the glue on the ribbons dried, I added the ornaments and pressed into place.

Place ornments and press

I then glued a crocheted snowflake on one pillow and tiny rick rack on the other. And again, let the glue dry.  

Time to sew!  Using white thread sew a 13″ x 17″ piece of fleece on the wrong side of the fabric. 

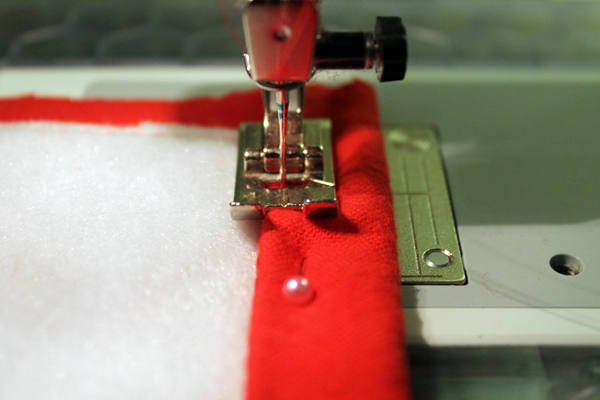
Now change to the zipper foot and sew the piping on to the front. 

Change to red thread and your regular sewing foot and do a satin stitch around each ornament.

embellishments

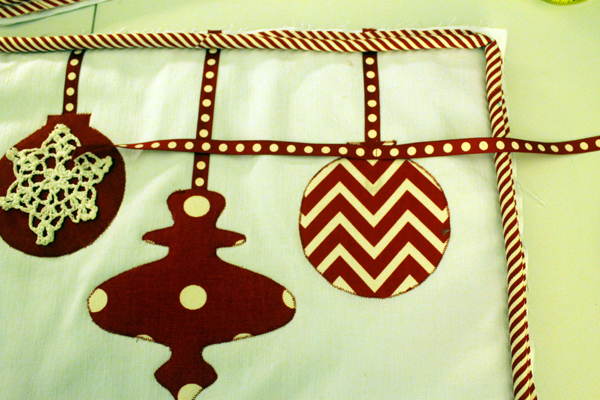
 Center a 16″ piece of ribbon on the chevron ornament and sew a little box.

add 16 " of ribbon

And tie a little bow.

Ribbon bow

Now let’s do the back.

This is an envelope style back.  No zippers or Velcro necessary.

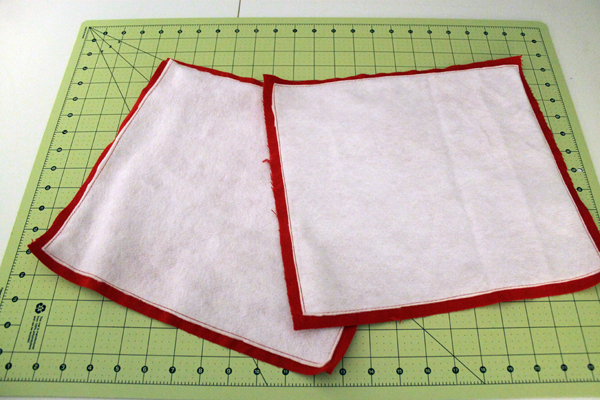
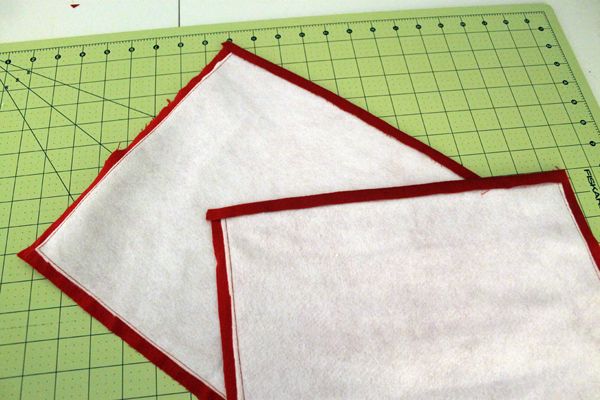
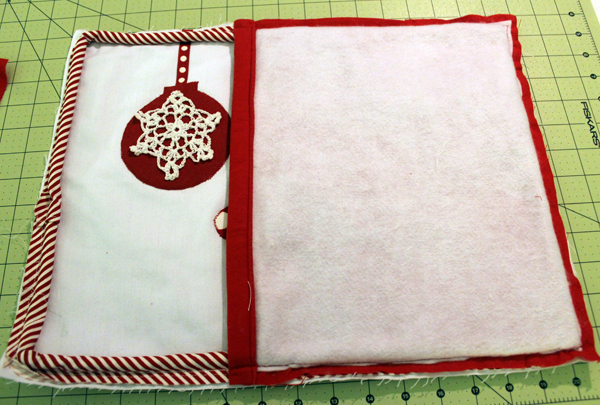
Cut two 13″ x 12″ pieces of red flannel, sew fleece on the wrong side and trim.

Fleece on the back

 Turn 1/2″ under and press on one 13″ side on both pieces. 

press under 1/2" on 13" side

 Turn under 3/4″ on the pressed edge.

turn under 3/4"

And stitch at 5/8″ from edge.

stitch 5/8"

I’m sewing around the piping again so I changed back to a zipper foot.  

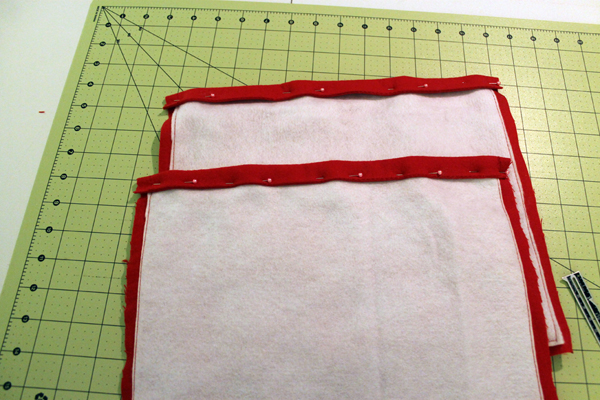
Put one of the red pieces, right side down on top of front piece. I use a lot of pins to secure the fabric and then baste on the three outer edges.  I always baste when I’m using piping because the fabric slips easily.  And then I have to rip out all that stitching.  Basting is the way to go!

lay one back, right sides togetherThen lay the other piece on top and baste.
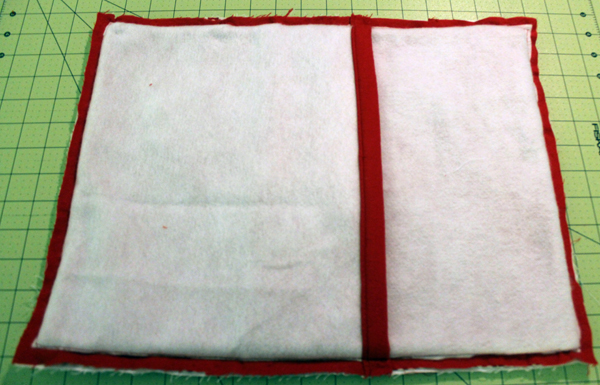
put second piece onTurn the pillow right side out and check that all the seams and the corners are okay. Then turn wrong side out again and stitch all four sides and clip corners.  Corners need to be clipped to reduce the bulkiness to get a nice corner.  Sew4home.com had a really good tutorial on corners this week “Stitching and Cutting Corners”
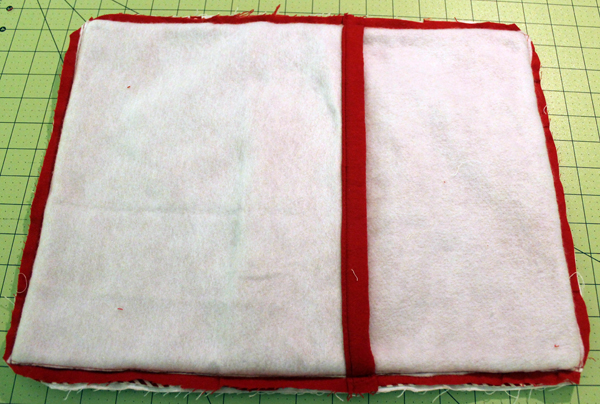
step14back8

Turn right side out and poke the corners out with a turning tool.  I use a chop stick.

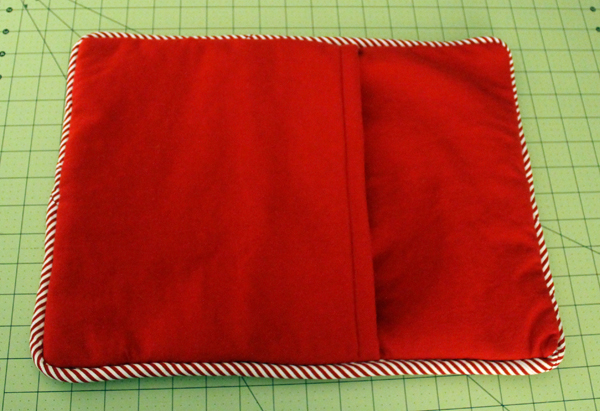
The back
The back is even cute!


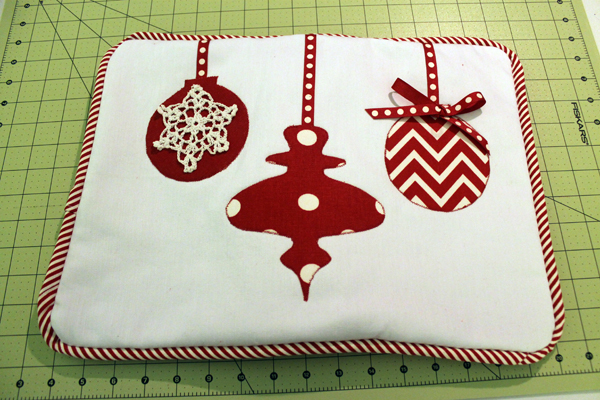
the front
And the front is adorable!

These pillows were much more difficult and took a lot more time than expected.  But they turned out really nice.  I still have 74″ of candy stripe piping left but I think I’ll take a short break from sewing!  Time to plan that Thanksgiving menu!

DIY Christmas Ornament Pillow