Adventures in the Kitchen with Michelle

Love Grown Foods

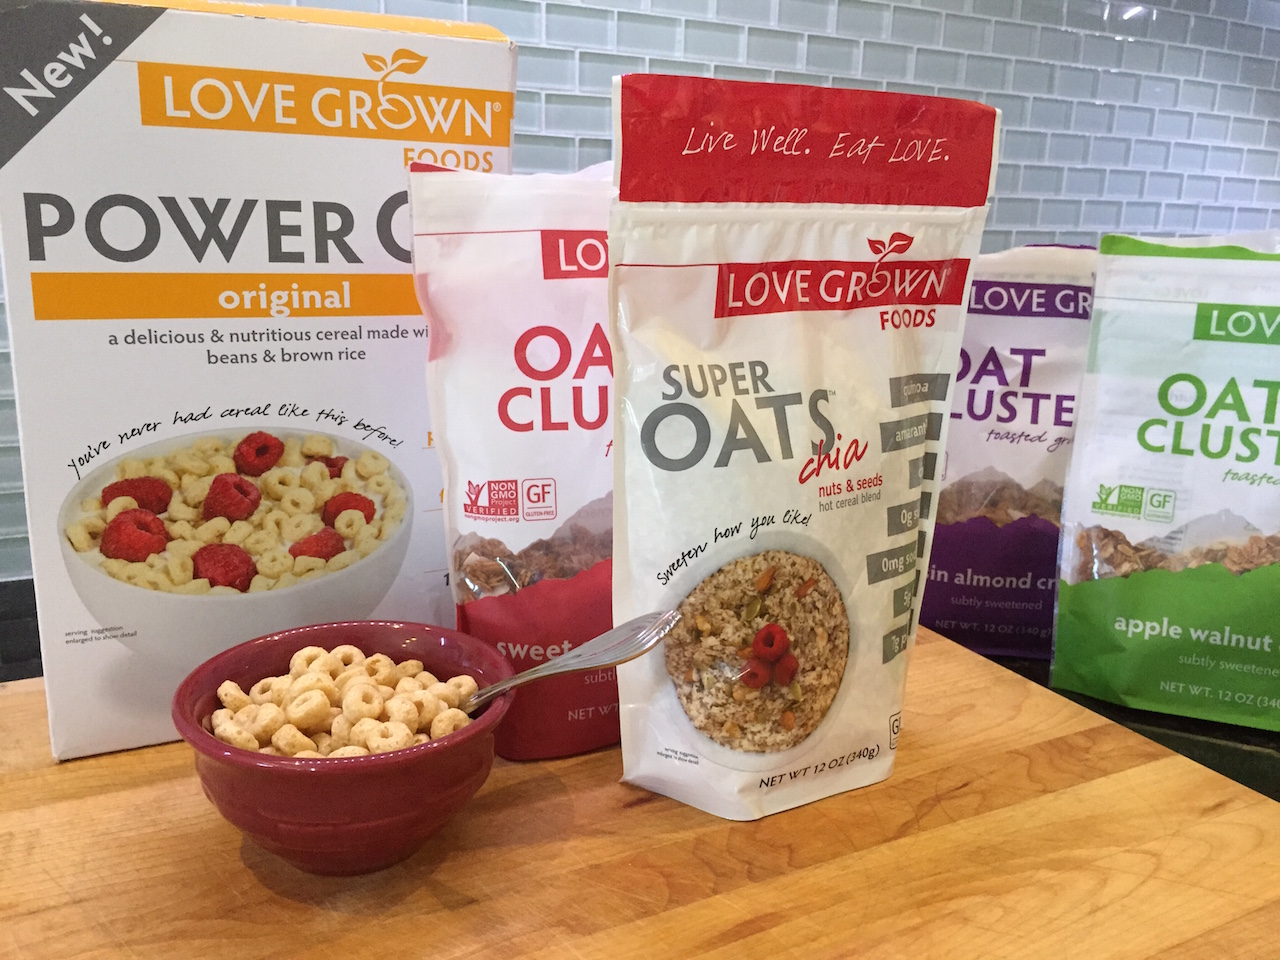
The other day a box showed up – you know the one, with the smile on it. Although I didn’t order anything. ?? Somebody did. Yes, my husband is an internet shopper. He also likes infomercials and ‘How’d They Do That’ shows. Turns out one evening he was watching a show about how this company makes cereals. He was intrigued and inspired by their commitment to their company and customers. Off to Google he went,….and he ordered a sample pack (of some sort) to see how it was. I’m glad he did.
Adventures in the Kitchen with Michelle
I’ve eaten my share of health food cereals and much of it has been like the ‘Quarry’ from the SNL skit ! And how is it that it always seems to taste like the store? You know, that generic cinnamon/ginger/sage smell that hangs in the air of most every vitamin depot. This is different.
Adventures in the Kitchen with Michelle
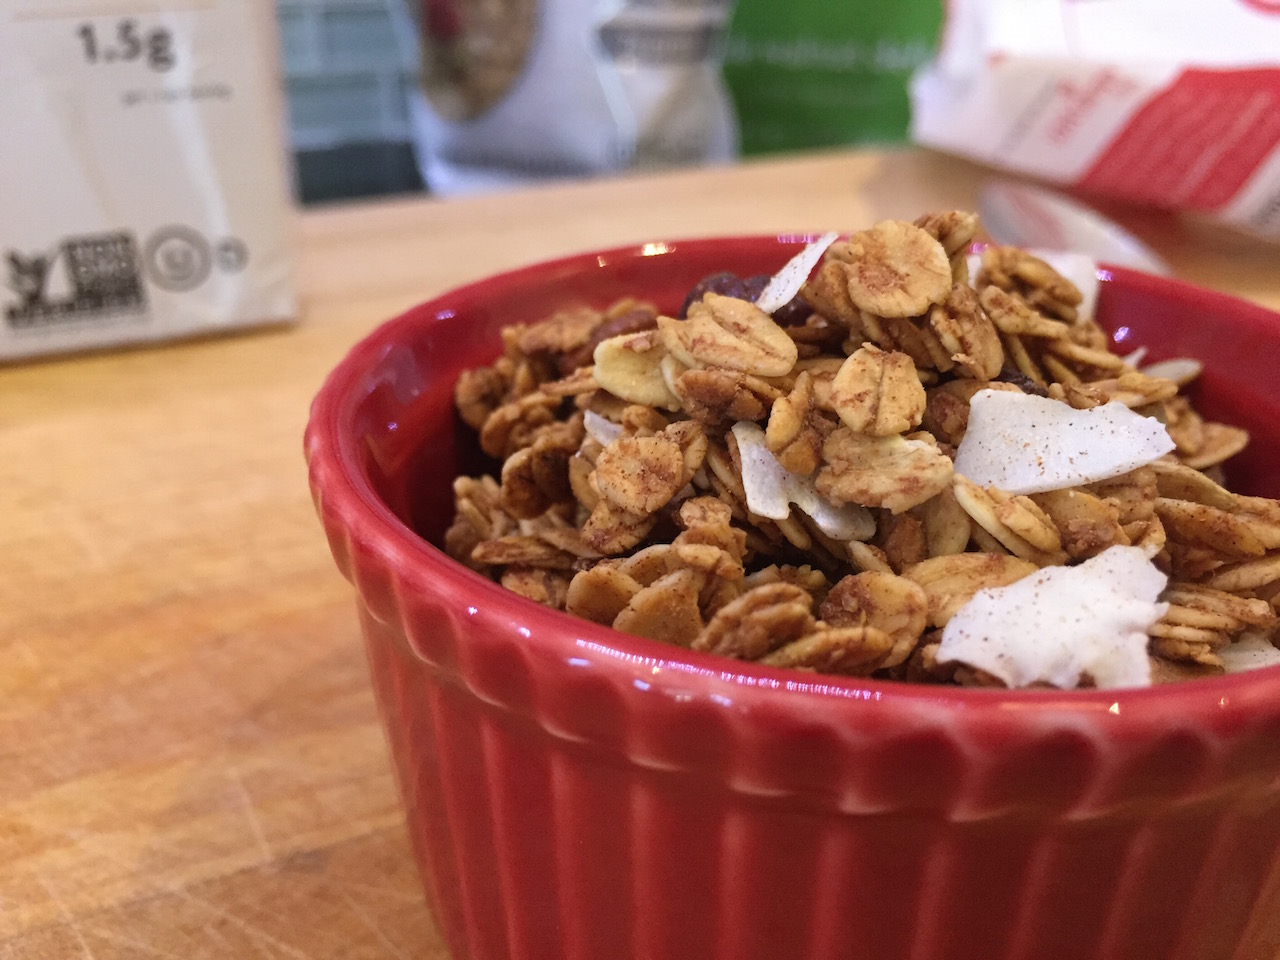
I like this stuff – the ‘O’s are really good, and just sweet enough. Wait, did it say ‘made with beans and brown rice’? Yes, yes it did. The Oat Granola’s are great too ! Yes, they’re fattening, ALL granola is (unless it’s laced with other crap to hold it together). There are actually different flavors – other than cinnamon. The apple has big pieces of apple in it and the coconut in one isn’t all dried super hard. It’s really good, and dare I say, fresh tasting. Any non-health-food cereal buff (um, my guys) would be all over these!
So, If you’re looking around the store shelves for an alternative to what ‘Big Corporate’ has to offer, check them out – and their smiles are on the box too. Those people in Colorado are just too healthy and happy. Maybe they eat a lot of this cereal.

Adventures in the Kitchen with Michelle

Works in Progress, November

I had fully intended to have a completed project here today. But there was an explosion in my sewing corner.  Ummmmm, caused by me when I decided to get one of my trunks of fabric organized.  I will not show you a picture.  It was ugly.

And then, surrounded by the mess,  I started on a Christmas pillow and had a nasty gluing incident.  

Piping
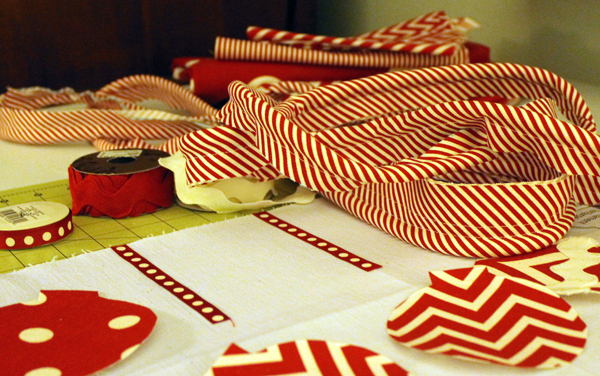
This is the pillow I thought I’d tell you about today. The only thing I actually finished was the piping!

So I returned to sorting all those scraps in the trunk.  How do sewist arrange all these leftovers?

I’ve been working on several things in my sewing room besides the pillow…..like I just finished a quilt top.  Lots more to do before I have a completed quilt, though. 

Quilt

Then I got into the organizing mood yesterday.  I have no idea why this crazy idea just popped into my head.  Just clean out that trunk, you have plenty of time to get that pillow finished.  Which caused that spontaneous eruption of bits of material flying around the room and landing helter-skelter.  

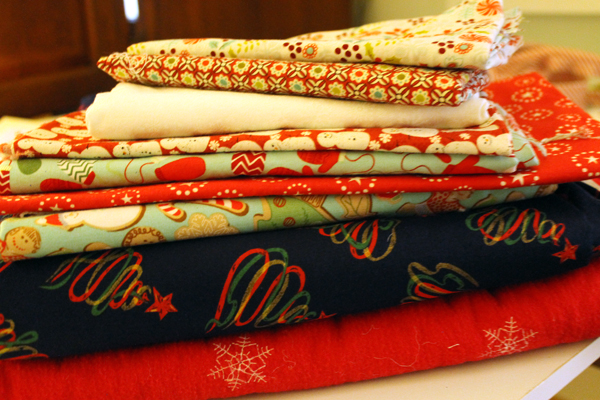
Part of that mess is my holiday fabrics.  I wanted to get new but after getting them all sorted and in a nice neat pile, I’m having a tough time justifying the expense when I already have too much!  

fabric
None of this stuff matches! I probably need to get more. More, more, more….

Come back next Thursday and I’ll have that pillow finished.  And I’m sure it will be very cute and Christmasy. And put you in the holiday mood.  And you’ll want to get all of your boxes of decorations out.

If I could just get this chaos under control.  

What’s New Pussycat?

KittiesIf you’ve been checking out my sewing projects over the past few years, you know that I design some of my own but sometimes–why reinvent the wheel?  There are several DIY blogs that have great patterns and tutorials.  Purl Bee, Sewmamasew and PositivelySplendid just to give you a start. 
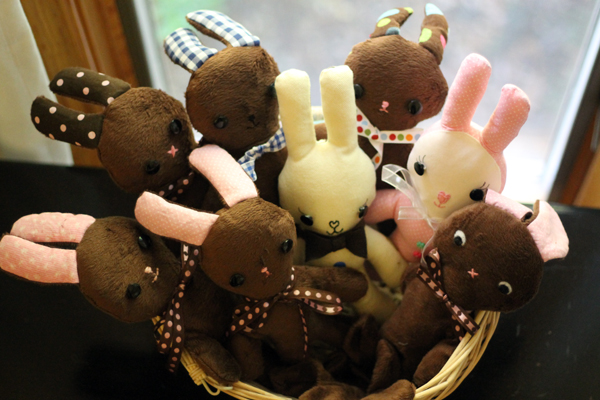
But the one I turn to most has to be Sew4Home.  Sometimes I start out with their pattern and morph it into my own. That’s where I got the idea for all those wascally wabbits I made earlier this year. 

So many wabbits!
Wascally Wabbits

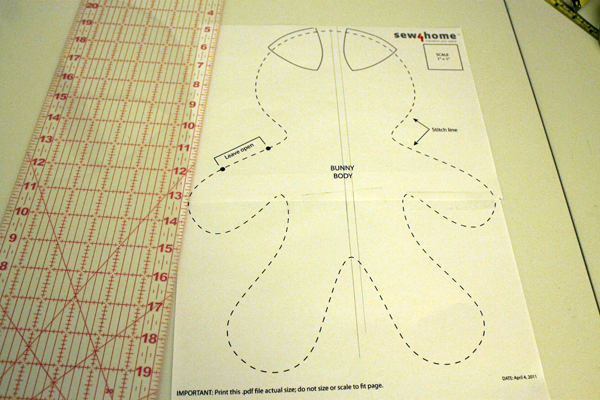
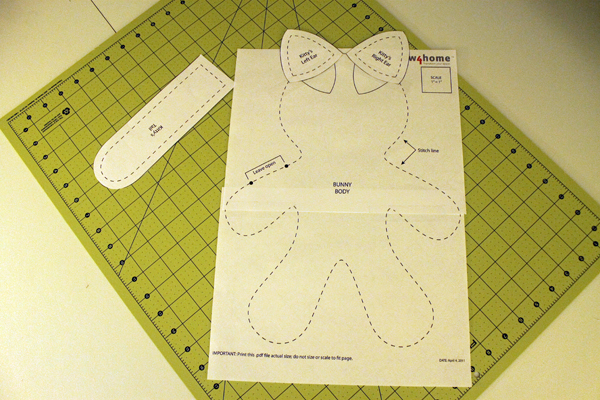
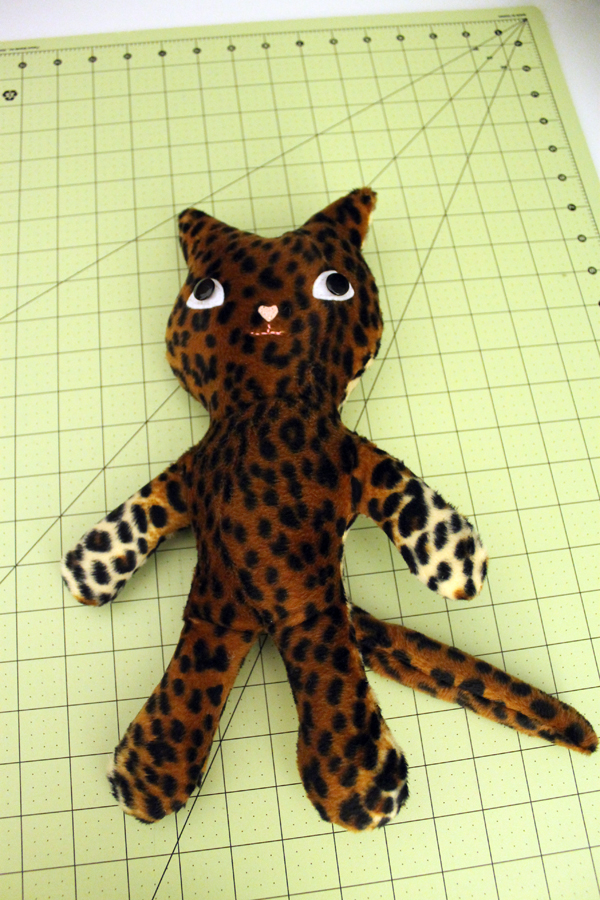
This week I wanted to make kitties for Pippety Piper since that’s her all time favorite animal and I turned to sew4home again for their kitty pattern.  I followed their tutorial but I wanted my kitties to be bigger. I downloaded their pattern and enlarged it through Photoshop.  Since it didn’t fit on one 8 1/2 x 11″ page, I cut it in half through Photoshop, printed, then taped the pattern together.

Pattern
Can you see the line where I taped?  Then I marked a 1/4″ seam for the back.

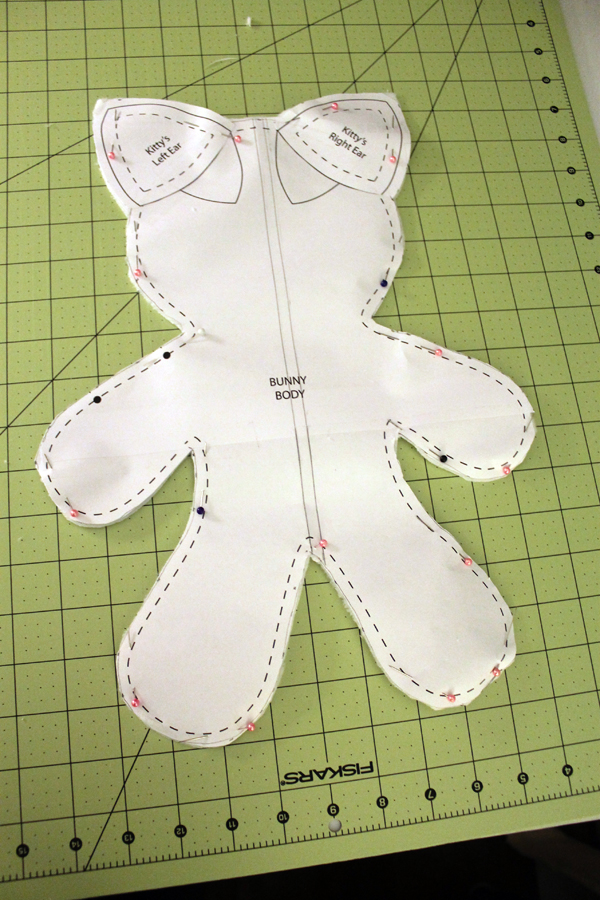
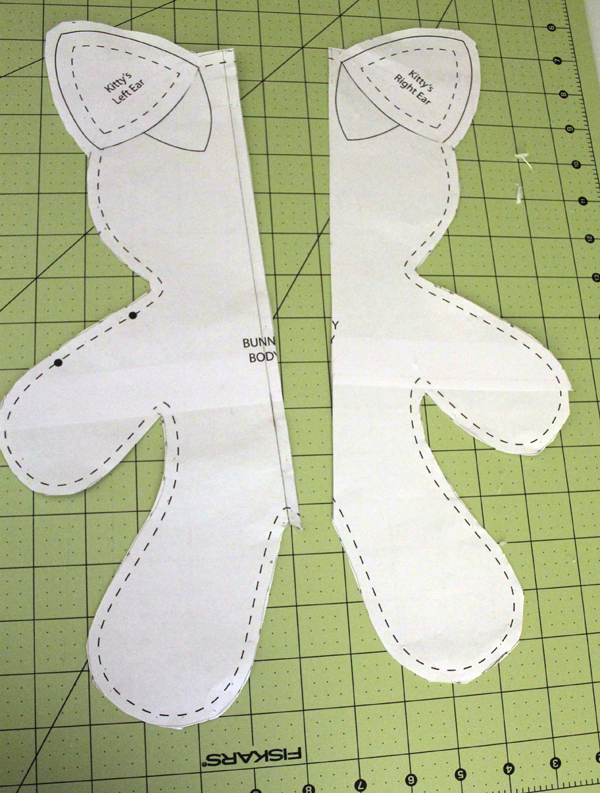
I also like to eliminate as much handsewing as possible so I cut the back of the kitty pattern in half and added a 1/4″ inseam so I could insert and machine stitch the tail.  I taped the ears on to the pattern so I wouldn’t have to use separate fabric plus I used faux fur instead of double-sided minky.

catpattern1

seam allowance
I put a 1/4″ seam allowance on the pattern.
pattern
After I cut out the front, I cut the pattern down the middle with a 1/4″ seam allowance for the back.
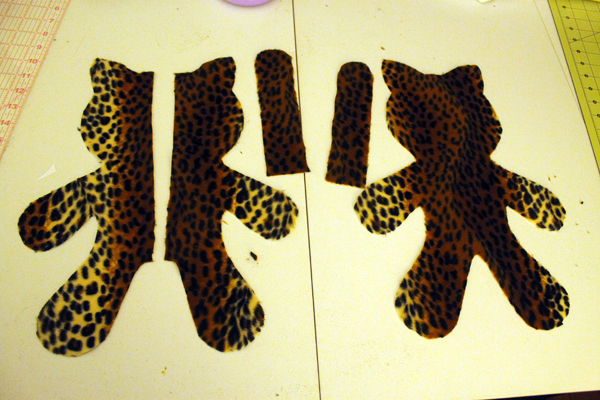
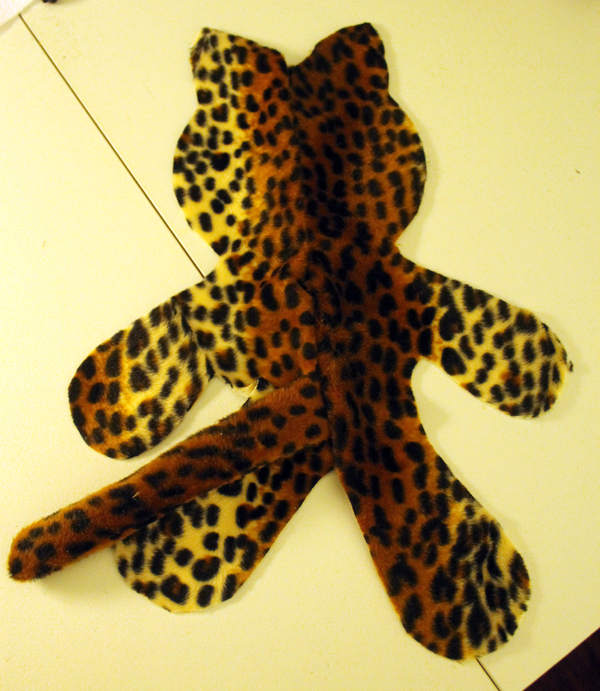
pieces
All the pieces cut out.

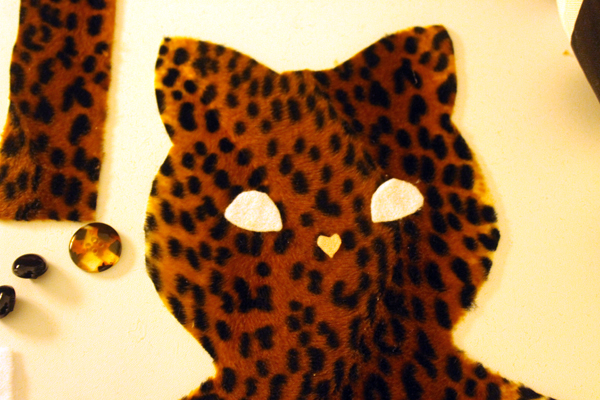
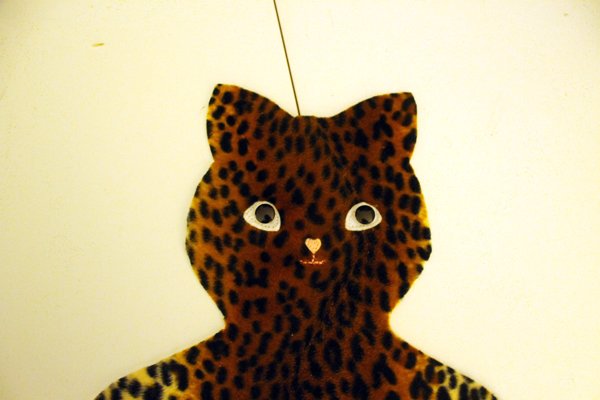
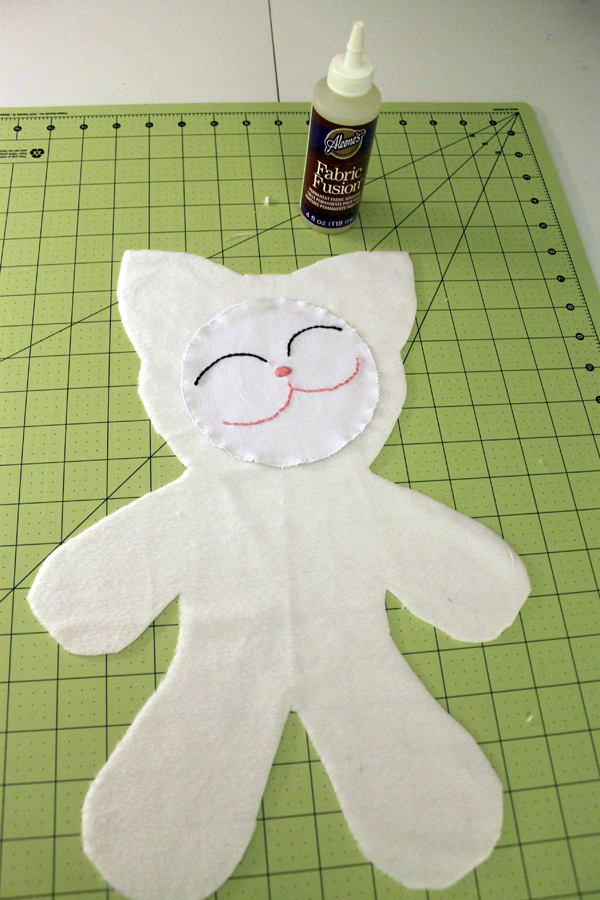
I always make the faces first. Because if the face is ugly, why bother finishing it? I used fabric glue to attach the features.  After the glue dried, I stitched around each eye and the nose and did some embroidery for the mouth and  added buttons.

face

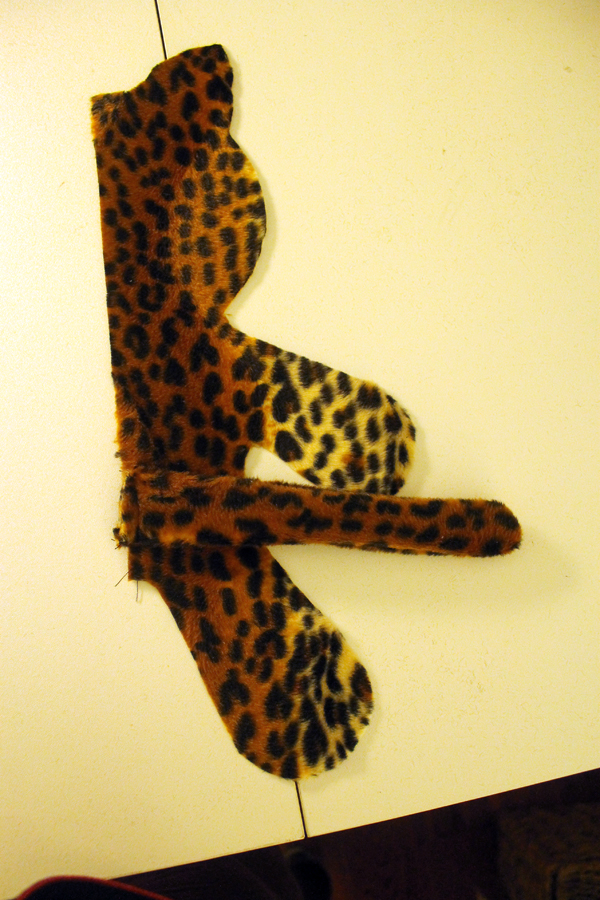
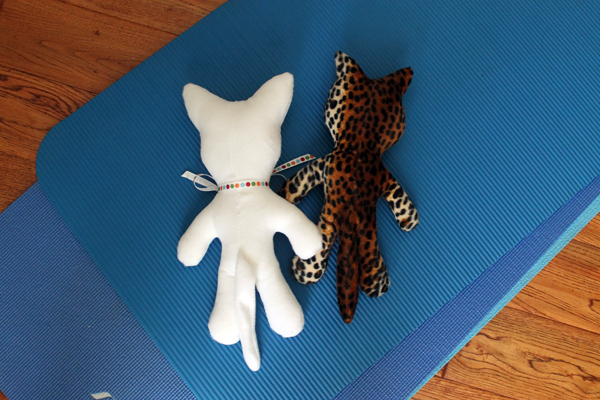
 faceNext I sewed the tail together and attached it to the back.  About 1/2″ from the bottom.

tail

back
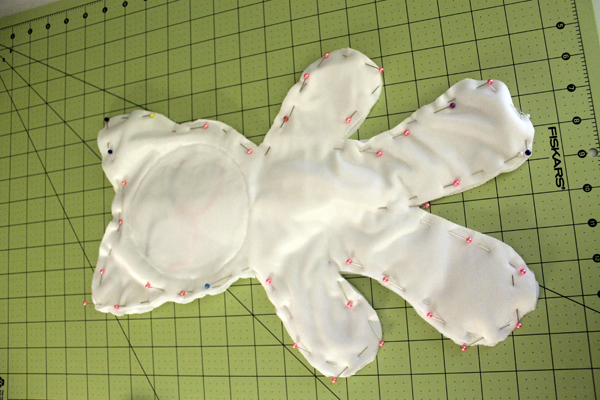
Leave an opening of about three inches on the back, above the tail, for turning the kitty right side out then filling it with stuffing.
Thomas
Thomas the Cat

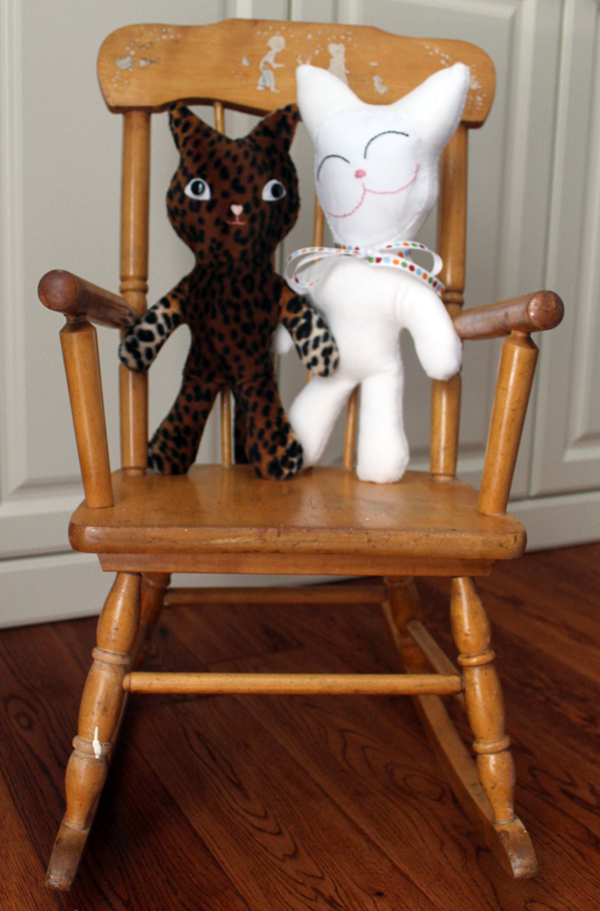
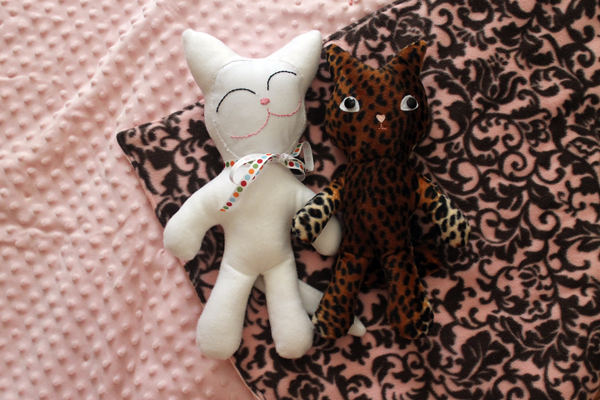
I thought Thomas’s ears were a too small so I made the next kitty’s ears a little bigger and moved them down the sides a tad.  Plus, I changed up the face.

The face

kitties


What's new pussycat?
Here they are doing a little yoga on my mats. Yes, I use three mats!

A couple of hints for you.  Faux fur is slippery.  Use a lot of pins.

Faux fur

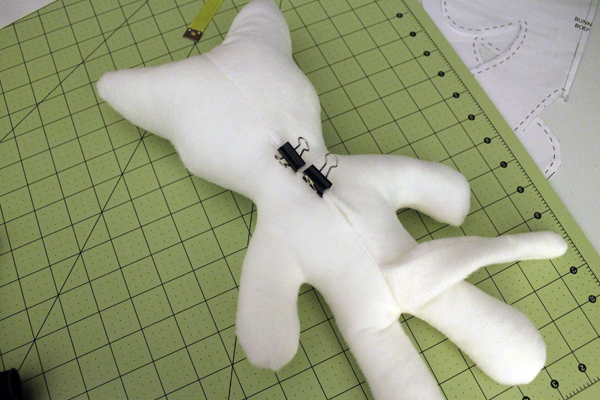
I used binder clips to hold the opening together for handstitching.  And always use the very best premium fiberfill for the stuffing.  It’s worth it.

binder clips

Piper
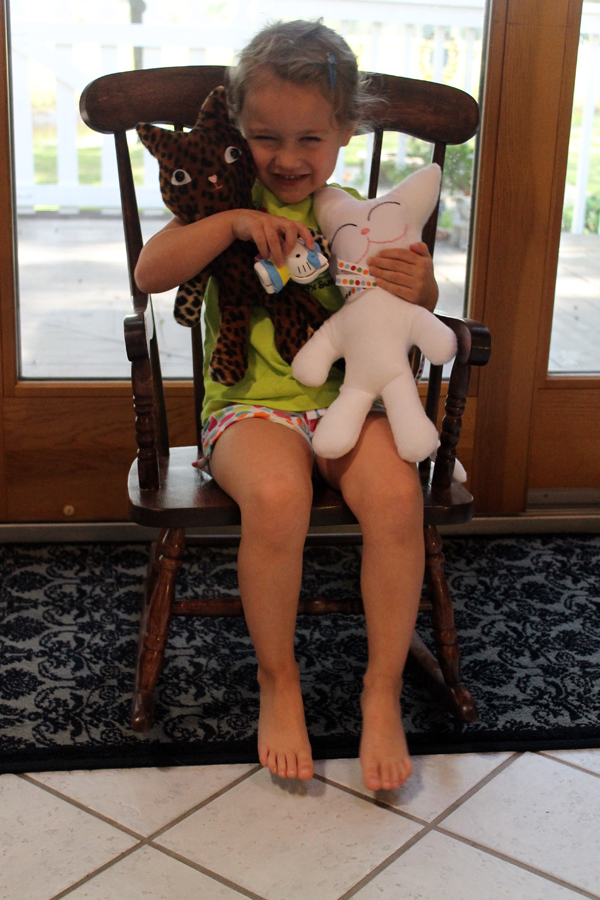
Piper named them Talking Tom and Angela. We have no idea where those names came from.

Piper

I plan to make some more kitties and change them up a little. I’ll give you an update!